Love this? Save it for later!
Share the inspiration with your friends
Introduction
“You know that moment when a dessert smells so good it stops you in your tracks? That’s exactly what happened last summer at the local farmers’ market in Wellington. I was wandering past a stall bursting with fresh kiwifruit and bright berries when a subtle sweet aroma pulled me closer. Turns out, the vendor was selling slices of pavlova topped with clouds of whipped cream and a colorful mix of fruits. Honestly, I wasn’t expecting much—meringue isn’t my usual go-to—but one bite and I was hooked. That crisp, marshmallow-soft texture combined with the tangy freshness of the fruits was like sunshine on a plate.
That afternoon, I scribbled down the basics on a napkin (yes, the napkin got a little sticky), determined to recreate this iconic New Zealand dessert at home. The first attempt was messy—whipped cream everywhere, slightly cracked meringue—but the flavor? Spot on. Ever since, this Fresh New Zealand Pavlova with Whipped Cream and Vibrant Fruits has become my go-to for celebrations and casual get-togethers alike. Maybe you’ve been there too, craving something light, sweet, and a little bit fancy that doesn’t take hours to pull together.
This recipe stays close to tradition but with practical tweaks I picked up along the way. Let me tell you, it’s not just about the ingredients — it’s about timing, patience, and a little love (and sometimes a fan blowing on the kitchen window). So, whether you’re new to pavlova or looking for a reliable homemade version, this one’s for you.
Why You’ll Love This Recipe
After testing countless pavlova recipes in my kitchen, I’ve come up with a version that hits all the right notes. This Fresh New Zealand Pavlova with Whipped Cream and Vibrant Fruits isn’t just a dessert — it’s a celebration of texture, flavor, and simplicity.
- Quick & Easy: Ready in under 1 hour (plus cooling time), perfect for last-minute celebrations or when unexpected guests drop by.
- Simple Ingredients: Uses pantry staples like egg whites and sugar, plus fresh fruits you can swap out seasonally.
- Perfect for Summer Gatherings: Light, airy, and topped with fruits like kiwifruit and berries that scream sunny days.
- Crowd-Pleaser: Kids and adults alike adore the crisp shell and soft center combo, making it a guaranteed winner at any party.
- Unbelievably Delicious: The meringue’s delicate crunch contrasts beautifully with the creamy whipped topping and juicy fruits — it’s comfort food with a fresh twist.
What makes this pavlova stand out? It’s the balance between a perfectly crisp exterior and a marshmallowy interior — no gritty sugar, no cracks ruining the look. I’ve fine-tuned the whipping and baking steps so you don’t have to worry about that dreaded collapse. Plus, the whipped cream is lightly sweetened and stabilized, so it holds up beautifully even on warm days.
This dessert is more than just a treat; it’s the kind of dish that makes you pause, close your eyes, and savor each bite. It’s a simple pleasure, perfect for impressing guests without the fuss. If you love desserts that look as good as they taste, you’re going to want to keep this recipe handy all year round.
What Ingredients You Will Need
This recipe calls for straightforward, wholesome ingredients that come together to create that iconic pavlova texture and flavor. Most of these are pantry staples, with fresh fruits adding the vibrant finishing touch.
- Egg whites (4 large, room temperature) – The foundation of the meringue; fresh eggs whip best.
- Caster sugar (1 cup / 200 g) – Fine sugar dissolves easily, crucial for smooth meringue.
- Cornstarch (1 teaspoon) – Helps stabilize the meringue and create the soft center.
- White vinegar (1 teaspoon) – Adds acidity to strengthen the egg whites during baking.
- Vanilla extract (1 teaspoon) – For subtle, warm flavor.
- Heavy cream (1 cup / 240 ml) – Whipped into clouds of creamy topping.
- Powdered sugar (2 tablespoons) – Lightly sweetens the whipped cream without weighing it down.
- Fresh fruits – A colorful mix such as:
- Kiwifruit, peeled and sliced (fresh or golden kiwis are both fantastic)
- Strawberries, hulled and halved
- Blueberries or blackberries
- Passionfruit pulp (optional, for tangy bursts)
Ingredient tips: For the meringue, I recommend using organic eggs if you can — they tend to whip better. When picking fruits, seasonal freshness makes a huge difference; in winter, swap in mandarins or poached pears for a cozy twist. I usually grab my powdered sugar from Domino for consistent fine texture, and when it comes to vanilla, a good-quality pure extract (like Nielsen-Massey) really lifts the flavors.
For dairy-free options, swap the heavy cream with coconut cream whipped until fluffy — it’s a personal favorite when accommodating dietary needs without losing richness.
Equipment Needed
- Electric mixer or stand mixer: Essential for whipping egg whites to stiff peaks and for the cream. I’ve tried hand mixers, but the power and consistency of a stand mixer (like KitchenAid) make a noticeable difference.
- Baking sheet: A rimmed sheet works best to catch any drips.
- Parchment paper: For lining the baking sheet and shaping the pavlova base. It helps you lift the pavlova off easily without breaking.
- Mixing bowls: Glass or metal preferred — plastic can hold onto grease and prevent egg whites from whipping properly.
- Spatula: To gently fold in cornstarch and vinegar without deflating the meringue.
- Sifter/strainer: Useful for dusting powdered sugar over the whipped cream if desired.
If you don’t have a stand mixer, an electric hand mixer will do, but be patient and make sure your bowl is completely grease-free. For shaping, I often use a dinner plate as a template under the parchment paper so the pavlova comes out perfectly round. Keeping your equipment clean and dry is key — even a tiny bit of fat can ruin the meringue’s volume.
Preparation Method
- Preheat your oven to 250°F (120°C). Line a baking sheet with parchment paper. Draw a 7-inch (18 cm) circle on the parchment as a guide, then flip the paper over so the pencil side is down.
- Prepare the egg whites. Separate the 4 large eggs, making sure no yolk gets in the whites (a single drop can stop them from whipping). Let the whites come to room temp for about 30 minutes — this helps them reach maximum volume.
- Start whipping the egg whites. Using an electric mixer on medium speed, beat until soft peaks form (the whites will look foamy and hold a gentle peak when you lift the beaters).
- Gradually add caster sugar. Add the sugar one tablespoon at a time, beating well after each addition. This takes about 8-10 minutes total. The mixture should become glossy and hold stiff peaks — when you lift the beater, the peak stands straight up without drooping.
- Fold in cornstarch, vinegar, and vanilla. Sift the cornstarch over the meringue, then add the vinegar and vanilla extract. Use a spatula to gently fold these in without knocking out the air.
- Shape the pavlova. Spoon the meringue onto the parchment circle, smoothing the edges and creating a slight well in the center to hold the whipped cream later. Don’t worry if it’s not perfectly smooth — rustic charm is part of the appeal.
- Bake low and slow. Place the pavlova in the oven and bake for 1 hour 15 minutes. The outside will be crisp and dry to the touch, while the inside remains marshmallow-soft. Avoid opening the oven door during baking as this can cause cracking.
- Turn off the oven and let the pavlova cool inside. This slow cooling prevents sudden temperature changes that cause cracks. Leave it in there at least 1 hour or overnight if possible.
- Prepare the whipped cream topping. Just before serving, whip the heavy cream with powdered sugar until soft peaks form. Be careful not to overwhip — you want it light and fluffy.
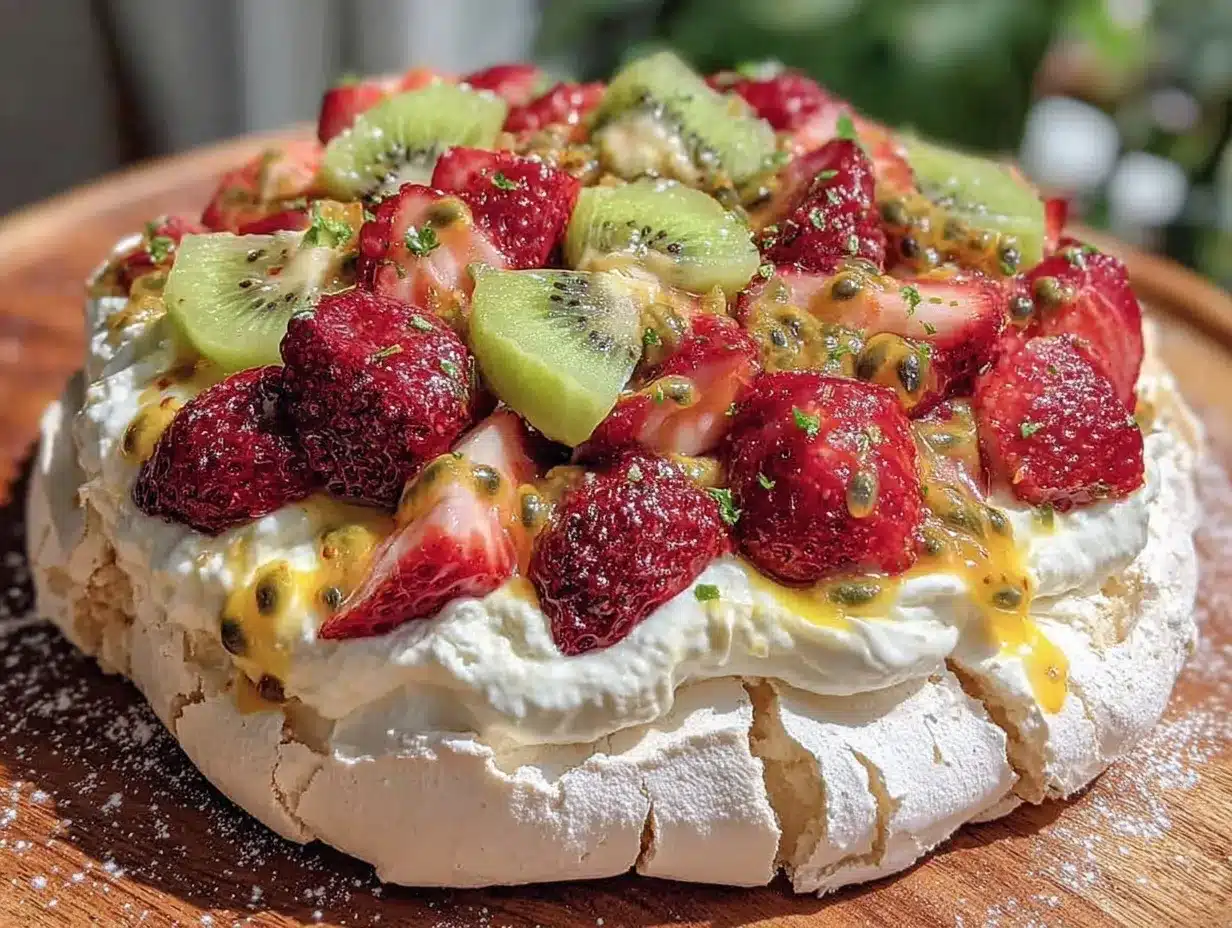
- Assemble and decorate. Gently spoon the whipped cream into the pavlova’s center, then pile on the sliced kiwifruit, strawberries, blueberries, and a drizzle of passionfruit pulp for extra zing.
Pro tip: If your kitchen is humid, it can affect meringue stability. I keep a fan running nearby and try to whip egg whites in the coolest part of the day. Also, don’t skip the vinegar — it’s a small detail that really helps keep the structure intact.
Cooking Tips & Techniques
Perfecting pavlova is all about patience and attention to detail. Here are some tips that saved me from many failed batches:
- Separate eggs carefully: Any yolk in the whites can prevent them from whipping properly. Use an egg separator or pass the whites between shell halves carefully.
- Use room temperature egg whites: They whip faster and to a greater volume than cold ones.
- Add sugar slowly: Adding sugar too quickly can deflate your meringue. Take your time and watch for that glossy finish.
- Don’t skip the cornstarch and vinegar: The cornstarch creates that soft, marshmallowy center, while vinegar stabilizes the egg whites during baking.
- Low and slow baking: High heat will brown the meringue and make it brittle. Patience is key — the pavlova should be crisp on the outside but tender inside.
- Cool in the oven: Sudden temperature changes cause cracks. Leaving the pavlova to cool inside the turned-off oven helps maintain its shape.
- Whip cream just before serving: Freshly whipped cream holds its shape best and complements the meringue’s texture.
- Be gentle when folding: Overmixing after adding cornstarch can knock out air, flattening the pavlova.
Honestly, I had my share of cracked meringues and flat pavlovas before getting this right. One time, I forgot the vinegar and ended up with a very cracked and crumbly base. Lesson learned! Also, multitasking during baking can be tricky — I usually prep fruits while the pavlova bakes to stay efficient.
Variations & Adaptations
This pavlova recipe is wonderfully flexible, making it easy to tailor to your tastes or dietary needs.
- Seasonal fruits: In autumn or winter, swap the kiwifruit and berries for poached pears, figs, or mandarin segments for a cozy vibe.
- Chocolate twist: Sprinkle a little finely grated dark chocolate or cocoa nibs over the whipped cream for a subtle indulgence.
- Vegan adaptation: Use aquafaba (the liquid from canned chickpeas) whipped with cream of tartar to replace egg whites, and coconut cream for the topping. It takes some practice but can yield surprisingly good results.
- Nutty crunch: Add toasted chopped pistachios or almonds over the fruit for extra texture and flavor contrast.
- Flavor infusions: Try folding a little lemon zest or orange blossom water into the whipped cream for a fragrant lift.
One personal favorite variation is adding passionfruit pulp between the cream and fruits — it adds a bright tang that balances the sweetness perfectly, especially on hot days. I also once made a mini pavlova version for a kids’ party, which was a hit and much easier to serve.
Serving & Storage Suggestions
Serve your pavlova fresh, ideally within a few hours of assembling, to enjoy the crisp texture combined with the creamy topping. If you need to prepare ahead, bake and cool the meringue base up to two days in advance and store it in an airtight container at room temperature.
Once topped with whipped cream and fruit, it’s best eaten the same day since the meringue will start to soften. If you have leftovers, keep them refrigerated but expect the shell to lose its crunch.
For reheating, pavlova isn’t really suitable — it’s a dessert meant to be served cool or at room temperature. However, you can refresh slightly flattened whipped cream by giving it a quick whisk before serving.
Pair this dessert with a light, bubbly drink like a sparkling wine or elderflower cordial to complement the fruits’ brightness. It also pairs beautifully with a cup of strong black tea for a cozy afternoon treat.
Flavors actually deepen if you let the pavlova sit for 10-15 minutes after topping — the passionfruit mingles with cream, and the meringue softens just slightly, creating a luscious balance.
Nutritional Information & Benefits
This Fresh New Zealand Pavlova is a relatively light dessert, especially compared to heavy cakes or pastries. The meringue is primarily egg whites and sugar, making it low in fat but high in sweetness.
- Approximate per serving (1/8 of pavlova): 250 calories, 3g fat, 50g carbohydrates, 3g protein.
- Egg whites provide a lean source of protein without cholesterol.
- Fresh fruits add fiber, vitamins (especially vitamin C from kiwifruit and berries), and antioxidants.
- Whipped cream adds richness and calcium but can be substituted with lighter options for a lower-fat version.
- Gluten-free naturally, making it suitable for those avoiding gluten.
From a wellness perspective, this dessert offers a sweet treat with fresh fruit benefits and a satisfying texture that feels indulgent without heaviness. It’s a nice way to celebrate special occasions while still including some nutritious elements.
Conclusion
If you’ve been searching for a dessert that’s both show-stopping and surprisingly simple, this Fresh New Zealand Pavlova with Whipped Cream and Vibrant Fruits fits the bill. It’s a recipe that’s stayed with me since that serendipitous farmers’ market afternoon — a treat that brings a bit of sunshine to any table.
Feel free to customize the fruit topping or play with flavors to make it your own. Whether it’s a birthday celebration, a casual weekend dessert, or a special summer barbecue finale, this pavlova never fails to impress.
Give it a try, and let me know how it turns out! Your feedback, tweaks, and stories always make my day. So go ahead — whip up this sweet cloud of happiness and share the joy.
Happy baking and even happier eating!
FAQs
What causes pavlova to crack and how can I prevent it?
Cracking usually happens from rapid temperature changes or overbaking. To avoid this, bake at a low temperature and let the pavlova cool slowly in the oven with the door closed or slightly ajar.
Can I make pavlova ahead of time?
Yes! You can bake and cool the meringue base up to two days in advance and store it in an airtight container at room temperature. Add the cream and fruits just before serving.
How do I know when the egg whites have reached stiff peaks?
When you lift the beaters, the peaks should stand straight up without drooping. The mixture will also look glossy and smooth.
What are good fruit choices for pavlova besides kiwifruit?
Fresh berries like strawberries, blueberries, and raspberries work beautifully. You can also use passionfruit, mango, peaches, or seasonal fruits like mandarins or figs.
Is pavlova naturally gluten-free?
Yes, pavlova is naturally gluten-free since it’s made from egg whites and sugar. Just ensure any toppings or additions are gluten-free as well.
For those wanting a bit more inspiration, my crispy garlic chicken pairs wonderfully with lighter desserts like this pavlova, offering a balanced meal experience. And if you enjoy baking, you might appreciate the technique tips in my classic chocolate cake recipe, which also emphasizes careful mixing and timing for best results.
Pin This Recipe!
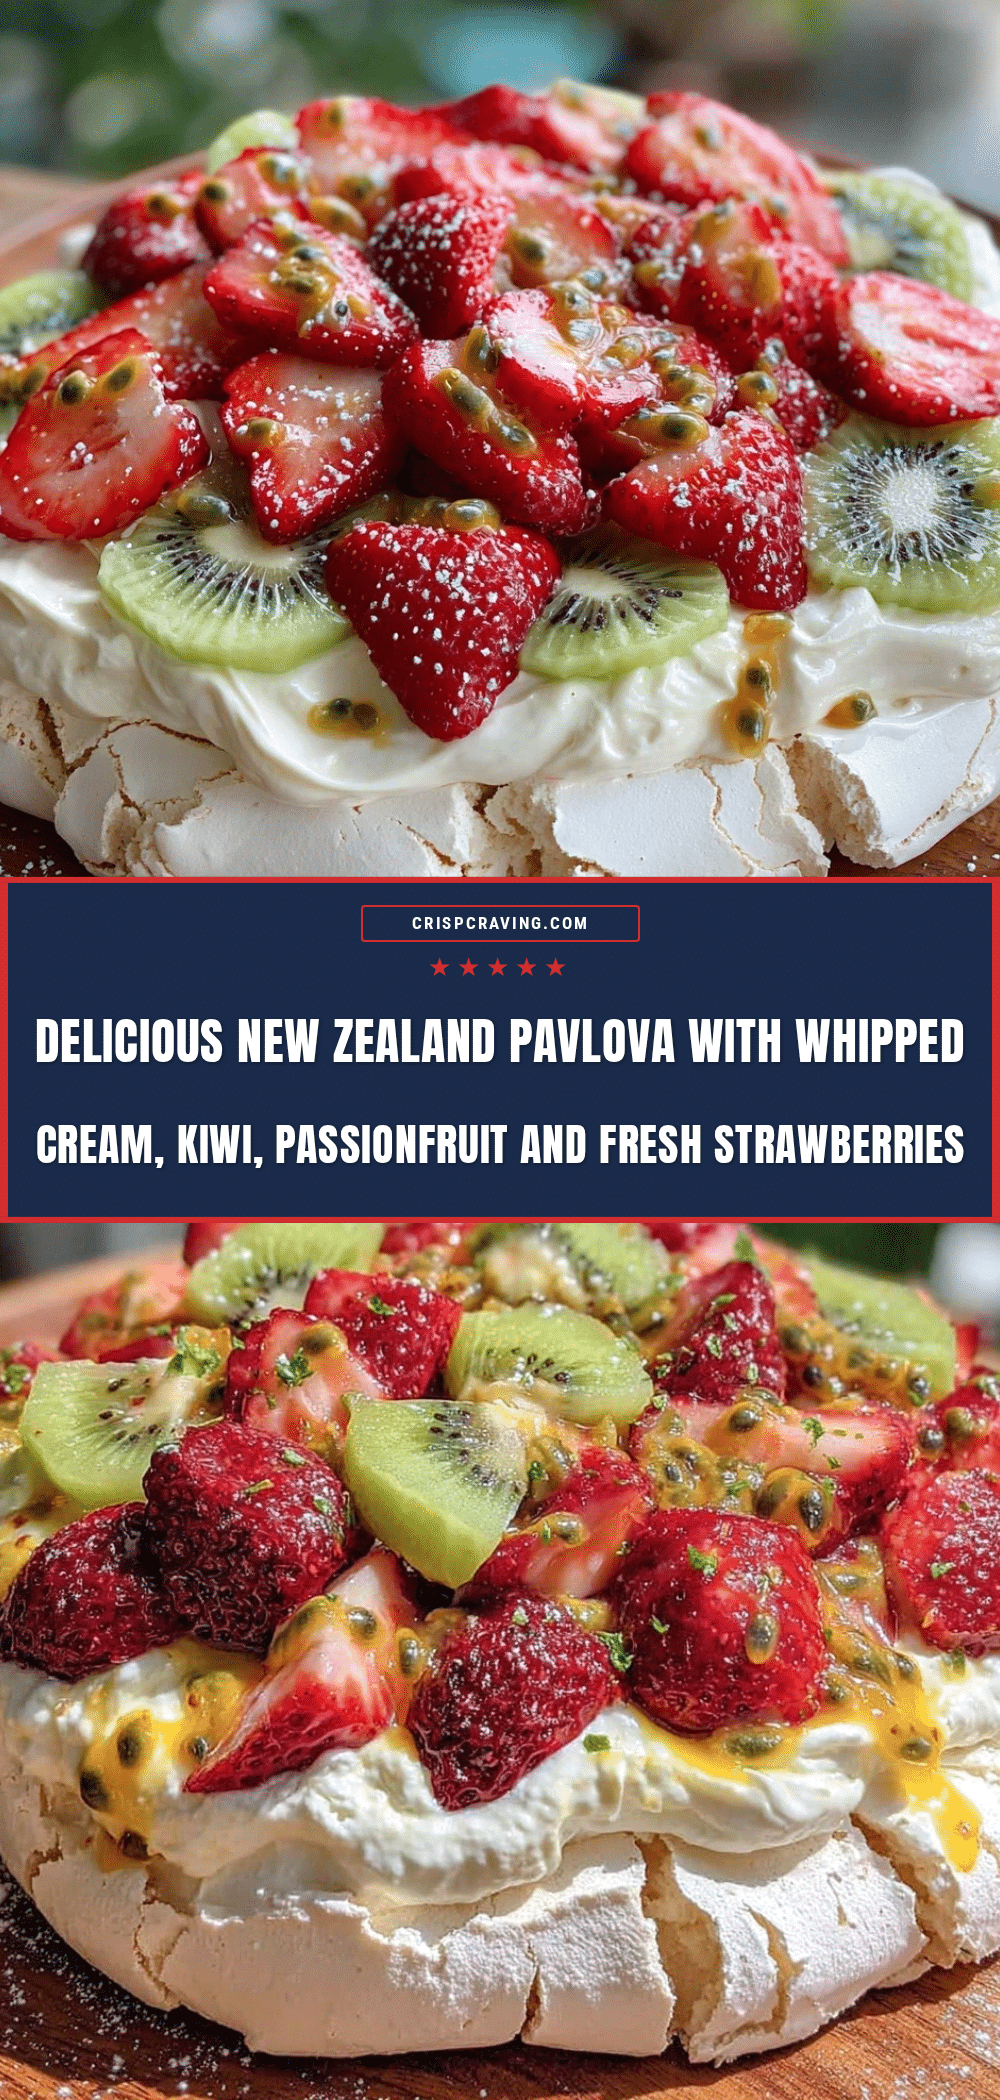
Fresh New Zealand Pavlova Recipe Easy Homemade with Whipped Cream and Fruits
A light and airy New Zealand pavlova featuring a crisp meringue shell with a marshmallow-soft center, topped with lightly sweetened whipped cream and vibrant fresh fruits. Perfect for celebrations and casual gatherings.
- Prep Time: 40 minutes
- Cook Time: 1 hour 15 minutes
- Total Time: 1 hour 55 minutes
- Yield: 8 servings 1x
- Category: Dessert
- Cuisine: New Zealand
Ingredients
- 4 large egg whites, room temperature
- 1 cup (200 g) caster sugar
- 1 teaspoon cornstarch
- 1 teaspoon white vinegar
- 1 teaspoon vanilla extract
- 1 cup (240 ml) heavy cream
- 2 tablespoons powdered sugar
- Fresh fruits such as:
- – Kiwifruit, peeled and sliced
- – Strawberries, hulled and halved
- – Blueberries or blackberries
- – Passionfruit pulp (optional)
Instructions
- Preheat your oven to 250°F (120°C). Line a baking sheet with parchment paper. Draw a 7-inch (18 cm) circle on the parchment as a guide, then flip the paper over so the pencil side is down.
- Separate the 4 large eggs, ensuring no yolk gets in the whites. Let the whites come to room temperature for about 30 minutes.
- Using an electric mixer on medium speed, beat the egg whites until soft peaks form.
- Gradually add caster sugar one tablespoon at a time, beating well after each addition until the mixture is glossy and holds stiff peaks (about 8-10 minutes).
- Sift cornstarch over the meringue, then add vinegar and vanilla extract. Gently fold in with a spatula without deflating the mixture.
- Spoon the meringue onto the parchment circle, smoothing edges and creating a slight well in the center.
- Bake for 1 hour 15 minutes until the outside is crisp and dry to the touch but the inside remains marshmallow-soft. Avoid opening the oven during baking.
- Turn off the oven and let the pavlova cool inside for at least 1 hour or overnight.
- Just before serving, whip heavy cream with powdered sugar until soft peaks form.
- Spoon whipped cream into the pavlova’s center and top with sliced kiwifruit, strawberries, blueberries, and passionfruit pulp if using.
Notes
Use room temperature egg whites for better volume. Add sugar slowly to avoid deflating the meringue. Bake low and slow to prevent browning and cracking. Cool pavlova inside the oven to avoid cracks. Whip cream just before serving for best texture. For dairy-free, substitute heavy cream with whipped coconut cream. Seasonal fruit substitutions and variations like adding chocolate or nuts can enhance the recipe.
Nutrition
- Serving Size: 1/8 of pavlova
- Calories: 250
- Fat: 3
- Carbohydrates: 50
- Protein: 3
Keywords: pavlova, New Zealand dessert, meringue, whipped cream, fresh fruit, easy pavlova recipe, summer dessert, gluten-free dessert



