Love this? Save it for later!
Share the inspiration with your friends
Introduction
“Last Thursday afternoon,” my neighbor called out as I stepped onto her porch, “grab a jar and help yourself.” I wasn’t really expecting anything fancy—just dropping by to borrow some sugar for my tea. But before I even opened the door, that unmistakable tangy, garlicky aroma of dill pickles hit me like a warm, familiar wave. She was standing there, completely casual, slicing cucumbers with that easy confidence that comes from making something over and over again, like it’s the simplest thing in the world.
Honestly, watching her put together these easy quick refrigerator dill pickles was almost hypnotic. No boiling water baths, no jars lined up like a science experiment—just fresh cucumbers, garlic, dill, vinegar, and salt, thrown into a jar and tucked away in the fridge. It felt like magic, except it wasn’t. It was just smart, simple cooking done right.
I forgot to ask how many jars she usually makes, got distracted by her dog barking at a squirrel, and spilled a bit of brine on the counter. But you know that feeling when you taste something and it’s like a little victory? That’s what these pickles gave me. Crisp, zesty, and bright, they were the perfect quick fix for when you want homemade pickles but don’t have hours to spend or fancy equipment. Maybe you’ve been there—wanting that punch of flavor and crunch without all the fuss. This recipe stuck with me because it’s straightforward, reliable, and honestly, a little bit addictive. Let me tell you, once you try making these no canning required dill pickles, you’ll wonder why you ever bought them from the store.”
Why You’ll Love This Recipe
Making easy quick refrigerator dill pickles is like having a secret weapon in your kitchen. After testing this recipe multiple times and tweaking the seasoning, I can confidently say it’s one of the simplest ways to get crunchy, tangy pickles without the stress of traditional canning. Here’s why this recipe stands out:
- Quick & Easy: Ready to eat in as little as 24 hours, perfect for those last-minute pickle cravings or when you want to add a homemade touch to your sandwich fast.
- Simple Ingredients: No need for fancy or hard-to-find items—just basic pantry staples and fresh cucumbers.
- Perfect for Casual Get-Togethers: Whether it’s a backyard BBQ, a picnic, or a weekday snack, these dill pickles bring the zing.
- Crowd-Pleaser: Kids and adults alike love the balance of tang, salt, and fresh dill flavor.
- Unbelievably Delicious: The crisp texture and bright flavor come from the no-canning method, locking in freshness and bite.
This recipe is different because it skips the traditional canning process, which can feel intimidating or time-consuming. Instead, it focuses on quick refrigeration pickling — you get that classic dill pickle taste without standing over a hot stove or worrying about sterilizing jars. Plus, the seasoning is spot-on, with just the right garlic punch and fresh dill aroma. Honestly, it’s the kind of recipe that makes you close your eyes at the first bite, savoring that perfect crunch and tang. It’s comfort food that’s fuss-free and fast, perfect when you want homemade without the hassle.
What Ingredients You Will Need
This recipe uses simple, wholesome ingredients to deliver bold flavor and satisfying crunch without fuss. Most of these are pantry staples, and you can easily swap a few if needed.
- Fresh cucumbers: About 1.5 pounds (700 grams) of small to medium Kirby or pickling cucumbers (firm and crisp is key)
- Fresh dill: 3-4 sprigs (or 2 tablespoons dried dill seeds if fresh isn’t available; fresh adds the best aroma)
- Garlic cloves: 3-4, peeled and lightly crushed (for that signature punch)
- White vinegar: 1 cup (240 ml) – I recommend a good quality distilled vinegar for clean acidity
- Water: 1 cup (240 ml) – use filtered if you want the purest flavor
- Pickling salt or kosher salt: 1 tablespoon (avoiding iodized table salt prevents cloudiness and off-flavors)
- Black peppercorns: 1 teaspoon whole (adds a subtle spicy note)
- Red pepper flakes: Optional, 1/4 teaspoon for a slight kick
- Mustard seeds: Optional, 1 teaspoon (adds complexity and a little tangy warmth)
If you want to switch things up, you can swap the white vinegar for apple cider vinegar for a fruitier note or use cucumber slices instead of whole spears for quicker pickling. Also, if you prefer a dairy-free brine, this recipe is naturally suited since it contains no dairy. I’ve used Pickling Salt from Diamond Crystal with great results, but any pure pickling or kosher salt will do.
Equipment Needed
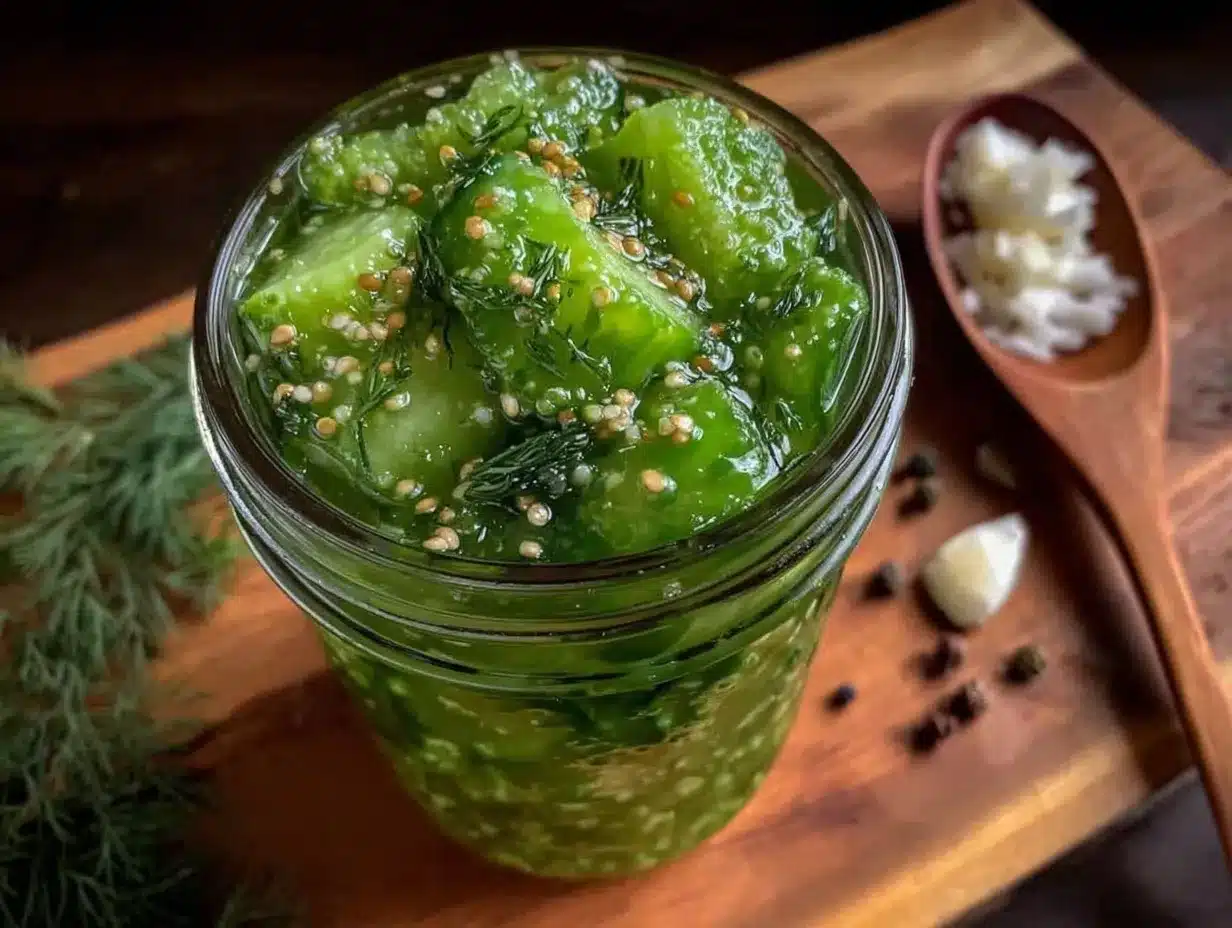
- Glass jars with lids: Quart-sized (950 ml) mason jars or any clean, sealable glass container work well. I’ve found that wide-mouth jars make packing cucumbers easier.
- Measuring cups and spoons: For precise brine ratios (this ensures your pickles don’t turn out too salty or bland).
- Sharp knife: For slicing cucumbers if you prefer spears or chips.
- Cutting board: A sturdy surface to prep your veggies.
- Small saucepan: To warm the brine and dissolve the salt (optional, but speeds up the process).
- Kitchen towel or cloth: For wiping up any brine spills (because honestly, a little mess is part of the fun!).
If you don’t have mason jars, clean any glass jar with a tight-fitting lid, like an old pickle or jam jar, and sterilize it by washing in hot soapy water. No fancy canning equipment needed here—this recipe is about convenience without cutting corners. I keep a small funnel handy to fill the jars without drips, but it’s not essential.
Preparation Method
- Prepare the cucumbers: Wash about 1.5 pounds (700 grams) of fresh cucumbers thoroughly. If you prefer, slice them into spears or chips, or leave them whole if they’re small. Trim the ends slightly to avoid bitterness. (Time: 5-7 minutes)
- Make the brine: In a small saucepan, combine 1 cup (240 ml) white vinegar, 1 cup (240 ml) water, and 1 tablespoon pickling salt. Warm over medium heat just until the salt dissolves—no need to boil. Remove from heat and let cool slightly. (Time: 5 minutes)
- Pack the jars: Into clean quart-sized (950 ml) glass jars, place 3-4 sprigs of fresh dill, 3-4 crushed garlic cloves, 1 teaspoon whole black peppercorns, and optional 1 teaspoon mustard seeds and 1/4 teaspoon red pepper flakes if you like some heat. Then tightly pack the cucumbers in, leaving about 1/2 inch (1.25 cm) headspace at the top. (Time: 7-10 minutes)
- Pour the brine: Slowly pour the warm brine over the cucumbers, covering them completely. Tap the jar gently on the counter to release air bubbles, and add more brine if needed to fully submerge. (Time: 3-5 minutes)
- Seal and refrigerate: Close the jars tightly with lids and place them in the refrigerator. (Time: immediate)
- Wait and enjoy: The pickles will develop flavor after about 24 hours but taste best after 2-3 days. The crunch will stay fresh for up to 2 weeks refrigerated. (Time: 1-3 days)
If you notice the cucumbers aren’t fully submerged, add a sterilized weight or small clean object to keep them under the brine to prevent spoilage. Also, if the brine tastes too salty or vinegar-forward for your liking, try adjusting the salt or vinegar ratios slightly next time—everyone’s taste buds are a little different. My first batch was a little too salty because I rushed measuring, so don’t be shy about tasting as you go.
Cooking Tips & Techniques
Here are some tricks I’ve picked up making these easy quick refrigerator dill pickles:
- Choose firm cucumbers: Avoid any that are soft or have blemishes. Kirby cucumbers work best for that satisfying crunch.
- Don’t skip the salt measurement: Salt controls the fermentation and flavor balance. Using pickling salt or kosher salt keeps the brine clear and clean tasting.
- Warm the brine just enough: Dissolving the salt in a warm liquid helps even flavor distribution, but boiling isn’t necessary and can dull the fresh cucumber bite.
- Pack cucumbers tight: This prevents floating and ensures all pieces soak up the brine evenly.
- Use fresh dill whenever possible: It makes a huge difference in aroma and flavor compared to dried.
- Refrigerate immediately: Since this method skips canning, keeping them cold is crucial to avoid spoilage.
One time, I left a jar on the counter overnight by mistake, and the pickles went soft and sour too quickly. Lesson learned: these are fridge pickles, not shelf-stable. Also, if you want extra crispness, soaking cucumbers in ice water for 30 minutes before pickling adds a nice snap.
Variations & Adaptations
Feel free to play around with this basic recipe to suit your taste or dietary needs:
- Garlic Lovers: Double the garlic cloves for a bolder, more pungent flavor.
- Spicy Kick: Add sliced fresh jalapeños or increase red pepper flakes for heat.
- Low-Sodium Version: Reduce salt by half and add a splash of lemon juice for brightness.
- Herb Variations: Swap dill for fresh tarragon or add a few coriander seeds for a different herbal note.
- Quick Bread-and-Butter Pickles: Add a pinch of sugar and some sliced onions to the brine for a sweeter twist.
I once tried mixing in some dried lavender buds with the dill, which gave a subtle floral hint—unexpected but surprisingly good! If you’re avoiding vinegar, you can experiment with lemon juice, but keep in mind it will change the flavor profile quite a bit.
Serving & Storage Suggestions
These easy quick refrigerator dill pickles are best served cold, straight from the fridge. They make an excellent crunchy side for sandwiches, burgers, or charcuterie boards. Pair them with your favorite crispy garlic chicken or fresh salads to add a bright, tangy contrast.
Store the pickles in the refrigerator for up to two weeks. The flavor actually deepens after a couple of days, so if you can wait, the taste improves. Keep the cucumbers fully submerged in brine to maintain crispness and prevent spoilage.
To re-crisp slightly softened pickles, drain the brine and soak them in ice water for 30 minutes before serving. Avoid freezing as it ruins the texture.
Nutritional Information & Benefits
These refrigerator dill pickles are low in calories (about 10-15 calories per spear), fat-free, and a good source of hydration thanks to the cucumbers. The vinegar and garlic offer antimicrobial benefits, and the probiotics that develop when pickling traditionally are minimal here but still present due to the fermentation-like environment.
This recipe suits gluten-free, keto, and vegan diets easily. Just watch for any added sugar if you adapt the recipe for bread-and-butter style pickles. Also, be mindful of sodium content if you’re on a low-salt diet.
Personally, I love having these pickles around for a guilt-free snack that adds flavor and crunch without extra calories. They’re also a fun way to sneak in some fermented foods for gut health.
Conclusion
If you’re looking for a no-fuss, fast way to make your own tangy, crunchy dill pickles, this easy quick refrigerator dill pickles recipe is exactly what you need. It skips the complicated canning process but delivers all the flavor and satisfaction of homemade pickles. Customize it to your taste, add a little heat or extra garlic, and enjoy the fresh, bright zing anytime you want.
I keep coming back to this recipe because it’s just so reliable and straightforward—perfect when life gets busy but you still want that homemade touch. If you try it, I’d love to hear how you make it your own—drop a comment or share your tweaks! And hey, don’t forget to pair these with a juicy burger or some classic macaroni and cheese for the ultimate comfort combo.
Happy pickling!
FAQs
How long do refrigerator dill pickles last?
They stay fresh and tasty in the fridge for up to two weeks. After that, the texture may soften and flavor change.
Can I use regular cucumbers instead of Kirby cucumbers?
Yes, but Kirby cucumbers are preferred because they’re firmer and less watery, which helps keep pickles crisp.
Do I need to sterilize jars for refrigerator pickles?
It’s best to wash jars thoroughly with hot soapy water. Sterilizing isn’t required since these pickles are stored in the fridge.
Can I make this recipe spicy?
Absolutely! Add red pepper flakes, fresh jalapeño slices, or mustard seeds for heat and extra flavor.
Why are my pickles not crunchy?
Soft pickles usually result from using old or overripe cucumbers, insufficient salt, or storing them too long. Using fresh cucumbers and following the recipe closely helps keep them crisp.
Pin This Recipe!
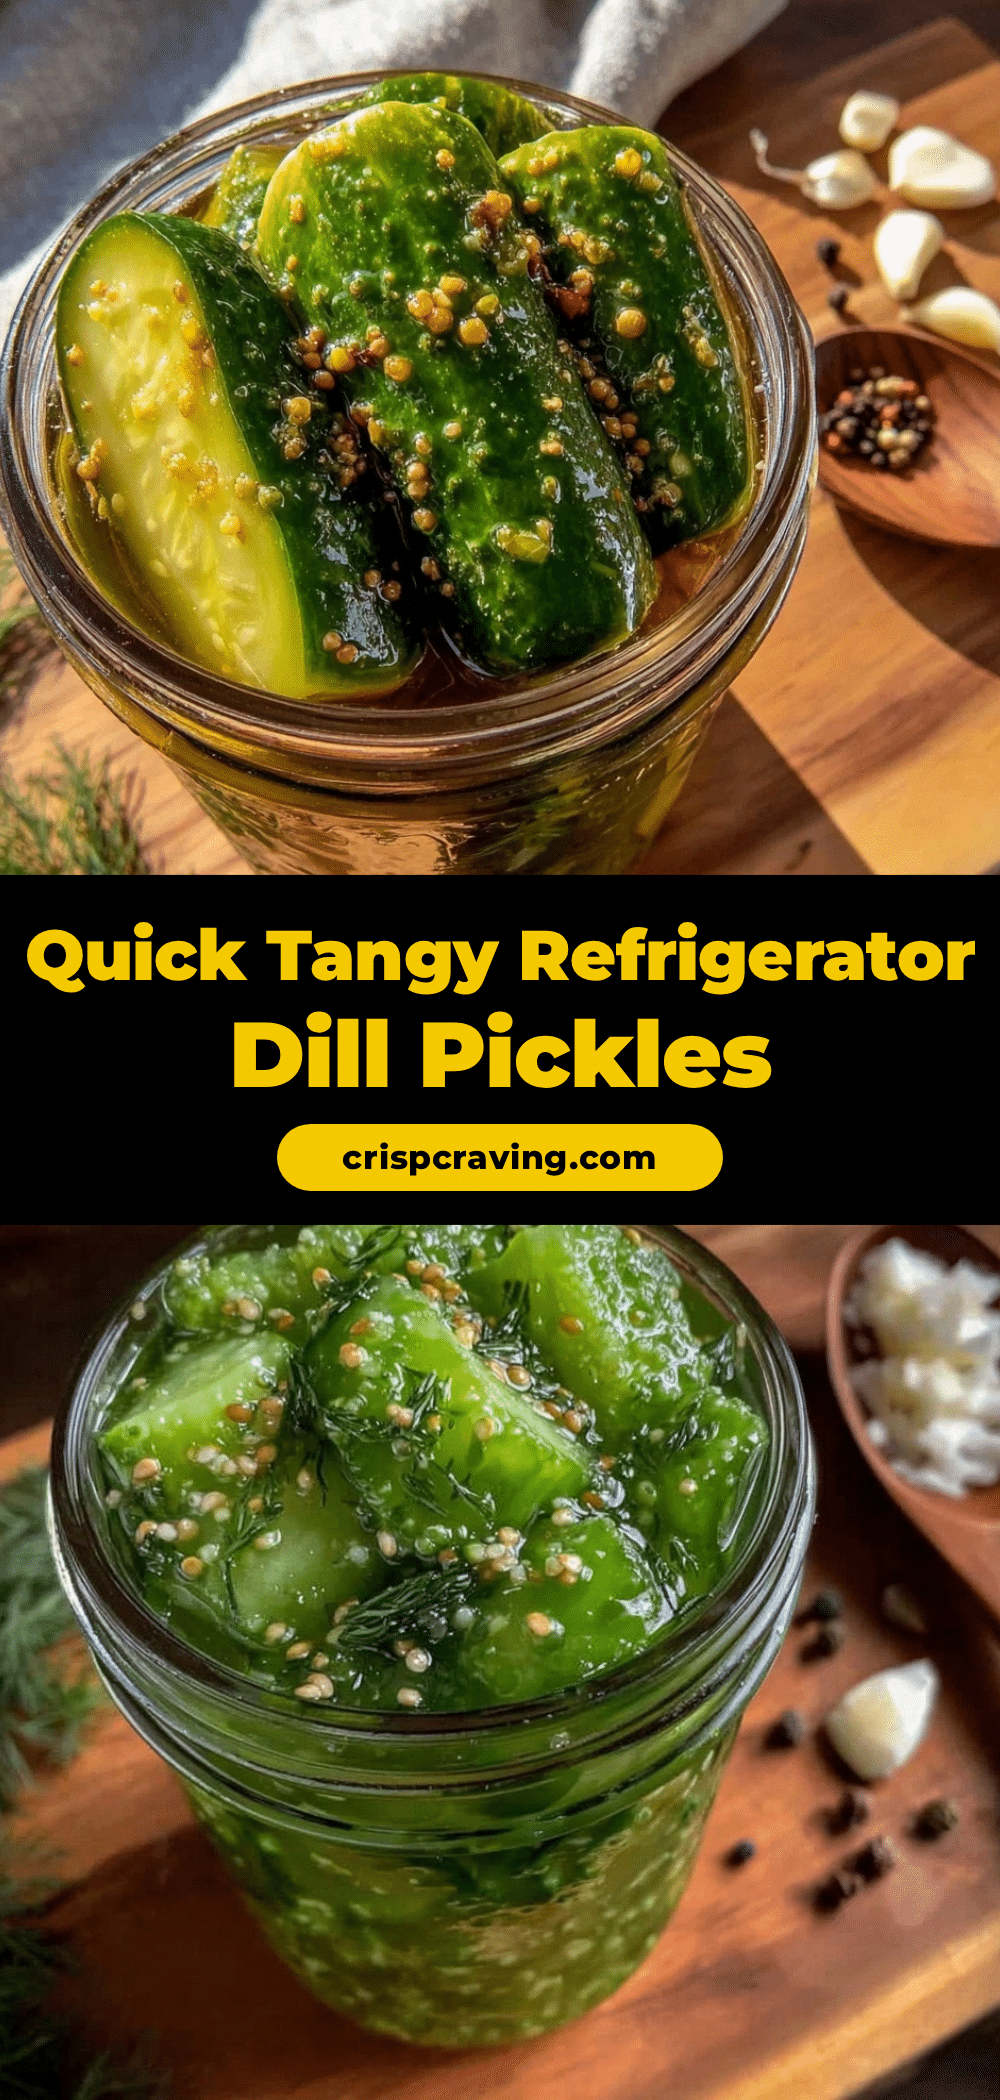
Easy Quick Refrigerator Dill Pickles Recipe Perfect No Canning Method
A simple and fast recipe for crunchy, tangy dill pickles made without traditional canning. Ready to eat in as little as 24 hours, perfect for quick homemade pickles.
- Prep Time: 15 minutes
- Cook Time: 5 minutes
- Total Time: 1 day 20 minutes
- Yield: 4 servings 1x
- Category: Condiment
- Cuisine: American
Ingredients
- 1.5 pounds (700 grams) fresh cucumbers (Kirby or pickling cucumbers preferred)
- 3–4 sprigs fresh dill (or 2 tablespoons dried dill seeds)
- 3–4 garlic cloves, peeled and lightly crushed
- 1 cup (240 ml) white vinegar (distilled recommended)
- 1 cup (240 ml) water (filtered preferred)
- 1 tablespoon pickling salt or kosher salt
- 1 teaspoon whole black peppercorns
- Optional: 1/4 teaspoon red pepper flakes
- Optional: 1 teaspoon mustard seeds
Instructions
- Wash about 1.5 pounds (700 grams) of fresh cucumbers thoroughly. Slice into spears or chips if preferred, or leave whole if small. Trim ends slightly to avoid bitterness. (5-7 minutes)
- In a small saucepan, combine 1 cup white vinegar, 1 cup water, and 1 tablespoon pickling salt. Warm over medium heat just until salt dissolves, no boiling. Remove from heat and let cool slightly. (5 minutes)
- Into clean quart-sized (950 ml) glass jars, place 3-4 sprigs fresh dill, 3-4 crushed garlic cloves, 1 teaspoon black peppercorns, and optional mustard seeds and red pepper flakes. Pack cucumbers tightly, leaving about 1/2 inch headspace. (7-10 minutes)
- Slowly pour warm brine over cucumbers, covering completely. Tap jar gently to release air bubbles; add more brine if needed to submerge cucumbers fully. (3-5 minutes)
- Seal jars tightly with lids and place in refrigerator immediately.
- Let pickles develop flavor for at least 24 hours; best after 2-3 days. Keep refrigerated and consume within 2 weeks.
Notes
Use firm Kirby cucumbers for best crunch. Warm brine just enough to dissolve salt, do not boil. Keep cucumbers fully submerged in brine to prevent spoilage. Refrigerate immediately after sealing. Soaking cucumbers in ice water for 30 minutes before pickling can increase crispness. Adjust salt and vinegar to taste. Store pickles up to 2 weeks in fridge. Avoid freezing.
Nutrition
- Serving Size: About 1/4 pound (113
- Calories: 15
- Sugar: 2
- Sodium: 600
- Carbohydrates: 3
- Fiber: 1
Keywords: quick pickles, refrigerator pickles, dill pickles, no canning, easy pickles, homemade pickles, crunchy pickles



