Love this? Save it for later!
Share the inspiration with your friends
My roommate swore he hated nachos. For years, he claimed they were just soggy chips drowned in sad cheese—that kind of snack that sounds fun but ends up disappointing. Then one Friday night, I whipped up these crispy sheet pan loaded nachos with a 3-cheese queso and jalapeños, just for myself, while he was out grabbing snacks. I came back to find him perched on the couch, half-hidden behind a mountain of chips, clearly caught in the act of demolishing the leftovers. Honestly, I didn’t expect him to change his mind so fast, but there he was, quietly conceding that maybe, just maybe, nachos could be something else entirely.
You know that feeling when you’re trying to prove a point, and somehow the universe flips the script on you? That was me, watching him sneak bites, trying not to smile too wide. The secret’s in the crispiness—the sheet pan method ensures every chip stays perfectly crunchy, even under all that gooey, melty cheese and spicy jalapeños. Plus, the 3-cheese queso isn’t just your run-of-the-mill melted cheese sauce; it’s a creamy, dreamy blend that clings to every corner.
Maybe you’ve been there, thinking nachos are just a lazy snack. Trust me, this recipe changed the game for us. It’s the kind of dish that sticks around in your weekly rotation, not because it’s flashy, but because it hits that sweet spot between comfort and a little kick of excitement. I keep making it, not just because my roommate finally admits it’s good, but because it’s honestly one of the best ways to gather friends—or just treat yourself—without any fuss.
Why You’ll Love This Recipe
This crispy sheet pan loaded nachos recipe is a winner for so many reasons, and I’ve tested it more times than I can count (often late at night when motivation runs low). It’s not just nachos—it’s nachos done right, with a few tricks that make it stand apart from the usual plate of chips and cheese.
- Quick & Easy: Ready in under 30 minutes, perfect for those last-minute gatherings or when hunger hits hard.
- Simple Ingredients: Most are pantry staples or easy to find at your local store, no hunting for weird spices or specialty cheeses.
- Perfect for Game Day or Casual Parties: Great for crowd-pleasing without the stress—it’s a guaranteed hit.
- Crowd-Pleaser: Kids and adults alike go nuts for the crispy texture combined with melty, flavorful cheese and spicy jalapeños.
- Unbelievably Delicious: The 3-cheese queso sauce is silky smooth with just the right tang and bite to keep you reaching for more.
What makes this recipe different? It’s the sheet pan approach that keeps every chip crisp, even under the heaviest layers of cheese and toppings. Plus, combining sharp cheddar, creamy Monterey Jack, and a bit of pepper jack in the queso gives it depth you don’t usually find in run-of-the-mill nachos. Honestly, it’s a recipe I keep coming back to when I want to impress without breaking a sweat. It’s comfort food but with a little finesse—trust me, your taste buds will notice.
What Ingredients You Will Need
This recipe uses straightforward ingredients that come together to deliver bold flavors and that perfect crunchy-melty texture. You probably have most of these in your kitchen already, but here’s what you’ll need for the loaded nachos:
- Tortilla Chips: Use sturdy, thick-cut chips that hold up well in the oven. I like Mission brand for the best crunch.
- Cheeses for the Queso:
- Sharp Cheddar Cheese, shredded (adds tang and depth)
- Monterey Jack Cheese, shredded (for creaminess)
- Pepper Jack Cheese, shredded (for a mild kick)
- Milk: Whole milk works best for a creamy texture; you can swap for almond or oat milk if preferred.
- Unsalted Butter: Adds richness to the cheese sauce.
- All-Purpose Flour: For thickening the queso; you can use gluten-free flour if needed.
- Jalapeños: Fresh, sliced (adjust quantity for heat preference).
- Diced Tomatoes: Adds freshness and a little acidity; canned works fine.
- Black Beans (optional): Adds protein and texture; rinse well if canned.
- Green Onions: Thinly sliced for garnish and a subtle sharpness.
- Fresh Cilantro: Chopped, for garnish and brightness.
- Sour Cream: For serving (optional, but highly recommended).
If you want to tweak things a bit, feel free to swap in dairy-free cheese options or add cooked ground beef or shredded chicken for a heartier version. In summer, swapping diced tomatoes for fresh heirloom tomatoes brings a lovely twist.
Equipment Needed
- Large Sheet Pan: A rimmed baking sheet, about 18×13 inches, is perfect for spreading out the nachos evenly to keep chips crispy.
- Medium Saucepan: For making the 3-cheese queso sauce; a heavy-bottomed pan helps prevent burning.
- Whisk: To keep the cheese sauce smooth and lump-free.
- Sharp Knife and Cutting Board: For slicing jalapeños, green onions, and cilantro.
- Oven Mitts: Safety first when handling hot pans!
If you don’t have a large sheet pan, you can use two smaller ones, but the cheese may not distribute as evenly. I’ve tried using cast-iron skillets for this recipe—they hold heat beautifully but can be tricky to share with a crowd. For budget-friendly gear, even an aluminum foil-lined baking sheet works wonders and makes cleanup a breeze.
Preparation Method
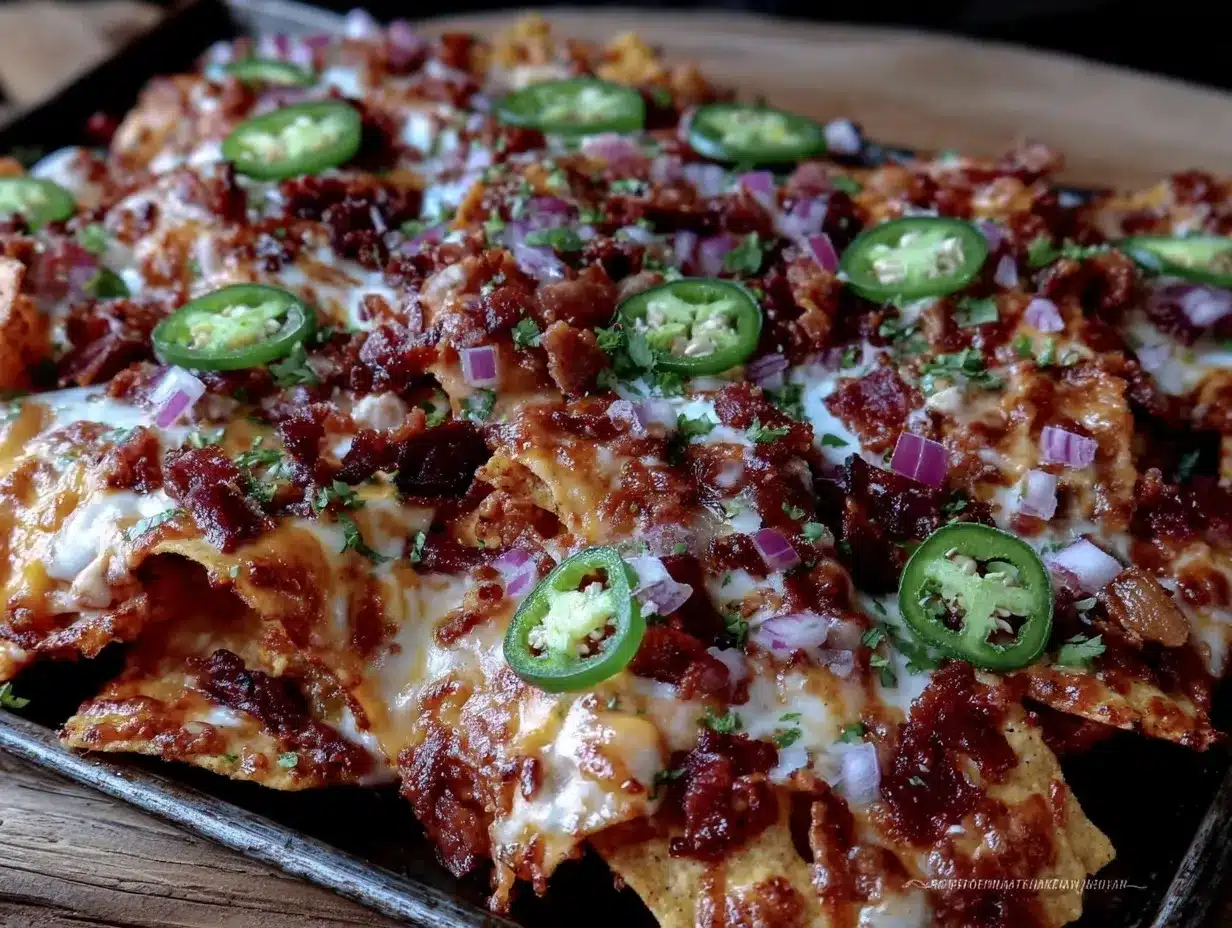
- Preheat your oven to 400°F (200°C). Line your large sheet pan with parchment paper or a light spray of cooking oil to prevent sticking. This step takes about 10 minutes, so prep ahead.
- Prepare the 3-cheese queso sauce: In a medium saucepan over medium heat, melt 3 tablespoons (42 g) of unsalted butter. Once melted, whisk in 3 tablespoons (24 g) of all-purpose flour. Keep whisking for 1-2 minutes until the mixture bubbles and turns golden, which cooks out the raw flour taste.
- Slowly add 2 cups (480 ml) of whole milk while whisking continuously. The sauce will start to thicken after about 3-4 minutes; patience here is key to avoid lumps.
- Reduce heat to low and stir in the shredded cheeses: 1 cup (100 g) sharp cheddar, 1 cup (100 g) Monterey Jack, and ½ cup (50 g) pepper jack. Stir until melted and smooth. If the sauce is too thick, add a splash of milk to loosen it up.
- Spread half of the tortilla chips evenly on the sheet pan. Drizzle half of the cheese sauce over the chips, then scatter half of the diced tomatoes, black beans (if using), and sliced jalapeños.
- Repeat layering with the remaining chips, cheese sauce, and toppings. This double-layer approach keeps every chip covered but still crunchy.
- Bake in the oven for 8-10 minutes, or until the cheese sauce is bubbly and the chips on the edges are golden. Keep an eye—oven temps vary, and you don’t want burnt chips!
- Remove from the oven and garnish immediately with sliced green onions and chopped cilantro. Let the nachos rest for 2 minutes before serving; this helps the cheese set just enough so toppings don’t slide off.
- Serve with sour cream on the side for dipping.
Pro Tip: If you want extra crispiness, toast the chips alone in the oven for 5 minutes before layering. Also, avoid overcrowding the sheet pan; chips touching too much can steam and lose their crunch.
Cooking Tips & Techniques
Getting the perfect crispy sheet pan loaded nachos isn’t rocket science, but a few tricks make all the difference. First off, the cheese sauce is your MVP—don’t rush the roux step (butter + flour) or you’ll notice a raw flour taste. Keep whisking until it smells nutty and looks golden.
When adding milk, pour it in slowly and whisk constantly. This helps prevent lumps that can ruin the smooth queso texture. Also, shredded cheese melts better than pre-sliced; I always shred my own for consistent melting.
Layering is crucial. You want enough cheese sauce and toppings to cover every chip without drowning them. That’s why I do two thinner layers rather than one thick one. It keeps the chips crisp underneath.
Watch your oven temp. A hot oven (around 400°F/200°C) crisps chips quickly, but too long and you risk burning. Baking for about 8-10 minutes usually hits the sweet spot.
Lastly, don’t skip the resting time after baking. Letting the nachos sit for a couple of minutes helps the cheese set just enough so toppings stay put but the chips don’t lose their crunch.
From experience, I once skipped the resting step because I was too hungry—big mistake. The cheese slid right off, and the nachos turned into a messy plate of disappointment. Learn from my impatience.
Variations & Adaptations
This recipe is flexible, which I love because sometimes you want heat, sometimes not so much, and sometimes you want to keep it vegetarian or gluten-free.
- Spicy Twist: Add pickled jalapeños or a few dashes of hot sauce into the queso for an extra kick.
- Meaty Version: Toss cooked ground beef, shredded chicken, or chorizo into the layers for a protein boost.
- Gluten-Free: Use gluten-free flour or cornstarch to thicken the queso, and ensure your tortilla chips are GF certified.
- Dairy-Free: Swap cheeses for plant-based alternatives and use coconut or almond milk for the sauce.
- Veggie-Loaded: Add roasted corn, bell peppers, or black olives for extra flavor and texture.
One variation I tried recently was swapping the black beans for pinto beans and adding a squeeze of fresh lime after baking. It gave the nachos a fresh zing that was surprisingly addictive.
Serving & Storage Suggestions
These nachos are best served hot and fresh, right out of the oven. The crispiness and gooey cheese combo are at their peak then. Serve with sides like guacamole, salsa, or a fresh pico de gallo to balance the richness.
If you have leftovers (and sometimes I do!), store them in an airtight container in the refrigerator for up to 2 days. Reheat in a 350°F (175°C) oven for 5-7 minutes to bring back some of the crispiness—avoid the microwave if you want to dodge soggy chips.
Flavors tend to meld nicely overnight, so some folks actually prefer them the next day after a quick reheat—just don’t expect the same crunch.
Nutritional Information & Benefits
This recipe offers a satisfying blend of protein and calcium from the cheeses and beans, along with a good dose of fiber from the beans and fresh veggies. While nachos are definitely comfort food territory, making your own loaded version at home means you control ingredients and portions.
The jalapeños add a metabolism-boosting capsaicin kick, and fresh cilantro provides antioxidants. Using whole milk and real cheeses ensures you’re getting real nutrients, rather than artificial additives.
For those watching carbs, swapping chips for baked tortilla strips or plantain chips can lower the carb load without sacrificing crunch. And of course, this recipe is easily adaptable for gluten-free and dairy-free diets.
Conclusion
This crispy sheet pan loaded nachos with 3-cheese queso and jalapeños recipe isn’t just another snack—it’s a full-on flavor experience that won over even the toughest nacho skeptics in my life. It’s easy to make, uses simple ingredients, and always delivers that perfect crunch paired with creamy, spicy cheese sauce. I love how it brings people together without fuss, and honestly, it’s become a go-to when I want something both comforting and exciting.
Feel free to make it your own, whether that means dialing up the heat, adding meat, or keeping it fully veggie. I’d love to hear how you customize it—drop a comment below sharing your twists or questions, and let’s keep the nacho love going. Trust me, once you try this, you’ll be catching yourself sneaking bites too!
FAQs
Can I make these nachos ahead of time?
Yes, you can prep the queso sauce and chop toppings in advance. Assemble and bake just before serving to keep chips crispy.
How can I keep the tortilla chips from getting soggy?
Use thick, sturdy chips and layer toppings sparingly. Baking on a sheet pan with space between chips helps maintain crunch.
Can I use a different cheese combination?
Absolutely! Try mozzarella for milder flavor or add a bit of cotija for a salty punch. Just make sure the cheese melts well.
What if I don’t like spicy food?
Omit the jalapeños or replace with mild bell peppers. You can still enjoy the rich queso without the heat.
Is there a vegan version of this recipe?
Yes, swap out cheeses for vegan cheese alternatives and use plant-based milk. Nutritional yeast can add cheesy flavor to the sauce.
Pin This Recipe!
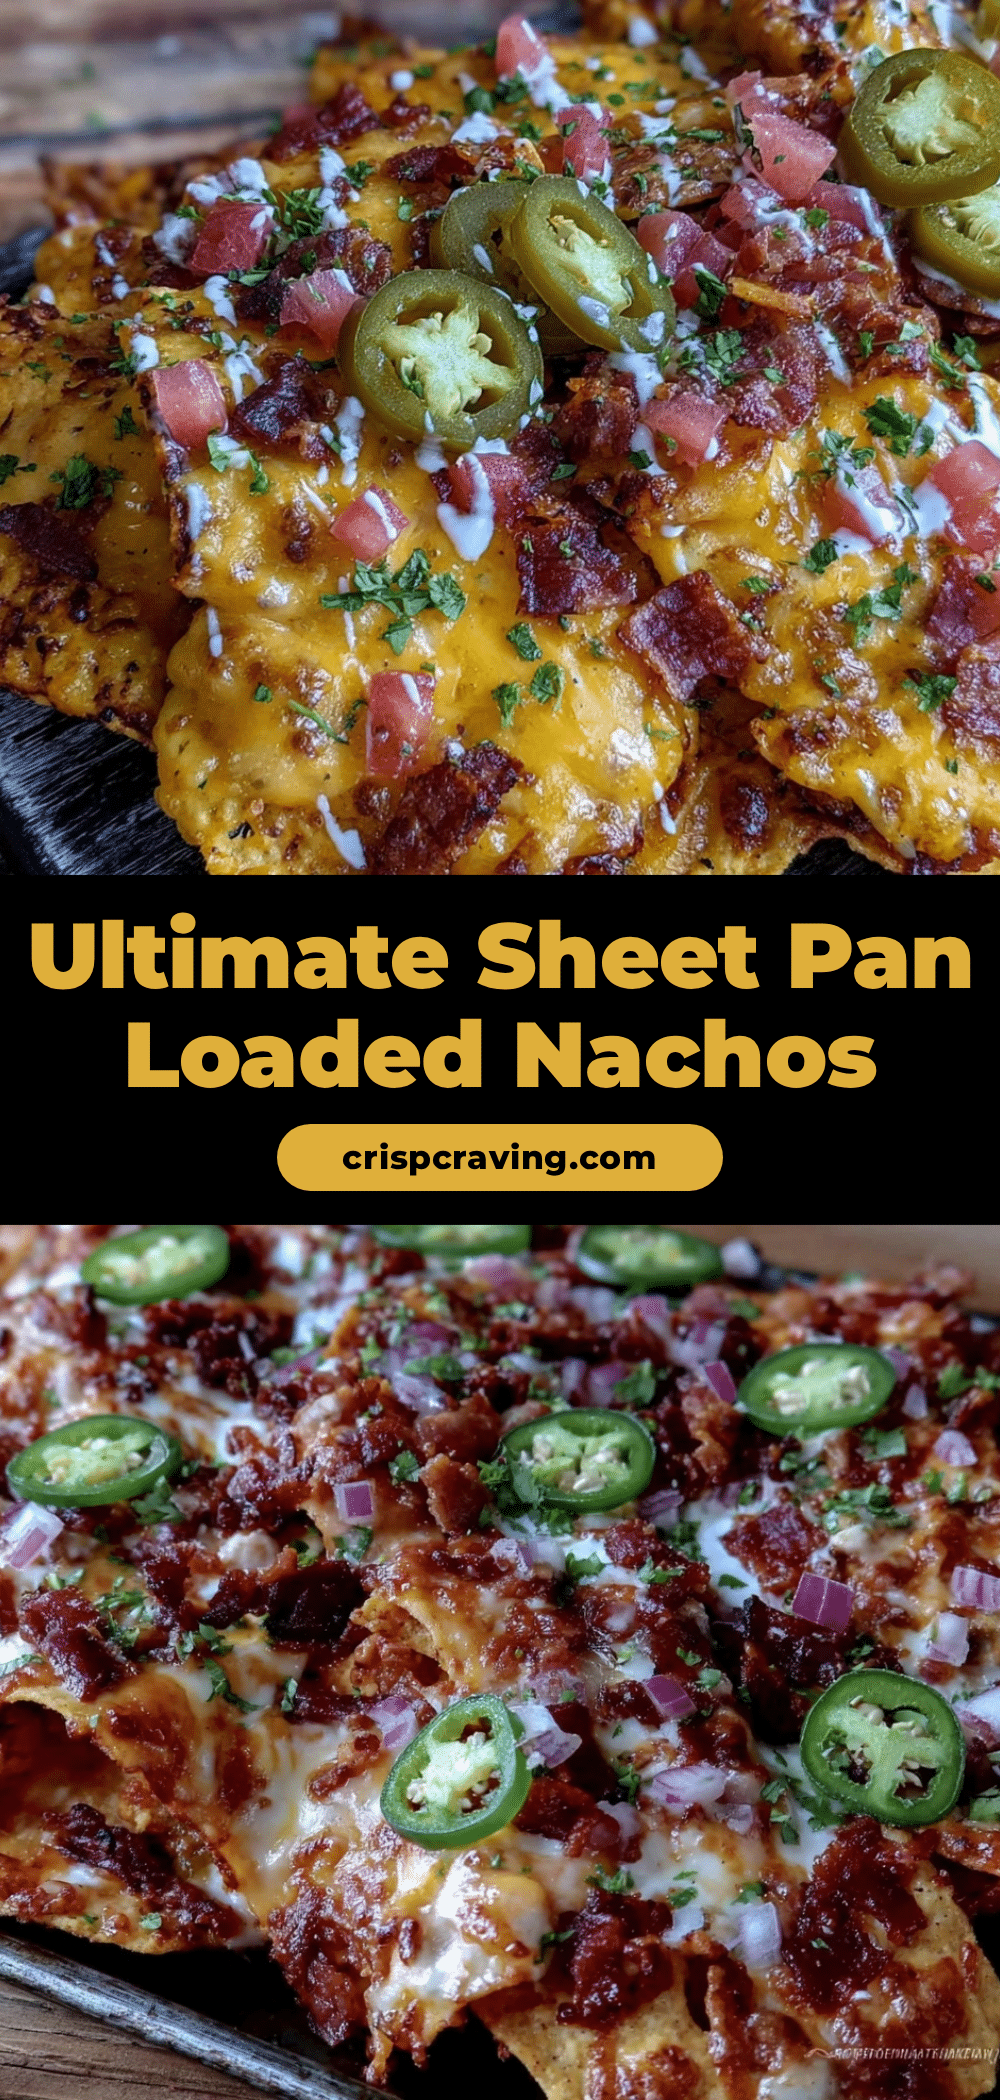
Crispy Sheet Pan Loaded Nachos Recipe Easy 3-Cheese Queso Jalapeños

A crispy sheet pan loaded nachos recipe featuring a creamy 3-cheese queso and fresh jalapeños, perfect for game day or casual parties. This method keeps every chip crunchy under layers of melty cheese and toppings.
- Prep Time: 10 minutes
- Cook Time: 10 minutes
- Total Time: 20 minutes
- Yield: 4 servings 1x
- Category: Snack
- Cuisine: Mexican
Ingredients
- Tortilla chips (sturdy, thick-cut)
- 1 cup sharp cheddar cheese, shredded
- 1 cup Monterey Jack cheese, shredded
- ½ cup pepper jack cheese, shredded
- 2 cups whole milk
- 3 tablespoons unsalted butter
- 3 tablespoons all-purpose flour
- Fresh jalapeños, sliced
- Diced tomatoes (canned or fresh)
- Black beans (optional, rinsed if canned)
- Green onions, thinly sliced
- Fresh cilantro, chopped
- Sour cream (optional, for serving)
Instructions
- Preheat your oven to 400°F (200°C). Line a large sheet pan with parchment paper or lightly spray with cooking oil.
- In a medium saucepan over medium heat, melt 3 tablespoons unsalted butter. Whisk in 3 tablespoons all-purpose flour and cook for 1-2 minutes until golden and bubbly.
- Slowly add 2 cups whole milk while whisking continuously. Cook for 3-4 minutes until sauce thickens.
- Reduce heat to low and stir in shredded cheeses: 1 cup sharp cheddar, 1 cup Monterey Jack, and ½ cup pepper jack. Stir until melted and smooth. Add a splash of milk if too thick.
- Spread half of the tortilla chips evenly on the sheet pan. Drizzle half of the cheese sauce over the chips, then scatter half of the diced tomatoes, black beans (if using), and sliced jalapeños.
- Repeat layering with remaining chips, cheese sauce, and toppings.
- Bake for 8-10 minutes until cheese sauce is bubbly and chips on edges are golden.
- Remove from oven and garnish immediately with sliced green onions and chopped cilantro. Let rest for 2 minutes before serving.
- Serve with sour cream on the side.
Notes
For extra crispiness, toast chips alone in the oven for 5 minutes before layering. Avoid overcrowding the sheet pan to prevent soggy chips. Let nachos rest 2 minutes after baking to help cheese set and toppings stay in place. Use gluten-free flour and certified gluten-free chips for gluten-free version. Swap cheeses and milk for plant-based alternatives for dairy-free or vegan version.
Nutrition
- Serving Size: About 1/4 of the pre
- Calories: 450
- Sugar: 5
- Sodium: 700
- Fat: 25
- Saturated Fat: 14
- Carbohydrates: 40
- Fiber: 5
- Protein: 18
Keywords: nachos, sheet pan nachos, loaded nachos, 3-cheese queso, jalapeños, crispy nachos, game day snacks, easy nachos



