Love this? Save it for later!
Share the inspiration with your friends
Introduction
“Why not just pipe the meringue straight onto the parchment in ghost shapes and skip the fancy tools?” my friend asked one chilly October evening as we prepped for a Halloween bake-off. I started to explain why that wouldn’t work—then stopped. Honestly, the idea made so much sense, I couldn’t argue. So, I grabbed the piping bag, gave it a whirl, and—surprise!—those ghostly shapes held up perfectly, delicate yet sturdy, with just enough whimsy to charm any trick-or-treater.
That night, as the oven hummed and the smell of sugar filled the air, I realized sometimes the simplest instincts are the best ones. Sure, I thought I was the teacher here, but honestly, I learned more than I taught. Maybe you’ve been there, doubting a shortcut only to find it’s exactly what the recipe needed.
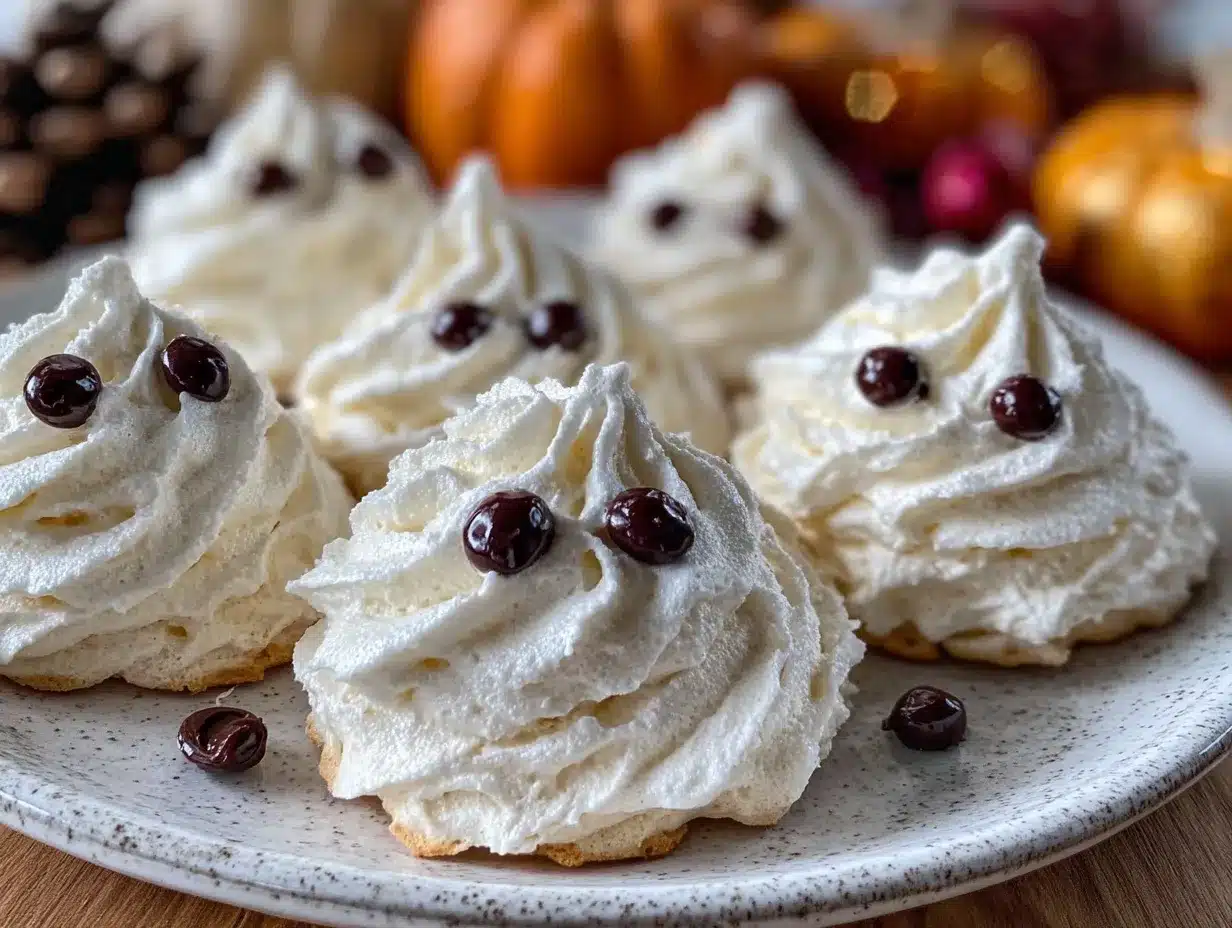
These Easy Ghost Meringue Cookies with Dark Chocolate Eyes stuck with me because they’re just so fun, light, and a little spooky—perfect for Halloween without the fuss. Plus, the dark chocolate eyes? They give just the right hint of mischief, making these treats impossible not to smile at. Honestly, they might just become your go-to Halloween bake too.
Why You’ll Love This Recipe
After testing and tweaking this recipe over several Halloweens, I can say it’s a winner for many reasons. Here’s why these Easy Ghost Meringue Cookies with Dark Chocolate Eyes should be on your baking list this season:
- Quick & Easy: You can whip up the meringue batter in about 10 minutes, and the cookies bake low and slow for around an hour. Great for last-minute Halloween plans!
- Simple Ingredients: Egg whites, sugar, a pinch of cream of tartar, and dark chocolate chips are all you need. No weird ingredients that require a special trip.
- Perfect for Halloween Parties: These ghostly meringues are festive yet elegant, making them a hit with kids and adults alike at any spooky gathering.
- Crowd-Pleaser: The melt-in-your-mouth texture combined with the bittersweet chocolate eyes always wins rave reviews from my friends and neighbors.
- Unbelievably Delicious: The light, crisp texture with just a hint of chocolate makes these cookies feel like a treat without being overly sweet or heavy.
What sets this recipe apart? The ease of piping ghost shapes without fancy molds or cutters, paired with the perfectly balanced sweetness and the little dark chocolate eyes that bring each ghost to life. It’s a little spooky but totally approachable, and honestly, it’s the kind of recipe that makes you feel like a Halloween baking pro even if it’s your first time working with meringue.
These cookies have become my go-to not just because they look cute, but because they capture that playful spirit of the season while being surprisingly simple. You know that feeling when a recipe just clicks? This one did for me.
What Ingredients You Will Need
This recipe uses simple, wholesome ingredients to deliver light, airy cookies with a fun Halloween twist. Most are pantry staples, so you likely have them on hand already.
- Egg Whites (4 large, room temperature) – The base of your meringue, room temp helps with volume.
- Granulated Sugar (1 cup / 200g) – Sweetens and stabilizes the meringue; use superfine if you want a smoother texture.
- Cream of Tartar (1/4 teaspoon) – This little acid helps stabilize the egg whites and keeps the meringue glossy and firm.
- Vanilla Extract (1 teaspoon) – Adds a subtle warmth and depth to the sweetness.
- Dark Chocolate Chips (about 1/3 cup / 60g) – For the spooky eyes; I prefer Ghirardelli or Valrhona for their rich flavor and good melting qualities.
Optional: If you want to add a tiny twist, a pinch of cinnamon can bring a subtle warmth without stealing the show. For a dairy-free version, make sure your chocolate chips are vegan-friendly.
Pro tip: When picking your eggs, fresher is better for volume, but slightly older egg whites whip easier. I’ve tested both and find eggs about a week old strike the best balance.
Equipment Needed
- Mixing Bowl: Preferably metal or glass to avoid any grease that can hinder the meringue from whipping properly.
- Electric Mixer: Stand or hand mixer with whisk attachment to beat the egg whites to stiff peaks efficiently.
- Piping Bag and Round Tip: About 1/2 inch opening to pipe ghost shapes. If you don’t have a piping bag, a resealable plastic bag with a corner snipped works just fine.
- Baking Sheet: Rimmed and lined with parchment paper or a silicone baking mat to prevent sticking and encourage even baking.
- Spatula: For folding in ingredients gently.
- Small Spoon or Toothpick: To place or adjust the chocolate chip eyes.
If you don’t have a stand mixer, a good-quality hand mixer will do the job, though it might take a few extra minutes. Also, I always keep my mixing bowl and beaters clean and dry—trust me, even a bit of grease can ruin the meringue’s volume!
Preparation Method
- Preheat your oven to 200°F (93°C). Line two baking sheets with parchment paper or silicone mats. Low and slow baking is key here for crispness.
- Prepare your egg whites: Separate 4 large egg whites carefully, making sure no yolk gets in. Let them sit at room temperature for about 20 minutes if you didn’t already.
- Start whisking: In your clean, grease-free bowl, add egg whites and 1/4 teaspoon cream of tartar. Beat on medium speed until soft peaks form (about 2-3 minutes). Soft peaks mean the whites hold a shape but curl over when you lift the whisk.
- Gradually add sugar: Slowly add 1 cup (200g) granulated sugar, about 1 tablespoon at a time, while continuing to beat on high speed. This slow addition is crucial to get a glossy, stiff meringue.
- Check for stiff peaks: After all sugar is added, beat until stiff, glossy peaks form (about 5-7 minutes). If you lift the whisk, the peaks should stand straight up without drooping.
- Fold in vanilla extract: Gently fold in 1 teaspoon vanilla with a spatula, careful not to deflate the meringue.
- Pipe your ghosts: Transfer meringue into a piping bag fitted with a round tip. Pipe small ghost shapes onto baking sheets—start with a dollop for the body and a small peak for the head. Make sure they’re spaced about 1 inch (2.5 cm) apart.
- Add the eyes: Immediately press two dark chocolate chips into each ghost for eyes. Use a toothpick to adjust placement if needed before baking.
- Bake low and slow: Place trays in the oven and bake for 60-70 minutes. The meringues should be dry to the touch and easily lift off the parchment. Turn off the oven and leave cookies inside for another 30 minutes to dry out completely.
- Cool and store: Let cool completely on the baking sheets before transferring to an airtight container. These cookies keep well for up to a week.
Tip: If you notice the meringue is sticky after baking, it likely needs more drying time inside the oven. Don’t rush this step; patience is your friend.
Cooking Tips & Techniques
Meringue can be a little finicky, so here are some tips I’ve picked up after a few trial runs:
- Cleanliness is key: Any grease or yolk in your egg whites can prevent proper whipping. Use a fresh bowl and make sure your beaters are spotless.
- Room temperature eggs: They whip better and give more volume, so plan ahead and separate the eggs early.
- Slow sugar addition: Adding sugar gradually helps dissolve it completely, resulting in a shiny, stable meringue that holds its shape.
- Don’t rush baking: Low temperature and slow baking dry the cookies without browning, keeping them white and crisp.
- Humidity matters: If it’s a damp day, the meringues might stay sticky. Try baking on a dry day or use a dehumidifier if you can.
- Chocolate eyes placement: Press the chocolate chips in right after piping so they stick well during baking.
I once baked these on a rainy day and ended up with a sticky mess—lesson learned: weather matters! Also, multitasking by prepping the chocolate eyes while the meringue whips saves precious time.
Variations & Adaptations
Want to mix things up? Here are a few fun ways to tweak this recipe:
- Flavor Variations: Swap vanilla for peppermint extract for a festive twist, or add a drop of orange zest for a citrusy note.
- Colorful Ghosts: Use natural food coloring to tint the meringue slightly gray or pale purple for a spooky effect.
- Vegan Version: Try using aquafaba (chickpea water) instead of egg whites. It whips up surprisingly well, though baking time might vary.
- Chocolate Variations: Instead of dark chocolate chips, use mini white chocolate chips or edible candy eyes for a playful look.
- Texture Twist: Sprinkle a tiny pinch of crushed freeze-dried berries on top before baking for a subtle tartness and color pop.
Personally, I once made a batch with a hint of cinnamon and mini white chocolate chips for the eyes. It was a hit at a fall potluck—just a little unexpected and cozy.
Serving & Storage Suggestions
These meringue ghosts are best served at room temperature. They make a charming addition to any Halloween dessert table or as a light finish after a heavy meal. Serve them alongside a cup of hot cocoa or spiced apple cider for that cozy seasonal vibe.
To store, keep the cookies in an airtight container at room temperature. Avoid refrigeration—it can introduce moisture and make them chewy. They’ll stay crisp for up to a week, though honestly, mine rarely last that long!
If you want to freeze them, place in a single layer inside a sealed container with parchment paper between layers. Thaw at room temperature before serving. The texture holds up well if you’re careful.
Over time, the flavors mellow and the chocolate eyes soften just a bit, which some guests seem to prefer. It’s a nice little transformation if you want to prepare them ahead of time.
Nutritional Information & Benefits
These Easy Ghost Meringue Cookies are a light treat with relatively low calories thanks to the simple ingredients:
| Nutrient | Per Cookie (approx.) |
|---|---|
| Calories | 40 kcal |
| Carbohydrates | 9 g |
| Protein | 1 g |
| Fat | 0.5 g |
Egg whites provide a good source of protein without fat, and dark chocolate adds antioxidants and a touch of iron. This recipe is naturally gluten-free and low in fat, making it a lighter alternative to traditional Halloween treats.
If you’re watching sugar intake, you can reduce the sugar slightly, but expect a softer texture. For allergen concerns, these cookies contain egg and chocolate; vegan adaptations using aquafaba can help avoid eggs.
Conclusion
In the end, these Easy Ghost Meringue Cookies with Dark Chocolate Eyes are a Halloween winner for anyone wanting a fun, fuss-free treat that looks delightful and tastes even better. With simple ingredients, straightforward steps, and playful results, they’re a recipe I find myself returning to year after year.
Feel free to tweak the flavorings or decorations to suit your style—maybe add a little peppermint or swap in colorful candy eyes. That’s the beauty of this recipe; it’s easy to personalize while still delivering that light, crisp bite.
Honestly, I love how these cookies bring a bit of whimsy to my kitchen and the smiles they inspire. If you try them, I’d love to hear how your ghostly batch turned out—drop a comment or share your own spooky spins!
Happy baking and spooky snacking!
FAQs
Can I use regular sugar instead of superfine sugar for these meringue cookies?
Yes, regular granulated sugar works fine, but superfine sugar dissolves more easily and helps create a smoother meringue texture. If you only have granulated sugar, you can pulse it in a food processor briefly to make it finer.
How do I know when the meringue has reached stiff peaks?
When you lift the whisk out of the bowl, the peaks formed by the meringue should stand straight up without drooping. If they fold over, keep beating a little longer.
Can I make these meringue ghosts ahead of time?
Absolutely! Bake them a day or two ahead and store in an airtight container at room temperature. Just keep them away from moisture to maintain crispness.
What should I do if my meringue is sticky after baking?
Sticky meringue usually means it needs more drying time. Pop them back in the turned-off oven for 15-20 minutes with the door slightly open to help dry them out.
Can I use milk chocolate or white chocolate instead of dark chocolate for the eyes?
Yes, you can use any chocolate you prefer for the eyes. Dark chocolate offers a nice contrast and a slightly bitter balance, but milk or white chocolate chips work well and give a sweeter look.
Pin This Recipe!
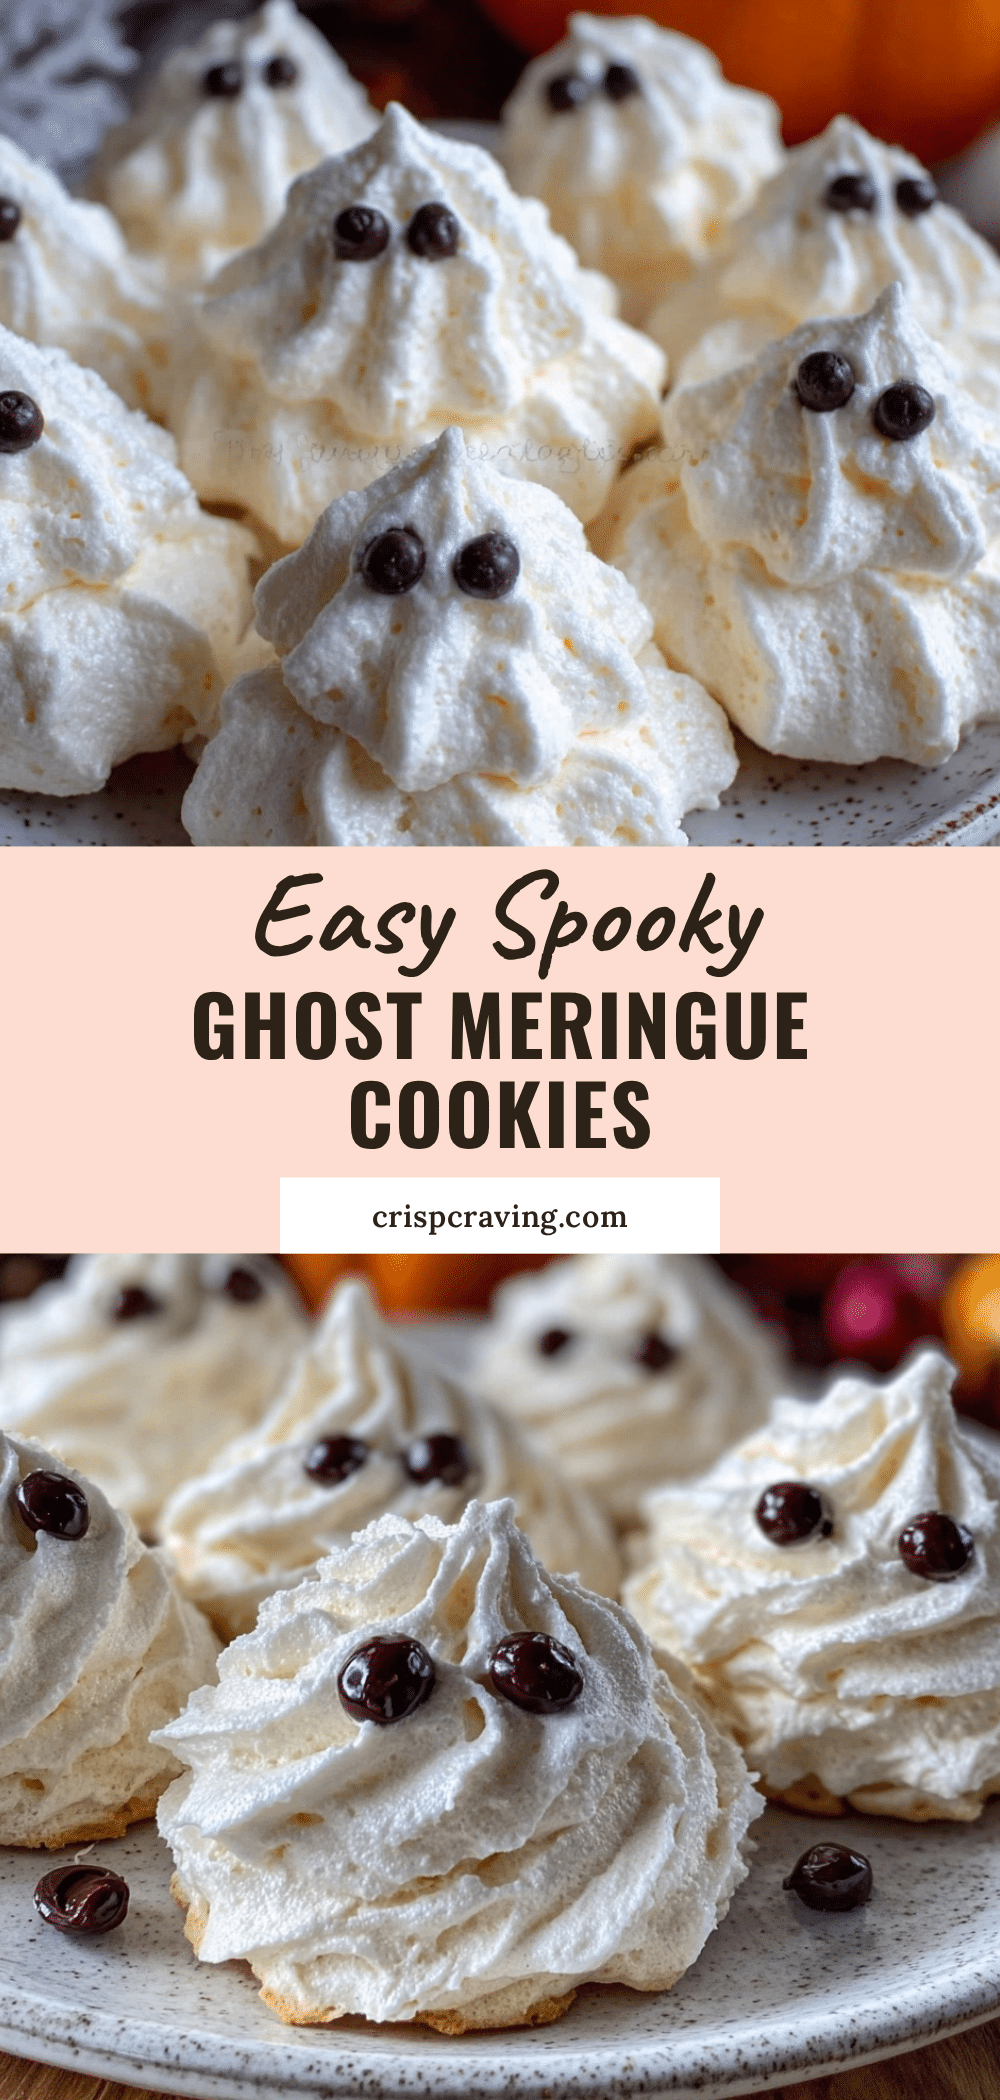
Easy Ghost Meringue Cookies Recipe with Dark Chocolate Eyes Perfect for Halloween
Light, airy ghost-shaped meringue cookies with dark chocolate eyes, perfect for a fun and spooky Halloween treat. These cookies are quick to make, simple, and delightfully crisp.
- Prep Time: 15 minutes
- Cook Time: 1 hour 30 minutes
- Total Time: 1 hour 45 minutes
- Yield: About 24 cookies 1x
- Category: Dessert
- Cuisine: American
Ingredients
- 4 large egg whites, room temperature
- 1 cup (200g) granulated sugar (superfine preferred)
- 1/4 teaspoon cream of tartar
- 1 teaspoon vanilla extract
- 1/3 cup (about 60g) dark chocolate chips
Instructions
- Preheat your oven to 200°F (93°C). Line two baking sheets with parchment paper or silicone mats.
- Separate 4 large egg whites carefully, ensuring no yolk gets in. Let sit at room temperature for about 20 minutes if not already.
- In a clean, grease-free mixing bowl, add egg whites and 1/4 teaspoon cream of tartar. Beat on medium speed until soft peaks form (about 2-3 minutes).
- Gradually add 1 cup (200g) granulated sugar, about 1 tablespoon at a time, while beating on high speed until stiff, glossy peaks form (about 5-7 minutes).
- Gently fold in 1 teaspoon vanilla extract with a spatula, careful not to deflate the meringue.
- Transfer meringue into a piping bag fitted with a 1/2 inch round tip. Pipe small ghost shapes onto baking sheets, spacing about 1 inch apart.
- Immediately press two dark chocolate chips into each ghost for eyes. Adjust placement with a toothpick if needed.
- Bake for 60-70 minutes until meringues are dry to the touch and lift easily off parchment.
- Turn off oven and leave cookies inside for another 30 minutes to dry out completely.
- Cool completely on baking sheets before transferring to an airtight container.
Notes
Use room temperature egg whites for better volume. Add sugar slowly to achieve glossy, stiff peaks. Bake low and slow to keep cookies white and crisp. If meringues are sticky after baking, dry them longer in the turned-off oven with the door slightly open. Avoid grease in bowls and beaters to ensure proper whipping. Store in airtight container at room temperature; avoid refrigeration to keep crispness.
Nutrition
- Serving Size: 1 cookie
- Calories: 40
- Fat: 0.5
- Carbohydrates: 9
- Protein: 1
Keywords: Halloween, meringue cookies, ghost cookies, dark chocolate, easy dessert, spooky treats, light cookies



