Love this? Save it for later!
Share the inspiration with your friends
I was standing in the checkout line last Tuesday when the kid behind me started whining for a Lunchable. You know the drill — that crinkly plastic tray with the little pepperonis, the cardboard-tasting crust, the tiny ketchup packet they call sauce. And I thought, wait a minute. I’ve been making these for my own kids for years, and they’re actually better. Like, way better. And cheaper. And I can make them with stuff I already have in my fridge.
Honestly, I wasn’t even planning to write this recipe down. It’s one of those things I just throw together on autopilot — a Tuesday afternoon survival move when the kids are hungry and I need ten minutes of quiet. But then my neighbor Sarah texted me a photo of her kids eating homemade pizza bites and asked for the recipe, and I figured maybe you could use it too.
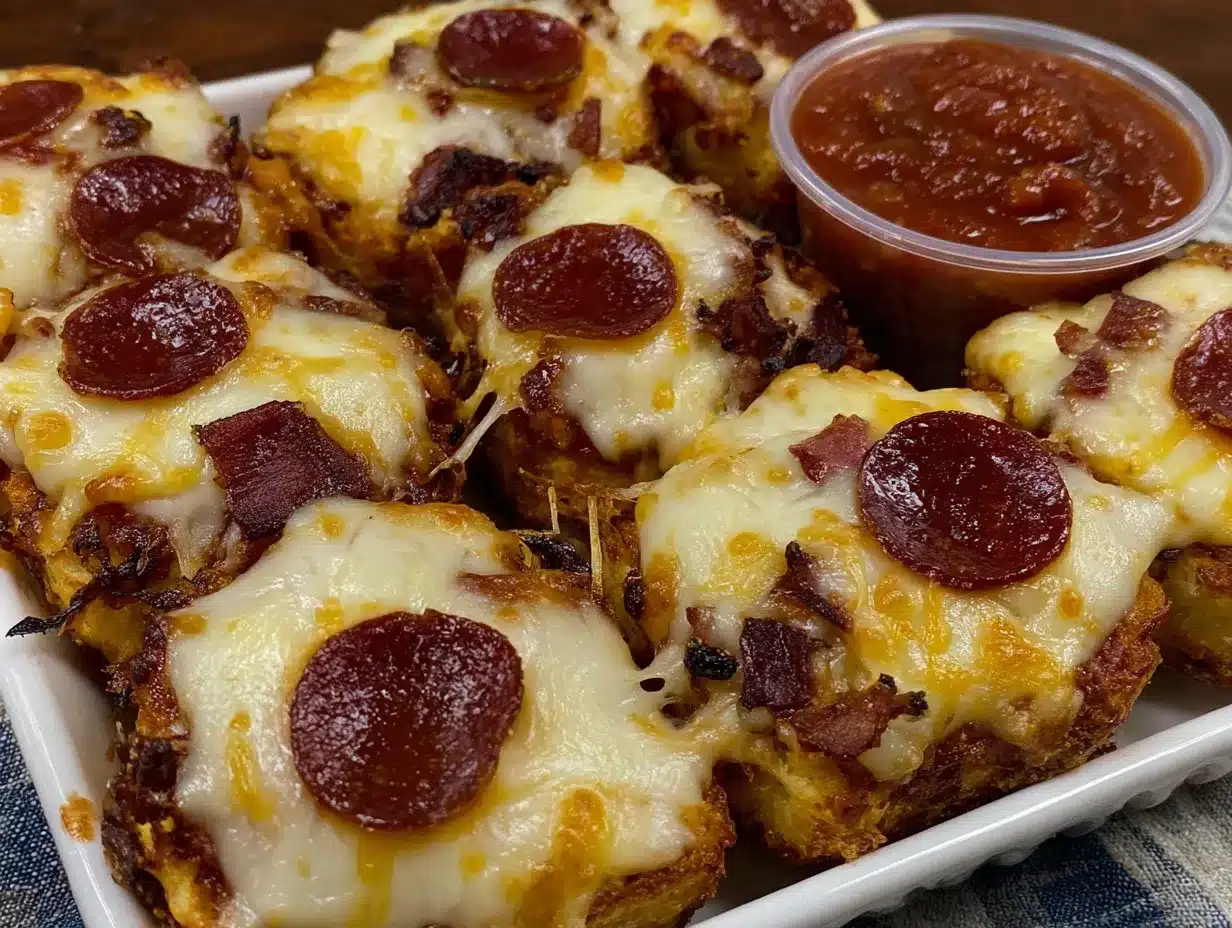
These quick copycat Lunchable pepperoni pizza bites for kids are exactly what they sound like — mini pizzas made with simple ingredients that come together in about 15 minutes. No fancy equipment, no weird preservatives, no fighting over who gets the last one. They’re the kind of snack that makes you feel like a good parent without actually trying that hard. And honestly? That’s my favorite kind of recipe.
Why You’ll Love This Recipe
I’ve tested this recipe about a dozen times — not because it’s complicated, but because I kept tweaking it to get that perfect ratio of crispy edge to melty center. My kids have been my taste testers, and let me tell you, they are brutal critics. If a pizza bite isn’t “lunchable-worthy,” they’ll let you know.
- Quick & Easy: From start to table in under 15 minutes. Faster than driving to the store to buy the boxed version.
- Simple Ingredients: You probably have everything in your kitchen right now. No special trips needed.
- Perfect for Lunchboxes: They pack beautifully and taste great cold or reheated. My kids actually prefer them room temperature.
- Budget-Friendly: A batch costs about a third of what you’d pay for the store-bought version. Your wallet will thank you.
- Crowd-Pleaser: I’ve served these at birthday parties, playdates, and even a grown-up movie night. Adults sneak them too.
What makes these different from other homemade pizza bites? It’s the crust. I use a specific technique — pressing the dough thin but not too thin, then docking it with a fork — that gives you that perfect cracker-like base without the cardboard texture. And the cheese? I mix two types for maximum meltiness. Trust me, this isn’t just another copycat recipe. It’s the one you’ll actually make again.
What Ingredients You Will Need
This recipe uses simple, everyday ingredients to create something that tastes way more complicated than it is. Here’s what you’ll need:
For the Pizza Bites
- 1 can (16.3 oz) refrigerated biscuit dough — I prefer Pillsbury Grands for their flaky texture, but any brand works. You’ll get about 8 biscuits, which makes 16 pizza bites when split.
- 1/2 cup pizza sauce — Look for a brand with simple ingredients. Rao’s or Classico are my go-tos. Or use leftover homemade sauce if you have it.
- 1 cup shredded mozzarella cheese — Freshly shredded melts better than pre-shredded (which has anti-caking agents). But honestly, I use pre-shredded half the time and it’s fine.
- 1/4 cup shredded Parmesan cheese — Adds that salty, nutty flavor that makes these taste more grown-up. My kids don’t even notice it’s in there.
- 1/2 cup mini pepperoni slices — Regular pepperoni works too, just cut them into smaller pieces. I use Hormel mini pepperonis because they’re the perfect size.
- 1 tablespoon olive oil — For brushing the tops. Makes them golden and slightly crispy.
- 1/2 teaspoon garlic powder — Optional but highly recommended. Adds depth without being garlicky.
- 1/2 teaspoon Italian seasoning — A little sprinkle goes a long way. Skip if your pizza sauce is already heavily seasoned.
Optional Toppings
- 1/4 cup chopped bell peppers — My oldest likes these. My youngest picks them off. You decide.
- 1/4 cup sliced black olives — For the adventurous eaters in your house.
- 1/4 cup cooked crumbled sausage — Makes these more filling for older kids or adults.
Substitution Notes: If you’re gluten-free, use a gluten-free biscuit dough or even pre-made pizza dough from the refrigerated section. For dairy-free, use vegan cheese shreds — just know the melt factor changes slightly. And if your kids don’t like pepperoni, swap in cooked ground beef, shredded chicken, or just extra cheese. This recipe is forgiving like that.
Equipment Needed
Nothing fancy here. You probably already own everything on this list.
- Baking sheet — A standard half-sheet pan works perfectly. Line it with parchment paper for easy cleanup.
- Rolling pin — Or a wine bottle. Or a clean can of beans. I’ve used all three at different times.
- Small bowl — For mixing the garlic powder and Italian seasoning into the olive oil.
- Pastry brush — For brushing the tops. A silicone one is easier to clean, but a regular bristle brush works fine.
- Fork — For docking the dough (poking holes to prevent air bubbles).
- Measuring spoons — Eyeballing works too, but measuring ensures consistency.
- Pizza cutter or sharp knife — For cutting the biscuit dough in half. A bench scraper also works great.
I’ve made these with just a baking sheet and my hands before. The rolling pin makes them more uniform, but honestly, uneven edges taste just as good. Don’t overthink the equipment.
Preparation Method
- Preheat your oven to 375°F (190°C). Line a baking sheet with parchment paper. Don’t skip the parchment — it makes cleanup ridiculously easy and prevents sticking.
- Pop open the biscuit dough. Separate the 8 biscuits onto a clean work surface. Use your hands to gently flatten each one into a disc about 3 inches across. Don’t overwork the dough — you want those flaky layers intact.
- Cut each biscuit in half. Using a pizza cutter or sharp knife, slice each disc in half. You’ll end up with 16 pieces. This is where the magic happens — each half becomes a mini pizza bite.
- Roll out each piece. Using a rolling pin (or wine bottle, no judgment), roll each piece into a 2-inch circle. They should be about 1/4 inch thick. Don’t roll them too thin or they’ll crack. Too thick and they’ll be doughy in the middle.
- Dock the dough. Poke each round several times with a fork. This prevents air bubbles from forming while baking. I learned this the hard way after my first batch turned into little dough balloons.
- Brush with seasoned oil. In your small bowl, mix the olive oil with the garlic powder and Italian seasoning. Brush a thin layer onto each dough round. This gives them that golden, crispy edge.
- Add the sauce. Spoon about 1/2 teaspoon of pizza sauce onto each round. Spread it gently, leaving a small border around the edge. Too much sauce makes them soggy — trust me on this.
- Add the cheese. Sprinkle a pinch of mozzarella and a tiny pinch of Parmesan onto each pizza bite. Don’t go overboard — you want the cheese to melt into the sauce, not form a thick blanket.
- Add the pepperoni. Place 2-3 mini pepperonis on each pizza bite. If using regular pepperoni, cut them into quarters first. Press them gently into the cheese so they don’t slide off during baking.
- Bake for 10-12 minutes. The edges should be golden brown and the cheese should be bubbly. Rotate the pan halfway through for even baking. My oven runs hot, so I check at 9 minutes.
- Let them rest. Remove from the oven and let them cool on the baking sheet for 2-3 minutes. The cheese will be molten hot — I’ve burned my mouth more times than I’d like to admit.
- Serve warm or at room temperature. These are fantastic fresh out of the oven, but they’re also delicious cold. My kids actually prefer them after they’ve sat for about 10 minutes.
Cooking Tips & Techniques
I’ve made these pizza bites more times than I can count, and I’ve made every mistake in the book. Here’s what I’ve learned:
Don’t overfill them. I know it’s tempting to pile on the toppings, but less is more here. Too much sauce makes the dough soggy. Too much cheese turns them into a greasy mess. Think of these as delicate little packages, not loaded nachos.
Use room temperature dough. Cold biscuit dough is harder to roll and tends to spring back. Let the can sit on the counter for 10 minutes before opening. This makes a noticeable difference in how evenly they roll out.
Watch the edges. The first time I made these, I didn’t leave a border around the sauce. The sauce bubbled over and burned on the pan. Leave about 1/4 inch of bare dough around each round. It creates that perfect crispy edge.
Double the batch. These disappear fast. If you’re making them for more than two kids, double the recipe. They reheat beautifully in the microwave for 20 seconds or in a toaster oven for 5 minutes.
Get the kids involved. My three-year-old loves pressing the pepperonis into the cheese. It’s messy, it’s imperfect, and it’s quality time. Plus, kids are way more likely to eat something they helped make.
Batch baking tip: If you’re making a big batch, keep the unbaked pizza bites on a parchment-lined tray in the refrigerator while the first batch bakes. This prevents the dough from getting too warm and sticky.
Variations & Adaptations
One of the best things about this recipe is how customizable it is. Here are some variations I’ve tried:
Cheese Lovers’ Version
Skip the pepperoni and add an extra pinch of mozzarella plus a few shreds of provolone. My cheese-obsessed nephew requests these for every visit. Add a sprinkle of dried oregano on top for extra flavor.
Veggie-Packed Version
Finely chop mushrooms, bell peppers, and onions, then saute them briefly before adding to the pizza bites. My trick is to chop them super small so the kids don’t notice. The sauteing removes excess moisture so they don’t make the dough soggy.
Breakfast Pizza Bites
This sounds weird, but trust me. Swap the pizza sauce for a thin layer of scrambled eggs, add cooked breakfast sausage crumbles, and top with cheddar cheese. Bake as directed. My kids call these “morning pizzas.”
Gluten-Free Adaptation
Use gluten-free biscuit dough from brands like Bisquick or King Arthur. The texture is slightly different — a bit more crumbly — but the taste is still fantastic. Just handle the dough gently and don’t over-roll it.
Air Fryer Method
Preheat your air fryer to 350°F (175°C). Place the pizza bites in a single layer in the basket (don’t overcrowd). Cook for 6-8 minutes, flipping halfway through. The bottoms get extra crispy. I actually prefer this method for small batches.
Serving & Storage Suggestions
These pizza bites are incredibly versatile when it comes to serving. Here’s what works best:
Serving Temperature: They’re delicious hot, warm, or at room temperature. For lunchboxes, I make them the night before and pack them cold. They taste surprisingly good straight from the fridge — my kids actually prefer them that way.
What to Serve With Them: A small cup of extra pizza sauce for dipping is always a hit. I also like to serve them with carrot sticks, cucumber slices, or apple wedges to round out the meal. For a party platter, arrange them on a board with grapes, cheese cubes, and ranch dip.
Storage: Store leftover pizza bites in an airtight container in the refrigerator for up to 4 days. Layer them between sheets of parchment paper to prevent sticking. They also freeze beautifully — just place them in a single layer on a baking sheet, freeze until solid, then transfer to a freezer bag. They’ll keep for up to 3 months.
Reheating: Microwave for 20-30 seconds for a quick snack. For crispier results, reheat in a toaster oven at 350°F for 5 minutes, or in an air fryer at 325°F for 3-4 minutes. The microwave makes them softer, which some kids actually prefer.
Flavor Development: Here’s something interesting — these actually taste better the next day. The flavors meld together overnight, and the crust softens slightly. If you’re making them for a party, consider making them a day ahead.
Nutritional Information & Benefits
Here’s the approximate nutritional breakdown for one pizza bite (based on using standard ingredients):
| Nutrient | Amount Per Pizza Bite |
|---|---|
| Calories | 85 |
| Total Fat | 4g |
| Saturated Fat | 1.5g |
| Cholesterol | 8mg |
| Sodium | 220mg |
| Total Carbohydrates | 9g |
| Dietary Fiber | 0.5g |
| Sugars | 1g |
| Protein | 3g |
A serving of 4 pizza bites makes a satisfying snack or light meal for kids. The protein from the cheese and pepperoni helps keep them full, while the carbohydrates provide quick energy for after-school play. Plus, making them at home means you control the sodium and preservatives — a big win compared to store-bought versions.
Dietary Considerations: This recipe contains gluten, dairy, and processed meats. For gluten-free, use GF biscuit dough. For dairy-free, use vegan cheese and dairy-free dough. For lower sodium, use low-sodium pepperoni and sauce.
I’m not a nutritionist, but I feel good about feeding these to my kids. They’re a treat, sure, but they’re made with real ingredients and a lot less processed junk than the boxed version.
Conclusion
These quick copycat Lunchable pepperoni pizza bites for kids have become a staple in our house for good reason. They’re fast, they’re easy, and they actually taste like real food — not like something that came off a factory line. My kids ask for them by name, and I never feel guilty saying yes.
The best part? You can customize them to fit your family’s preferences. Swap the pepperoni for sausage, add veggies, double the cheese — it all works. This recipe is more of a starting point than a strict set of rules. Make it yours.
I’d love to hear how these turn out for you. Did your kids help make them? Did you try a fun variation? Drop a comment below and let me know. And if you’re looking for more easy weeknight meals, check out my quick weeknight dinner ideas or this homemade mac and cheese recipe that my kids also love. Happy cooking!
Frequently Asked Questions
Can I use homemade pizza dough instead of biscuit dough?
Absolutely. Homemade pizza dough works great, but it will change the texture slightly. Roll it thinner than you would for a regular pizza — about 1/8 inch thick — and bake for 2-3 minutes longer. The biscuit dough version is flakier, while pizza dough gives you a chewier bite.
How do I prevent the pizza bites from getting soggy?
The key is not over-saucing. Use about 1/2 teaspoon per pizza bite — just enough to coat the surface without pooling. Also, make sure your pepperoni isn’t too oily. If using regular pepperoni, pat it dry with a paper towel before adding it.
Can I make these ahead of time for a party?
Yes! You can assemble them up to 24 hours in advance. Place them on the baking sheet, cover with plastic wrap, and refrigerate. Bake them just before serving. If you’re really short on time, bake them the day before and reheat in the oven at 350°F for 5 minutes.
What’s the best way to pack these in a lunchbox?
Let them cool completely first. Pack them in a small container with a lid, and include a separate container of pizza sauce for dipping. They’re sturdy enough to survive a backpack — I’ve tested this extensively. Add an ice pack if packing the night before.
Can I freeze the unbaked pizza bites?
You can! Assemble them on a parchment-lined baking sheet and freeze until solid (about 2 hours). Transfer to a freezer bag. When ready to bake, add 3-4 minutes to the baking time — no need to thaw. This is my secret weapon for busy weeks.
Pin This Recipe!
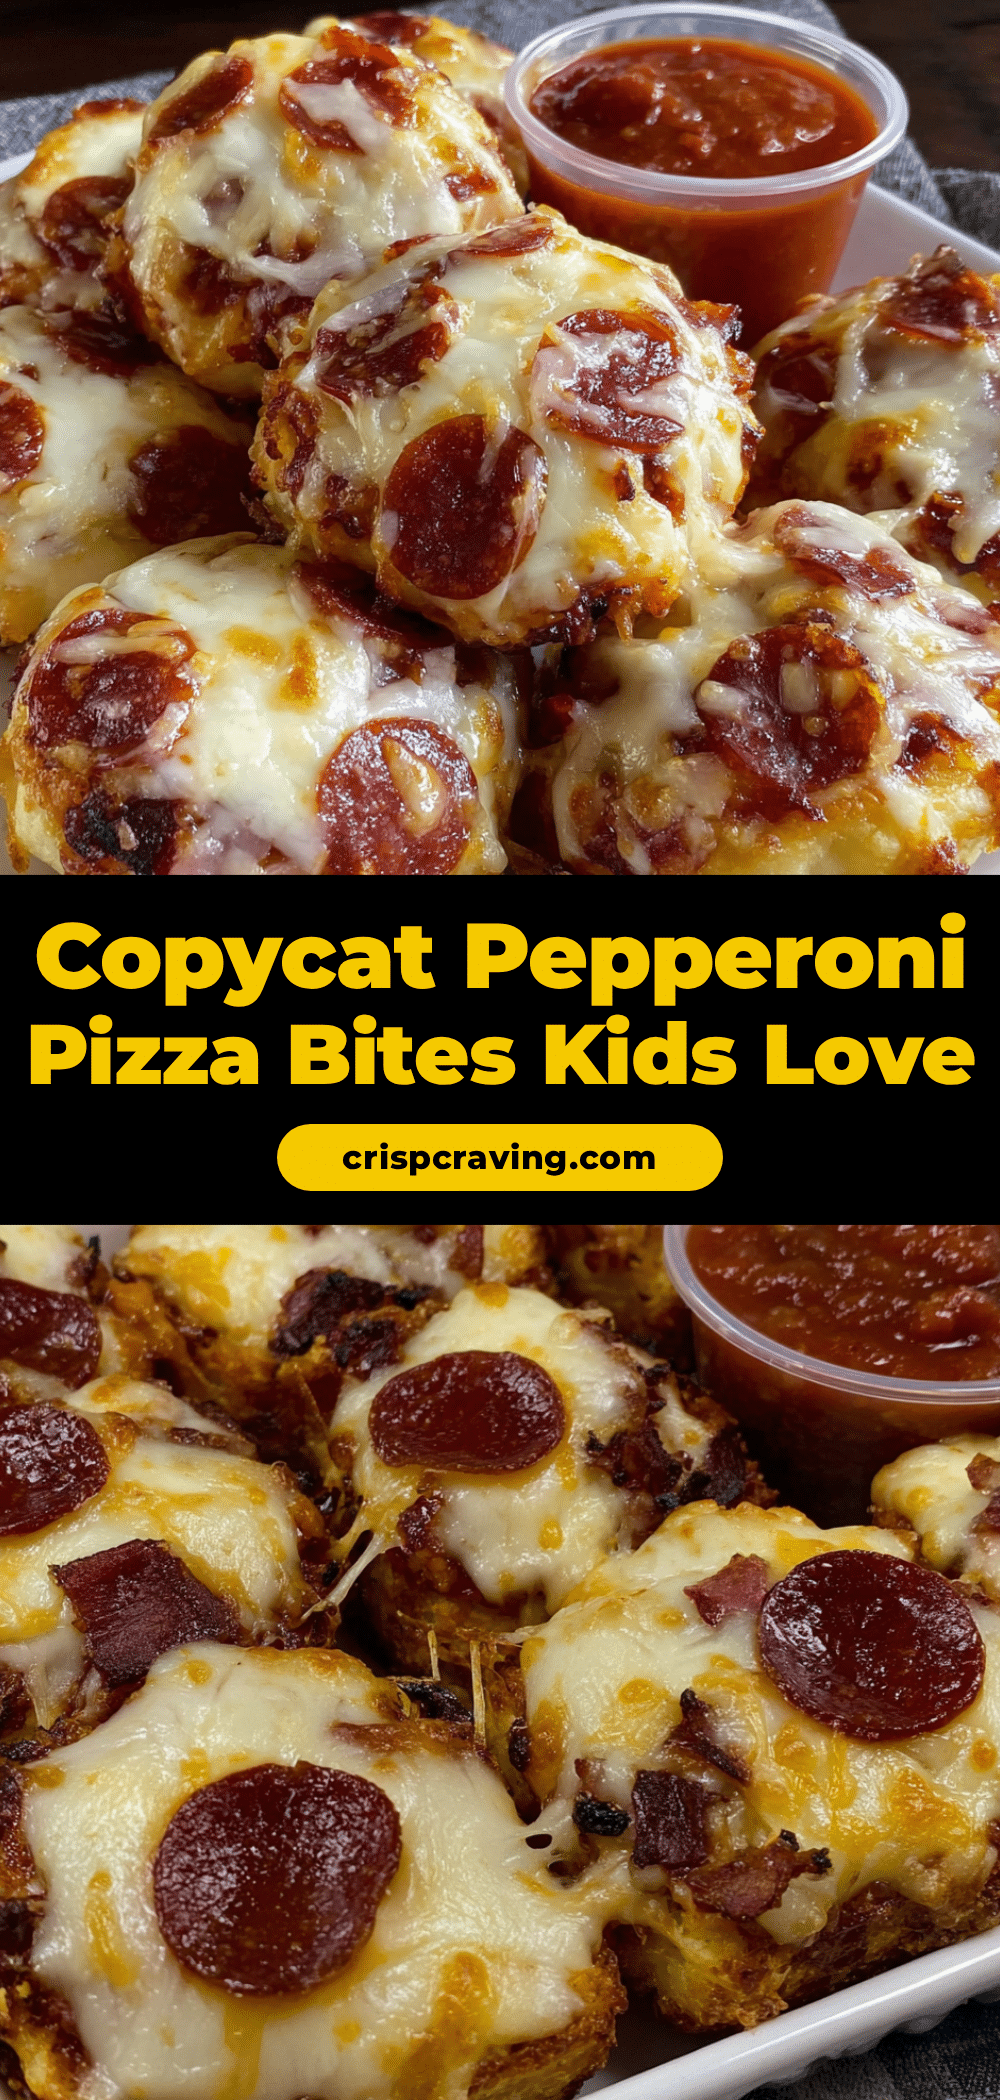
Quick Copycat Lunchable Pepperoni Pizza Bites Kids Love

These quick copycat Lunchable pepperoni pizza bites for kids are mini pizzas made with simple ingredients that come together in about 15 minutes. No fancy equipment, no weird preservatives, no fighting over who gets the last one.
- Prep Time: 10 minutes
- Cook Time: 12 minutes
- Total Time: 22 minutes
- Yield: 16 pizza bites (4 servings of 4 bites each) 1x
- Category: Snack
- Cuisine: American
Ingredients
- 1 can (16.3 oz) refrigerated biscuit dough
- 1/2 cup pizza sauce
- 1 cup shredded mozzarella cheese
- 1/4 cup shredded Parmesan cheese
- 1/2 cup mini pepperoni slices
- 1 tablespoon olive oil
- 1/2 teaspoon garlic powder
- 1/2 teaspoon Italian seasoning
- 1/4 cup chopped bell peppers (optional)
- 1/4 cup sliced black olives (optional)
- 1/4 cup cooked crumbled sausage (optional)
Instructions
- Preheat your oven to 375°F (190°C). Line a baking sheet with parchment paper.
- Pop open the biscuit dough. Separate the 8 biscuits onto a clean work surface. Gently flatten each into a disc about 3 inches across.
- Cut each biscuit in half using a pizza cutter or sharp knife to get 16 pieces.
- Roll out each piece into a 2-inch circle, about 1/4 inch thick.
- Poke each round several times with a fork to prevent air bubbles.
- In a small bowl, mix olive oil with garlic powder and Italian seasoning. Brush a thin layer onto each dough round.
- Spoon about 1/2 teaspoon of pizza sauce onto each round, leaving a small border.
- Sprinkle a pinch of mozzarella and a tiny pinch of Parmesan onto each pizza bite.
- Place 2-3 mini pepperonis on each pizza bite, pressing gently into the cheese.
- Bake for 10-12 minutes until edges are golden brown and cheese is bubbly. Rotate pan halfway through.
- Let cool on the baking sheet for 2-3 minutes before serving.
- Serve warm or at room temperature.
Notes
Don’t overfill the pizza bites. Use room temperature dough for easier rolling. Leave a 1/4 inch border around the sauce to prevent burning. Double the batch if making for more than two kids. These can be assembled up to 24 hours in advance and refrigerated. They freeze well for up to 3 months.
Nutrition
- Serving Size: 4 pizza bites
- Calories: 340
- Sugar: 4
- Sodium: 880
- Fat: 16
- Saturated Fat: 6
- Carbohydrates: 36
- Fiber: 2
- Protein: 12
Keywords: copycat lunchable, pepperoni pizza bites, homemade pizza bites, kids snack, easy pizza recipe, quick snack, lunchbox ideas



