Love this? Save it for later!
Share the inspiration with your friends
This was supposed to be a simple batch of cough syrup. I mean, the kind your grandmother makes with lemons and honey when you feel a tickle in your throat. But I grabbed the wrong jar of dried berries from my pantry shelf—the one I’d stashed away for a winter tea blend I never got around to making. The water was already boiling, the honey measured out, and honestly, I was too tired to start over. So I tossed those dark little berries in anyway, added a cinnamon stick because it felt right, and let it simmer while I cleaned up the mess I’d made.
What came out of that pot was nothing like the plan. It was deeper, richer, and somehow more comforting than any syrup I’d ever bought from a store. The color turned a gorgeous deep purple, like a sunset I once saw over the mountains. The smell filled my whole kitchen—warm, spicy, and a little bit woodsy. I poured it into a jar, let it cool, and took a spoonful. And then I took another. It wasn’t just good. It was the kind of thing you keep in your fridge and find excuses to take a spoonful of. Maybe you’ve been there, where a mistake turns into something you can’t stop thinking about.
That first batch lasted me through a whole winter of cold mornings and sniffly afternoons. I gave jars to neighbors, my sister, and the lady at the post office who always asks what I’m cooking. Every single person asked for the recipe. And every time, I had to laugh, because I couldn’t exactly tell them it was an accident. But honestly, that’s the best kind of recipe, right? The one you stumble into and keep making because it just works. This homemade elderberry syrup with honey and cinnamon has become a staple in my kitchen, and I have a feeling it will become one in yours too.
Why You’ll Love This Recipe
Let me tell you why this homemade elderberry syrup with honey and cinnamon is different from every other recipe you’ve seen online. I’ve tested this about a dozen times—yes, really—to get the balance just right. I wanted something that actually tastes good enough to take willingly, not something you choke down because you feel like you should. And this one? It’s genuinely delicious.
- Quick & Easy: This comes together in under an hour, most of which is hands-off simmering time. Perfect for a Sunday afternoon when you want to feel productive without actually working hard.
- Simple Ingredients: You only need four things—dried elderberries, raw honey, cinnamon sticks, and water. No weird extracts or hard-to-find herbs. I bet you already have most of these in your pantry right now.
- Perfect for Cold Season: This is my go-to for fall and winter months when everyone around me starts sniffling. It’s become a morning ritual for me and my family.
- Crowd-Pleaser: I’ve given this to kids, adults, and even picky eaters. Everyone loves the taste. The honey and cinnamon make it feel like a treat, not a remedy.
- Unbelievably Delicious: The texture is silky, the flavor is warm and complex, and the honey adds this floral sweetness that store-bought syrups just can’t match. It’s comfort in a spoon.
What makes this recipe different from the rest is the method. I simmer the elderberries low and slow to extract all their goodness without making them bitter. Then I let the cinnamon infuse gently, so it adds warmth without overpowering. And I never add the honey until the syrup has cooled completely—raw honey loses its benefits when heated too high, and I want every drop of goodness preserved. This isn’t just another version. It’s the version I’ve perfected through trial, error, and a whole lot of taste testing.
This syrup is the kind of thing that makes you close your eyes after the first bite. It’s comfort food reimagined—healthier, simpler, but with the same soul-soothing satisfaction. Perfect for impressing guests with your homesteading skills, or turning a gloomy winter morning into something a little bit brighter.
What Ingredients You Will Need
This recipe uses simple, wholesome ingredients to deliver bold flavor and immune-supporting goodness without any fuss. Each ingredient plays an important role, and they’re all easy to find at your local grocery store or online.
- Dried Elderberries: You’ll need about ½ cup of dried elderberries. These are the star of the show. I recommend looking for organic dried elderberries from a trusted brand like Frontier Co-op or Starwest Botanicals. Avoid fresh elderberries—they need to be cooked thoroughly before eating, and dried ones are much easier to work with. Look for deep purple, almost black berries that are plump and fragrant.
- Raw Honey: Use ½ cup of raw, unfiltered honey. This is crucial. Raw honey contains natural enzymes and antioxidants that processed honey just doesn’t have. I prefer a local wildflower honey for its complex flavor, but any raw honey works. If you’re vegan, you can substitute with maple syrup, though the flavor will be slightly different.
- Cinnamon Sticks: Two whole cinnamon sticks add warmth and depth. I like using Ceylon cinnamon, which is milder and sweeter than the more common Cassia variety. Cassia works fine too, but it has a stronger, spicier kick. Don’t use ground cinnamon—it will make your syrup cloudy and gritty.
- Water: 4 cups of filtered water. Tap water works in a pinch, but if your water has a strong chlorine taste, it can affect the final flavor. Filtered water gives you a cleaner, purer syrup.
- Optional Add-Ins: You can add a few slices of fresh ginger for extra warmth, a star anise for a licorice note, or a pinch of cloves for depth. I sometimes add a tablespoon of dried rose hips for extra vitamin C. These are all optional, so feel free to experiment based on what you have on hand.
When selecting elderberries, I always give them a quick sniff. They should smell slightly sweet and earthy, not musty or sour. Store your dried elderberries in a cool, dark place in an airtight container—they’ll keep for up to a year. And please, don’t skip the honey. It’s not just sweetener here; it’s a key part of what makes this syrup so special.
Equipment Needed
You don’t need fancy equipment for this recipe. I’ve made this in a tiny apartment kitchen and in a full farmhouse kitchen, and it works the same every time.
- Medium Saucepan: A 2-quart saucepan works perfectly. I use my trusty stainless steel one, but any non-reactive pot works. Avoid aluminum, which can react with the berries and give a metallic taste.
- Fine-Mesh Strainer: You’ll need this to strain out the berries and cinnamon sticks. A cheesecloth-lined strainer works even better if you want an ultra-smooth syrup. I’ve used a regular colander in a pinch, but you’ll end up with some sediment in your syrup.
- Glass Jar or Bottle: A 16-ounce glass jar with a tight-fitting lid is ideal for storage. I like using swing-top bottles because they look pretty in the fridge. Make sure whatever you use is thoroughly cleaned and sterilized.
- Wooden Spoon: For stirring. A silicone spatula works too. Just avoid metal spoons if you’re using a non-stick pot.
- Measuring Cups and Spoons: For accuracy. I’ve eyeballed this recipe before and ended up with syrup that was too thin or too thick. Measuring makes a difference.
If you don’t have a fine-mesh strainer, you can use a clean nut milk bag or even a clean cotton t-shirt in a pinch. I learned that trick during a power outage when I couldn’t find my strainer. Desperate times, you know?
Preparation Method
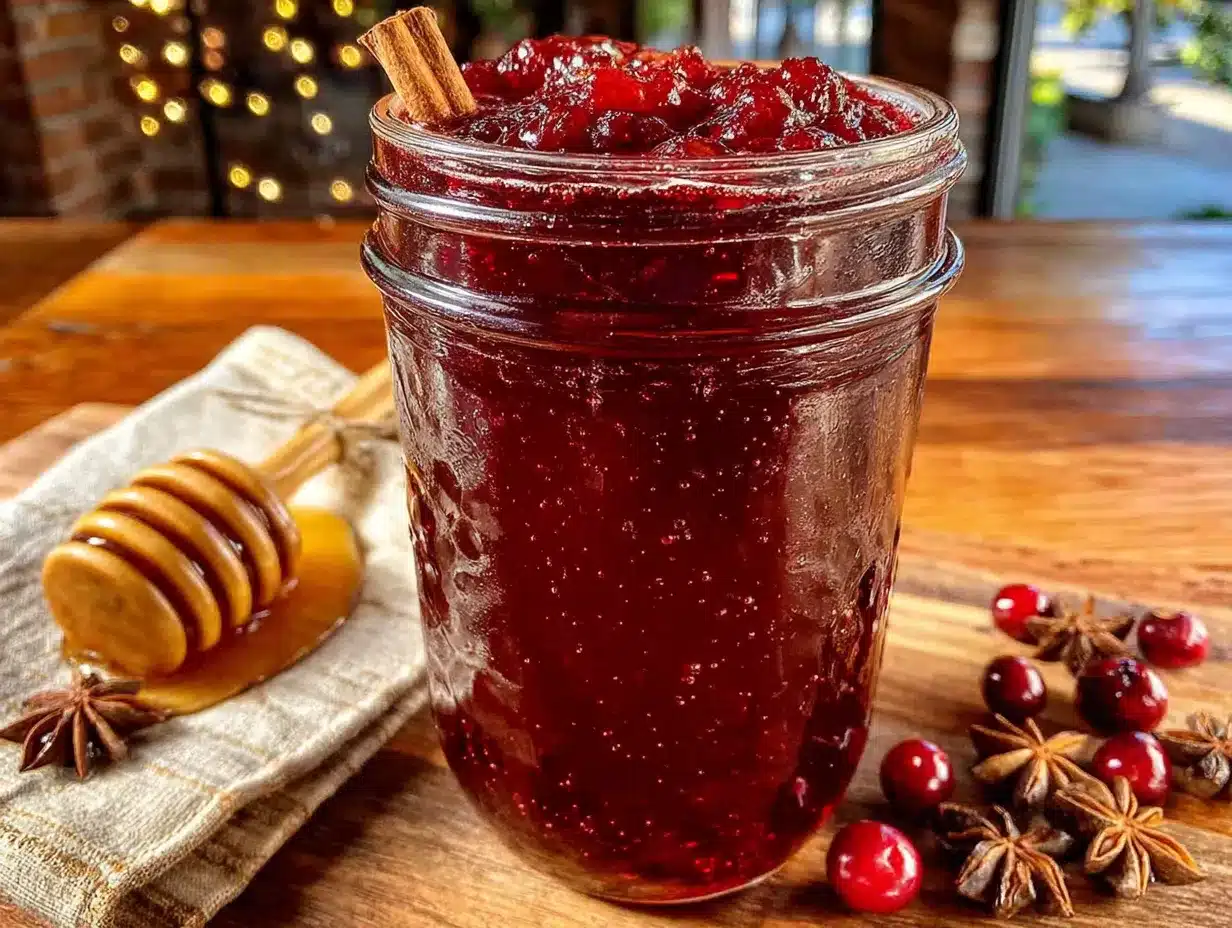
This is where the magic happens. I’ve broken this down into simple steps with all the little details I’ve learned from making this syrup over and over again. Follow these, and you’ll have perfect syrup every time.
- Combine berries and water: In your medium saucepan, add the ½ cup of dried elderberries and 4 cups of filtered water. Give it a quick stir with your wooden spoon. Don’t worry if some berries float—they’ll sink as they hydrate.
- Add the cinnamon: Drop in your two cinnamon sticks. If you’re using any optional add-ins like ginger or star anise, add them now. The longer they simmer, the more flavor they’ll release.
- Bring to a boil: Place the pot over medium-high heat and bring it to a gentle boil. You’ll see small bubbles forming around the edges of the pot. This should take about 5-7 minutes. Don’t walk away—once it starts boiling, you need to reduce the heat immediately.
- Reduce to a simmer: Turn the heat down to low so the liquid is barely bubbling. You want a gentle simmer, not a rolling boil. Let it cook for 30-40 minutes. The liquid will reduce by about half, and the berries will look plump and slightly wrinkled. The color will deepen to a rich burgundy. Set a timer—I’ve gotten distracted and let it simmer too long, and the syrup turns bitter.
- Test for doneness: After 30 minutes, take a spoon and dip it into the liquid. It should coat the back of the spoon slightly. If it’s still watery, let it simmer another 10 minutes. The syrup will thicken more as it cools, so don’t worry if it seems thin right now.
- Strain the syrup: Place your fine-mesh strainer over a large bowl or glass measuring cup. Carefully pour the hot liquid through the strainer. Let it drain for a few minutes, then gently press on the berries with the back of a spoon to extract every last drop. Don’t press too hard, or you’ll push bitter sediment through. Discard the berries and cinnamon sticks.
- Cool completely: Let the strained liquid cool to room temperature. This is important—do not skip this step. If you add honey to hot liquid, you’ll destroy its beneficial enzymes. I usually let it sit for about 30-45 minutes. Stir it occasionally to help it cool evenly.
- Add the honey: Once the liquid is completely cool, pour in the ½ cup of raw honey. Stir gently until the honey is fully dissolved. You’ll notice the syrup becomes smoother and slightly thicker. Taste it here—if you want it sweeter, add a little more honey. If you want more cinnamon flavor, you can add a drop of cinnamon extract.
- Bottle and store: Pour the finished syrup into your clean glass jar or bottle. Seal it tightly and label it with the date. Store it in the refrigerator immediately.
One thing I learned the hard way—don’t rush the cooling step. I was impatient once and added honey to warm liquid, and the syrup ended up tasting flat and less vibrant. The raw honey needs to stay raw to do its thing. Trust me on this.
Cooking Tips & Techniques
After making this syrup more times than I can count, I’ve picked up a few tricks that make a real difference. Here are the ones I wish someone had told me when I started.
Don’t overcook the berries. I know I said this already, but it’s worth repeating. Elderberries can turn bitter if they simmer too long. Set your timer for 30 minutes and stick to it. If you want a stronger flavor, add more berries instead of cooking them longer. I’ve made that mistake before—ended up with syrup that tasted like medicine instead of comfort.
Use a candy thermometer if you’re nervous. The ideal temperature for extracting elderberry goodness without bitterness is around 190°F. If you let it go above 200°F, you risk breaking down the beneficial compounds. I don’t use a thermometer anymore because I can tell by the color and smell, but it’s a great tool when you’re starting out.
Let the syrup rest before bottling. After you add the honey, let the syrup sit in the bowl for another 10-15 minutes. This gives any sediment time to settle to the bottom, so you can pour off the clear syrup and leave the gritty bits behind. I learned this after finding a layer of fine powder at the bottom of my first batch.
Multitask wisely. While the berries are simmering, wash and sterilize your jar. This way, you’re not scrambling at the end. I usually boil my jar in hot water for 5 minutes, then let it air dry on a clean towel. It’s one less thing to worry about when you’re straining the hot liquid.
Keep a backup batch in the freezer. This syrup freezes beautifully. I make a double batch in the fall and freeze half in ice cube trays. Then I can pop out a cube whenever I feel a cold coming on. It thaws in minutes in warm water. Game changer, honestly.
Variations & Adaptations
One of the best things about this recipe is how flexible it is. I’ve tried several variations over the years, and they all turned out delicious in their own way. Here are some of my favorites.
Spiced Elderberry Syrup: Add 3-4 slices of fresh ginger, 2 star anise pods, and a pinch of cloves along with the cinnamon. This version is extra warming and perfect for deep winter when you need something to chase away the chill. I made this last January when we had a week of below-freezing temperatures, and it was exactly what we needed.
Berry Blend Syrup: Replace half the elderberries with dried hibiscus flowers or dried rose hips. This gives the syrup a tangier, more floral flavor and boosts the vitamin C content. The color turns a gorgeous ruby red, which looks beautiful in a glass bottle. I give this version as holiday gifts.
Low-Sugar Version: If you’re watching your sugar intake, you can reduce the honey to ¼ cup and add a few drops of stevia or monk fruit sweetener to taste. The texture will be thinner, but the flavor will still be lovely. I’ve made this for friends with diabetes, and they were thrilled to have an option they could enjoy.
Alcohol-Based Tincture Variation: If you want a shelf-stable version, you can make an elderberry tincture instead. Combine dried elderberries and cinnamon sticks in a jar, cover with vodka or brandy, and let it steep for 4-6 weeks. Strain and take a dropperful as needed. This isn’t for everyone, but it’s a great option if you don’t have fridge space.
Kid-Friendly Version: My niece refused to take any syrup that tasted “healthy,” so I added a mashed-up raspberry to her serving. The berry flavor masked the elderberry taste completely, and she asked for more. You can also add a drop of orange extract for a fruity twist that kids love.
Serving & Storage Suggestions
This syrup is incredibly versatile, and I’ve found so many ways to use it beyond just taking it by the spoonful. Here’s how I serve and store mine.
Serving Suggestions: The most common way to take this syrup is 1 tablespoon daily for maintenance, or 1 tablespoon every 3-4 hours if you feel a cold coming on. I take mine straight from a spoon in the morning, but you can also stir it into warm tea, drizzle it over yogurt or oatmeal, or mix it into sparkling water for a refreshing drink. My husband loves it in his morning smoothie—it adds a nice fruity sweetness.
Temperature: Serve it cold straight from the fridge, or let it come to room temperature for a few minutes if you want a thinner consistency. It’s also lovely warmed up—just heat a spoonful gently in a small pan with a splash of water.
Complementary Pairings: This syrup pairs beautifully with ginger tea, chamomile tea, or a simple cup of hot water with lemon. I also love it drizzled over vanilla ice cream for a grown-up dessert. It sounds weird, but trust me—the warm spice and sweet honey are amazing with cold, creamy ice cream.
Storage Instructions: Store your homemade elderberry syrup in an airtight glass jar in the refrigerator. It will keep for up to 3 months. If you see any mold or off smells, discard it immediately. I’ve never had that happen, but better safe than sorry.
Freezing: Pour the syrup into ice cube trays and freeze until solid. Transfer the cubes to a freezer bag and store for up to 6 months. To use, thaw a cube in the refrigerator overnight or in a cup of warm water. This is my favorite way to keep a supply on hand year-round.
Flavor Development: The flavor actually gets better after a few days in the fridge. The honey and spices meld together, creating a more complex taste. I always make mine a week before I plan to use it, just so it has time to develop. It’s one of those little things that makes a big difference.
Nutritional Information & Benefits
I’m not a doctor or a nutritionist, but I’ve done my research, and the benefits of this syrup are pretty impressive. Here’s what you should know.
- Estimated Nutritional Values (per 1 tablespoon serving): Approximately 35-40 calories, 10g carbohydrates, 9g sugar (from honey), 0g fat, 0g protein. These values will vary slightly depending on the exact ingredients you use.
- Elderberries: These dark purple berries are packed with antioxidants, particularly anthocyanins, which help support a healthy immune system. They’re also rich in vitamin C and fiber. Studies suggest elderberries may help reduce the duration and severity of cold symptoms.
- Raw Honey: Contains natural enzymes, antioxidants, and antibacterial properties. Local honey may also help with seasonal allergies by exposing you to local pollen in small amounts. Just don’t give honey to children under 1 year old due to botulism risk.
- Cinnamon: Known for its anti-inflammatory properties and ability to help regulate blood sugar. Ceylon cinnamon is lower in coumarin, which can be harmful in large amounts, so I prefer it for regular use.
- Dietary Considerations: This recipe is naturally gluten-free, dairy-free, and vegetarian. For a vegan version, substitute maple syrup for honey. It’s also paleo-friendly if you use a compliant sweetener.
- Potential Allergens: None from the core ingredients, but if you’re sensitive to pollen or bee products, raw honey could cause a reaction. Always check with your doctor if you have concerns.
I personally love that this syrup lets me take something delicious that also supports my health. It’s not a cure-all, but it’s a wonderful addition to a healthy lifestyle, especially during cold and flu season.
Conclusion
This homemade elderberry syrup with honey and cinnamon started as a happy accident, but it’s become one of my most treasured recipes. It’s simple, delicious, and genuinely useful—a rare combination in the kitchen. I love that I can make it with just a few ingredients, and I know exactly what’s going into my body. No weird preservatives, no artificial flavors, just real food doing what real food does best.
I hope you give this recipe a try. Don’t be afraid to tweak it to your liking—add more cinnamon if you love warmth, use less honey if you prefer it tart, or throw in some ginger for extra zing. The best recipes are the ones you make your own. And honestly, the fact that you’re here, reading this, tells me you care about what you put into your body. That’s a good thing.
So go ahead, grab those dried elderberries, and make a batch this weekend. Your future self—the one facing a cold winter morning—will thank you. And when you do make it, I’d love to hear how it turned out. Drop a comment below and tell me about your version. Did you add something unexpected? Did your kids love it? Did you give jars to your neighbors? I want to know. Happy cooking, friend.
Frequently Asked Questions
Can I use fresh elderberries instead of dried?
You can, but I don’t recommend it. Fresh elderberries contain compounds that can cause nausea if eaten raw, so they need to be cooked thoroughly. Dried elderberries are much safer and easier to work with. If you do use fresh, use about 1 cup and cook them for at least 45 minutes to ensure they’re fully cooked.
How long does homemade elderberry syrup last?
Stored in an airtight jar in the refrigerator, this syrup will last up to 3 months. If you freeze it in ice cube trays, it will keep for up to 6 months. Always check for signs of spoilage like mold or an off smell before using.
Can I give this syrup to children?
Yes, but with two caveats. First, never give honey to children under 1 year old due to the risk of botulism. For older children, you can give them half the adult dose—about ½ to 1 teaspoon daily for maintenance. Always check with your pediatrician before giving any herbal remedy to children.
Can I make this syrup without honey?
Absolutely. If you’re vegan or avoiding honey, you can substitute with maple syrup, agave nectar, or coconut sugar. Keep in mind that the flavor will change slightly, and you won’t get the same raw enzyme benefits. I’ve made it with maple syrup before, and it was delicious—just different.
How do I know if my syrup is too thin or too thick?
After cooling, the syrup should have a consistency similar to maple syrup—thin enough to pour easily, but thick enough to coat a spoon. If it’s too thin, you can simmer it longer next time to reduce more liquid. If it’s too thick, add a little warm water and stir until it reaches your desired consistency. Don’t worry too much about perfection—it will still taste great either way.
Pin This Recipe!
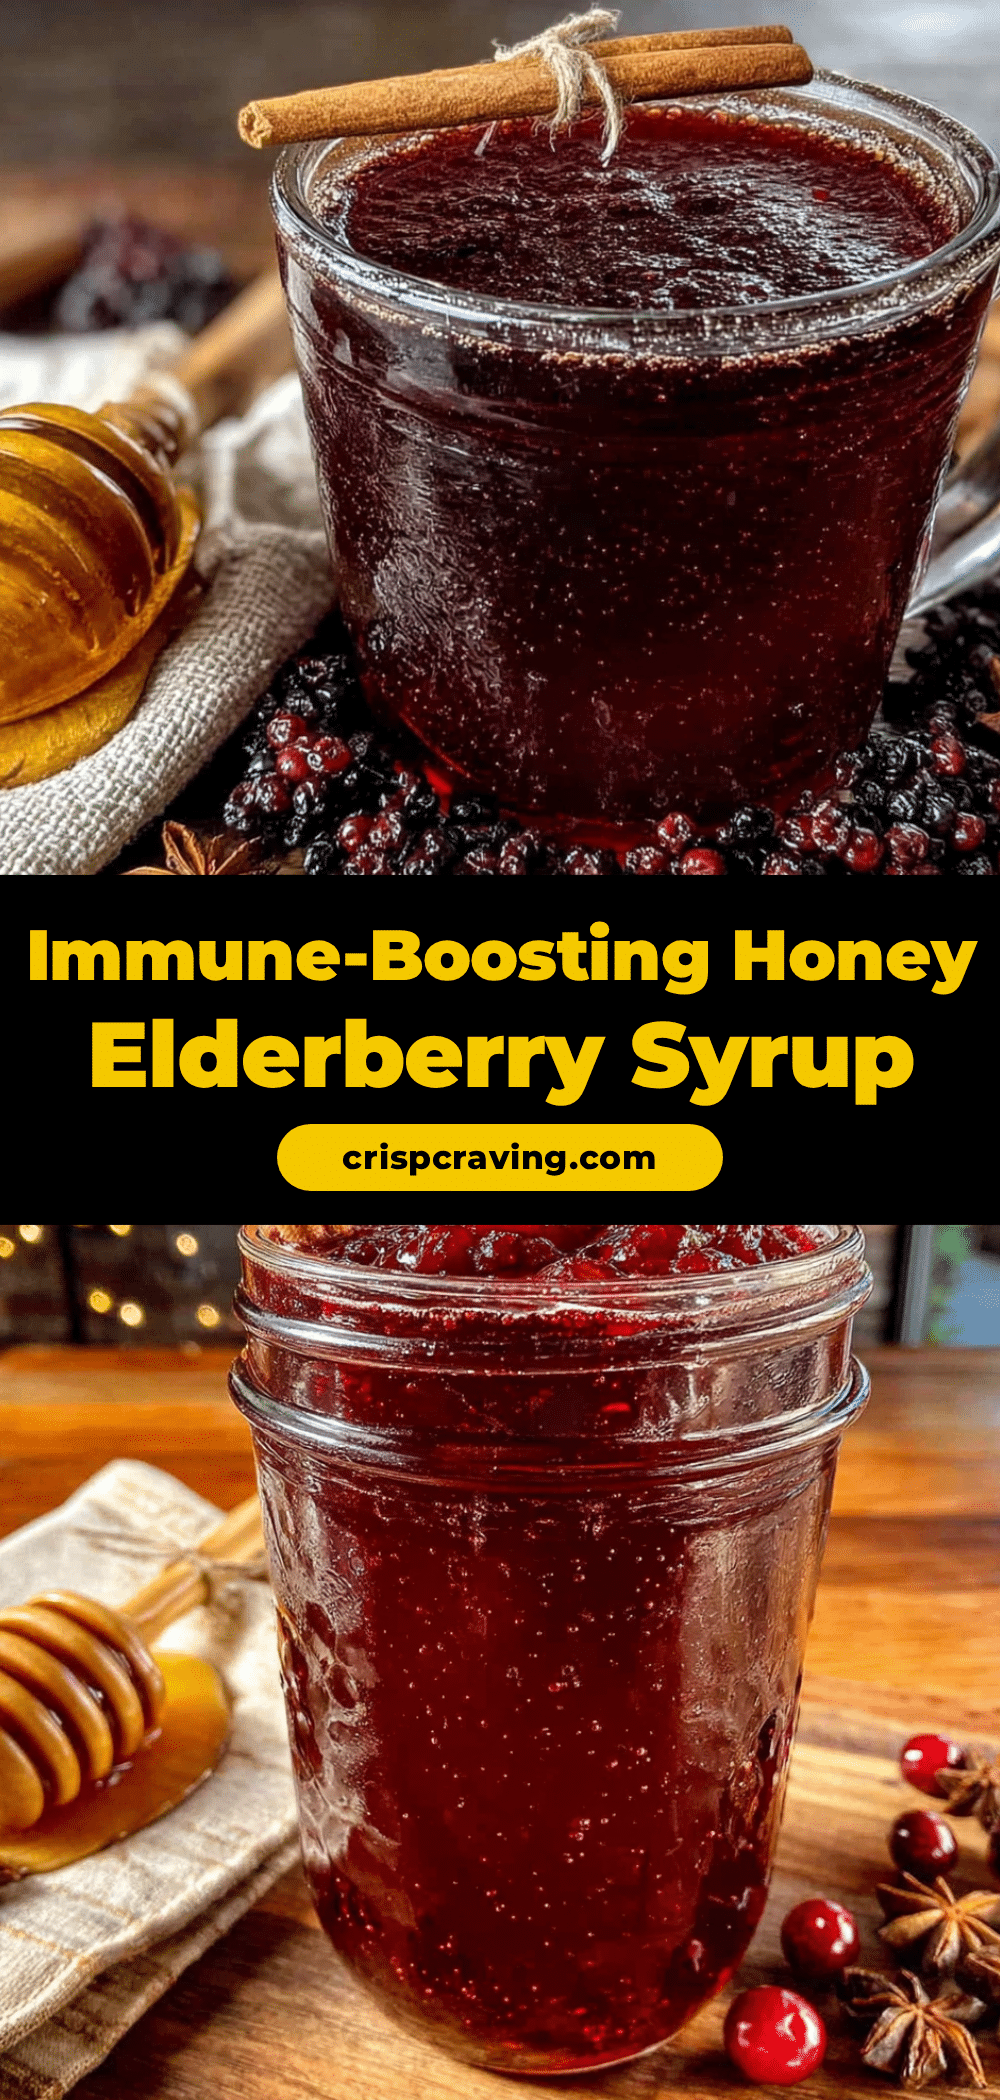
Homemade Elderberry Syrup: Easy Immune-Boosting Recipe
This homemade elderberry syrup with honey and cinnamon is a delicious immune-boosting remedy that started as a happy accident. It’s quick, easy, and made with simple ingredients for a comforting winter staple.
- Prep Time: 10 minutes
- Cook Time: 40 minutes
- Total Time: 50 minutes
- Yield: 16 servings 1x
- Category: Condiment
- Cuisine: American
Ingredients
- ½ cup dried elderberries
- ½ cup raw honey
- 2 cinnamon sticks
- 4 cups filtered water
- Optional: fresh ginger slices, star anise, cloves, dried rose hips
Instructions
- In a medium saucepan, combine ½ cup dried elderberries and 4 cups filtered water. Stir.
- Add 2 cinnamon sticks and any optional add-ins (ginger, star anise, cloves).
- Bring to a gentle boil over medium-high heat (about 5-7 minutes).
- Reduce heat to low and simmer gently for 30-40 minutes, until liquid reduces by half and berries are plump.
- Test for doneness: syrup should coat the back of a spoon.
- Strain the hot liquid through a fine-mesh strainer into a bowl or measuring cup. Press berries gently to extract liquid.
- Let the strained liquid cool completely to room temperature (about 30-45 minutes).
- Stir in ½ cup raw honey until fully dissolved.
- Pour into a clean glass jar, seal tightly, and refrigerate.
Notes
Do not add honey to hot liquid; let syrup cool completely first to preserve raw honey’s enzymes. For a vegan version, substitute maple syrup for honey. Syrup can be frozen in ice cube trays for up to 6 months.
Nutrition
- Serving Size: 1 tablespoon
- Calories: 35
- Sugar: 9
- Carbohydrates: 10
Keywords: elderberry syrup, immune-boosting, homemade, honey, cinnamon, cold remedy, winter recipe



