Love this? Save it for later!
Share the inspiration with your friends
My neighbor, a woman named Clara who keeps her kitchen curtains perpetually drawn, swore she hated pumpkin bread. “Too dense, too sweet, too… orange,” she’d say, waving a spatula at me from her front porch. For three autumns, I watched her buy those sad, plastic-wrapped loaves from the grocery store, the ones that taste more like cinnamon than squash. Last Tuesday, I was testing a new recipe for a fall baking roundup and had a second loaf cooling on my counter. It was just sitting there, looking embarrassingly perfect. I wrapped it in a tea towel, walked it over, and knocked on her door before I could talk myself out of it. “Just try a slice,” I said. “No pressure.” She took it, gave me a skeptical look that could curdle milk, and closed the door. The next morning, I found the empty plate on my doormat with a sticky note that simply read, “I need the recipe.” Caught in the act of being proven wrong, honestly, it was one of my prouder baking moments. That is the power of this easy one-bowl pumpkin chocolate chip bread. It doesn’t try to convince you; it just quietly wins.
This recipe was born out of a very specific kind of kitchen chaos. I had a can of pumpkin puree staring at me from the pantry, a half-empty bag of chocolate chips, and about twenty minutes before I needed to leave for a school pickup. I didn’t have the patience for a separate wet and dry bowl, or for sifting flour. I mean, who has time for that on a Tuesday? So I grabbed one big bowl, dumped everything in, and stirred. The batter was thick and smelled like fall, and I figured I’d end up with a mediocre loaf that I’d eat over the sink. You know that feeling when you just expect something to be fine, but it turns out to be incredible? That was this bread. It came out of the oven with a perfectly cracked top, a tender crumb, and pockets of melted chocolate in every single bite. I’ve made it at least a dozen times since then, and I keep coming back to it because it works. It’s the recipe that made Clara a believer, and it’s the one I reach for when I need a guaranteed win.
Why You’ll Love This Recipe
Let’s be real—there are a million pumpkin bread recipes out there. But this one is different. It is the one I have tested and tweaked until it was absolutely foolproof. Here is why it will become your go-to:
- One Bowl, No Fuss: You don’t need a stand mixer, a hand mixer, or even a whisk if you’re in a pinch. A fork and a single bowl are all it takes. The cleanup is laughably easy.
- Perfectly Moist Every Time: The combination of pumpkin puree and oil guarantees a loaf that stays moist for days. It’s not dense or gummy, but soft and tender, like a thick slice of fall clouds.
- Packed with Chocolate: We aren’t just sprinkling a few chips on top. There are chocolate chips folded into every part of the batter, so you get a little melty pocket in every single bite.
- Simple Pantry Ingredients: No buttermilk, no sour cream, no weird extracts. You probably have everything you need right now. If you have a can of pumpkin and some chocolate chips, you are halfway there.
- Family-Approved and Neighbor-Tested: This is the bread that converts pumpkin skeptics. It’s sweet enough to be a treat but not so sugary that you feel guilty eating it for breakfast. Kids love it, adults sneak slices, and it makes your kitchen smell like a bakery.
I have made this bread for potlucks, for Thanksgiving morning breakfast, and for no reason at all on a rainy Sunday. It has never failed me. There is something deeply satisfying about making something this delicious with almost no effort. It feels like cheating, but it’s not. It’s just a really, really good recipe.
What Ingredients You Will Need
This easy pumpkin chocolate chip bread uses simple, wholesome ingredients to deliver that perfect balance of spiced pumpkin and rich chocolate. You likely have most of these in your pantry right now.
- All-Purpose Flour: 1 ¾ cups. The base of the bread. I use unbleached all-purpose flour for the best texture. Do not pack it into your measuring cup—spoon it in and level it off for a lighter loaf.
- Granulated Sugar: 1 cup. Adds sweetness and helps create that beautiful golden-brown crust. You can reduce this to ¾ cup if you prefer a less sweet bread.
- Light Brown Sugar: ½ cup, packed. This adds moisture and a subtle molasses flavor that pairs perfectly with the pumpkin. Dark brown sugar works too, but it will make the bread slightly darker and more intensely flavored.
- Pumpkin Puree: 1 can (15 ounces). Not pumpkin pie filling! Make sure you grab 100% pure pumpkin. I prefer Libby’s for its consistent texture and flavor, but any brand works. The pumpkin keeps the bread incredibly moist without making it heavy.
- Vegetable Oil: ½ cup. A neutral oil like canola or avocado oil keeps the crumb tender. You can substitute melted coconut oil for a subtle flavor twist, but make sure it’s cooled slightly so it doesn’t cook the eggs.
- Large Eggs: 2. They bind everything together and add structure. Let them come to room temperature for 15 minutes if you remember, but honestly, I have used them straight from the fridge and the bread still turned out great.
- Vanilla Extract: 2 teaspoons. Pure vanilla extract is worth the splurge here. It rounds out the spices and makes the chocolate flavor pop.
- Baking Soda: 1 teaspoon. This is our main leavening agent. It reacts with the acidity in the brown sugar and pumpkin to help the bread rise. Make sure it’s fresh.
- Pumpkin Pie Spice: 2 teaspoons. You can buy a blend or make your own with cinnamon, nutmeg, ginger, and cloves. I actually prefer making my own because I can control the ratio. If you only have cinnamon, use 1 ½ teaspoons of cinnamon plus ½ teaspoon of nutmeg.
- Salt: ½ teaspoon. Don’t skip this. Salt balances the sweetness and enhances the flavor of the chocolate and pumpkin.
- Semi-Sweet Chocolate Chips: 1 cup. I use Ghirardelli semi-sweet chips because they hold their shape well and have a deep, rich flavor. Milk chocolate chips will make the bread sweeter, while dark chocolate chips (60% or higher) add a nice bitter contrast. You can also chop up a good quality chocolate bar for larger, more irregular pockets of chocolate.
Substitution Guidance: For a gluten-free version, use a 1:1 gluten-free baking flour blend that contains xanthan gum. For a dairy-free option, this recipe is already dairy-free as long as you use dairy-free chocolate chips. If you want to reduce the sugar, you can cut the granulated sugar down to ¾ cup without affecting the texture too much.
Equipment Needed
The beauty of this recipe is that it asks for almost nothing special. Here is what you will need:
- One Large Mixing Bowl: Any bowl will do, but a wide, shallow bowl makes it easier to mix everything without spilling. I use a classic Pyrex glass bowl.
- A 9×5-Inch Loaf Pan: This is the standard size. If you use an 8×4-inch pan, you will need to increase the baking time by 5-10 minutes. If you use a smaller pan, the batter might overflow.
- Parchment Paper: Not strictly necessary, but it makes lifting the bread out of the pan a breeze. I cut a strip long enough to hang over the two long sides of the pan.
- Measuring Cups and Spoons: For accuracy. I have a set of metal measuring cups that I have had for years, and they never let me down.
- A Fork or Whisk: A fork works perfectly for mixing the batter, but a whisk will get it smoother faster.
- A Rubber Spatula: For scraping down the sides of the bowl and folding in the chocolate chips without overmixing.
- Cooling Rack: A wire rack is important for letting the bread cool evenly so the bottom doesn’t get soggy.
If you don’t have a loaf pan, you can bake this batter in a 9-inch square pan for about 25-30 minutes, or as muffins for 18-22 minutes. Just keep an eye on them.
Preparation Method
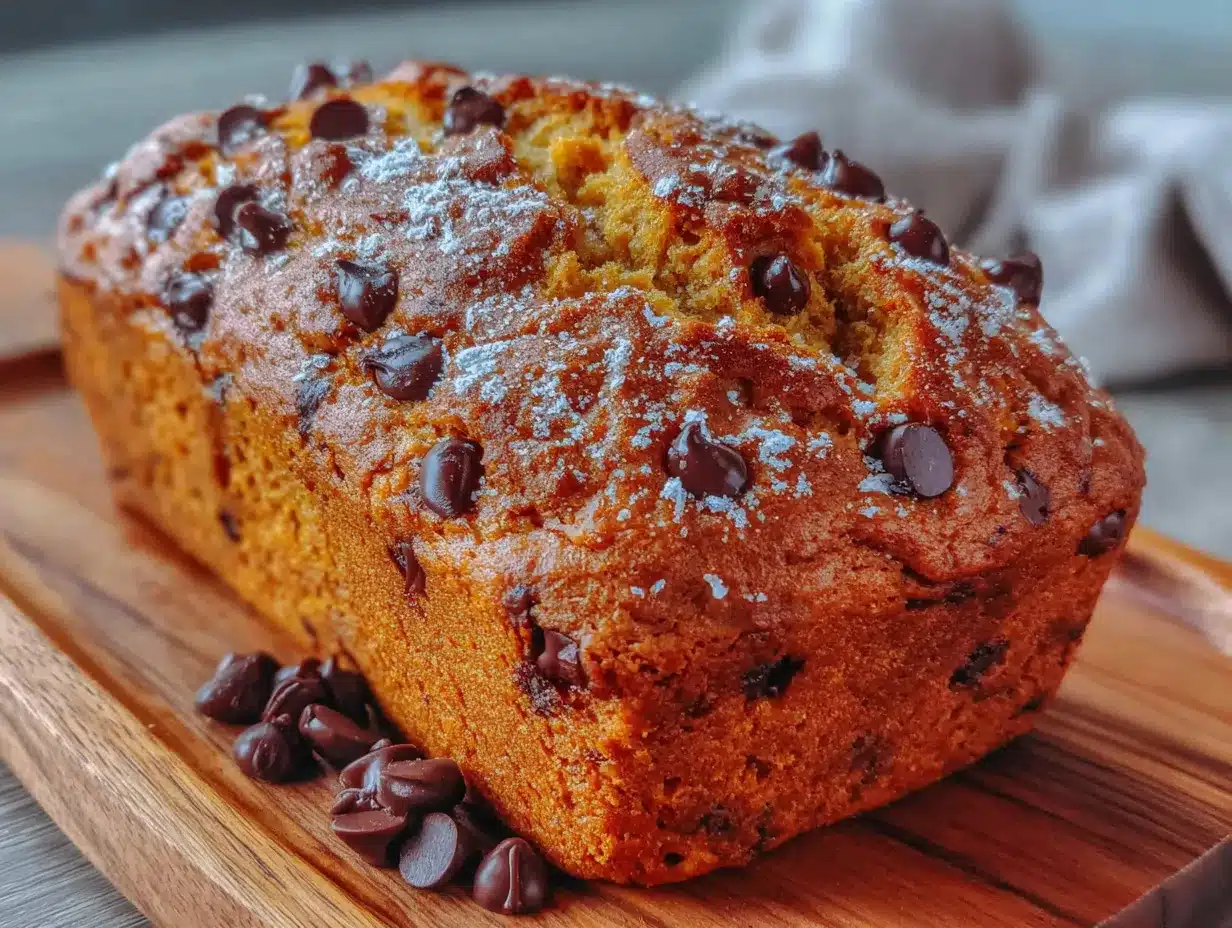
This is where the magic happens. Follow these steps, and you will have a perfect loaf every single time. I promise it is easier than you think.
- Preheat and Prep: Preheat your oven to 350°F (175°C). Lightly grease your 9×5-inch loaf pan with butter or non-stick spray. Then, line it with a strip of parchment paper, leaving a few inches of overhang on the long sides. This will be your handle for lifting the bread out later.
- Mix the Wet Ingredients: In your large mixing bowl, combine the 1 cup of granulated sugar, ½ cup of packed light brown sugar, and ½ cup of vegetable oil. Whisk them together until they are well combined and look like wet sand. It will be thick and a little grainy. Add the 2 large eggs and 2 teaspoons of vanilla extract, and whisk again until the mixture is smooth and glossy. The color will lighten slightly.
- Add the Pumpkin: Dump in the entire 15-ounce can of pumpkin puree. Whisk it all together until it is completely incorporated. The batter will turn a beautiful, deep orange color and smell incredible. Don’t worry if it looks a little curdled at this stage—that is normal. The oil and pumpkin are just getting to know each other.
- Add the Dry Ingredients: Directly on top of the wet mixture, add the 1 ¾ cups of all-purpose flour, 1 teaspoon of baking soda, 2 teaspoons of pumpkin pie spice, and ½ teaspoon of salt. Do not stir yet. This is important—if you stir right away, you will create a flour cloud. Instead, use your fork or whisk to gently stir the dry ingredients together on top of the batter. This helps distribute the baking soda and spices evenly without extra mixing.
- Mix Until Just Combined: Now, stir the dry ingredients into the wet ingredients. Use a folding motion with your rubber spatula. Stir just until you no longer see streaks of flour. A few small lumps are perfectly fine. Overmixing at this stage will develop the gluten and make your bread tough and dense. We want it tender, not chewy.
- Fold in the Chocolate Chips: Add 1 cup of semi-sweet chocolate chips to the batter. Gently fold them in with your spatula, using about 5-6 strokes. You want them evenly distributed but not broken up. If you stir too aggressively, the chocolate will melt into the batter and turn it gray. Not the end of the world, but not as pretty.
- Pour and Smooth: Scrape the batter into your prepared loaf pan. It will be thick and slightly sticky. Use your spatula to spread it into the corners and smooth the top. Give the pan a gentle tap on the counter to release any air bubbles.
- Bake: Place the pan in the preheated oven and bake for 55-65 minutes. The exact time depends on your oven. Start checking at the 50-minute mark. The bread is done when a toothpick inserted into the center comes out clean or with just a few moist crumbs attached. If it comes out with wet batter, it needs more time. The top should be a deep golden brown and have a beautiful crack down the middle. That crack is a sign of a good loaf.
- Cool in the Pan: Place the pan on a wire cooling rack and let the bread cool in the pan for 15 minutes. This allows the structure to set so it doesn’t fall apart when you lift it out.
- Lift and Cool Completely: After 15 minutes, use the parchment paper handles to lift the bread out of the pan and transfer it directly to the wire rack. Let it cool completely before slicing. I know it’s tempting to cut into it while it’s warm, but the bread will be too fragile and will crumble. Patience pays off here.
Sensory Cue: When the bread is done, your whole kitchen will smell like a fall candle, but better. The top will be firm to the touch and spring back slightly when you press it. If you listen closely, you might hear the bread making a soft crackling sound as it cools—that is the sugar crust setting.
Cooking Tips & Techniques
I have made this bread at least twenty times, and I have learned a few things the hard way. Here are my best tips to ensure your loaf is perfect every time.
Don’t Overmix the Batter. This is the number one mistake people make with quick breads. When you stir the flour into the wet ingredients, you activate the gluten. If you stir too much, the gluten forms long, tough strands, and your bread will be dense and rubbery. Stir until you don’t see dry flour, then stop. A few lumps are your friend.
Use Room Temperature Eggs. I know I said you can use cold eggs, and you can, but room temperature eggs emulsify into the batter much better. They create a smoother, more uniform texture. If you forget to take them out of the fridge, place them in a bowl of warm water for 5 minutes before using.
Check Your Oven Temperature. Ovens are liars. I have an oven thermometer that hangs on the middle rack, and I have discovered my oven runs about 25 degrees hot. If your bread is browning too quickly on top but is still raw in the center, tent it loosely with aluminum foil for the last 15 minutes of baking.
The Toothpick Test Isn’t Always Right. Sometimes a toothpick comes out clean, but the bread is still slightly underdone in the center. If you are unsure, use an instant-read thermometer. The internal temperature of a fully baked quick bread should be around 200-205°F (93-96°C).
Let It Cool Completely. I once cut into a loaf after only 20 minutes of cooling because I couldn’t wait. It was a disaster. The bread was gummy and fell apart. The cooling process is where the starches set and the crumb firms up. Trust me, it is worth the wait.
Variations & Adaptations
This recipe is a fantastic base for all kinds of creative twists. Here are some of my favorite variations that I have tried and loved.
Add Nuts for Crunch: Fold in ½ cup of chopped pecans or walnuts along with the chocolate chips. Toast them first in a dry pan for 3-4 minutes to bring out their flavor. The crunch is a lovely contrast to the soft bread.
Make It a Cream Cheese Swirl: This is my personal favorite. Beat 4 ounces of softened cream cheese with ¼ cup of sugar and 1 egg yolk. After you pour the batter into the pan, dollop the cream cheese mixture on top and swirl it in with a knife. It adds a tangy, rich ribbon that is absolutely divine.
Spice It Up Differently: If you don’t have pumpkin pie spice, use 1 ½ teaspoons of cinnamon, ½ teaspoon of nutmeg, ¼ teaspoon of ginger, and a pinch of cloves. For a chai-inspired version, add ½ teaspoon of cardamom and a pinch of black pepper. It sounds weird, but it works.
Go Gluten-Free: I have made this with King Arthur’s Measure for Measure gluten-free flour, and it turned out beautifully. The texture is slightly more crumbly, but the flavor is spot on. Add an extra tablespoon of milk or water if the batter seems too thick.
Make It a Loaf Cake: For a more decadent dessert, add a simple glaze. Whisk together 1 cup of powdered sugar, 2 tablespoons of milk, and ½ teaspoon of vanilla. Drizzle it over the cooled bread and let it set. It takes it from breakfast treat to showstopper dessert.
Serving & Storage Suggestions
This bread is incredibly versatile. Here is how to serve it and keep it fresh.
Serving: I love this bread slightly warm, about 15 minutes after it comes out of the oven. The chocolate chips are still a little melty, and the edges are perfectly crisp. For a special treat, toast a slice and spread it with salted butter. It’s also fantastic with a smear of cream cheese or a dollop of whipped cream. Serve it for breakfast with a hot cup of coffee, as an afternoon snack with a glass of milk, or as a simple dessert after dinner.
Storage: Store the completely cooled bread in an airtight container at room temperature. It will stay moist and delicious for up to 4 days. Do not refrigerate it—the cold air will dry it out and make the crumb stale. If you live in a very humid climate, you can store it in the refrigerator, but bring it to room temperature before serving.
Freezing: This bread freezes beautifully. Wrap the completely cooled loaf tightly in plastic wrap, then in a layer of aluminum foil. It will keep in the freezer for up to 3 months. When you are ready to eat it, thaw it overnight in the refrigerator or on the counter for a few hours. You can also freeze individual slices for a quick grab-and-go breakfast. Just pop a slice in the toaster to warm it up.
Flavor Development: Honestly, this bread tastes even better on the second day. The flavors meld together overnight, and the texture becomes even more moist. If you can resist eating it all on day one, you will be rewarded on day two.
Nutritional Information & Benefits
While I wouldn’t call this a health food, it does have some redeeming qualities. Here is the estimated nutritional breakdown for one slice (based on 10 slices per loaf).
| Nutrient | Amount per Slice |
|---|---|
| Calories | 320 |
| Total Fat | 14g |
| Saturated Fat | 4g |
| Cholesterol | 37mg |
| Sodium | 220mg |
| Total Carbohydrates | 47g |
| Dietary Fiber | 2g |
| Sugars | 30g |
| Protein | 4g |
Health Benefits: Pumpkin is packed with vitamin A, which is great for your eyes and immune system. It also contains fiber, which helps with digestion. The chocolate chips provide a small dose of antioxidants, and the whole grain flour (if you choose to use it) adds extra fiber. This is a treat, but it is a treat made with real, recognizable ingredients. I feel good about eating it for breakfast because it has pumpkin in it. That counts for something, right?
Dietary Considerations: This recipe contains gluten, eggs, and dairy (in the chocolate chips). For a dairy-free version, use dairy-free chocolate chips. For a gluten-free version, use a 1:1 gluten-free flour blend. It is naturally nut-free, but always check your chocolate chip label for cross-contamination warnings if you have a severe allergy.
Conclusion
This easy one-bowl pumpkin chocolate chip bread is the kind of recipe that becomes a staple. It is simple enough for a beginner baker but delicious enough to impress anyone. It has converted a pumpkin-hating neighbor, won over picky kids, and saved me from empty-handed embarrassment at more than one fall gathering. It is the recipe I turn to when I want to feel like I have my act together, even when I absolutely do not.
I hope you give this recipe a try and make it your own. Add extra chocolate chips, stir in some nuts, or leave it plain and simple. Whatever you do, don’t skip the parchment paper, and definitely don’t cut into it too early. Let me know how it turns out in the comments below. I would love to hear about your victories, your adaptations, and even your happy accidents. Happy baking!
Frequently Asked Questions
Can I use fresh pumpkin instead of canned?
Yes, you can, but it will change the texture slightly. Fresh pumpkin puree has more water content than canned. To use it, roast a sugar pumpkin until tender, puree it, and then strain it through a cheesecloth or a fine-mesh sieve to remove excess liquid. You want it to be as thick as the canned stuff. If it is too watery, your bread will be dense and gummy.
Can I make this recipe as muffins instead of a loaf?
Absolutely! Grease a 12-cup muffin tin or line it with paper liners. Divide the batter evenly among the cups, filling each about ¾ full. Bake at 350°F (175°C) for 18-22 minutes, or until a toothpick inserted into the center of a muffin comes out clean. The yield is about 14-16 muffins, so you may need to bake them in two batches.
Why did my pumpkin bread sink in the middle?
A sunken middle is usually a sign of underbaking or too much leavening. Make sure your baking soda is fresh (test it by dropping a little into vinegar—it should fizz vigorously). Also, don’t open the oven door during the first 30 minutes of baking. The rush of cold air can cause the bread to collapse. Finally, make sure you are baking it long enough. A toothpick test is your best friend.
Can I reduce the sugar in this recipe?
Yes, you can reduce the granulated sugar to ¾ cup without significantly affecting the texture. If you reduce it further, the bread may be less moist and have a denser crumb. The brown sugar is important for moisture, so I would not recommend reducing that. You can also try using a sugar substitute like monk fruit or erythritol, but I have not tested that myself, so I cannot guarantee the results.
How do I know when the bread is done without a toothpick?
If you don’t have a toothpick, you can use a thin skewer or a piece of uncooked spaghetti. You can also check the internal temperature with an instant-read thermometer. It should read 200-205°F (93-96°C) in the center. Another visual cue is that the edges of the bread will pull away slightly from the sides of the pan, and the top will be a deep golden brown with a crack down the middle.
Pin This Recipe!
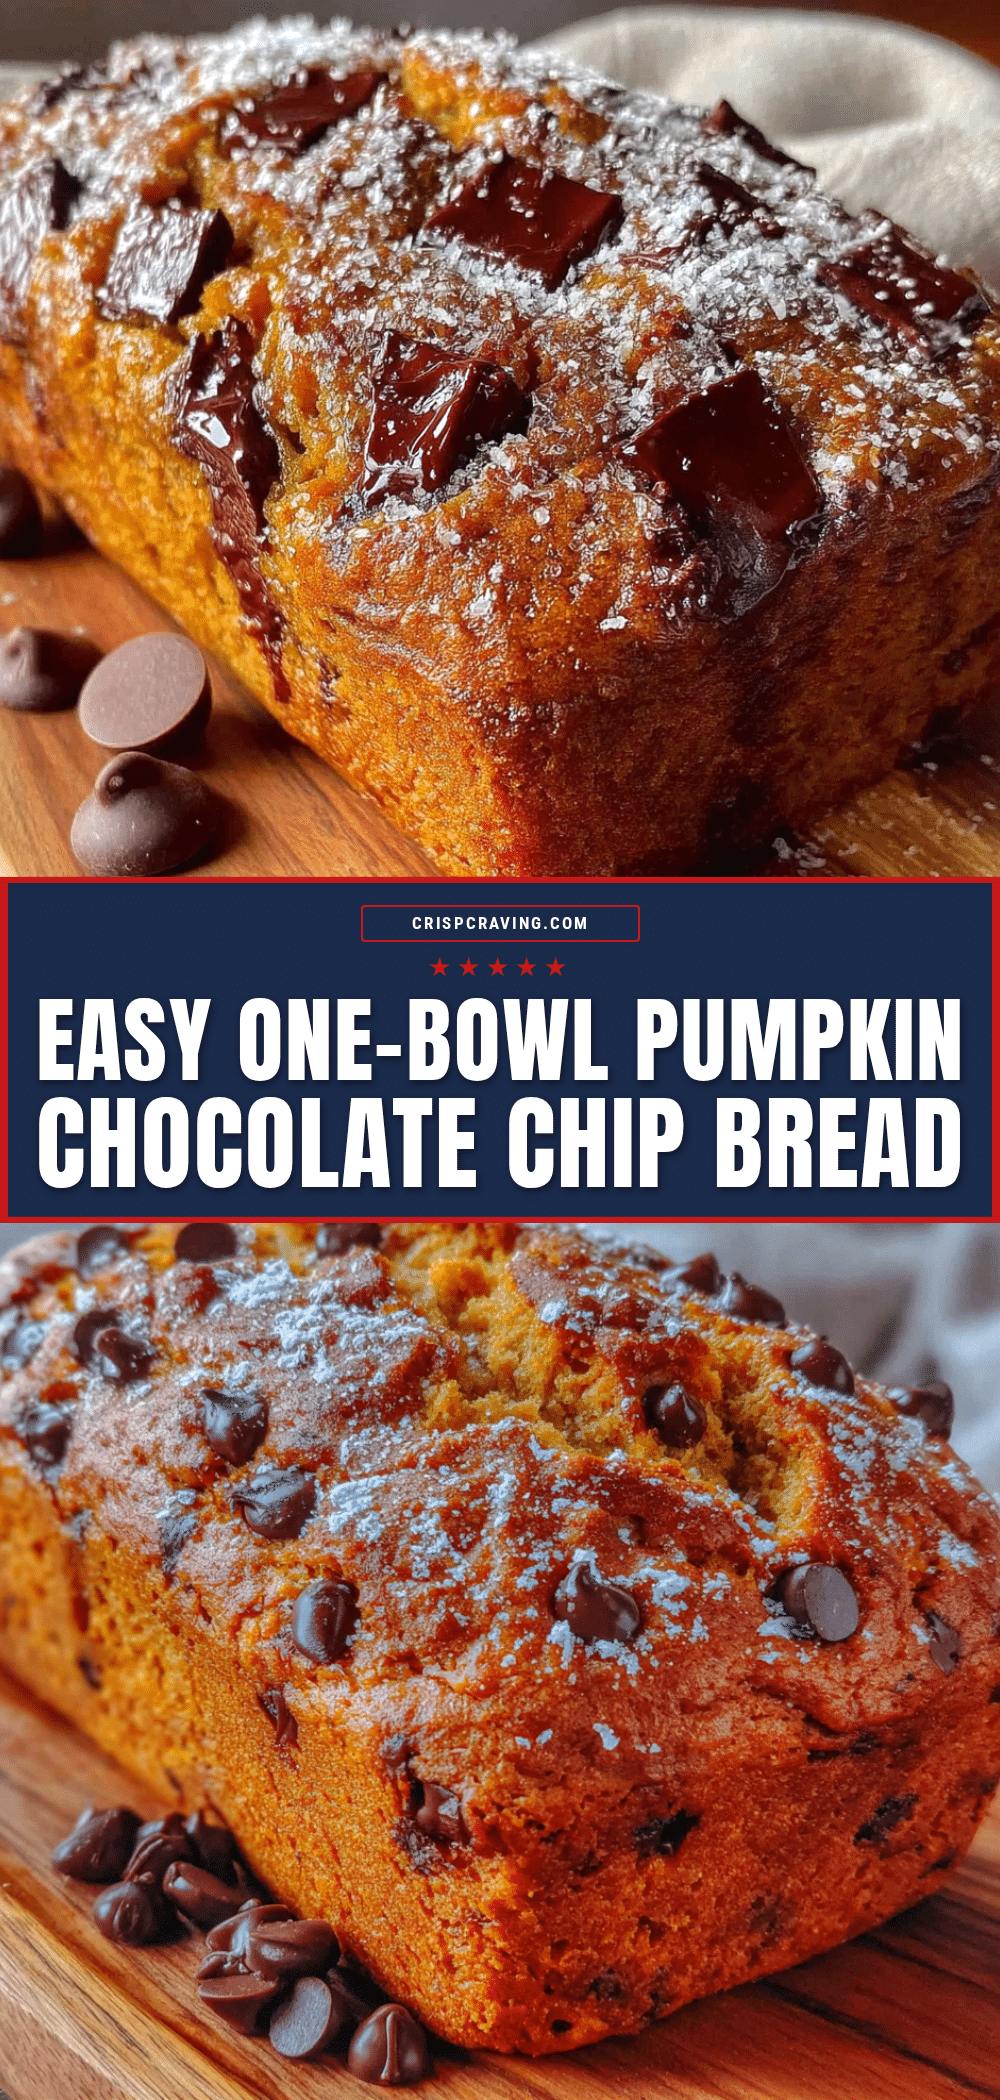
Best Easy Pumpkin Chocolate Chip Bread Recipe
This easy one-bowl pumpkin chocolate chip bread is moist, tender, and packed with melty chocolate in every bite. It’s a foolproof recipe that converts pumpkin skeptics and makes your kitchen smell like fall.
- Prep Time: 15 minutes
- Cook Time: 55 minutes
- Total Time: 1 hour 10 minutes
- Yield: 10 servings 1x
- Category: Dessert
- Cuisine: American
Ingredients
- 1 ¾ cups all-purpose flour
- 1 cup granulated sugar
- ½ cup light brown sugar, packed
- 1 can (15 ounces) pumpkin puree (not pumpkin pie filling)
- ½ cup vegetable oil
- 2 large eggs
- 2 teaspoons vanilla extract
- 1 teaspoon baking soda
- 2 teaspoons pumpkin pie spice
- ½ teaspoon salt
- 1 cup semi-sweet chocolate chips
Instructions
- Preheat oven to 350°F (175°C). Lightly grease a 9×5-inch loaf pan and line with parchment paper, leaving overhang on the long sides.
- In a large mixing bowl, combine granulated sugar, brown sugar, and vegetable oil. Whisk until well combined and resembles wet sand.
- Add eggs and vanilla extract; whisk until smooth and glossy.
- Add pumpkin puree and whisk until fully incorporated. Batter will be deep orange and may look slightly curdled.
- Add flour, baking soda, pumpkin pie spice, and salt on top of the wet mixture. Gently stir dry ingredients together on top of the batter before mixing into the wet ingredients.
- Stir until just combined; do not overmix. A few lumps are fine.
- Fold in chocolate chips gently with a rubber spatula.
- Pour batter into prepared loaf pan, spread evenly, and tap pan on counter to release air bubbles.
- Bake for 55-65 minutes, or until a toothpick inserted in the center comes out clean or with a few moist crumbs. If browning too quickly, tent with foil for the last 15 minutes.
- Cool in pan on a wire rack for 15 minutes, then lift out using parchment handles and cool completely before slicing.
Notes
For best results, use room temperature eggs. Do not overmix the batter. Let the bread cool completely before slicing to avoid crumbling. The bread tastes even better on the second day. For a gluten-free version, use a 1:1 gluten-free flour blend. For dairy-free, use dairy-free chocolate chips.
Nutrition
- Serving Size: 1 slice
- Calories: 320
- Sugar: 30
- Sodium: 220
- Fat: 14
- Saturated Fat: 4
- Carbohydrates: 47
- Fiber: 2
- Protein: 4
Keywords: pumpkin bread, chocolate chip bread, easy pumpkin bread, one bowl pumpkin bread, fall baking, quick bread