Love this? Save it for later!
Share the inspiration with your friends
It was 10:47 PM on a particularly drizzly Tuesday in October, and I had a jar of sourdough discard staring at me from the fridge like it knew something I didn’t. I didn’t have the energy for a full sourdough loaf—honestly, who does at that hour?—but I had a can of pumpkin puree left over from a pie experiment gone wrong, and the sudden, inexplicable idea that these two things belonged together. I mean, it sounded weird at first. Sourdough and pumpkin? But my brain, in its late-night, slightly-tired wisdom, just went for it.
I pulled out my shaggiest mixing bowl—the one with the tiny chip on the rim—and started throwing things together. I didn’t measure perfectly. I forgot to set a timer at one point and just judged by the smell. And you know what? That loaf that came out of the oven, all golden and domed with a faintly tangy, sweet aroma, was the best mistake I’d made all month. It wasn’t just good; it was the kind of bread that makes you stop mid-slice and just stare at it for a second. That’s the thing about late-night baking, isn’t it? The rules loosen up, and sometimes, the best recipes are born from a happy accident. This pumpkin sourdough discard bread is that happy accident, perfected and ready for your kitchen.
Why You’ll Love This Recipe
Let me tell you why this particular loaf has earned a permanent spot in my weekly baking rotation. I’ve tested this recipe about seven times now, tweaking the hydration and the spice balance until it was just right. It’s not just another pumpkin bread recipe—it’s the one that solves the sourdough discard problem in the most delicious way possible.
- Uses Up That Discard: If you keep a sourdough starter, you know the struggle of finding ways to use the discard without making the same old crackers. This bread is your new best friend.
- Quick & Easy: No long fermentation or complicated folding schedules. This comes together in about 15 minutes of active prep time. Perfect for a lazy Sunday morning or a Tuesday night baking session.
- Simple Ingredients: You likely have everything on hand—flour, discard, pumpkin puree, butter, sugar, and spices. No trips to a specialty store required.
- Perfect for Fall: But honestly, I make this year-round. The pumpkin keeps it incredibly moist, and the spices make any day feel a little cozier.
- Unbelievably Tender: The combination of sourdough discard and pumpkin puree creates a crumb that’s soft, tender, and stays fresh for days. It’s almost cake-like, but not too sweet.
- Crowd-Pleaser: I brought this to a neighborhood potluck last week, and three people asked for the recipe before the night was over. Even the folks who “don’t like sourdough” were going back for seconds.
This isn’t just another pumpkin bread recipe floating around the internet. It’s the one that uses your sourdough discard in a way that actually makes sense—adding a subtle tang that balances the sweet pumpkin and warm spices perfectly. It’s comfort food reimagined: faster, easier, and with that little extra depth from the fermentation. You’ll close your eyes after the first bite, I promise.
What Ingredients You Will Need
This recipe relies on simple, pantry-friendly ingredients that work together to create a loaf that’s moist, flavorful, and has that perfect tender crumb. Here’s what you need and why each one matters.
- Sourdough Discard (1 cup, 240g): This is the star of the show. Use unfed discard straight from the fridge. It doesn’t need to be active or bubbly—that’s the beauty of discard recipes. The discard adds a subtle tang and helps keep the bread incredibly moist. I like to use my discard when it’s about a week old for the best flavor.
- Pumpkin Puree (1 cup, 245g): Make sure you’re using 100% pure pumpkin puree, not pumpkin pie filling. The puree adds moisture, a beautiful golden color, and a mild sweetness. I prefer Libby’s brand for its consistent texture, but any store brand works fine.
- All-Purpose Flour (1 ¾ cups, 220g): Regular all-purpose flour gives this bread the perfect structure. It’s sturdy enough to hold the moisture from the pumpkin and discard but still yields a tender crumb. You can substitute a good quality gluten-free 1:1 baking flour if needed.
- Granulated Sugar (¾ cup, 150g): Adds just the right amount of sweetness without overwhelming the pumpkin or the tang from the sourdough. You can reduce it to ½ cup if you prefer a less sweet loaf.
- Brown Sugar (¼ cup, 50g, packed): This adds a touch of molasses depth and keeps the bread extra moist. Light or dark brown sugar both work; dark will give a richer flavor.
- Unsalted Butter (½ cup, 113g, melted and cooled): Butter gives this bread its rich flavor and tender texture. I’ve tested it with coconut oil, and while it works, the butter version is just better. Use a good quality butter like Kerrygold for the best taste.
- Large Eggs (2, room temperature): Eggs provide structure and help bind everything together. Make sure they’re at room temperature so they incorporate smoothly into the batter.
- Vanilla Extract (1 teaspoon): Enhances the warm spices and adds a lovely background flavor. Pure vanilla extract is best, but imitation works in a pinch.
- Pumpkin Pie Spice (2 teaspoons): You can use store-bought or make your own. I make mine with 1 teaspoon cinnamon, ½ teaspoon ginger, ¼ teaspoon nutmeg, ¼ teaspoon cloves, and a pinch of allspice. It’s so easy and tastes much fresher.
- Baking Soda (1 teaspoon): This is the leavening agent. The acidity in the sourdough discard reacts with the baking soda to help the bread rise beautifully. Don’t skip it or substitute with baking powder—the reaction is key.
- Salt (½ teaspoon): Balances the sweetness and enhances all the flavors. I use fine sea salt.
Equipment Needed
You don’t need a fancy bakery setup for this recipe. Here’s what you’ll need, along with a few tips from my own kitchen.
- 9×5-inch Loaf Pan: This is the standard size for this recipe. I use a light-colored metal pan for even browning. If you use a dark non-stick pan, keep an eye on the bread during the last 10 minutes of baking—it can brown faster. Glass or ceramic pans work too but may require an extra 5-10 minutes in the oven.
- Large Mixing Bowl: Any large bowl will do. I have a favorite ceramic one that’s seen better days—it has a small crack on the rim—but it’s perfect for this job.
- Whisk: For mixing the wet ingredients. A wooden spoon or spatula works too, but a whisk ensures everything is smooth and lump-free.
- Rubber Spatula: For folding the dry ingredients into the wet. It helps you scrape the sides and bottom of the bowl so nothing is left unmixed.
- Measuring Cups and Spoons: For accuracy. I prefer to weigh my ingredients for the best results, especially the flour and discard. A digital kitchen scale is a game-changer for baking.
- Parchment Paper: Lining the loaf pan makes lifting the bread out so much easier. You can also grease the pan with butter and dust it with flour if you don’t have parchment.
- Cooling Rack: Essential for letting the bread cool evenly. If you leave it in the pan too long, the bottom can get soggy.
Preparation Method
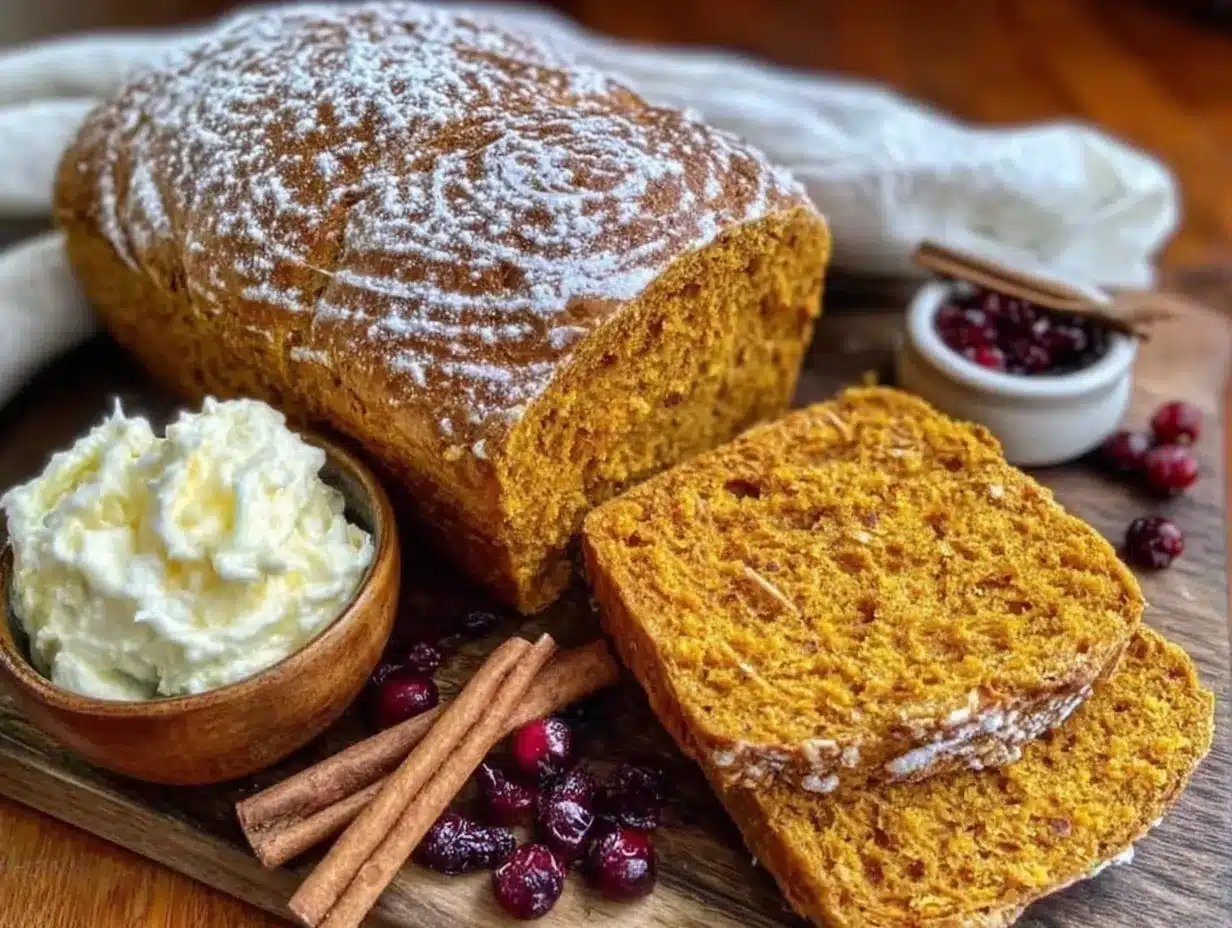
Alright, let’s get baking. This is straightforward, but I’ll walk you through each step with the little details that make a difference. Trust me on the order of things—it matters.
- Preheat and Prep: Preheat your oven to 350°F (175°C). Position the rack in the center of the oven. Line your 9×5-inch loaf pan with a strip of parchment paper, leaving some overhang on the two long sides. This creates “handles” for lifting the bread out later. Lightly grease the exposed sides of the pan with butter or non-stick spray.
- Mix the Dry Ingredients: In a medium bowl, whisk together the all-purpose flour, pumpkin pie spice, baking soda, and salt. Whisk for about 20 seconds to ensure everything is evenly distributed. Set this aside. This step aerates the flour and ensures no clumps of baking soda end up in your bread.
- Combine the Wet Ingredients: In your large mixing bowl, combine the sourdough discard, pumpkin puree, melted and cooled butter, granulated sugar, and packed brown sugar. Whisk until smooth and well combined. It should look like a thick, glossy orange batter. Don’t worry if it seems a little lumpy—the pumpkin can be stubborn. Just keep whisking.
- Add Eggs and Vanilla: Crack the eggs into the wet mixture one at a time, whisking well after each addition. Then add the vanilla extract and whisk until everything is smooth and uniform. The mixture will look a bit looser now, which is perfect.
- Fold in the Dry Ingredients: Pour the dry ingredients into the wet mixture. Using your rubber spatula, gently fold the flour into the wet ingredients. Use a “cut and fold” motion—scrape down the sides and bottom of the bowl, then fold the batter over itself. Stop folding as soon as you no longer see streaks of flour. Over-mixing will make the bread tough. A few small lumps are okay.
- Pour and Smooth: Scrape the batter into your prepared loaf pan. Use the spatula to spread it evenly into the corners. Give the pan a gentle tap on the counter to release any air bubbles. The batter will be thick and slightly sticky—that’s normal.
- Bake: Place the pan in the preheated oven and bake for 50-60 minutes. The exact time depends on your oven. At the 50-minute mark, start checking for doneness. Insert a wooden skewer or a toothpick into the center of the bread—it should come out clean or with just a few moist crumbs attached. If the top is browning too quickly but the center is still raw, tent the pan loosely with aluminum foil for the last 15 minutes of baking.
- Cool in the Pan: Once baked, remove the pan from the oven and place it on a cooling rack. Let the bread cool in the pan for 15 minutes. This allows it to set and makes it easier to remove without falling apart.
- Remove and Cool Completely: After 15 minutes, use the parchment paper handles to lift the bread out of the pan. Place it directly on the cooling rack to cool completely. This is important—if you slice it while it’s still warm, it will be gummy and fall apart. I know it’s hard to wait, but give it at least 1 hour. The flavor and texture improve as it cools.
Cooking Tips & Techniques
I’ve made this recipe enough times to learn a few things the hard way. Here are my best tips to ensure your loaf turns out perfect every single time.
- Don’t Overmix: This is the number one mistake I see with quick breads. Once you add the flour, mix only until it’s just combined. Over-mixing develops the gluten and makes the bread dense and tough. A few lumps are your friends here.
- Room Temperature Ingredients Matter: Cold eggs can seize up the melted butter and make the batter lumpy. Let your eggs sit on the counter for 30 minutes before starting. If you forget, place them in a bowl of warm water for 5 minutes.
- Check Your Oven Temperature: Ovens can be liars. I once baked this bread at what I thought was 350°F, but it took almost 75 minutes because my oven was running cool. An inexpensive oven thermometer is a great investment for any baker.
- The Toothpick Test is Key: Don’t rely solely on time. Every oven is different. Start checking at 50 minutes, and if the toothpick comes out with wet batter, give it 5 more minutes. If it’s browning too fast, use that foil tent.
- Let It Cool: I know the smell is intoxicating, but slicing this bread while it’s warm will result in a crumbly, gummy mess. The starches need time to set. Patience, my friend. It’s worth it.
- Use a Scale for the Discard: Sourdough discard can vary in hydration depending on how you feed your starter. Weighing it (240g) is much more accurate than using a cup measure. This ensures your bread has the perfect moisture balance every time.
Variations & Adaptations
This recipe is wonderfully flexible. Here are a few ways I’ve adapted it over the months, depending on what I have on hand or who I’m baking for.
- Chocolate Chip Pumpkin Sourdough Bread: Fold in ¾ cup of semi-sweet or dark chocolate chips along with the dry ingredients. The chocolate pairs beautifully with the pumpkin and the tangy sourdough. I did this on a whim one afternoon, and it was a huge hit with my niece.
- Gluten-Free Version: Substitute the all-purpose flour with a high-quality 1:1 gluten-free baking flour blend (I like Bob’s Red Mill). Add 1 teaspoon of xanthan gum if your blend doesn’t already include it. The texture will be slightly more delicate, but it’s still delicious.
- Vegan Adaptation: Replace the eggs with 2 flax eggs (2 tablespoons ground flaxseed mixed with 6 tablespoons water, let sit for 5 minutes). Use melted coconut oil or a vegan butter stick instead of dairy butter. The bread will be a bit denser but still very moist and flavorful.
- Spiced-Up Version: Add ½ teaspoon of cardamom and a pinch of black pepper to the spice mix. The cardamom adds a lovely floral note, and the pepper enhances the warmth without making it spicy. It’s my go-to for the holidays.
- Nutty Crunch: Fold in ½ cup of toasted pecans or walnuts along with the dry ingredients. The crunch adds a wonderful contrast to the tender crumb. Toast the nuts first in a dry pan for 3-4 minutes to bring out their flavor.
- Streusel Topping: Mix ¼ cup flour, ¼ cup brown sugar, 2 tablespoons cold butter, and ½ teaspoon cinnamon until crumbly. Sprinkle over the batter before baking. It creates a gorgeous, crunchy top that’s absolutely irresistible.
Serving & Storage Suggestions
This bread is versatile enough for breakfast, a snack, or even dessert. Here’s how I like to serve and store it.
Serving: This bread is best served at room temperature. Slice it thick and enjoy it plain, or go the extra mile. Toast a slice and slather it with salted butter—the contrast of warm, crispy edges and soft, tender crumb is heaven. For a more decadent treat, spread a layer of cream cheese frosting or a drizzle of maple glaze on top. It’s also fantastic with a dollop of Greek yogurt and a sprinkle of cinnamon for a quick breakfast.
Storage: Store the completely cooled bread in an airtight container at room temperature for up to 4 days. I like to wrap it in a layer of parchment paper and then place it in a zip-top bag. This keeps the crust from getting too hard while maintaining the moist crumb. Do not refrigerate it—the fridge will dry it out and make it stale faster.
Freezing: This bread freezes beautifully. Once completely cool, wrap the whole loaf (or individual slices) tightly in plastic wrap, then in a layer of aluminum foil. Place in a freezer-safe bag and freeze for up to 3 months. To thaw, leave it on the counter overnight, or pop a frozen slice in the toaster for a quick treat. The flavor actually seems to deepen after freezing.
Flavor Development: If you can manage it, this bread is even better on the second day. The flavors meld together, and the texture becomes even more tender. It’s one of those rare recipes that actually improves with a little time.
Nutritional Information & Benefits
While this is a treat, it does have some redeeming qualities. Here’s a rough estimate per slice (based on 10 slices).
| Nutrient | Amount per Slice |
|---|---|
| Calories | 285 |
| Total Fat | 11g |
| Saturated Fat | 6g |
| Carbohydrates | 42g |
| Fiber | 2g |
| Sugar | 20g |
| Protein | 5g |
Ingredient Benefits: Pumpkin puree is packed with vitamin A, fiber, and antioxidants. It’s what keeps this bread so moist without needing excessive oil or butter. The sourdough discard adds a touch of gut-friendly fermentation, and the whole grains (if you use whole wheat pastry flour) can add extra fiber. It’s not health food, but it’s a feel-good treat that uses up your kitchen scraps in the most delicious way possible.
Dietary Considerations: This recipe is vegetarian. For a vegan or gluten-free version, see the variations section above. It contains dairy (butter) and gluten (flour), so keep that in mind for allergies.
Conclusion
This pumpkin sourdough discard bread is more than just a way to use up your starter—it’s a genuinely delicious loaf that deserves a place in your regular baking rotation. It’s the kind of recipe that feels special enough for a holiday brunch but is simple enough for a random Tuesday night. The tang of the sourdough, the sweetness of the pumpkin, and the warmth of the spices come together in a way that just works. Honestly, it’s become my go-to for fall baking, and I don’t see that changing anytime soon.
I’d love to hear how yours turns out. Did you add chocolate chips? Try it with the streusel topping? Or maybe you discovered your own happy accident along the way? Drop a comment below and let me know. And if you share it on social media, tag me—I love seeing your bakes. Now go preheat that oven and give that sourdough discard a new purpose. You won’t regret it!
Frequently Asked Questions
Can I use active sourdough starter instead of discard?
Yes, you can! If you use active, bubbly starter, the bread will rise a little more and have a slightly milder tang. The texture will be a bit lighter. Just make sure your starter is at 100% hydration (equal parts flour and water) for the best results.
Can I make this recipe dairy-free?
Absolutely. Substitute the melted butter with an equal amount of melted coconut oil or a neutral-flavored vegetable oil. The coconut oil will add a slight coconut flavor, which pairs nicely with the pumpkin. You can also use a vegan butter stick for a more buttery taste.
Why did my bread sink in the middle?
A sunken middle usually means the bread was underbaked. The center needs enough time to set. Make sure your oven is at the correct temperature (use an oven thermometer!), and don’t open the oven door during the first 40 minutes of baking. The cold air can cause the loaf to collapse.
Can I add mix-ins like nuts or chocolate chips?
Yes! Fold in up to ¾ cup of mix-ins like chocolate chips, chopped pecans, walnuts, or dried cranberries. Add them along with the dry ingredients and fold gently until just distributed. This prevents them from sinking to the bottom of the loaf.
How do I know when the bread is fully baked?
The best test is the toothpick test. Insert a wooden skewer or toothpick into the center of the loaf. If it comes out clean or with just a few moist crumbs (not wet batter), it’s done. The internal temperature should be around 200-205°F (93-96°C) if you use an instant-read thermometer.
Pin This Recipe!
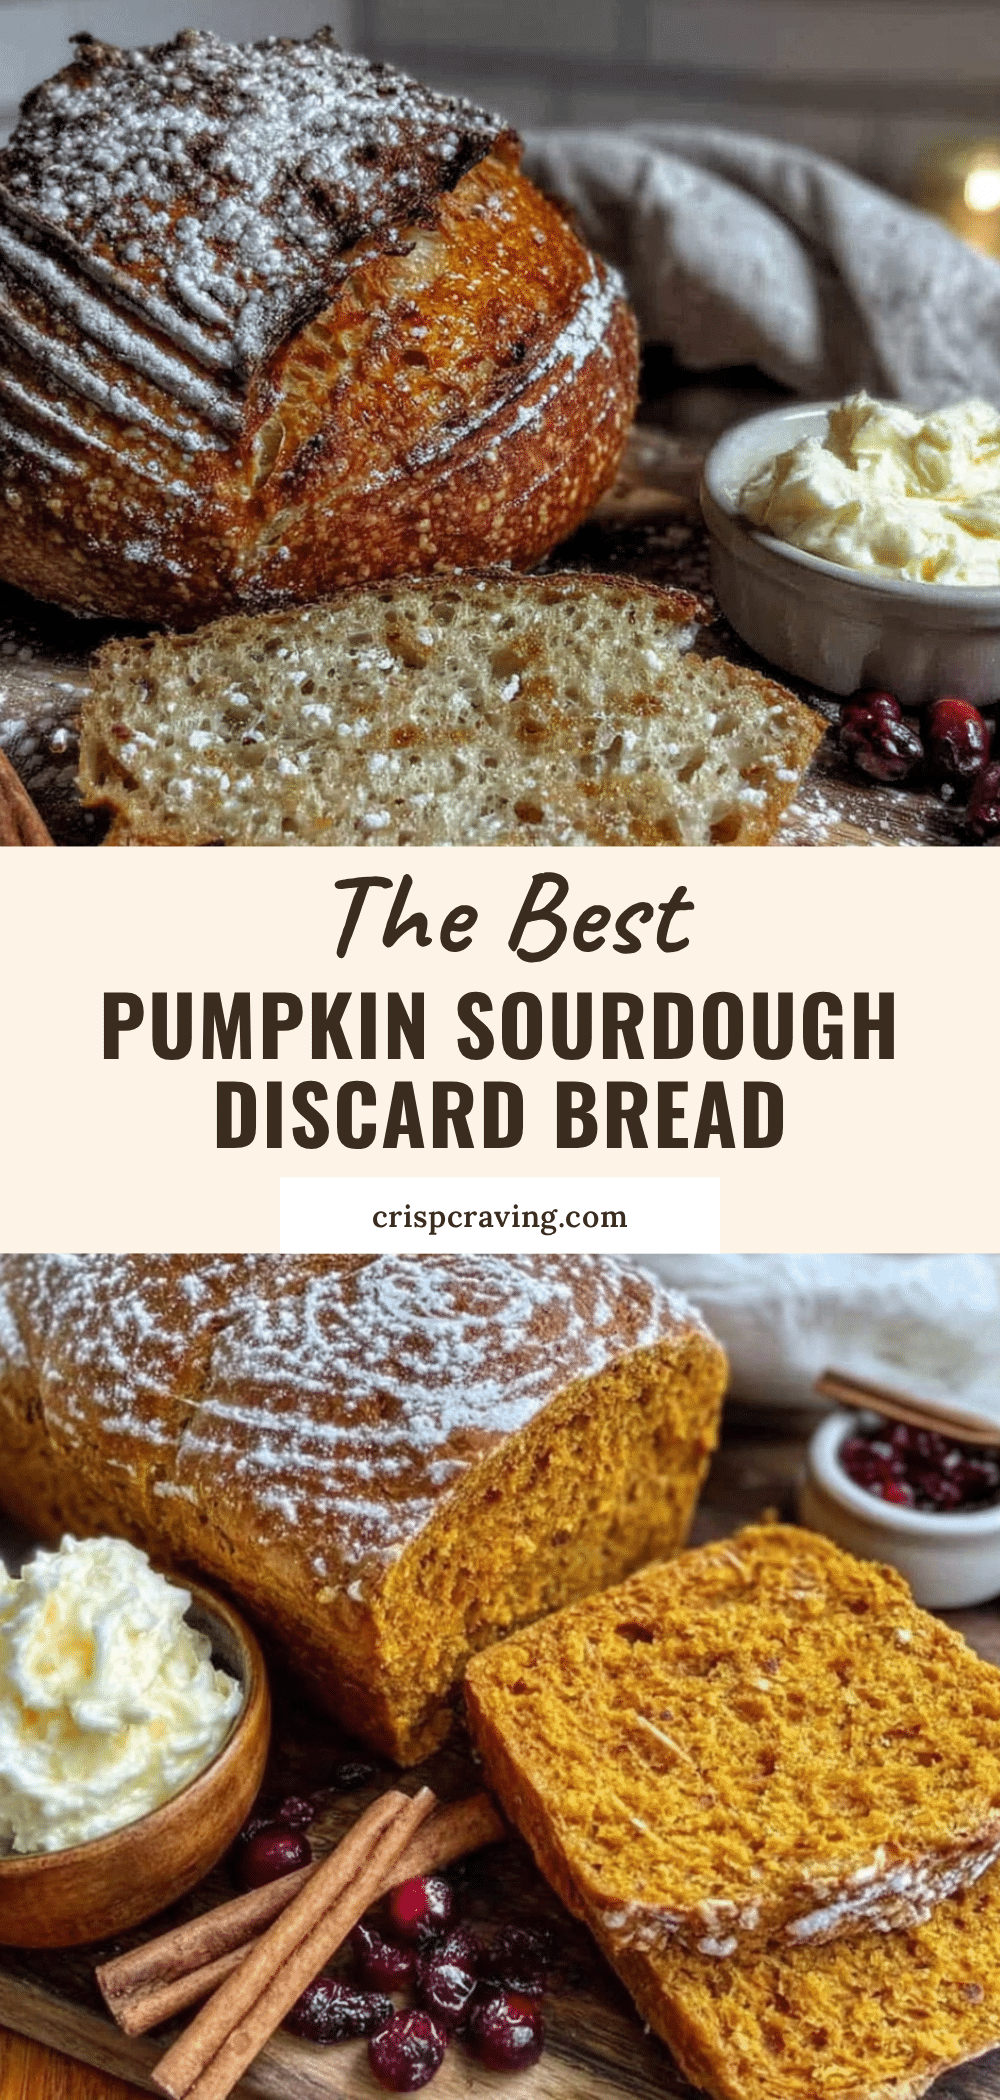
The Best Easy Pumpkin Sourdough Discard Bread
This pumpkin sourdough discard bread is a quick and easy recipe that uses up your sourdough discard in the most delicious way possible. It’s moist, tender, and perfectly spiced, making it a crowd-pleaser for fall baking or any time of year.
- Prep Time: 15 minutes
- Cook Time: 55 minutes
- Total Time: 1 hour 10 minutes
- Yield: 10 servings 1x
- Category: Bread
- Cuisine: American
Ingredients
- 1 cup (240g) sourdough discard
- 1 cup (245g) pumpkin puree (100% pure, not pie filling)
- 1 ¾ cups (220g) all-purpose flour
- ¾ cup (150g) granulated sugar
- ¼ cup (50g) packed brown sugar
- ½ cup (113g) unsalted butter, melted and cooled
- 2 large eggs, room temperature
- 1 teaspoon vanilla extract
- 2 teaspoons pumpkin pie spice
- 1 teaspoon baking soda
- ½ teaspoon fine sea salt
Instructions
- Preheat your oven to 350°F (175°C). Position the rack in the center of the oven. Line a 9×5-inch loaf pan with a strip of parchment paper, leaving overhang on the two long sides. Lightly grease the exposed sides of the pan with butter or non-stick spray.
- In a medium bowl, whisk together the all-purpose flour, pumpkin pie spice, baking soda, and salt for about 20 seconds until evenly distributed. Set aside.
- In a large mixing bowl, combine the sourdough discard, pumpkin puree, melted and cooled butter, granulated sugar, and packed brown sugar. Whisk until smooth and well combined.
- Add the eggs one at a time, whisking well after each addition. Then add the vanilla extract and whisk until smooth and uniform.
- Pour the dry ingredients into the wet mixture. Using a rubber spatula, gently fold the flour into the wet ingredients using a ‘cut and fold’ motion until just combined. Do not overmix; a few small lumps are okay.
- Scrape the batter into the prepared loaf pan and spread it evenly. Give the pan a gentle tap on the counter to release air bubbles.
- Bake for 50-60 minutes. At the 50-minute mark, insert a wooden skewer or toothpick into the center; it should come out clean or with a few moist crumbs. If the top browns too quickly, tent loosely with aluminum foil for the last 15 minutes.
- Remove the pan from the oven and place on a cooling rack. Let the bread cool in the pan for 15 minutes.
- Use the parchment paper handles to lift the bread out of the pan and place it directly on the cooling rack. Cool completely (at least 1 hour) before slicing.
Notes
Don’t overmix the batter to avoid a dense loaf. Use room temperature eggs for better incorporation. Check oven temperature with an oven thermometer for accuracy. Let the bread cool completely before slicing to prevent a gummy texture. For best flavor, the bread is even better on the second day.
Nutrition
- Serving Size: 1 slice
- Calories: 285
- Sugar: 20
- Fat: 11
- Saturated Fat: 6
- Carbohydrates: 42
- Fiber: 2
- Protein: 5
Keywords: pumpkin sourdough discard bread, sourdough discard recipe, pumpkin bread, easy pumpkin bread, sourdough pumpkin bread, fall baking, quick bread



