Love this? Save it for later!
Share the inspiration with your friends
I used to think baked chicken was a compromise. You know, the thing you make when you’re trying to be good but secretly wishing you had fried chicken instead. Then my neighbor across the hall, an older guy named Sal who retired from a deli in Brooklyn, watched me hauling groceries one Tuesday and just shook his head. “You’re doing it wrong,” he said, and handed me a crumpled piece of paper through my cracked screen door. It wasn’t even a recipe, honestly—just a list of ingredients scrawled in pencil with the instruction “mix, coat, bake, shut up and eat.” I laughed, but I tried it that night, and let me tell you, the crispy garlic parmesan baked chicken thighs that came out of my oven changed everything. The skin was shatteringly crisp, the meat was juicy, and I actually forgot I was eating something baked. Maybe you’ve been there—standing in front of your oven, skeptical that you can get that golden crunch without a deep fryer. This recipe is the answer. It stayed with me because it proved that with the right technique, you don’t have to sacrifice texture for convenience. Three years later, I still make it every other week, and I think about Sal every time.
Why You’ll Love This Recipe
Let me be real with you—I’ve tested a lot of baked chicken recipes in my time. Some were dry, some were bland, and some just didn’t deliver on the “crispy” promise. This crispy garlic parmesan baked chicken thighs recipe is different, and here’s why:
- Quick & Easy: Comes together in under 45 minutes, with only 10 minutes of active prep. Perfect for those nights when you’re staring at the fridge wondering what’s for dinner.
- Simple Ingredients: No fancy grocery trips needed. You likely already have garlic, parmesan, and breadcrumbs in your kitchen. I mean, who doesn’t?
- Perfect for Weeknights: This is great for busy Tuesdays, lazy Sundays, or when you need to impress someone without breaking a sweat.
- Crowd-Pleaser: My kids devour these, my husband requests them weekly, and they’ve even won over my mother-in-law who “doesn’t like baked chicken.”
- Unbelievably Delicious: The texture is next-level—crispy on the outside, tender and juicy on the inside. That garlic-parmesan crust is pure magic.
What makes this recipe different from the rest? It’s the technique of using a wire rack over a baking sheet, which allows hot air to circulate all around the chicken. No soggy bottoms here! Plus, the combination of finely grated parmesan with panko breadcrumbs creates a crust that actually stays crunchy. This isn’t just another version—it’s my best version, perfected through trial and error (and a few burnt batches, honestly).
This recipe is the kind that makes you close your eyes after the first bite. It’s comfort food reimagined—healthier, faster, but with the same soul-soothing satisfaction. Perfect for impressing guests without stress, or turning a simple Tuesday into something memorable.
What Ingredients You Will Need
This recipe uses simple, wholesome ingredients to deliver bold flavor and satisfying texture without the fuss. Most of these are pantry staples, so you probably have them on hand already.
- For the Chicken:
- 6 bone-in, skin-on chicken thighs (about 2.5 pounds total) — bone-in keeps them juicy; skin-on gives you that crispy factor
- 1 tablespoon olive oil — helps the coating stick and promotes browning
- 1 teaspoon salt — I prefer kosher salt for even seasoning
- ½ teaspoon black pepper — freshly ground is best
- For the Crispy Coating:
- ½ cup panko breadcrumbs — these are flakier than regular breadcrumbs and give superior crunch
- ¼ cup finely grated parmesan cheese — use the good stuff from a block, not the powdery canister kind (trust me on this)
- 3 cloves garlic, minced — fresh garlic is non-negotiable here; don’t use the jarred stuff
- 2 tablespoons unsalted butter, melted — adds richness and helps the crust brown
- 1 teaspoon dried Italian seasoning — or a mix of dried oregano, basil, and thyme
- ½ teaspoon paprika — adds color and a subtle smoky note
- ¼ teaspoon garlic powder — for extra garlic depth without burning
- For Garnish (Optional but Recommended):
- 2 tablespoons fresh parsley, chopped — adds color and freshness
- Extra grated parmesan for sprinkling
- Lemon wedges for serving — the acid cuts through the richness beautifully
Ingredient Tips: I recommend using Kraft or Ian’s panko breadcrumbs for the best texture. For the parmesan, look for a block of Parmigiano-Reggiano if you can—it melts better and has a nuttier flavor. If you’re using dried herbs, make sure they’re not too old; stale herbs can make the coating taste flat. For a dairy-free option, use nutritional yeast instead of parmesan and coconut oil instead of butter, though the texture will be slightly different.
Equipment Needed
You don’t need a ton of fancy equipment for this recipe, which is part of why I love it. Here’s what you’ll need:
- Baking sheet — a rimmed half-sheet pan works best to catch any drips
- Wire rack — this is key for crispy chicken; it lifts the thighs off the pan so air can circulate. I use a simple cooling rack that fits inside my baking sheet
- Mixing bowls — one large bowl for the chicken and one shallow dish for the coating
- Tongs — for flipping and transferring the chicken without messing up the coating
- Chef’s knife and cutting board — for mincing garlic and chopping parsley
- Measuring spoons and cups — for accuracy, though I often eyeball the seasonings now
- Meat thermometer — I cannot stress this enough; it’s the only way to guarantee perfectly cooked chicken every time
Budget-Friendly Alternatives: If you don’t have a wire rack, you can crumple aluminum foil into snake-like shapes and place them on the baking sheet to elevate the chicken. It’s not perfect, but it works in a pinch. Also, a standard oven-safe cooling rack from a dollar store works just as well as an expensive one.
Maintenance Tip: After using your wire rack for chicken, soak it in hot soapy water for 10 minutes before scrubbing. Baked-on cheese and breadcrumbs can be stubborn, but this makes cleanup much easier.
Preparation Method
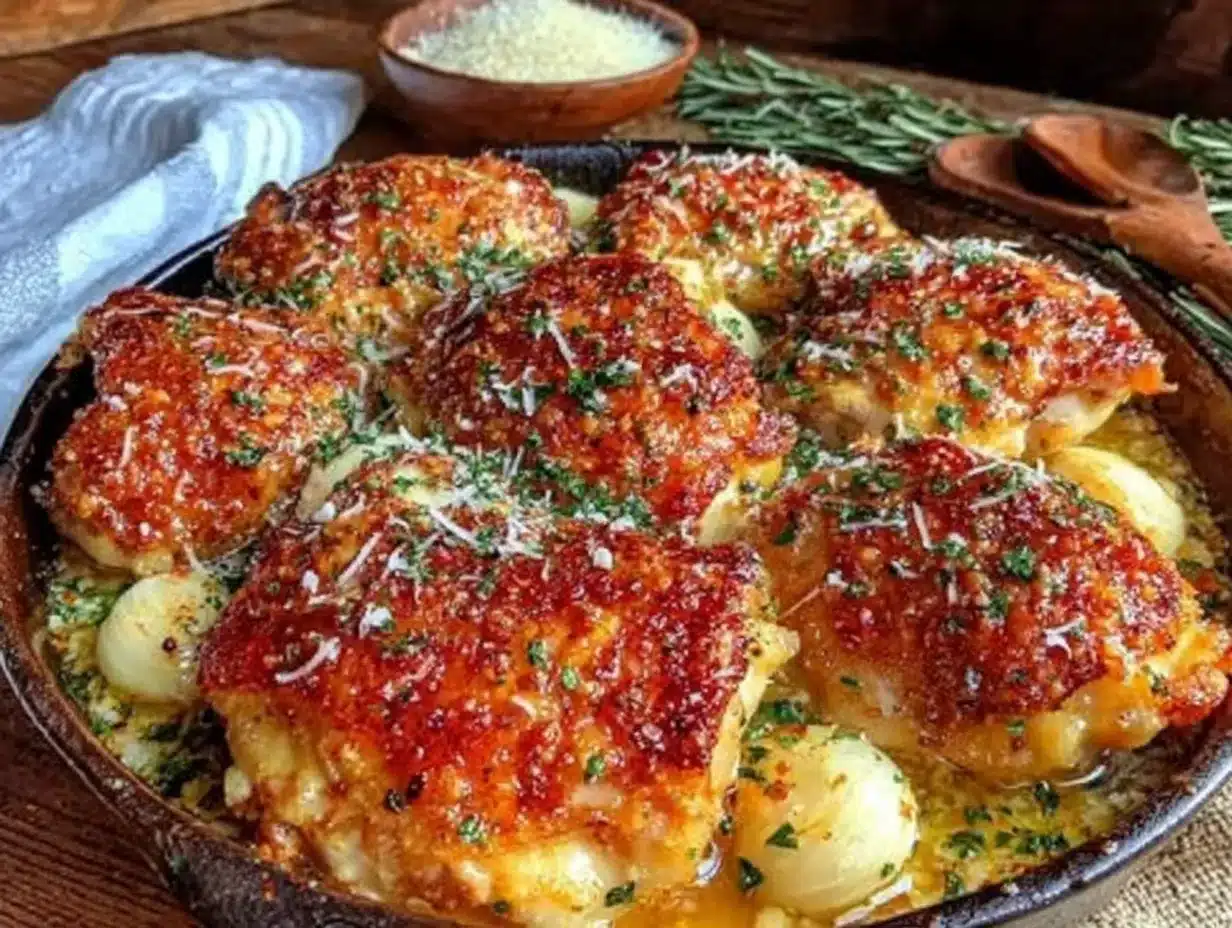
Alright, let’s get cooking. Here’s how to make the best crispy garlic parmesan baked chicken thighs of your life.
- Preheat your oven to 400°F (200°C). Place a wire rack inside a rimmed baking sheet and set aside. Preheating is crucial—don’t skip this step or your chicken won’t start cooking immediately, which affects the crispiness.
- Pat the chicken thighs dry with paper towels. This is the most important step, honestly. Moisture is the enemy of crispy skin. Take the time to really dry each thigh, including the underside. Season both sides with salt and pepper. Let them sit at room temperature for 10 minutes while you prepare the coating.
- In a small bowl, combine the panko breadcrumbs, grated parmesan, minced garlic, melted butter, Italian seasoning, paprika, and garlic powder. Mix with a fork until the butter is evenly distributed and the mixture looks like wet sand. The garlic should be well incorporated so you don’t get bites of raw garlic.
- In a separate small bowl, whisk together the olive oil and a pinch more salt and pepper. Brush this mixture all over the chicken thighs—this helps the coating stick and promotes even browning. Don’t drown them; a light coat is enough.
- Press the coating mixture onto the top (skin side) of each chicken thigh. Use your hands for this—it’s messy but effective. Pack the coating on firmly so it adheres well. Don’t coat the underside; you want the skin there to crisp up directly on the rack.
- Place the coated chicken thighs on the wire rack, skin side up, with space between each piece. If they’re touching, they’ll steam instead of crisp. Leave at least an inch between each thigh for proper air circulation.
- Bake for 35-40 minutes, until the internal temperature reaches 165°F (74°C) in the thickest part. Start checking at 30 minutes if your thighs are smaller. The coating should be golden brown and the skin should be crispy. If the coating is browning too quickly, tent loosely with foil for the last 10 minutes.
- Let the chicken rest on the rack for 5 minutes after baking. This allows the juices to redistribute. Don’t skip this—cutting into them immediately will release all those beautiful juices and leave you with dry chicken.
- Transfer to a serving platter, sprinkle with fresh parsley and extra parmesan, and serve with lemon wedges. The lemon is not optional in my book—it brightens up the richness of the parmesan and garlic.
Troubleshooting Tip: If your coating falls off during baking, your chicken was too wet when you applied it, or you didn’t press the coating firmly enough. Next time, dry the chicken more thoroughly and pack the coating on with conviction.
Cooking Tips & Techniques
I’ve made this crispy garlic parmesan baked chicken thighs recipe probably fifty times, and I’ve learned a few things the hard way. Here are my best tips:
Use a meat thermometer. I cannot emphasize this enough. I once served undercooked chicken to guests because I trusted the timer instead of the thermometer. The difference between 160°F and 165°F is just a few minutes, but it’s the difference between safe and sorry. I use a simple instant-read thermometer that cost me ten bucks, and it’s saved my dinner more times than I can count.
Don’t crowd the pan. I made this mistake the first time I doubled the recipe for a party. I crammed all twelve thighs onto one rack, and they came out soggy and sad. Give them room to breathe—use two baking sheets if you need to double the recipe.
Toast the panko first for extra crunch. If you have an extra five minutes, spread the panko on a baking sheet and toast it in the oven at 350°F for 3-4 minutes before mixing it with the other ingredients. This gives you an even crispier crust. I do this when I’m feeling fancy or when I’m trying to impress someone.
Let the chicken come to room temperature. Cold chicken straight from the fridge takes longer to cook and cooks unevenly. Let it sit out for 15-20 minutes before seasoning. This is a game-changer for even cooking.
Baste halfway through if you’re feeling extra. About 20 minutes in, spoon any accumulated butter and juices from the pan over the coating. This adds flavor and helps the crust brown more evenly. Just be gentle so you don’t disturb the coating.
My biggest failure: I once forgot to put the wire rack in the pan and placed the chicken directly on the baking sheet. The bottoms were soggy, the coating slid off, and I had to scrape dinner off the pan with a spatula. Learn from my mistake—always use that rack.
Variations & Adaptations
This recipe is surprisingly flexible. Here are some variations I’ve tried and loved:
- Spicy Version: Add ½ teaspoon cayenne pepper and 1 teaspoon red pepper flakes to the coating mixture. The heat pairs beautifully with the garlic and parmesan. I make this version when I’m cooking just for myself and want a kick.
- Herb-Crusted Version: Replace the Italian seasoning with 2 tablespoons of fresh chopped herbs—rosemary, thyme, and parsley work wonderfully. This gives a brighter, more aromatic flavor that’s perfect for spring dinners.
- Gluten-Free Adaptation: Use gluten-free panko breadcrumbs (I like the Ian’s brand) and ensure your parmesan is gluten-free (most are, but check the label). The texture is slightly less crispy but still delicious.
- Air Fryer Method: Cook at 375°F for 18-22 minutes, flipping halfway through. The air fryer gives an even crispier crust in less time. Just make sure not to overcrowd the basket—cook in batches if needed.
- Lemon-Garlic Variation: Add the zest of one lemon to the coating mixture and squeeze fresh lemon juice over the chicken before serving. The citrus cuts through the richness and makes it feel lighter.
- Dairy-Free Option: Use nutritional yeast instead of parmesan and coconut oil instead of butter. The flavor will be different—more savory and umami—but still really good. I’ve served this to dairy-free friends who raved about it.
My personal favorite variation: I once added a tablespoon of Dijon mustard to the olive oil mixture before brushing it on the chicken. The mustard added a tangy depth that complemented the parmesan perfectly. I’ve been making it that way ever since.
Serving & Storage Suggestions
Serving: Serve these crispy garlic parmesan baked chicken thighs hot from the oven, straight off the rack for maximum crispiness. I like to arrange them on a platter with lemon wedges and a sprinkle of fresh parsley. They’re beautiful enough for a dinner party but casual enough for a Tuesday night.
What to serve with them: These pair beautifully with roasted vegetables (asparagus, broccoli, or green beans work great), a simple green salad with lemon vinaigrette, mashed potatoes, or rice pilaf. The chicken is rich, so I recommend something light and acidic on the side—a tomato cucumber salad is my go-to.
Storage: Leftover chicken thighs can be stored in an airtight container in the refrigerator for up to 4 days. The coating will soften over time, but the flavor will still be great. I often make extra just for leftovers—they’re amazing cold, sliced over a salad the next day.
Reheating: The best way to reheat these is in the oven or air fryer. Place them on a wire rack over a baking sheet and reheat at 375°F for 8-10 minutes. This restores some of the crispiness. Avoid the microwave—it will make the coating soggy and the chicken rubbery. If you’re in a rush, the air fryer at 350°F for 5 minutes works wonders.
Freezing: You can freeze baked chicken thighs for up to 3 months. Let them cool completely, then wrap individually in plastic wrap and place in a freezer bag. To reheat, thaw in the refrigerator overnight and reheat in the oven as directed above. The coating won’t be as crispy after freezing, but the flavor will still be excellent.
Flavor Development: Interestingly, the garlic flavor mellows and becomes sweeter after a day in the fridge. Some people actually prefer the leftovers because the flavors have had time to meld. I’m one of those people—I always make extra for next-day lunch.
Nutritional Information & Benefits
Here’s the approximate nutritional breakdown per serving (one chicken thigh):
- Calories: 380
- Protein: 32g
- Fat: 24g (including 8g saturated fat)
- Carbohydrates: 8g
- Fiber: 1g
- Sugar: 1g
- Sodium: 580mg
Health Benefits: Chicken thighs are an excellent source of high-quality protein, which supports muscle health and keeps you feeling full. They also provide B vitamins (especially B6 and B12) that support energy metabolism and brain function. Garlic is known for its anti-inflammatory properties and may support immune health. Parmesan cheese adds calcium for bone health, though it’s also higher in sodium, so be mindful if you’re watching your salt intake.
Dietary Considerations: This recipe is naturally low-carb and keto-friendly (just skip the breadcrumbs or use almond flour instead). It’s also nut-free and egg-free. For gluten-free, use gluten-free panko. For dairy-free, use nutritional yeast and coconut oil. The recipe is not suitable for vegans, but you could try it with tofu or cauliflower using the same coating method.
Personal Perspective: I don’t believe in demonizing foods, and I think chicken thighs are unfairly maligned compared to breasts. They have more flavor, more moisture, and more healthy fats. This recipe lets you enjoy them without guilt—it’s baked, not fried, and uses real, whole ingredients. That’s a win in my book.
Conclusion
This crispy garlic parmesan baked chicken thighs recipe is proof that you don’t need a deep fryer to get that satisfying crunch. It’s simple enough for a weeknight, impressive enough for company, and flexible enough to adapt to whatever you have in your pantry. The combination of garlic, parmesan, and perfectly crispy skin is honestly addictive—I’ve never made these without someone asking for the recipe.
I want you to make this your own. Try the spicy version if you like heat, add lemon if you want brightness, or experiment with different herbs. The beauty of this recipe is that it’s forgiving and adaptable. Don’t be afraid to play around with it—some of my best variations came from mistakes or last-minute substitutions.
I’d love to hear how yours turn out. Did you try a variation? Did your family love them? Drop a comment below and let me know. And if you’re feeling generous, share this recipe with someone who needs a little crispy comfort in their life. Until next time, happy cooking!
Frequently Asked Questions
Can I use boneless, skinless chicken thighs for this recipe?
You can, but the result won’t be as crispy or juicy. Boneless thighs cook faster (about 20-25 minutes) and lack the skin that helps create that crunchy exterior. If you use boneless thighs, reduce the cooking time and check the internal temperature early. The coating might also fall off more easily since there’s no skin for it to stick to.
Why is my coating not sticking to the chicken?
This usually happens for one of three reasons: the chicken was too wet when you applied the coating, you didn’t press the coating firmly enough, or you skipped the olive oil brush step. Make sure to pat the chicken very dry with paper towels, brush on a thin layer of oil, and pack the coating on with your hands. Also, using a wire rack helps the coating stay in place during baking.
Can I prepare these chicken thighs ahead of time?
Absolutely. You can coat the chicken thighs up to 24 hours in advance and store them in the refrigerator on the wire rack, uncovered. This actually helps the coating adhere better and allows the flavors to meld. Just add 5-10 minutes to the baking time since you’ll be starting from cold chicken.
How do I know when the chicken is fully cooked?
The only reliable way is to use a meat thermometer. Insert it into the thickest part of the thigh without touching the bone. The internal temperature should reach 165°F (74°C). The juices should run clear when you pierce the meat, but I always trust the thermometer over visual cues. Chicken can look done on the outside but still be undercooked inside.
Can I use chicken breasts instead of thighs?
Yes, but you’ll need to adjust the cooking time. Chicken breasts are leaner and cook faster, so check them at 20-25 minutes. They also benefit from being pounded to an even thickness before coating. However, I find that thighs are much more forgiving and flavorful for this recipe—breasts tend to dry out more easily, especially with the longer baking time needed for crispy coating.
Pin This Recipe!
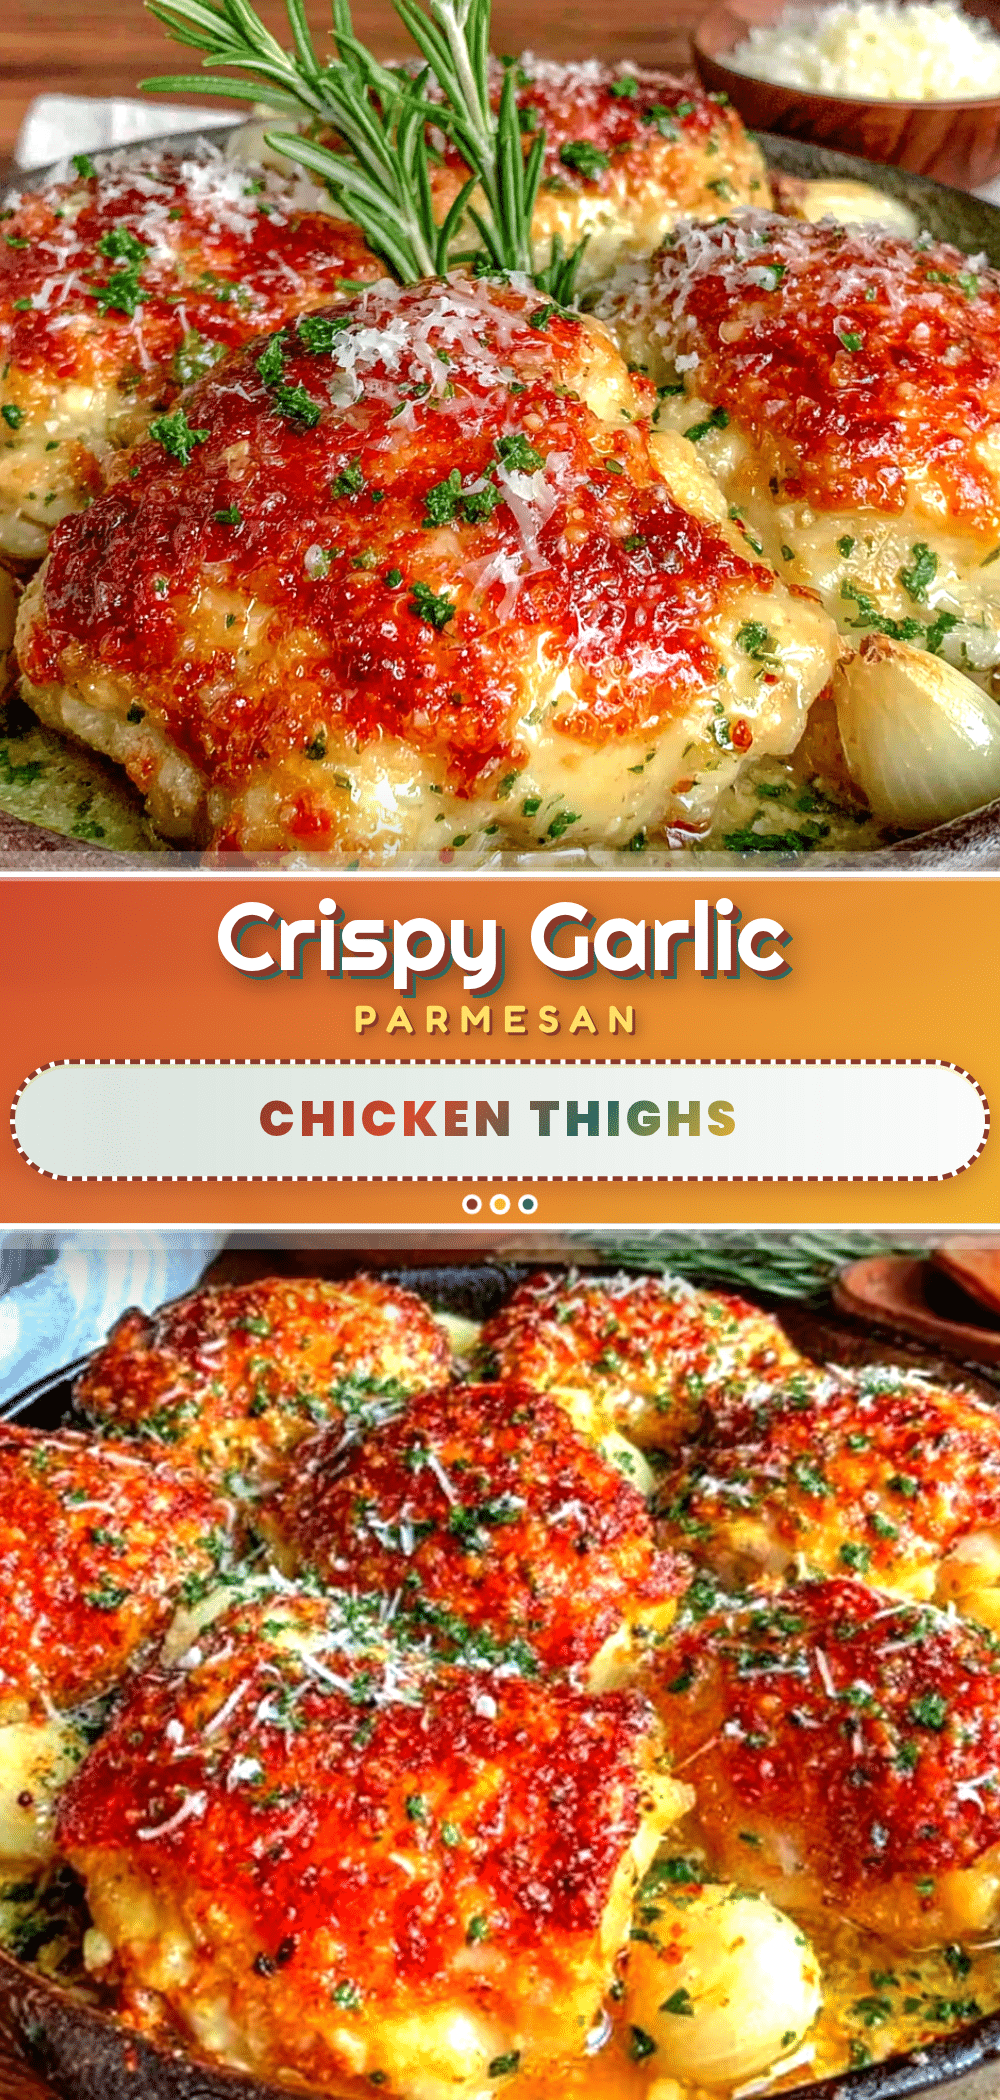
Crispy Garlic Parmesan Baked Chicken Thighs

This recipe delivers shatteringly crisp, juicy baked chicken thighs with a garlic-parmesan crust, proving you don’t need a deep fryer for that satisfying crunch. It’s simple enough for a weeknight and impressive enough for company.
- Prep Time: 10 minutes
- Cook Time: 35-40 minutes
- Total Time: 45-50 minutes
- Yield: 6 servings 1x
- Category: Main Course
- Cuisine: American
Ingredients
- 6 bone-in, skin-on chicken thighs (about 2.5 pounds total)
- 1 tablespoon olive oil
- 1 teaspoon kosher salt
- ½ teaspoon freshly ground black pepper
- ½ cup panko breadcrumbs
- ¼ cup finely grated Parmesan cheese (from a block, not pre-grated)
- 3 cloves garlic, minced
- 2 tablespoons unsalted butter, melted
- 1 teaspoon dried Italian seasoning
- ½ teaspoon paprika
- ¼ teaspoon garlic powder
- 2 tablespoons fresh parsley, chopped (for garnish)
- Extra grated Parmesan cheese (for garnish)
- Lemon wedges (for serving)
Instructions
- Preheat your oven to 400°F (200°C). Place a wire rack inside a rimmed baking sheet and set aside.
- Pat the chicken thighs dry with paper towels. Season both sides with salt and pepper. Let them sit at room temperature for 10 minutes while you prepare the coating.
- In a small bowl, combine the panko breadcrumbs, grated Parmesan, minced garlic, melted butter, Italian seasoning, paprika, and garlic powder. Mix with a fork until the butter is evenly distributed and the mixture looks like wet sand.
- In a separate small bowl, whisk together the olive oil and a pinch more salt and pepper. Brush this mixture all over the chicken thighs.
- Press the coating mixture onto the top (skin side) of each chicken thigh. Use your hands to pack the coating on firmly. Do not coat the underside.
- Place the coated chicken thighs on the wire rack, skin side up, with at least an inch of space between each piece.
- Bake for 35-40 minutes, until the internal temperature reaches 165°F (74°C) in the thickest part. If the coating is browning too quickly, tent loosely with foil for the last 10 minutes.
- Let the chicken rest on the rack for 5 minutes after baking.
- Transfer to a serving platter, sprinkle with fresh parsley and extra Parmesan, and serve with lemon wedges.
Notes
Pat the chicken very dry for maximum crispiness. Use a wire rack to allow air circulation and prevent soggy bottoms. For extra crunch, toast the panko breadcrumbs at 350°F for 3-4 minutes before mixing. Let the chicken come to room temperature before baking for even cooking. If the coating falls off, the chicken was too wet or the coating wasn’t pressed firmly enough.
Nutrition
- Serving Size: 1 chicken thigh
- Calories: 380
- Sugar: 1
- Sodium: 580
- Fat: 24
- Saturated Fat: 8
- Carbohydrates: 8
- Fiber: 1
- Protein: 32
Keywords: crispy chicken thighs, baked chicken, garlic parmesan chicken, easy chicken recipe, weeknight dinner, crispy baked chicken



