Love this? Save it for later!
Share the inspiration with your friends
There used to be this tiny health food café tucked between a laundromat and a secondhand bookstore on the south side of town that made the most incredible peanut butter energy bites. When they closed their doors two summers ago—just a handwritten sign on the door saying “Thanks for the memories”—I honestly felt a little lost. Those little balls of peanut buttery goodness had gotten me through countless afternoon slumps, pre-workout hunger pangs, and late-night study sessions. After about twelve attempts—some crumbly disasters, a few that were way too sticky, and one batch that tasted more like sawdust than peanut butter—I finally cracked the code. This easy no-bake peanut butter protein balls recipe is the exact recreation of that café magic, and let me tell you, it only takes five minutes to make. Maybe you’ve been there, missing a food memory that seems impossible to recreate. Well, this one is totally doable.
Why You’ll Love This Recipe
These easy no-bake peanut butter protein balls are the kind of snack that makes you wonder why you ever bought store-bought energy bars. I mean, honestly, once you see how simple this is, you’ll never go back.
- Quick & Easy: Comes together in under five minutes, perfect for those moments when hunger strikes and you need something fast.
- Simple Ingredients: No fancy grocery trips needed; you likely already have everything in your kitchen pantry right now.
- Perfect for Meal Prep: Great for busy mornings, post-workout refueling, or an afternoon pick-me-up that won’t leave you crashing.
- Crowd-Pleaser: Always gets rave reviews from kids and adults alike—I’ve yet to meet someone who doesn’t love these.
- Unbelievably Delicious: The texture is perfectly chewy, and the flavor combo is next-level comfort food that actually fuels your body.
What makes this recipe different from the rest is the texture. I spent ages figuring out the exact ratio of wet to dry ingredients so these balls hold together perfectly without being greasy or crumbly. It’s not just another version—it’s my best version, tested and tweaked until every bite tastes like that café memory I’ve been chasing.
This recipe isn’t just good—it is the kind that makes you close your eyes after the first bite. It’s comfort food reimagined—healthier, faster, but with the same soul-soothing satisfaction. Perfect for impressing yourself without any stress, or turning a simple snack into something memorable.
What Ingredients You Will Need
This recipe uses simple, wholesome ingredients to deliver bold flavor and satisfying texture without any fuss. Most of these are pantry staples, which makes this recipe incredibly accessible.
- 1 cup creamy peanut butter (I recommend using a natural peanut butter like Smucker’s Natural or Justin’s for best texture—avoid the stir-and-separate kind that’s too oily)
- 1/2 cup honey or maple syrup (honey gives a classic sweetness, but maple syrup works beautifully for a vegan option)
- 1 1/2 cups old-fashioned rolled oats (not quick oats—they get too mushy and the texture suffers)
- 1/2 cup vanilla protein powder (I prefer Orgain Simple or Vega for clean ingredients; unflavored works too, just add a splash of vanilla extract)
- 1/4 cup ground flaxseed or chia seeds (adds fiber and helps bind everything together)
- 1/3 cup dark chocolate chips (optional but highly recommended—use mini chips for even distribution)
- 1/4 teaspoon salt (only if your peanut butter is unsalted)
For the peanut butter, look for one that’s creamy and not too runny. If your peanut butter is super oily, the balls might not hold together well—drain off any excess oil before measuring. The protein powder is the star here, so pick one you actually enjoy the taste of. I’ve made these with chocolate protein powder too, and honestly, it’s a game-changer if you’re a chocolate fan.
Substitution guidance: Use almond butter instead of peanut butter for a nut-free option (though it’s not nut-free, obviously). Swap the oats with certified gluten-free oats if needed. For a lower-carb version, use almond flour instead of oats, but reduce the liquid slightly.
Equipment Needed
You don’t need much for this recipe, which is part of the beauty. Here’s what you’ll need:
- Large mixing bowl (any size works, but a wide bowl makes mixing easier)
- Rubber spatula or wooden spoon (I prefer a sturdy spatula for scraping every last bit)
- Measuring cups and spoons (standard set)
- Baking sheet or plate (for chilling the balls)
- Parchment paper (optional but helpful for easy cleanup)
- Cookie scoop or tablespoon (for uniform balls—I use a 1.5-tablespoon scoop)
If you don’t have a cookie scoop, just use a regular tablespoon and your hands. Honestly, I’ve made these with just a fork and my fingers when I couldn’t find my scoop. The key is to press firmly so they hold together. No fancy equipment needed—this is about as low-tech as cooking gets.
Preparation Method
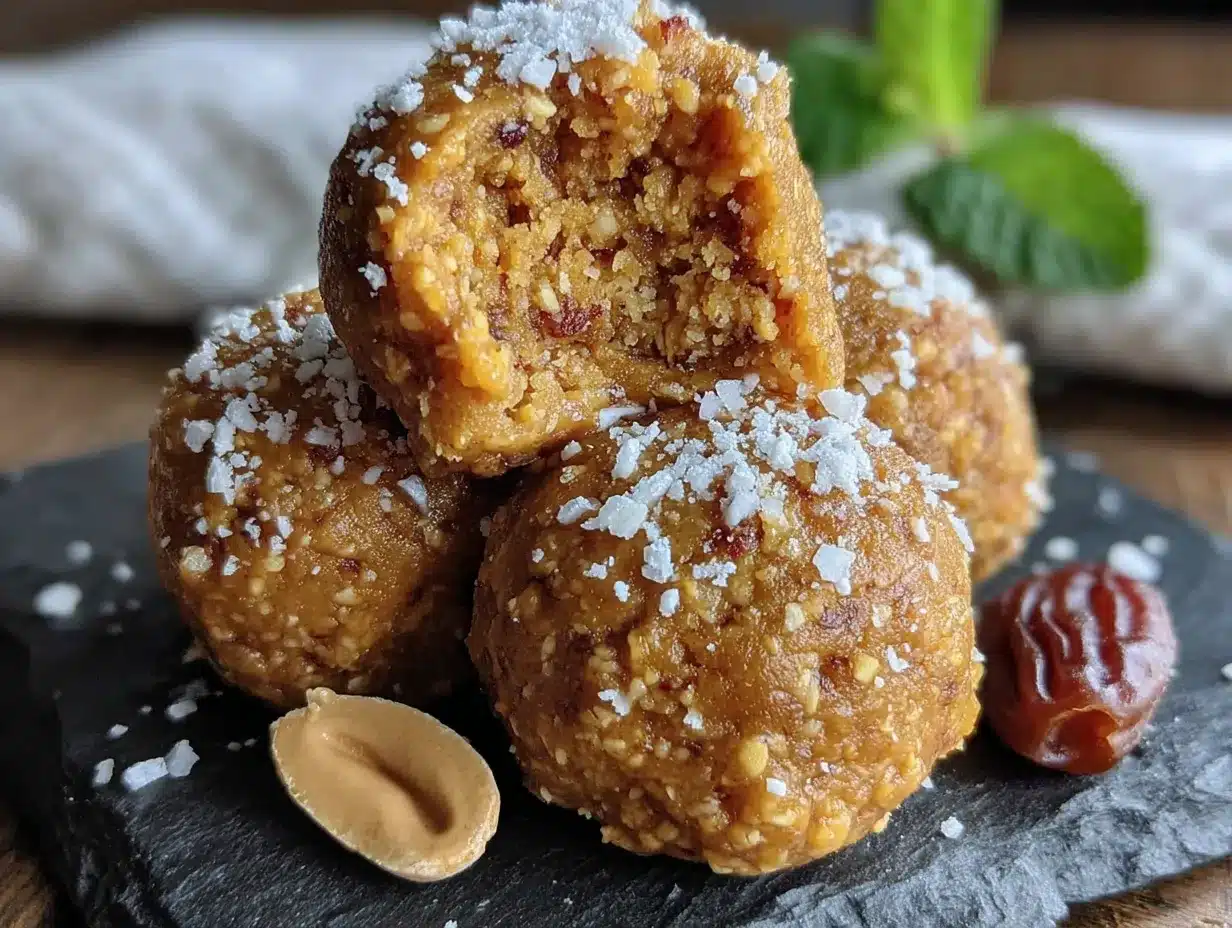
- Combine the wet ingredients: In your large mixing bowl, add 1 cup creamy peanut butter and 1/2 cup honey (or maple syrup). Stir them together until they’re completely combined. It should look smooth and glossy—if it seems thick, that’s perfect. (About 30 seconds)
- Add the dry ingredients: Pour in 1 1/2 cups rolled oats, 1/2 cup protein powder, and 1/4 cup ground flaxseed. Sprinkle in the 1/4 teaspoon salt if using. Stir everything together with your spatula. At first it’ll seem dry and crumbly—don’t panic. Keep mixing, pressing the mixture against the sides of the bowl. It will come together like a thick dough. (About 1-2 minutes)
- Fold in the chocolate chips: Add 1/3 cup dark chocolate chips and fold them in gently. Make sure they’re evenly distributed so every ball gets a little chocolate surprise. (About 30 seconds)
- Test the consistency: Pinch a small amount of the mixture between your fingers. If it holds together without falling apart, you’re golden. If it’s too dry, add a teaspoon of honey or a splash of milk. If it’s too sticky, add a tablespoon of oats. I’ve had batches where I needed an extra tablespoon of honey—it depends on your peanut butter and protein powder.
- Roll into balls: Using your cookie scoop or a tablespoon, scoop out portions of the mixture. Roll them firmly between your palms to form smooth balls. Don’t be gentle—press hard so they hold their shape. You should get about 18-20 balls, depending on size. (About 3-4 minutes)
- Chill to set: Place the balls on a baking sheet lined with parchment paper. Pop them in the refrigerator for at least 20 minutes. This step is crucial—it firms them up so they don’t fall apart when you pick them up. (20 minutes minimum)
- Enjoy or store: Once chilled, they’re ready to eat. Store them in an airtight container in the fridge for up to two weeks, or freeze for up to three months.
A quick note: If the mixture feels too sticky to roll, wet your hands slightly with cold water. It helps prevent sticking without adding extra moisture to the dough. I learned that trick after a particularly sticky batch that left me covered in peanut butter goo.
Cooking Tips & Techniques
Let me share some hard-earned wisdom from my many attempts at these easy no-bake peanut butter protein balls.
Texture is everything. The biggest mistake I made early on was not pressing the mixture firmly enough when rolling. These aren’t delicate little truffles—they need a good squeeze. Think of it like making a snowball; you want it compact and solid. If you roll too gently, they’ll crumble the second you bite into them.
Temperature matters. If your kitchen is warm, the peanut butter will be softer and the mixture might feel greasy. Pop the bowl in the fridge for 10 minutes before rolling if that happens. Conversely, if your honey is crystallized, warm it slightly in the microwave (about 10 seconds) to make mixing easier.
Protein powder can be tricky. Different brands absorb liquid differently. If your protein powder is particularly dry and powdery (like some plant-based ones), you might need an extra tablespoon of honey. I once used a new brand that turned the mixture into crumbly sand—I had to add two extra tablespoons of peanut butter to save it. Always start with the base recipe and adjust as you go.
Multitasking hack: While the balls are chilling, clean up your bowls and utensils. The mixture can be sticky when warm, but once chilled, it’s much easier to scrape off. Trust me, cold peanut butter cleanup is way less frustrating.
Consistency tip: For perfectly uniform balls, use a cookie scoop. It makes them look professional and ensures they all chill at the same rate. I use a 1.5-tablespoon scoop and get exactly 20 balls every time.
Variations & Adaptations
One of the best things about this recipe is how easy it is to change up. Here are some variations I’ve tried and loved:
- Chocolate Peanut Butter: Swap the vanilla protein powder for chocolate protein powder and add an extra tablespoon of cocoa powder. It’s like eating cookie dough, but actually good for you.
- Coconut Almond: Use almond butter instead of peanut butter, add 1/4 cup shredded coconut, and swap the chocolate chips for chopped almonds. The texture is incredible—crunchy and chewy at the same time.
- Vegan & Gluten-Free: Use maple syrup instead of honey, certified gluten-free oats, and a plant-based protein powder. These turn out just as delicious—I’ve made them for friends with dietary restrictions and they couldn’t tell the difference.
- Spiced Pumpkin: Add 1/4 cup pumpkin puree, 1 teaspoon pumpkin pie spice, and reduce the honey by a tablespoon. This is my fall favorite—it tastes like pumpkin pie in snack form.
- Seed-Based (Nut-Free): Use sunflower seed butter instead of peanut butter and swap the oats for quinoa flakes. This is perfect for school lunches or nut-free environments. Just note that sunflower seed butter can react with baking soda if you ever bake with it, but for no-bake balls, it’s totally fine.
I tried the coconut almond variation last month for a road trip snack, and honestly, it was so good I made a second batch the next day. The crunch from the almonds adds a whole new dimension.
Serving & Storage Suggestions
These easy no-bake peanut butter protein balls are best served cold straight from the fridge. The texture is firm but chewy, and the chocolate chips have a satisfying snap. If you leave them out at room temperature for too long, they’ll soften up and might lose their shape, so keep them chilled until you’re ready to eat.
For serving, I like to arrange them on a small plate with a few fresh berries on the side—it makes them feel more like a treat. They’re perfect for post-workout snacks, lunchbox additions, or a quick breakfast when you’re running late. Pair them with a glass of cold milk or a cup of coffee for the ultimate afternoon pick-me-up.
Storage instructions: Place the balls in an airtight container, layered between parchment paper if you’re stacking them. They’ll keep in the refrigerator for up to two weeks—though honestly, they never last that long in my house. For longer storage, freeze them in a single layer on a baking sheet, then transfer to a freezer-safe bag. They’ll keep for up to three months. To thaw, just leave them in the fridge overnight or let them sit at room temperature for 10 minutes.
A note on flavor development: These actually taste better after a day or two in the fridge. The flavors meld together, and the oats soften slightly, creating a more cohesive texture. So don’t be disappointed if they’re not perfect on day one—they get even better.
Nutritional Information & Benefits
Per serving (1 ball, based on 20 balls):
- Calories: Approximately 140-160
- Protein: 7-9 grams
- Carbohydrates: 16-18 grams
- Fiber: 3-4 grams
- Fat: 7-9 grams
- Sugar: 8-10 grams (depending on sweetener)
These little powerhouses are packed with benefits. The peanut butter provides healthy fats and plant-based protein that keeps you full and satisfied. Oats are a great source of soluble fiber, which supports heart health and stable blood sugar. Flaxseed adds omega-3 fatty acids and extra fiber—great for digestion. And the protein powder gives you that post-workout recovery boost without any artificial stuff.
For those watching their sugar intake, you can reduce the honey to 1/3 cup and add an extra tablespoon of peanut butter. The balls will be slightly less sweet but still delicious. If you’re avoiding dairy, make sure your chocolate chips are dairy-free—many dark chocolate brands are naturally dairy-free, but always check the label.
From a wellness perspective, these balls are my go-to for balanced energy. They don’t cause that sugar crash you get from processed snacks, and they actually fuel your body instead of just filling it. I feel good eating them, and that matters.
Conclusion
These easy no-bake peanut butter protein balls are proof that you don’t need complicated techniques or fancy ingredients to make something truly satisfying. They’re quick, customizable, and honestly, they taste like a treat you’d pay good money for at a café. Whether you’re recreating a food memory like I did, or just looking for a healthy snack that actually tastes amazing, this recipe delivers.
I’d love to hear how yours turn out! Did you try any variations? Did you add extra chocolate chips like I always do? Drop a comment below and let me know—I read every single one. And if you share them on social media, tag me so I can see your creations. Happy snacking, friends—you’ve got this.
Frequently Asked Questions
Can I use crunchy peanut butter instead of creamy?
Absolutely! Crunchy peanut butter adds a nice texture and works just as well. Just keep in mind that the balls might be slightly less cohesive since the peanut pieces can create small gaps. Press firmly when rolling.
How long do these protein balls last at room temperature?
They’re best kept in the fridge, but they can sit at room temperature for up to 2-3 hours without issue. Any longer and they’ll start to soften and lose their shape, especially in warm weather. I always recommend storing them in the fridge for the best texture.
Can I make these without protein powder?
Yes, but you’ll need to adjust the dry ingredients. Replace the protein powder with an additional 1/2 cup of oats and 2 tablespoons of flaxseed. The nutritional profile will change slightly, but they’ll still be delicious and hold together well.
Why are my protein balls too dry and crumbly?
This usually happens if your peanut butter is too thick or your protein powder is very absorbent. Try adding an extra tablespoon of honey or a splash of milk (dairy or plant-based) and mix again. If they’re still dry, add another tablespoon of peanut butter. The mixture should feel like soft dough that holds together when pinched.
Can I freeze these protein balls for meal prep?
Definitely! Freeze them in a single layer on a baking sheet, then transfer to a freezer-safe bag or container. They’ll keep for up to three months. Thaw them in the fridge overnight, or let them sit at room temperature for about 10 minutes before eating. They’re great to grab straight from the freezer for a quick snack too—just give them a minute to soften slightly.
Pin This Recipe!
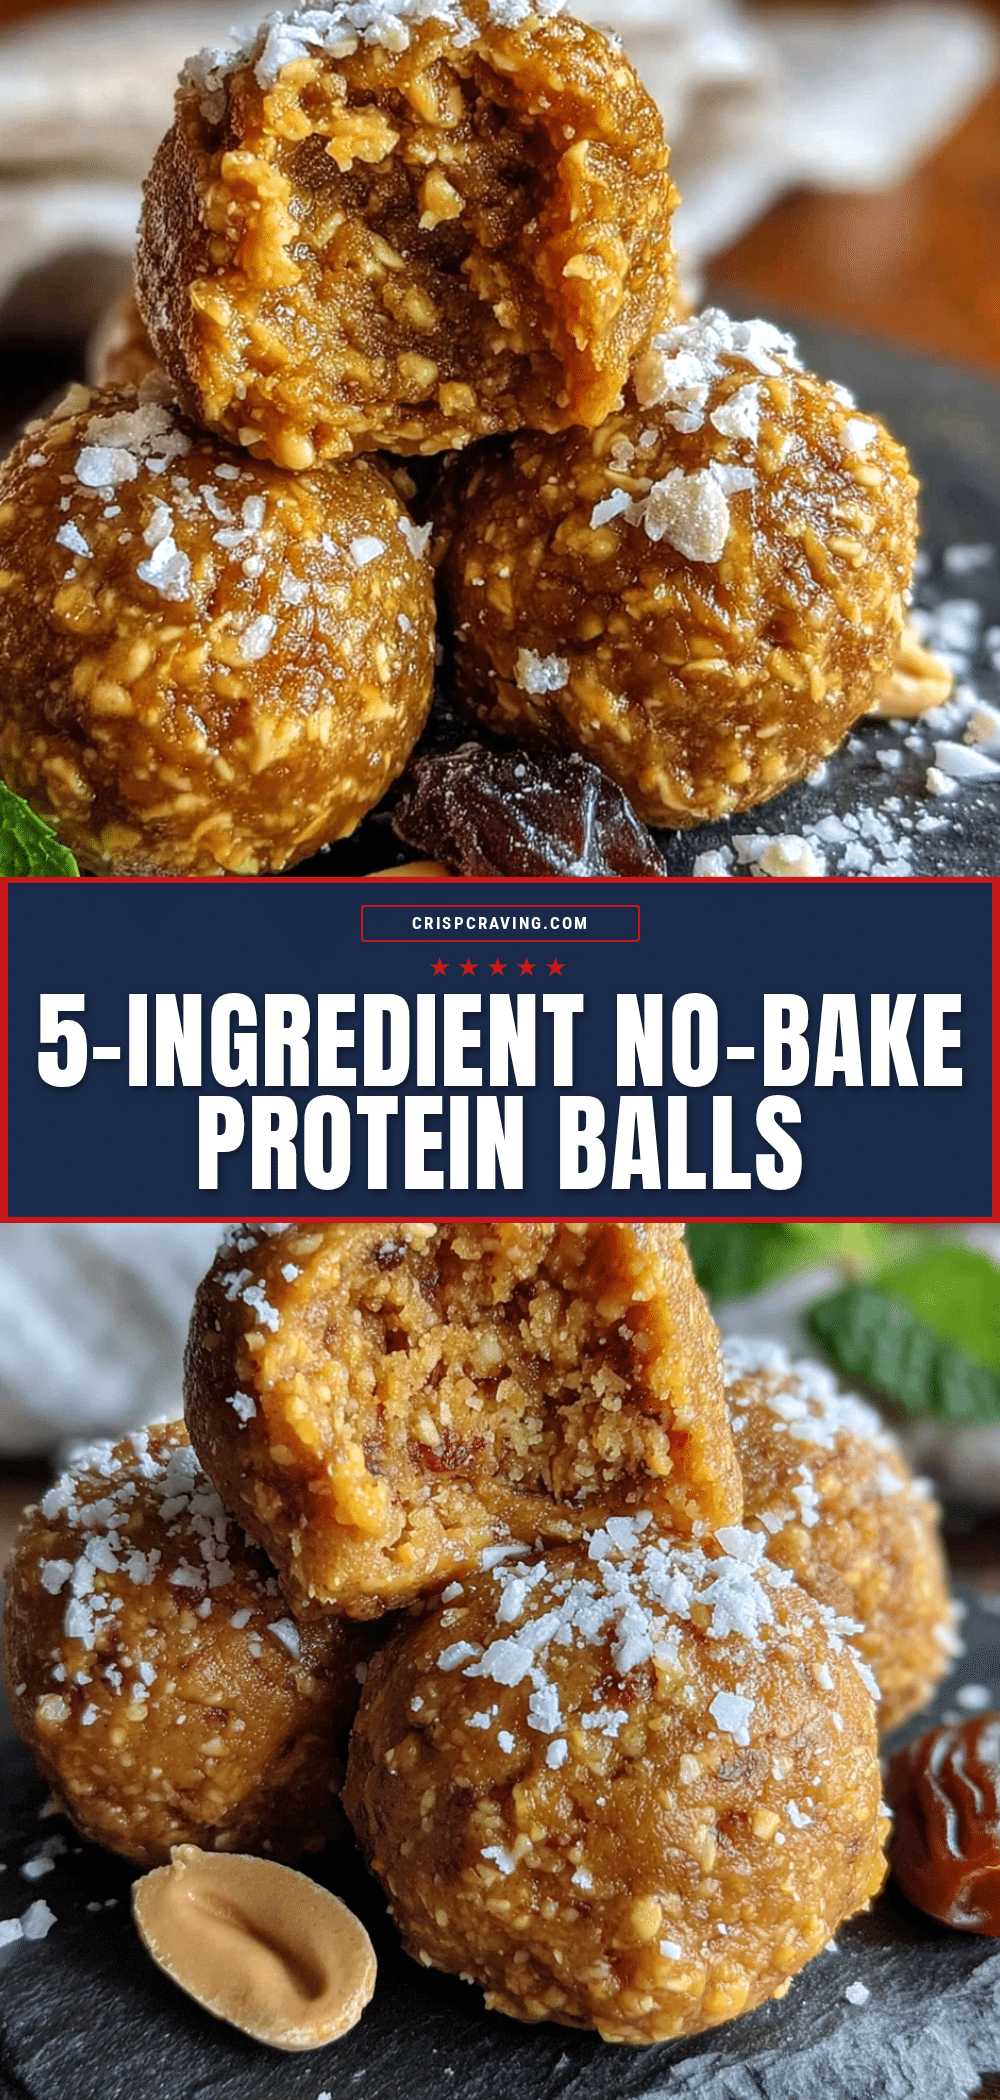
Easy No-Bake Peanut Butter Protein Balls: 5-Minute Recipe

These easy no-bake peanut butter protein balls are a quick and delicious snack that comes together in under five minutes. Perfect for meal prep, post-workout refueling, or an afternoon pick-me-up, they are made with simple pantry ingredients and have a perfectly chewy texture.
- Prep Time: 5 minutes
- Cook Time: 0 minutes
- Total Time: 25 minutes (including chilling)
- Yield: 18-20 balls 1x
- Category: Snack
- Cuisine: American
Ingredients
- 1 cup creamy peanut butter
- 1/2 cup honey or maple syrup
- 1 1/2 cups old-fashioned rolled oats
- 1/2 cup vanilla protein powder
- 1/4 cup ground flaxseed or chia seeds
- 1/3 cup dark chocolate chips (optional)
- 1/4 teaspoon salt (only if peanut butter is unsalted)
Instructions
- Combine the wet ingredients: In a large mixing bowl, add 1 cup creamy peanut butter and 1/2 cup honey (or maple syrup). Stir until completely combined and smooth.
- Add the dry ingredients: Pour in 1 1/2 cups rolled oats, 1/2 cup protein powder, and 1/4 cup ground flaxseed. Sprinkle in 1/4 teaspoon salt if using. Stir together until a thick dough forms, pressing against the sides of the bowl if needed.
- Fold in the chocolate chips: Add 1/3 cup dark chocolate chips and fold gently until evenly distributed.
- Test the consistency: Pinch a small amount of mixture; it should hold together. If too dry, add a teaspoon of honey or a splash of milk. If too sticky, add a tablespoon of oats.
- Roll into balls: Using a cookie scoop or tablespoon, scoop portions and roll firmly between your palms to form smooth balls. You should get about 18-20 balls.
- Chill to set: Place balls on a parchment-lined baking sheet and refrigerate for at least 20 minutes.
- Enjoy or store: Once chilled, they are ready to eat. Store in an airtight container in the fridge for up to two weeks, or freeze for up to three months.
Notes
For best texture, use natural peanut butter that is not too oily. If mixture is too sticky, wet hands slightly with cold water before rolling. These balls taste even better after a day or two in the fridge as flavors meld.
Nutrition
- Serving Size: 1 ball
- Calories: 140160
- Sugar: 810
- Sodium: 80120
- Fat: 79
- Saturated Fat: 23
- Carbohydrates: 1618
- Fiber: 34
- Protein: 79
Keywords: no-bake, peanut butter, protein balls, energy balls, healthy snack, gluten-free option, vegan option, meal prep



