Love this? Save it for later!
Share the inspiration with your friends
I wasn’t expecting lunchbox advice from my accountant, but there I was, sorting through a pile of receipts in his cluttered office, listening to him describe exactly how to make turkey and cheese roll-ups. He was this quiet guy, always in a slightly wrinkled cardigan, who I’d only ever talked to about quarterly taxes. But his kids had apparently been trading their school lunches for years, driving him crazy. He’d finally cracked the code with these ridiculously simple roll-ups. No mayo, no fuss, just a few ingredients that somehow stayed together in a lunchbox without turning into a sad, soggy mess. Honestly, I was skeptical. I mean, this was a man who once filed my extension on the wrong form by accident.
But he was so earnest about it, leaning forward and drawing a little diagram on a sticky note. “The trick,” he whispered, “is the cream cheese seal.” That was it. That was the whole secret. I went home that afternoon, made a batch for my own kids, and let me tell you, it was a game-changer. No more half-eaten sandwiches coming back home, no more complaints about the bread being dry. These roll-ups are the lunchbox hero nobody talks about, and they came from the most unexpected source. Maybe you’ve been there—finding a perfect recipe in a place you’d never look. This one stuck with me because it’s so incredibly easy, and it actually works. Every single time.
Why You’ll Love This Recipe
These turkey and cheese roll-ups are the kind of recipe that makes you feel like you’ve outsmarted the whole lunch-packing system. I’ve tested them with different cheeses, different tortillas, and even with picky kids who swear they hate everything. They passed every test.
- Quick & Easy: You can whip up a whole week’s worth in under 10 minutes. Seriously, it’s faster than making a single sandwich.
- Simple Ingredients: You likely have everything in your fridge right now. No fancy grocery trips are needed.
- Perfect for Lunchboxes: They hold up beautifully for hours, whether packed for school, work, or a picnic. No sogginess, no mess.
- Crowd-Pleaser: Kids and adults both go crazy for them. They’re like a tiny, handheld wrap that’s just fun to eat.
- Unbelievably Delicious: The creamy cheese spread against the salty turkey and the soft tortilla is a combo that just works. It’s comfort food, simplified.
What makes these different from every other roll-up recipe out there? It’s the no-mayo rule. Most recipes rely on mayonnaise to bind things, but that can get greasy and weird after a few hours. Using cream cheese instead creates a clean, tangy seal that actually gets better as it sits. This isn’t just another version—it’s the best version. It’s the kind of lunch that makes you close your eyes after the first bite, even if you’re just eating it over the kitchen sink.
What Ingredients You Will Need
This recipe uses simple, wholesome ingredients to deliver big flavor and a satisfying texture without any of the fuss. Everything is a pantry or fridge staple, making it easy to throw together any day of the week.
- For the Roll-Ups:
- 8 large flour tortillas (burrito size works best for rolling; you can use whole wheat or spinach wraps for a different color)
- 1 pound thinly sliced deli turkey breast (I recommend Boar’s Head or your local deli counter for the freshest flavor)
- 8 slices of cheddar cheese (or any cheese that melts nicely, like provolone or Swiss; use sharp cheddar for more punch)
- 4 ounces cream cheese, softened (the full-fat version gives the best texture, but low-fat works in a pinch)
- Optional: a handful of fresh spinach leaves or a few slices of avocado for extra greens (adds a nice crunch)
Look for tortillas that are pliable and don’t crack when you roll them. If they seem dry, warm them for 10 seconds in the microwave to make them more flexible. For the turkey, ask for it to be sliced a little thicker than usual—it holds up better in the roll. You can swap the cream cheese for a dairy-free version if needed, just make sure it’s spreadable. In summer, I sometimes add a few thin slices of cucumber for a refreshing crunch, but that’s totally optional. The beauty of this recipe is its simplicity, so don’t overthink it.
Equipment Needed
You don’t need any fancy gadgets for these roll-ups, which is part of their charm. Here’s what you’ll need:
- A cutting board (a large wooden or plastic one is fine)
- A sharp knife (a serrated bread knife works surprisingly well for clean slices)
- A small offset spatula or butter knife for spreading the cream cheese
- Plastic wrap or parchment paper for wrapping the rolls (keeps them tight)
- A lunchbox or airtight container for storage
If you don’t have an offset spatula, a regular butter knife does the job—just be patient. I’ve used the back of a spoon in a pinch, and it worked fine. For meal prepping, I love using reusable beeswax wraps instead of plastic wrap. They keep the roll-ups fresh without creating waste. And honestly, a good sharp knife makes all the difference when slicing the rolls. A dull knife will squish them flat, and nobody wants a squished roll-up.
Preparation Method

- Soften the cream cheese: Take the cream cheese out of the fridge about 15 minutes before you start. You want it soft enough to spread easily without tearing the tortilla. If you’re short on time, microwave it for 10 seconds on low power.
- Lay out your tortillas: Place one tortilla flat on your cutting board. Using your offset spatula or butter knife, spread about 1 tablespoon of the softened cream cheese evenly over the entire surface. Go all the way to the edges—this acts as the glue that holds everything together.
- Layer the turkey: Place 2 to 3 slices of turkey on top of the cream cheese. Overlap them slightly so there are no gaps. You want a nice, even layer of meat, not a giant clump in the middle.
- Add the cheese: Lay one slice of cheddar cheese on top of the turkey. If your cheese slice is square, it should cover most of the tortilla. If it’s round, just center it as best you can.
- Roll it tight: Starting from one edge, roll the tortilla up as tightly as you can without tearing it. Use your fingers to tuck in the filling as you go. The cream cheese should help it stick together. Think of it like rolling a sleeping bag—firm and even.
- Wrap and chill: Place the rolled tortilla seam-side down on a piece of plastic wrap or parchment paper. Wrap it tightly, twisting the ends like a candy wrapper. This keeps the roll compact while it sets. Repeat with the remaining tortillas.
- Refrigerate for at least 30 minutes: This step is crucial. Chilling the rolls helps them firm up so they slice cleanly without falling apart. If you’re in a rush, 15 minutes in the freezer works, but don’t forget them in there.
- Slice and serve: Unwrap each roll and place it on your cutting board. Using a sharp knife, slice the roll into 1-inch pinwheels. You should get about 6 to 8 pieces per roll. They should look like little spirals of turkey and cheese.
- Pack them up: Place the pinwheels in a lunchbox or airtight container. They’re ready to go! If you’re packing them the night before, they’ll be even better the next day as the flavors meld together.
A quick note: If the tortilla cracks while you’re rolling, don’t panic. Just press it back together—the cream cheese will act as a patch. It won’t look perfect, but it’ll taste just as good. I’ve had this happen more times than I can count, and my kids never noticed.
Cooking Tips & Techniques
Here are some things I’ve learned from making these roll-ups about a hundred times. First, the biggest mistake people make is using cold cream cheese. It’s like trying to spread cold butter on toast—it just rips everything apart. Let it sit out, or give it a quick zap in the microwave. Another common issue is overfilling the tortilla. It’s tempting to pile on the turkey, but too much filling makes it impossible to roll tightly, and everything falls out when you slice it. Stick to a thin, even layer.
I once forgot to wrap the rolls before refrigerating them, and they dried out on the edges. The plastic wrap isn’t optional—it keeps the moisture in and the shape tight. Speaking of shape, if your rolls look a little flat, try using a smaller tortilla. The burrito-sized ones give you a nice, thick pinwheel, while the smaller taco-sized ones make cute little bites for toddlers.
For timing, I like to make a big batch on Sunday evening. I roll them all up, wrap them, and store them in the fridge. Then, each morning, I just slice a few and toss them in a lunchbox. It takes less than a minute. If you’re packing them for a picnic, keep them whole and slice them on-site—they hold up better that way. And if you’re using spinach or avocado, pat them dry with a paper towel first to avoid any extra moisture that could make the tortilla soggy.
Variations & Adaptations
These roll-ups are endlessly customizable, which is why I never get tired of them. Here are a few variations I’ve tried and loved:
- Veggie-Packed Version: Add a layer of thinly sliced bell peppers, shredded carrots, or cucumber strips before rolling. It adds a nice crunch and a pop of color. My kids actually eat vegetables this way without complaining.
- Spicy Southwest Roll-Ups: Swap the cream cheese for a spreadable pepper jack cheese or mix a little chipotle powder into the cream cheese. Use pepper jack cheese slices instead of cheddar. It gives them a gentle kick that adults love.
- Gluten-Free Option: Use gluten-free tortillas or large lettuce leaves (like romaine or butter lettuce) instead of flour tortillas. Lettuce wraps are lighter and perfect for a low-carb lunch. Just be careful not to overfill them, as lettuce is more delicate.
- Breakfast Roll-Ups: Use scrambled eggs, turkey sausage, and a slice of cheese. Roll them up the same way for a grab-and-go breakfast. They’re a huge hit on busy mornings.
I once tried a version with hummus instead of cream cheese, and it was surprisingly good. The hummus adds a savory, earthy flavor that pairs well with turkey. Just make sure it’s a thick hummus, not the runny kind. Experiment and see what your family likes best.
Serving & Storage Suggestions
These roll-ups are best served cold or at room temperature, straight from the lunchbox. I like to arrange them on a plate with a side of baby carrots, apple slices, or a few grapes for a balanced lunch. They also work great as an appetizer for parties—just stick a toothpick in each pinwheel for easy grabbing. For a fun presentation, arrange them in a circle on a platter with a small bowl of ranch dressing or honey mustard in the center for dipping.
For storage, keep the whole rolls (unsliced) wrapped tightly in plastic wrap in the refrigerator for up to 4 days. Once sliced, they’re best eaten within 24 hours, as the edges can dry out a little. You can freeze the whole rolls, too. Wrap them tightly in plastic wrap and then foil, and freeze for up to 2 months. Thaw them overnight in the fridge before slicing. I don’t recommend freezing sliced pinwheels—they tend to get mushy.
Reheating isn’t really necessary, but if you want a warm lunch, you can pop a few pinwheels in the microwave for 10 seconds. The cheese will get slightly melty, which is a different but equally delicious experience. The flavors actually develop over time, so these roll-ups taste even better the next day. The cream cheese and turkey meld together into this perfect, savory bite.
Nutritional Information & Benefits
Here’s an estimated breakdown for one serving (about 4 pinwheels, made with standard ingredients):
- Calories: 280
- Protein: 18g
- Fat: 14g
- Carbohydrates: 22g
- Fiber: 2g
- Sugar: 3g
These roll-ups are a good source of lean protein from the turkey, which helps keep you full and focused. The cream cheese adds calcium and a little fat for energy. Using whole wheat tortillas boosts the fiber content. If you’re watching your sodium, look for lower-sodium deli turkey. This recipe is naturally nut-free and egg-free, making it a safe option for many school lunchboxes. It’s also easy to make gluten-free and low-carb with the right substitutions. I love that this is a lunch I can feel good about packing—it’s satisfying without being heavy.
Conclusion
These easy turkey and cheese lunchbox roll-ups have become a staple in my house, and I bet they’ll become one in yours, too. They’re proof that the best recipes don’t need to be complicated or come from a fancy chef. Sometimes, they come from an accountant with a sticky note and a good idea. I love how versatile they are—you can change them up a hundred different ways and they always come out delicious. They save me time, money, and the morning stress of packing lunches.
I’d love to hear how you customize yours! Do you add a secret ingredient? Swap the cheese? Leave a comment below and share your favorite version. And if you know someone who’s always struggling with lunch ideas, send them this recipe. Trust me, they’ll thank you. Now go make some roll-ups and enjoy that extra five minutes of peace in the morning. You deserve it.
Frequently Asked Questions
Can I make these ahead of time for the whole week?
Absolutely! You can roll them up and keep them whole (unsliced) in the fridge for up to 4 days. Slice them fresh each morning for the best texture.
What if my tortillas crack when I roll them?
Warm them in the microwave for 10 seconds first to make them more pliable. Also, make sure your cream cheese is fully softened so it spreads easily without tearing the tortilla.
Can I use a different type of meat?
Yes! Ham, roast beef, or even grilled chicken strips work great. Just make sure the meat is thinly sliced so it rolls up easily.
How do I keep the roll-ups from getting soggy in a lunchbox?
The cream cheese creates a barrier that prevents the tortilla from getting soggy. If you add veggies like cucumber or tomato, pat them dry first to remove excess moisture.
Are these suitable for a nut-free school lunch?
Yes, this recipe is naturally nut-free. Just double-check your specific brands of tortillas and cream cheese to ensure they are processed in a nut-free facility if needed.
Pin This Recipe!
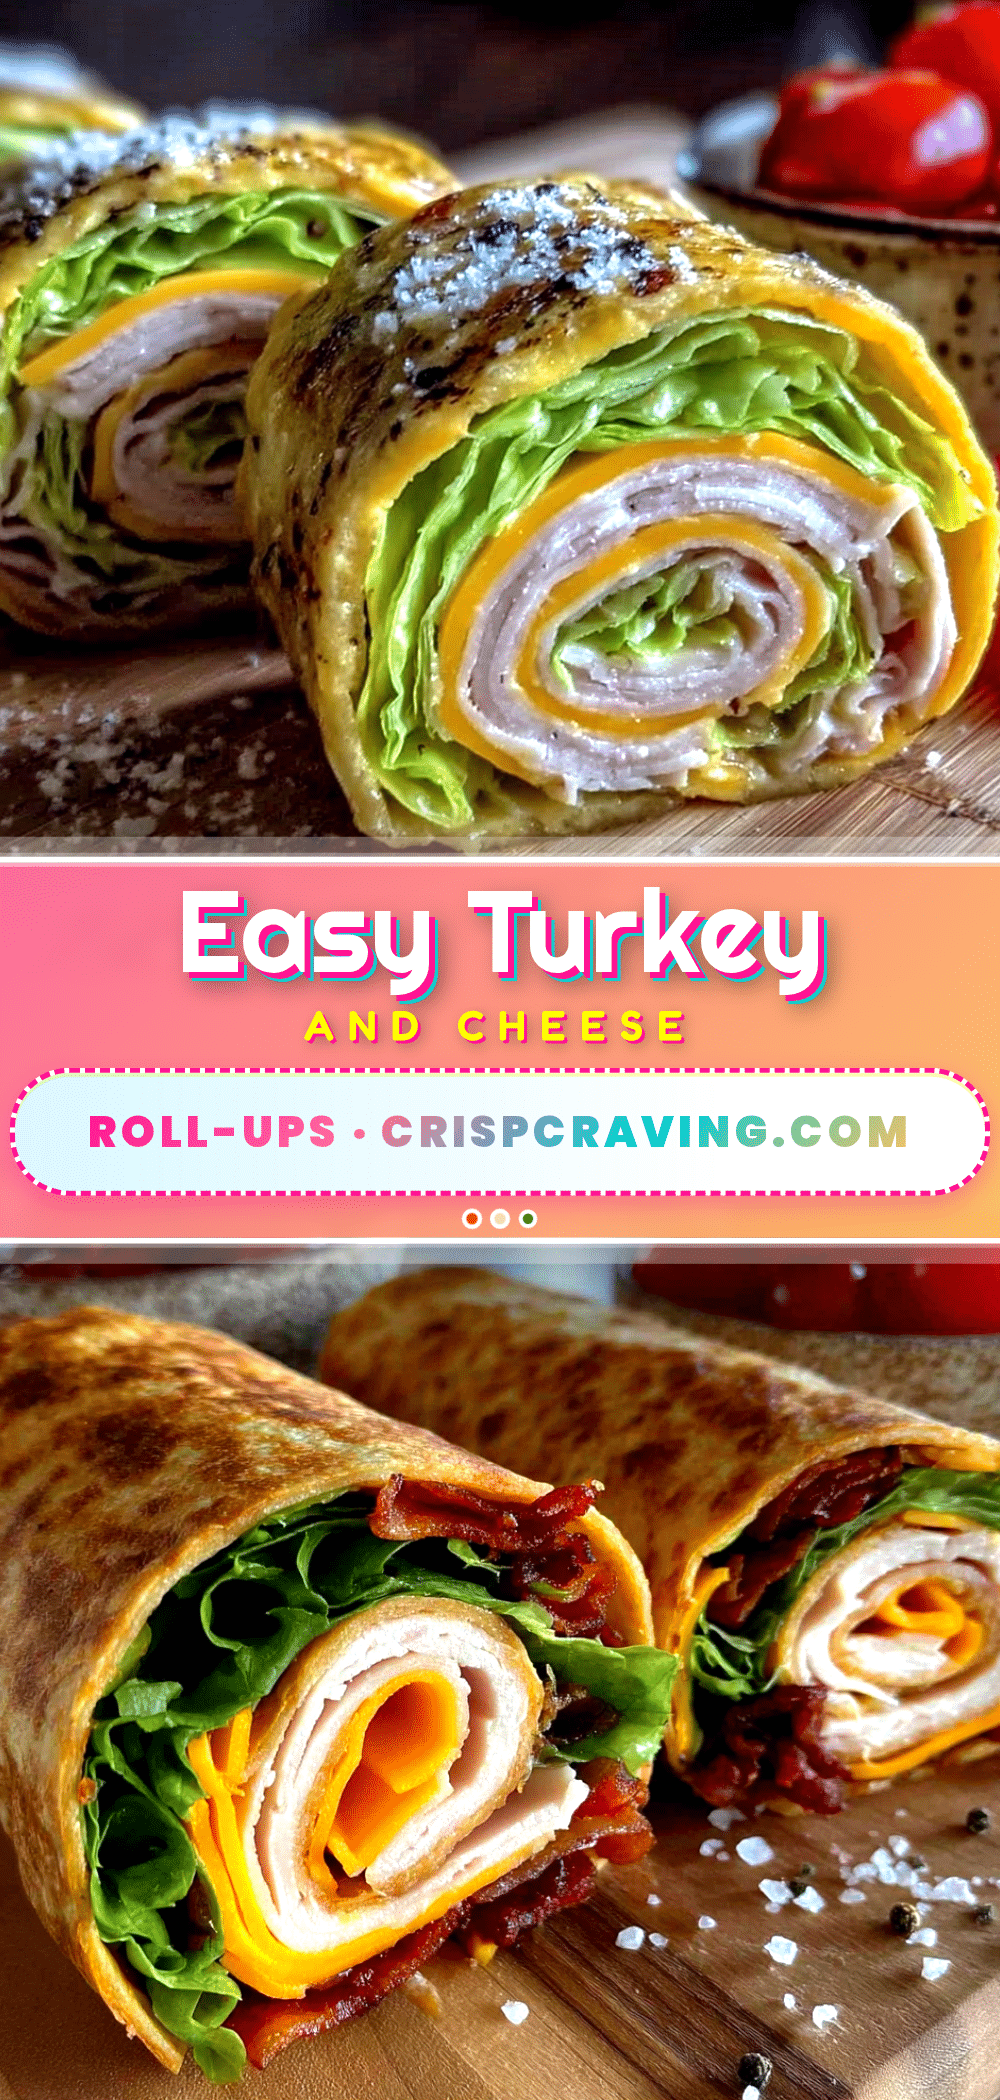
Easy Turkey and Cheese Roll-Ups: Perfect Lunchbox Idea

These turkey and cheese roll-ups are a quick, easy, and delicious lunchbox solution that stays fresh without getting soggy. Made with simple ingredients and a cream cheese seal, they’re a crowd-pleaser for kids and adults alike.
- Prep Time: 10 minutes
- Cook Time: 0 minutes
- Total Time: 40 minutes (including chilling time)
- Yield: 4 servings 1x
- Category: Lunch
- Cuisine: American
Ingredients
- 8 large flour tortillas (burrito size)
- 1 pound thinly sliced deli turkey breast
- 8 slices cheddar cheese
- 4 ounces cream cheese, softened
- Optional: fresh spinach leaves or avocado slices
Instructions
- Soften the cream cheese by letting it sit at room temperature for 15 minutes or microwaving for 10 seconds.
- Lay one tortilla flat on a cutting board. Spread about 1 tablespoon of softened cream cheese evenly over the entire surface, going all the way to the edges.
- Place 2 to 3 slices of turkey on top of the cream cheese, overlapping slightly to cover the tortilla.
- Lay one slice of cheddar cheese on top of the turkey.
- Starting from one edge, roll the tortilla up as tightly as possible without tearing it, tucking in the filling as you go.
- Place the rolled tortilla seam-side down on a piece of plastic wrap or parchment paper. Wrap tightly, twisting the ends like a candy wrapper. Repeat with remaining tortillas.
- Refrigerate for at least 30 minutes (or 15 minutes in the freezer) to firm up.
- Unwrap each roll and slice into 1-inch pinwheels using a sharp knife (about 6 to 8 pieces per roll).
- Pack the pinwheels in a lunchbox or airtight container. They are ready to serve cold or at room temperature.
Notes
For best results, use softened cream cheese to avoid tearing the tortilla. Warm tortillas in the microwave for 10 seconds if they crack. The cream cheese acts as a seal to prevent sogginess. For meal prep, keep rolls whole and unsliced in the fridge for up to 4 days, slicing fresh each morning. Add veggies like cucumber or bell peppers for extra crunch, but pat them dry first.
Nutrition
- Serving Size: 4 pinwheels
- Calories: 280
- Sugar: 3
- Sodium: 800
- Fat: 14
- Saturated Fat: 7
- Carbohydrates: 22
- Fiber: 2
- Protein: 18
Keywords: turkey and cheese roll-ups, lunchbox ideas, easy lunch, pinwheels, no-mayo, kid-friendly



