Love this? Save it for later!
Share the inspiration with your friends
My neighbor wasn’t trying to impress anyone. I’d stopped by to borrow a ladder—honestly, a very mundane Tuesday errand—and this smell hit me before I even got to her back door. It was sweet, but not cloying. Savory, but not heavy. And it had this unmistakable sticky, caramelized thing going on that made my stomach literally growl. Not my proudest moment.
She was standing at her kitchen island, barefoot, in an old t-shirt, tossing these glossy, golden chicken wings in a bowl like it was absolutely nothing. Like she hadn’t just created the kind of dish that makes you want to cancel all your plans and just stand there eating over the sink. “Oh, these?” she said when I asked, not even looking up. “Just some air fryer wings. I do them all the time.”
That casualness, you know? That’s what got me. She wasn’t running a test kitchen or trying to launch a blog. She was just feeding her family on a random Tuesday, and the result was pure magic. I asked for the rough rundown, scribbled it on the back of an old receipt, and I’ve been making my version ever since. This crispy air fryer honey garlic chicken wings recipe is the result of that accidental discovery—a perfect balance of sticky-sweet glaze and shatteringly crisp skin, all done in about 20 minutes. No deep frying, no mess, no fuss. Maybe you’ve been there too, watching someone make something incredible look way too easy.
Let me tell you, this recipe has become a staple in my house. It’s the one I make when I need a guaranteed crowd-pleaser, or when I just want a Tuesday night to feel a little more special. And honestly, it all started with a neighbor who didn’t think she was doing anything special at all.
Why You’ll Love This Recipe
I’ve tested this recipe about a dozen times to get it just right—adjusting the temperature, tweaking the glaze, figuring out the secret to that ultra-crispy skin without a drop of deep fryer oil. The result is a wing that checks every box: fast, easy, and ridiculously delicious. Here’s why this one is different.
- Quick & Easy: From fridge to table in about 20 minutes. No marinating overnight, no complicated steps. Perfect for those nights when you need dinner on the table fast.
- Simple Ingredients: You probably have most of these in your pantry right now. No trips to a specialty store required.
- Perfect for Game Day or Weeknight Dinner: These wings work for everything—Super Bowl parties, casual get-togethers, or just a fun weeknight meal that feels like a treat.
- Crowd-Pleaser: I’ve served these to picky kids, serious foodie friends, and everyone in between. They disappear every single time.
- Unbelievably Delicious: The combo of sticky honey, savory garlic, and that air fryer crispiness is next-level comfort food. You’ll close your eyes after the first bite.
What makes this recipe different from the rest? It’s the technique. Most air fryer wings end up dry or rubbery. My method uses a clever trick—a light coating of baking powder—to create that shatteringly crispy skin without any oil. And the glaze? It’s not too sweet, not too salty. It’s perfectly balanced, coating each wing in a sticky, glossy layer that clings just right. This isn’t just another honey garlic wing recipe. It’s the one you’ll come back to again and again.
What Ingredients You Will Need
This recipe uses simple, everyday ingredients to deliver bold flavor and that perfect crispy texture. Nothing fancy here—just smart choices that work together beautifully.
For the Wings
- 2 pounds chicken wings, separated into drumettes and flats (you can buy them pre-separated or do it yourself—it’s easy!)
- 1 tablespoon baking powder (not baking soda—this is the secret to crispy skin)
- 1 teaspoon salt
- 1/2 teaspoon black pepper
- 1/2 teaspoon garlic powder
- 1/2 teaspoon paprika (smoked paprika adds a lovely depth, but regular works great too)
For the Honey Garlic Glaze
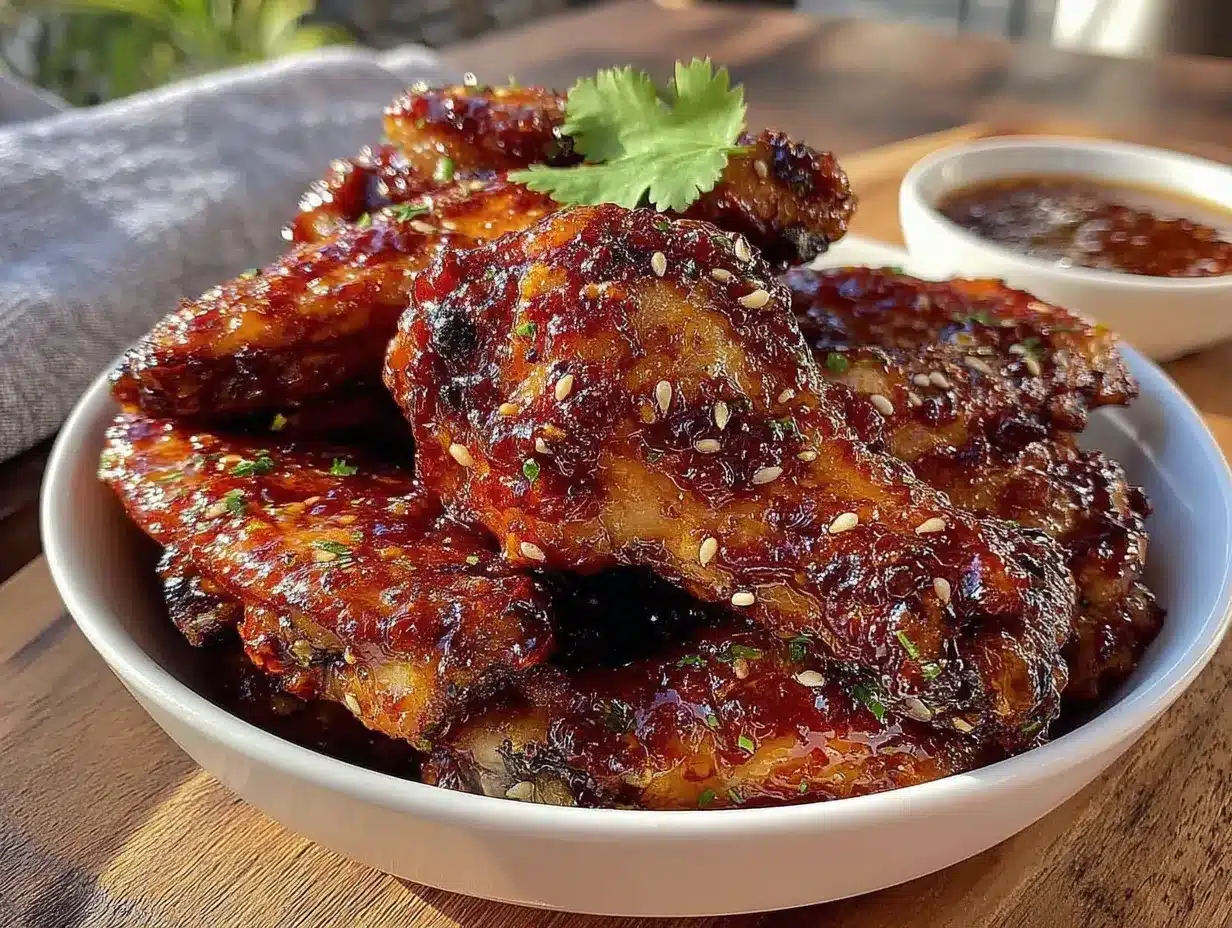
- 1/3 cup honey (use a good quality one—it makes a difference in flavor)
- 4 cloves garlic, minced (fresh is non-negotiable here; don’t use the jarred stuff)
- 2 tablespoons soy sauce (low-sodium is best, or use tamari for gluten-free)
- 1 tablespoon rice vinegar (or apple cider vinegar in a pinch)
- 1 teaspoon sesame oil (optional, but adds a lovely nutty note)
- 1 teaspoon cornstarch mixed with 2 teaspoons water (for thickening, if needed)
- Sesame seeds and chopped green onions, for garnish (optional but highly recommended)
Ingredient Tips: I recommend using fresh, never-frozen chicken wings if you can. Frozen wings release too much water as they cook, which steams the skin instead of crisping it. For the best texture, look for wings that are similar in size so they cook evenly. And that baking powder trick? It’s a game-changer. It raises the skin’s pH, helping it brown and crisp up beautifully in the air fryer.
Substitution Guidance: Need a gluten-free option? Swap the soy sauce for tamari or coconut aminos. For a lower-sugar version, you can reduce the honey to 1/4 cup and add a splash more vinegar for balance. And if you don’t have rice vinegar, white wine vinegar or apple cider vinegar work just fine.
Equipment Needed
You don’t need a fancy kitchen to make these wings. Here’s what you’ll need:
- Air fryer (any brand works—I use a 5.8-quart model, but smaller ones work too; just cook in batches)
- Large mixing bowl
- Paper towels (for drying the wings—this step matters!)
- Small saucepan (for the glaze)
- Whisk or spoon
- Tongs (for flipping the wings)
- Pastry brush (optional, for applying glaze)
Budget-Friendly Tip: Don’t have an air fryer? You can make these wings in a convection oven at 400°F on a wire rack set over a baking sheet. The cooking time will be a bit longer (about 25-30 minutes), but the results are still fantastic. I’ve also made them in a regular oven with good results—just flip them halfway through and expect a slightly less crispy skin.
Personal Note: I’ve tried this recipe in three different air fryers, and the one thing I’ve learned is that every model runs a little differently. My first batch was a bit overdone because I trusted a generic timer. Now I always check a few minutes early. Get to know your air fryer’s quirks—it’s worth it.
Preparation Method
Let’s get cooking! This method is straightforward, but each step matters for that perfect result.
- Prep the wings. Pat the chicken wings completely dry with paper towels. This is crucial—any moisture will steam the skin instead of crisping it. If you have time, let them sit uncovered in the fridge for 30 minutes to dry out even more. Trust me, this step is worth it.
- Season the wings. In a large bowl, combine the baking powder, salt, pepper, garlic powder, and paprika. Add the dried wings and toss well to coat every piece evenly. The baking powder mixture should look like a light dusting on each wing. Don’t overthink it—just make sure they’re all covered.
- Preheat the air fryer. Set your air fryer to 400°F (200°C) and let it preheat for 3-5 minutes. A hot start helps the skin begin crisping immediately.
- Arrange the wings. Place the wings in the air fryer basket in a single layer. Don’t overcrowd—they need space for the hot air to circulate. Work in batches if needed. I usually do two batches for 2 pounds of wings.
- Air fry the wings. Cook at 400°F for 12 minutes. Flip the wings with tongs, then cook for another 8-10 minutes, until the skin is golden brown and crispy. The internal temperature should reach 165°F (74°C). Your kitchen will smell amazing at this point.
- Make the glaze. While the wings cook, combine the honey, minced garlic, soy sauce, rice vinegar, and sesame oil in a small saucepan. Bring to a gentle simmer over medium heat, stirring occasionally. Let it bubble for 2-3 minutes until slightly thickened. If you want a thicker glaze, stir in the cornstarch slurry and cook for another minute until glossy.
- Glaze the wings. Once the wings are done, transfer them to a clean bowl. Pour the warm honey garlic glaze over the top and toss gently to coat every wing. Don’t let them sit in the glaze too long before serving, or they’ll lose some crispiness.
- Serve immediately. Transfer the glazed wings to a serving platter. Sprinkle with sesame seeds and chopped green onions if you’re feeling fancy. Serve hot and watch them disappear.
Sensory Cue: At step 5, you should hear a satisfying sizzle when you flip the wings. The skin should look dry and puffy, with small bubbles forming on the surface. That’s the baking powder doing its magic. When you take a bite, you should hear a crunch before you taste the sticky-sweet glaze.
Troubleshooting Tip: If your wings aren’t getting crispy, your air fryer might not be hot enough, or you might be overcrowding the basket. Try reducing the batch size and making sure the wings are bone-dry before seasoning.
Cooking Tips & Techniques
I’ve made plenty of mistakes with air fryer wings so you don’t have to. Here’s what I’ve learned the hard way.
The Drying Trick: I cannot stress this enough—dry wings are crispy wings. After you pat them dry with paper towels, try letting them sit uncovered in the fridge for 30 minutes. This extra step removes surface moisture that would otherwise steam the skin. It’s the single biggest difference between good wings and great wings.
Don’t Skip the Baking Powder: I know it sounds weird, but trust me on this. Baking powder (not baking soda!) creates tiny bubbles on the skin’s surface, which increases surface area and leads to ultra-crispy results. I once forgot to add it and ended up with sad, flabby wings. Never again.
Glaze Timing: Here’s the thing—you want to glaze the wings right before serving, not earlier. If they sit in the glaze too long, the sugar will draw moisture back into the skin, and you’ll lose that crunch. I like to make the glaze while the wings cook, then toss them together at the last minute. Perfect every time.
Batch Cooking Strategy: If you’re making a big batch, keep the cooked wings warm in a 200°F oven while you finish the rest. Don’t stack them on top of each other—spread them out on a wire rack so they stay crispy. Then glaze them all at once right before serving.
My Biggest Failure: The first time I made these, I used frozen wings straight from the freezer. Big mistake. They released so much water that the air fryer basically became a steamer. The skin was rubbery, the glaze was watery, and I was genuinely sad. Learn from my mistake—always use fresh or fully thawed wings.
Variations & Adaptations
This recipe is wonderfully flexible. Here are some ways to make it your own.
Spicy Honey Garlic: Add 1-2 teaspoons of sriracha or gochujang to the glaze for a sweet-heat combo that’s absolutely addictive. I make this version when I’m craving something with a kick. The heat balances the honey beautifully.
Lemon Herb Version: Skip the honey and swap in 2 tablespoons of fresh lemon juice, 1 tablespoon of olive oil, and a teaspoon of dried oregano or thyme. This lighter, brighter version is perfect for summer cookouts. I’ve served it with a side of tzatziki and it was a hit.
Keto-Friendly Adaptation: Replace the honey with a sugar-free honey substitute or use a monk fruit sweetener. The glaze will be slightly less sticky, but still delicious. You can also skip the glaze entirely and just season the wings with a dry rub of smoked paprika, garlic powder, and cumin.
Oven-Baked Version: No air fryer? No problem. Bake the wings on a wire rack set over a baking sheet at 425°F for 40-45 minutes, flipping halfway through. The wire rack is key—it allows air to circulate underneath, keeping the skin crispy. I’ve done this many times and the results are nearly as good as the air fryer version.
Personal Variation: My favorite twist is adding a tablespoon of gochujang (Korean chili paste) to the glaze. It adds a complex, fermented heat that pairs beautifully with the honey. My husband calls these “the wings that ruined all other wings for me.” High praise.
Serving & Storage Suggestions
These wings are best served hot and fresh, but here’s how to handle leftovers if you have any.
Serving: Serve the wings immediately after glazing, while the skin is still crispy and the glaze is warm and sticky. I like to arrange them on a large platter with extra sesame seeds and green onions on top. They’re perfect with a side of creamy ranch dressing or blue cheese dip for cooling contrast.
What to Serve With Them: These wings pair beautifully with Asian cucumber salad for a light, refreshing side. Or go classic with celery sticks and carrot ribbons. For a bigger meal, serve them over steamed rice with a side of roasted broccoli. The honey garlic sauce is amazing drizzled over the rice.
Storage: Leftover wings can be stored in an airtight container in the refrigerator for up to 3 days. The glaze will soften the skin over time, so expect them to be less crispy when reheated. To store, let them cool completely before refrigerating.
Reheating: The best way to reheat these wings is back in the air fryer at 375°F for 3-4 minutes. This helps restore some of the crispiness. You can also reheat them in a 400°F oven for 5-7 minutes. Avoid the microwave unless you’re okay with soft, steamed wings.
Flavor Development: Honestly, the flavors meld beautifully overnight. Cold leftovers are surprisingly delicious straight from the fridge—the honey garlic glaze sets into a sticky, almost candied coating. I’ve been known to sneak a few cold wings for breakfast. No judgment.
Nutritional Information & Benefits
Here’s an approximate nutritional breakdown per serving (about 4-5 wings, based on 4 servings):
| Nutrient | Amount |
|---|---|
| Calories | 380 |
| Protein | 28g |
| Fat | 18g |
| Saturated Fat | 5g |
| Carbohydrates | 24g |
| Sugar | 20g |
| Fiber | 0g |
| Sodium | 850mg |
Health Benefits: Chicken wings are a good source of protein, which supports muscle health and keeps you feeling full. The garlic in this recipe is known for its immune-boosting properties and may help reduce inflammation. Honey provides natural energy and contains antioxidants. While this isn’t a low-calorie dish, it’s a satisfying treat that fits into a balanced diet when enjoyed in moderation.
Dietary Considerations: This recipe is naturally gluten-free if you use tamari instead of soy sauce. It’s also dairy-free and nut-free. For a lower-sugar option, reduce the honey to 1/4 cup or use a sugar-free substitute. The sodium content is moderate—you can reduce it by using low-sodium soy sauce and cutting back on the added salt.
Personal Note: I love that this recipe lets me enjoy wings without the guilt of deep frying. The air fryer method cuts down on oil significantly, and I feel good about serving them to my family. It’s comfort food that doesn’t weigh you down.
Conclusion
These crispy air fryer honey garlic chicken wings are the kind of recipe that makes you look like a hero with almost no effort. They’re fast enough for a weeknight, impressive enough for a party, and delicious enough to become a regular in your rotation. The combination of shatteringly crispy skin and sticky-sweet glaze is honestly addictive.
I love that this recipe started with a neighbor who didn’t think she was doing anything special. It reminds me that the best dishes often come from the most unassuming places. Now it’s your turn to make them your own—add some heat, swap the flavors, or keep it classic. The beauty of this recipe is how flexible it is.
I’d love to hear how yours turn out! Drop a comment below and let me know if you tried any variations. Did you go spicy? Did you add extra garlic? Share your wing stories with me. And if you’re looking for another crowd-pleaser, you might enjoy these air fryer buffalo cauliflower bites for a meatless option. Happy cooking, friend—your air fryer is about to become your new best friend.
Frequently Asked Questions
Can I use frozen chicken wings in the air fryer?
I recommend thawing them first. Frozen wings release too much moisture, which prevents the skin from getting crispy. If you’re in a rush, you can cook them from frozen, but expect a softer skin and longer cooking time (about 25-30 minutes at 400°F). Just make sure they reach an internal temperature of 165°F.
Why are my air fryer wings not crispy?
This usually happens for one of three reasons: the wings weren’t dried properly before cooking, the air fryer basket was overcrowded, or you skipped the baking powder. Make sure your wings are bone-dry, cook them in a single layer with space between each piece, and don’t forget that baking powder trick. It really works.
Can I make the glaze ahead of time?
Absolutely! The honey garlic glaze can be made up to 3 days in advance and stored in an airtight container in the refrigerator. Just reheat it gently on the stove or in the microwave before tossing with the wings. The flavors actually meld together nicely over time.
How do I reheat leftover wings without losing crispiness?
The air fryer is your best friend here. Reheat at 375°F for 3-4 minutes, and they’ll come out almost as crispy as fresh. You can also use a 400°F oven for 5-7 minutes. Skip the microwave unless you don’t mind soft wings.
Can I use chicken thighs or drumsticks instead?
Yes, but adjust the cooking time. Boneless chicken thighs will cook faster (about 10-12 minutes), while bone-in drumsticks need a bit longer (about 18-22 minutes). Use a meat thermometer to check for doneness—165°F for thighs, 170°F for drumsticks. The glaze works beautifully on any cut of chicken.
Pin This Recipe!
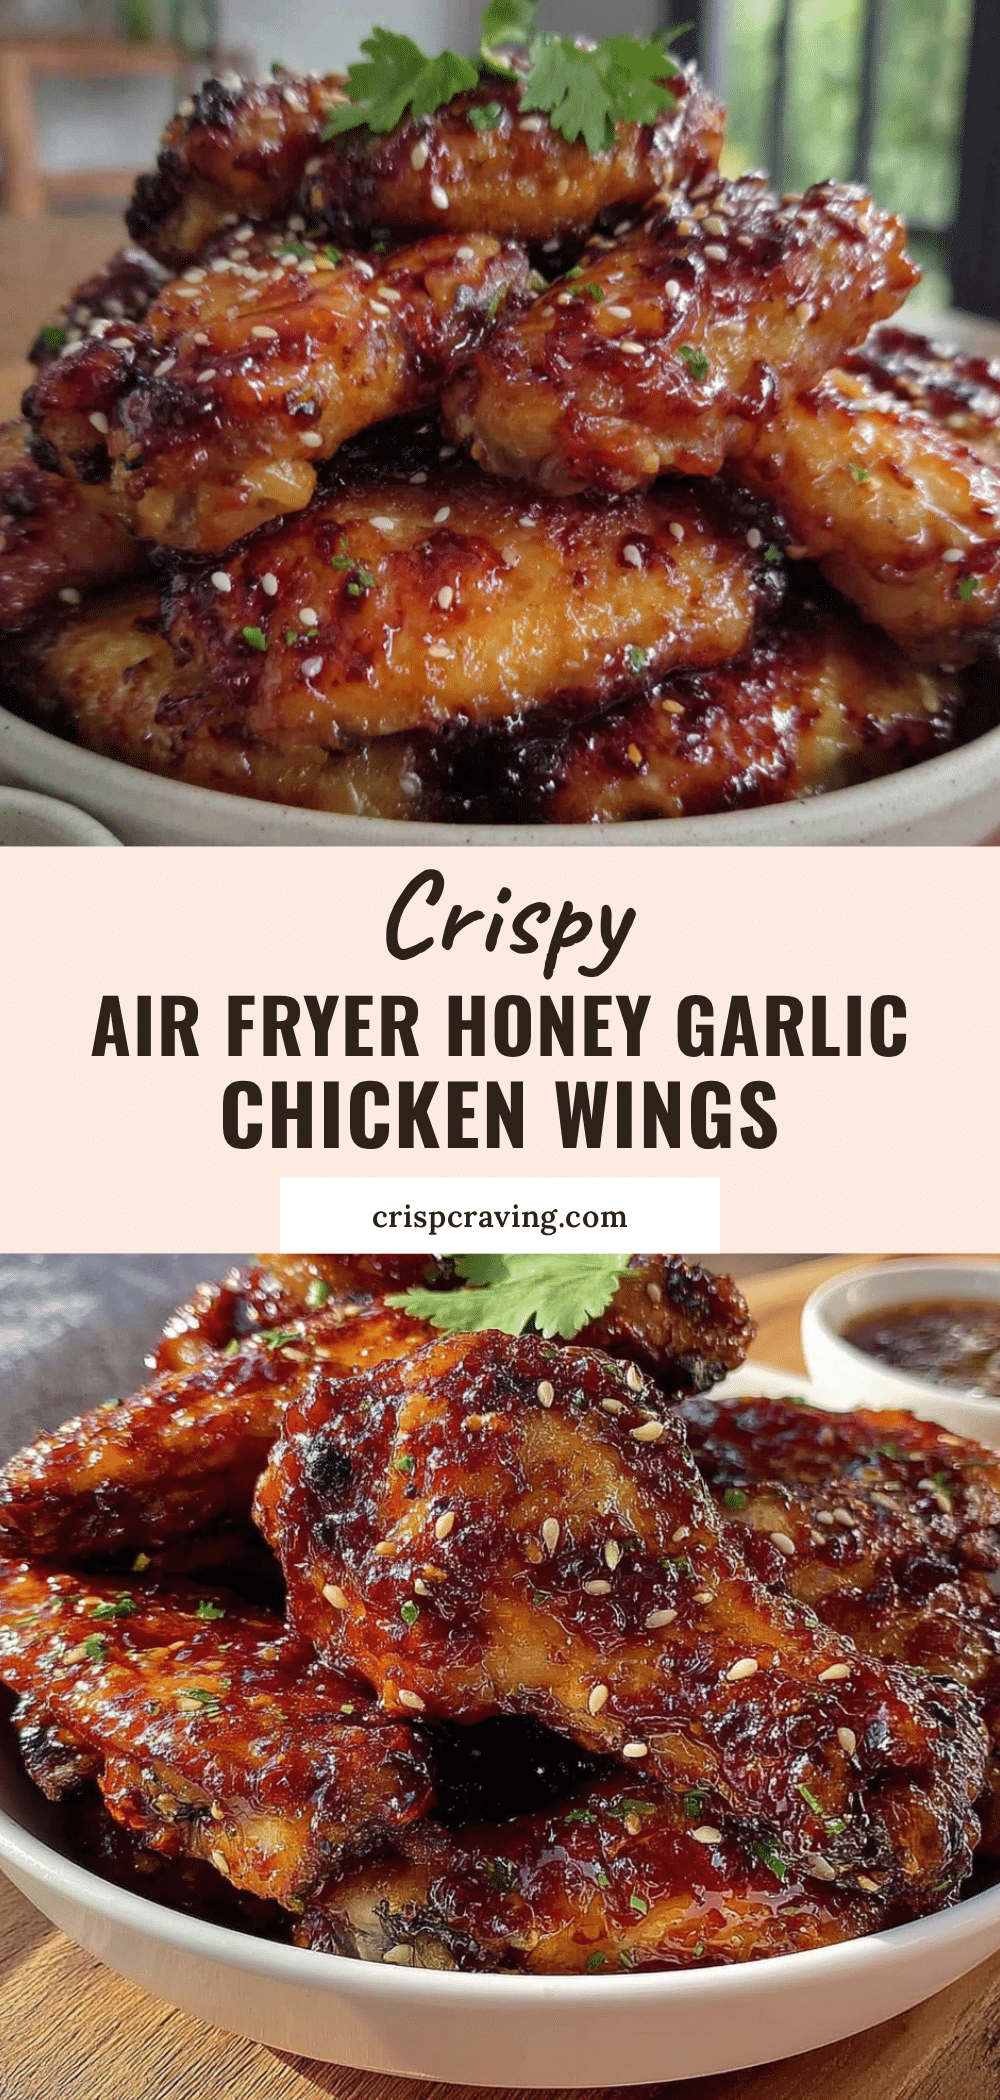
Crispy Air Fryer Honey Garlic Chicken Wings in 20 Minutes

These crispy air fryer honey garlic chicken wings are the perfect balance of sticky-sweet glaze and shatteringly crisp skin, all done in about 20 minutes. No deep frying, no mess, no fuss.
- Prep Time: 10 minutes
- Cook Time: 20 minutes
- Total Time: 30 minutes
- Yield: 4 servings 1x
- Category: Appetizer
- Cuisine: American
Ingredients
- 2 pounds chicken wings, separated into drumettes and flats
- 1 tablespoon baking powder
- 1 teaspoon salt
- 1/2 teaspoon black pepper
- 1/2 teaspoon garlic powder
- 1/2 teaspoon paprika
- 1/3 cup honey
- 4 cloves garlic, minced
- 2 tablespoons soy sauce (low-sodium preferred)
- 1 tablespoon rice vinegar
- 1 teaspoon sesame oil (optional)
- 1 teaspoon cornstarch mixed with 2 teaspoons water (for thickening, if needed)
- Sesame seeds and chopped green onions for garnish (optional)
Instructions
- Pat the chicken wings completely dry with paper towels. If time allows, let them sit uncovered in the fridge for 30 minutes to dry out further.
- In a large bowl, combine baking powder, salt, pepper, garlic powder, and paprika. Add the dried wings and toss well to coat evenly.
- Preheat the air fryer to 400°F (200°C) for 3-5 minutes.
- Place the wings in the air fryer basket in a single layer without overcrowding. Work in batches if needed.
- Air fry at 400°F for 12 minutes. Flip the wings with tongs, then cook for another 8-10 minutes until golden brown and crispy (internal temperature should reach 165°F).
- While wings cook, combine honey, minced garlic, soy sauce, rice vinegar, and sesame oil in a small saucepan. Bring to a gentle simmer over medium heat, stirring occasionally. Let bubble for 2-3 minutes until slightly thickened. For a thicker glaze, stir in cornstarch slurry and cook for another minute.
- Transfer cooked wings to a clean bowl. Pour warm honey garlic glaze over the top and toss gently to coat.
- Serve immediately, garnished with sesame seeds and chopped green onions if desired.
Notes
For extra crispy skin, ensure wings are bone-dry before seasoning. Do not skip the baking powder—it helps create a shatteringly crisp texture. Glaze wings just before serving to maintain crispiness. If using frozen wings, thaw first to avoid steaming.
Nutrition
- Serving Size: 4-5 wings
- Calories: 380
- Sugar: 20
- Sodium: 850
- Fat: 18
- Saturated Fat: 5
- Carbohydrates: 24
- Protein: 28
Keywords: air fryer chicken wings, honey garlic wings, crispy wings, easy appetizer, game day food



