Love this? Save it for later!
Share the inspiration with your friends
My friend Jen asked me last week why I couldn’t just throw everything in one jar the night before instead of making a mess with multiple bowls. I started to explain why that wouldn’t work — then stopped. Honestly, I had no good reason. I’d been making overnight oats the “proper” way for years, measuring dry ingredients separately, mixing wet ingredients in another bowl, and then combining them. It was a whole production. Jen just shrugged and said, “Seems like extra dishes for no reason.” She wasn’t wrong.
So I tried it her way. I grabbed a mason jar, tossed in the oats, chia seeds, milk, and a giant spoonful of creamy peanut butter. I screwed the lid on, shook it like I was making a cocktail, and stuck it in the fridge. The next morning, I opened that jar half-expecting a clumpy disaster. Instead, I found the most perfectly textured, creamy peanut butter overnight oats I’d ever made. No clumps. No weird dry spots. Just smooth, rich, peanut buttery goodness from top to bottom.
I mean, I felt a little ridiculous. Here I was, someone who writes about food for a living, and I’d been overcomplicating something as simple as overnight oats for years. Jen didn’t even gloat — she just smiled and asked for the recipe. That moment changed my whole morning routine, and honestly, it might change yours too. If you’ve been measuring things out separately like I used to, let me tell you — there’s a better way. These creamy peanut butter overnight oats are the meal prep hack you didn’t know you needed.
Why You’ll Love This Recipe
Let me be real with you — I’ve tested a lot of overnight oat recipes over the years. Some turn out gluey. Some are too watery. Some just taste like sad, cold oatmeal. These creamy peanut butter overnight oats? They’re different. After dozens of batches and plenty of trial and error, I landed on the perfect ratio that gives you that thick, pudding-like texture without any weird surprises.
- Quick & Easy : Comes together in under 5 minutes, perfect for busy mornings or last-minute meal prep on Sunday night.
- Simple Ingredients : No fancy grocery trips needed; you likely already have everything in your kitchen right now.
- Perfect for Meal Prep : Makes 4-5 servings at once, so breakfast is sorted for the whole work week.
- Crowd-Pleaser : Kids love it, adults love it, and even picky eaters ask for seconds.
- Unbelievably Creamy : The texture is what sets this apart — silky, rich, and satisfying without being heavy.
What makes this version different from the rest? It’s the technique. Most recipes tell you to stir everything together gently, but that’s where things go wrong. You need to really mix it — shake it, stir it, make sure that peanut butter fully incorporates into the milk before it hits the fridge. That one small step makes a massive difference in the final texture. Plus, I add a tiny pinch of salt that most recipes skip, and it makes the peanut butter flavor pop in a way you won’t believe.
This recipe isn’t just good — it’s the kind that makes you look forward to waking up. It’s comfort food reimagined as a healthy, grab-and-go breakfast that keeps you full until lunch. Perfect for impressing your coworkers when they see you walk in with a fancy-looking jar, or for turning a chaotic morning into something calm and delicious.
What Ingredients You Will Need
This recipe uses simple, wholesome ingredients to deliver that rich peanut butter flavor and creamy texture without any fuss. Most of these are pantry staples, which makes this perfect for spontaneous meal prep sessions.
- Rolled oats, 2 cups (use old-fashioned rolled oats, not quick oats — they hold their texture better overnight)
- Milk, 2 cups (dairy or unsweetened almond milk both work great; oat milk makes it extra creamy)
- Creamy peanut butter, ½ cup (I prefer Justin’s or Smucker’s Natural for the best texture; avoid the super oily natural brands that separate too much)
- Chia seeds, 2 tablespoons (these are the secret to that pudding-like thickness)
- Maple syrup, 3 tablespoons (honey works too, but maple syrup blends more evenly in cold mixtures)
- Vanilla extract, 1 teaspoon (pure vanilla makes a difference, but imitation works in a pinch)
- Salt, ¼ teaspoon (trust me on this — it makes the peanut butter taste more peanut buttery)
- Optional mix-ins: chocolate chips, sliced bananas, chopped peanuts, or a drizzle of extra peanut butter on top
When choosing your peanut butter, look for one that’s creamy and smooth, not the kind that’s been sitting in the pantry for months with a layer of oil on top. If your peanut butter is too stiff, microwave it for 10-15 seconds before mixing so it incorporates more easily. For a lower-sugar option, use unsweetened almond milk and reduce the maple syrup to 2 tablespoons — the oats and peanut butter provide plenty of natural sweetness.
If you’re allergic to peanuts, sunflower seed butter works beautifully here. Just add an extra tablespoon of maple syrup to balance the slight bitterness. And if you’re gluten-sensitive, make sure to grab certified gluten-free rolled oats — regular oats are often cross-contaminated during processing.
Equipment Needed
You don’t need much for this recipe, which is honestly my favorite part. Here’s what you’ll need:
- Mason jars or meal prep containers (4-5 jars, 12-ounce size works perfectly; wide-mouth jars are easiest to eat from)
- Measuring cups and spoons (a ½ cup measure and a tablespoon are the most important)
- A fork or small whisk (for mixing the peanut butter into the milk before adding oats)
- A jar funnel (optional but helpful for getting oats into jars without spilling everywhere)
I’ve tried this recipe with everything from fancy Weck jars to old spaghetti sauce jars that I washed out. Honestly, they all work fine. The key is having a tight-sealing lid so nothing leaks if you’re taking these to work. My personal favorites are the 12-ounce Ball mason jars — they’re cheap, durable, and you can find them at any grocery store. If you don’t have jars, any airtight container works. I’ve even used a large mixing bowl with plastic wrap in a pinch, though that’s not ideal for grab-and-go mornings.
One tip: if you’re using metal lids, rinse them off after shaking to prevent any metallic taste from developing overnight. And if your jars are prone to leaking, screw the lid on over a piece of plastic wrap for a tighter seal.
Preparation Method
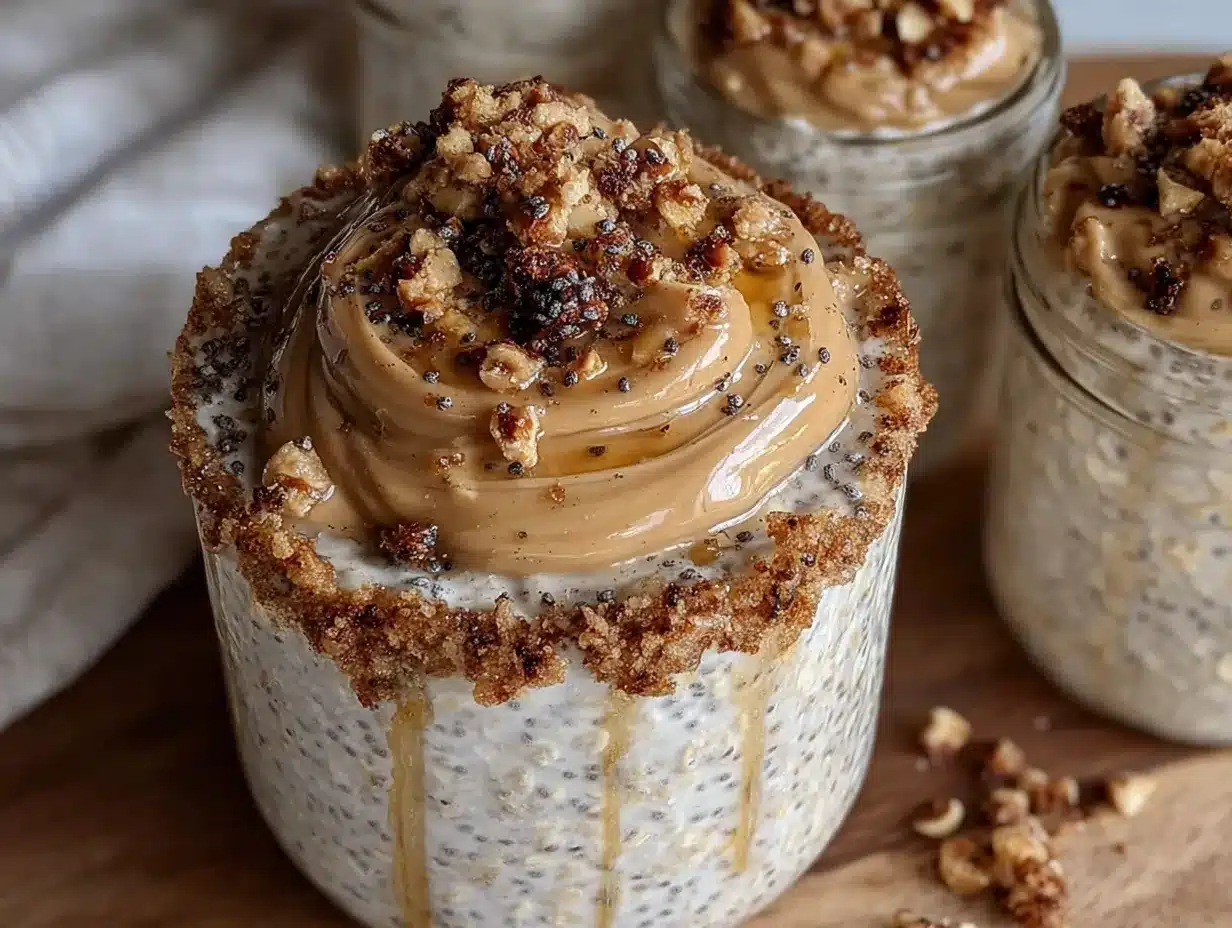
This is where the magic happens. Follow these steps exactly, and you’ll have perfect creamy peanut butter overnight oats every single time.
- Mix the peanut butter and milk first. In a large measuring cup or small bowl, combine ½ cup creamy peanut butter with 2 cups milk. Whisk vigorously until the peanut butter is fully dissolved into the milk. This takes about 30 seconds of real effort — don’t rush it. You’re looking for a smooth, uniform liquid with no streaks of peanut butter. If you skip this step, you’ll end up with clumps of peanut butter in your oats, and nobody wants that.
- Add the liquid sweeteners and vanilla. Pour in 3 tablespoons maple syrup and 1 teaspoon vanilla extract. Whisk again until everything is combined. Taste the mixture here — it should taste slightly sweeter than you want the final product to be, because the oats will absorb some of that sweetness overnight.
- Stir in the dry ingredients. Add 2 cups rolled oats, 2 tablespoons chia seeds, and ¼ teaspoon salt to the liquid mixture. Stir until all the oats are fully coated. The mixture will look a little thin at this point — that’s normal. The oats and chia seeds will absorb the liquid overnight and thicken everything up.
- Divide into jars. Using your funnel if you have one, divide the mixture evenly among 4-5 jars. Each jar should be about ¾ full — leave some room for toppings and expansion. If you’re using 12-ounce jars like I do, you’ll get exactly 4 generous servings or 5 slightly smaller ones.
- Shake or stir each jar. Screw the lids on tightly and give each jar a good shake for about 10 seconds. If you’re not using jars, stir each container well with a spoon. This redistributes any chia seeds or oats that settled during pouring and ensures even texture.
- Refrigerate overnight. Place the jars in the refrigerator for at least 6 hours, but 8-12 hours is ideal. The oats need time to soften and absorb the liquid. Don’t rush this — overnight oats that only sit for 4 hours will be crunchy and disappointing.
- Add toppings before serving. In the morning, grab a jar from the fridge, remove the lid, and give it a good stir. The texture should be thick and creamy — almost like a pudding. Add your favorite toppings: sliced bananas, a sprinkle of chopped peanuts, a few chocolate chips, or an extra drizzle of peanut butter. Eat cold straight from the jar, or microwave for 30-45 seconds if you prefer warm oats.
A few notes from my many failed batches: if your oats turn out too thick, stir in a splash of milk before eating. If they’re too thin, you either used too much liquid or didn’t let them sit long enough. And if you forget to add the chia seeds, don’t panic — your oats will just be a bit looser, but they’ll still taste great.
Cooking Tips & Techniques
After making these creamy peanut butter overnight oats at least fifty times, I’ve learned a few things the hard way. Let me save you some trouble.
The biggest mistake people make is not mixing the peanut butter into the milk properly. I’ve done it — I’ve been lazy and just dumped everything in a jar and shaken it, thinking it would all come together. It doesn’t. The peanut butter clumps up and you end up with weird dry pockets of peanut powder in your oats. Take the extra 30 seconds to whisk it first. Your future self will thank you.
Temperature matters. If your peanut butter is cold from the fridge, it won’t mix well. Microwave it for 10-15 seconds until it’s soft and scoopable. Same goes for your milk — room temperature milk blends much more smoothly than cold milk straight from the fridge. I usually take my milk out while I’m gathering ingredients so it warms up slightly.
Don’t skip the salt. I know it seems weird to add salt to something sweet, but salt is what makes the peanut butter flavor sing. Without it, the oats taste flat and one-dimensional. A tiny pinch is all you need. If you’re using salted peanut butter, reduce the added salt to just a tiny pinch or skip it entirely.
Batch consistency. If you’re making multiple jars, mix everything in one large bowl first, then divide. This ensures every jar gets the same ratio of oats to liquid to peanut butter. I learned this after making three jars that were all slightly different textures — one was perfect, one was too thick, and one was watery. Mixing everything together first solves that problem completely.
Shake, don’t stir. Once everything is in the jar, put the lid on tight and shake it like you mean it. This incorporates air and creates a lighter texture. If you just stir with a spoon, the oats can settle at the bottom and you’ll get a dense, gluey layer.
Variations & Adaptations
One of the best things about this recipe is how customizable it is. Here are some of my favorite variations:
Chocolate Peanut Butter Dream. Add 1 tablespoon of cocoa powder to the liquid mixture before adding the oats. The chocolate and peanut butter combination is absolutely irresistible. I add a handful of dark chocolate chips on top before serving for extra indulgence. This version tastes like dessert for breakfast, but it’s still packed with protein and fiber.
Banana Bread Peanut Butter Oats. Mash half a ripe banana into the liquid mixture before adding the oats. Add an extra ¼ teaspoon of cinnamon and a pinch of nutmeg. The banana adds natural sweetness and a creamy texture that complements the peanut butter beautifully. Top with sliced banana and chopped walnuts before serving.
Vegan and Dairy-Free. Use unsweetened almond milk or oat milk instead of dairy milk. Maple syrup works perfectly as a vegan sweetener. Make sure your peanut butter doesn’t contain honey — most natural peanut butters are vegan-friendly. This version is just as creamy and satisfying as the original.
High-Protein Version. Add a scoop of vanilla or chocolate protein powder to the liquid mixture. You’ll need to add an extra ¼ cup of milk to compensate for the powder’s absorbency. I’ve used both whey and plant-based protein powders successfully — just make sure to whisk thoroughly to avoid clumps.
Low-Sugar Option. Reduce the maple syrup to 1 tablespoon or omit it entirely. The peanut butter and milk provide enough flavor that you honestly don’t miss the sweetness. If you need a little sweetness, try a few drops of stevia or monk fruit sweetener instead.
I’ve tried all of these variations, and my personal favorite is the chocolate peanut butter version. There’s something about that combination that makes Monday mornings feel like a treat instead of a chore.
Serving & Storage Suggestions
These creamy peanut butter overnight oats are designed for convenience, but a little attention to serving and storage makes them even better.
Serve cold or warm. I eat mine straight from the fridge about 80% of the time — it’s quick, refreshing, and requires zero effort. But on cold winter mornings, I’ll microwave a jar for 45 seconds and it transforms into something cozy and comforting. Both ways are delicious, so go with whatever sounds good to you.
Toppings make the difference. A plain jar of overnight oats is good, but toppings take it to another level. I love sliced bananas, a sprinkle of chopped peanuts, a drizzle of extra peanut butter, and a few dark chocolate chips. Sometimes I add a spoonful of Greek yogurt on top for extra creaminess and protein.
Storage instructions. These oats will keep in the refrigerator for up to 5 days in an airtight container. I make a batch on Sunday evening and grab one jar each morning Monday through Friday. The texture actually improves after day one — the oats continue to soften and the flavors meld together beautifully.
Don’t freeze them. Overnight oats don’t freeze well. The texture becomes watery and grainy when thawed. If you need to prep further ahead, make the dry mix (oats, chia seeds, salt) and store it in a jar, then add the wet ingredients the night before you want to eat them.
Reheating tips. If you prefer warm oats, microwave for 30-45 seconds, stir, then microwave for another 15-20 seconds if needed. Don’t overheat or the oats can become gluey. You can also transfer the oats to a small saucepan and warm them gently on the stove over low heat, stirring frequently.
On-the-go tip. If you’re taking these to work, pack your toppings separately and add them right before eating. Otherwise, bananas get brown and nuts get soggy. I keep a bag of chopped peanuts and a small container of chocolate chips in my desk drawer for this exact purpose.
Nutritional Information & Benefits
These creamy peanut butter overnight oats aren’t just delicious — they’re genuinely good for you. Here’s the breakdown for one serving (based on 4 servings per batch):
- Calories: Approximately 380-420 calories per serving
- Protein: 14-16 grams (thanks to the peanut butter, milk, and chia seeds)
- Fiber: 8-10 grams (from oats and chia seeds — keeps you full for hours)
- Healthy Fats: 16-18 grams (mostly from peanut butter and chia seeds)
- Carbohydrates: 45-50 grams (complex carbs from oats provide steady energy)
- Sugar: 12-15 grams (mostly from maple syrup, with no added refined sugar)
The health benefits go beyond the numbers. Rolled oats are packed with beta-glucan, a type of soluble fiber that helps lower cholesterol and stabilize blood sugar. Peanut butter provides monounsaturated fats that support heart health, plus vitamin E and magnesium. Chia seeds are tiny nutritional powerhouses — they’re loaded with omega-3 fatty acids, calcium, and antioxidants. This breakfast keeps my energy steady all morning without the crash I used to get from sugary cereal.
If you’re watching your sugar intake, you can easily reduce the maple syrup to 1 tablespoon per batch. The oats and peanut butter provide enough natural sweetness that you honestly won’t miss it. And if you’re counting calories, this recipe fits nicely into most meal plans — it’s substantial enough to be a complete breakfast without being excessive.
Conclusion
These creamy peanut butter overnight oats have genuinely changed my mornings. What started as a skeptical experiment after my friend Jen’s suggestion has become my most-made recipe, and I’m not exaggerating when I say I’ve recommended it to at least a dozen people in the past few months. It’s that good.
The best part? You can make it your own. Add chocolate, swap in different nut butters, throw in some berries, or keep it simple with just a sprinkle of cinnamon. The base recipe is forgiving and adaptable, which is exactly what a good meal prep recipe should be. I’d love to hear how yours turn out — drop a comment below and let me know what toppings you used or if you came up with a creative variation I haven’t tried yet.
Go ahead and give these a try. Your future self, rushing around on a Tuesday morning with no time to make breakfast, will be incredibly grateful. And who knows — you might just learn something from a friend’s suggestion, like I did.
Frequently Asked Questions
Can I use quick oats instead of rolled oats?
You can, but the texture will be different. Quick oats absorb liquid faster and break down more, resulting in a softer, almost mushy texture. Rolled oats give you that nice chewy texture that holds up well over several days. If you only have quick oats, reduce the liquid by ¼ cup and expect a creamier, less structured result.
How long do these overnight oats last in the fridge?
They’ll stay fresh for up to 5 days in an airtight container in the refrigerator. The texture actually improves after the first day as the oats continue to soften and the flavors meld together. I wouldn’t recommend keeping them longer than 5 days, as the oats can become too soft and the chia seeds can make the texture a bit slimy.
Can I make these without chia seeds?
Absolutely. The chia seeds help thicken the oats and add nutritional benefits, but they’re not essential. Without them, your oats will be slightly looser and less pudding-like. You can substitute with 1 tablespoon of ground flaxseed, or simply omit them entirely. If you skip the chia seeds, you might want to reduce the milk by about ¼ cup to maintain the right consistency.
Why are my overnight oats too watery?
This usually happens for one of three reasons: you used too much liquid, you didn’t let them sit long enough (they need at least 6 hours), or your chia seeds weren’t fresh. If they’re watery after a full night in the fridge, stir in an extra tablespoon of chia seeds and let them sit for another hour. You can also stir in a spoonful of Greek yogurt to thicken them up quickly.
Can I heat these up in the morning?
Yes! These overnight oats are delicious both cold and warm. To heat them, microwave for 30-45 seconds, stir well, then microwave for another 15-20 seconds if needed. You can also transfer them to a small saucepan and warm over medium-low heat for 2-3 minutes, stirring frequently. Just be careful not to overheat them, or the texture can become gluey.
Pin This Recipe!
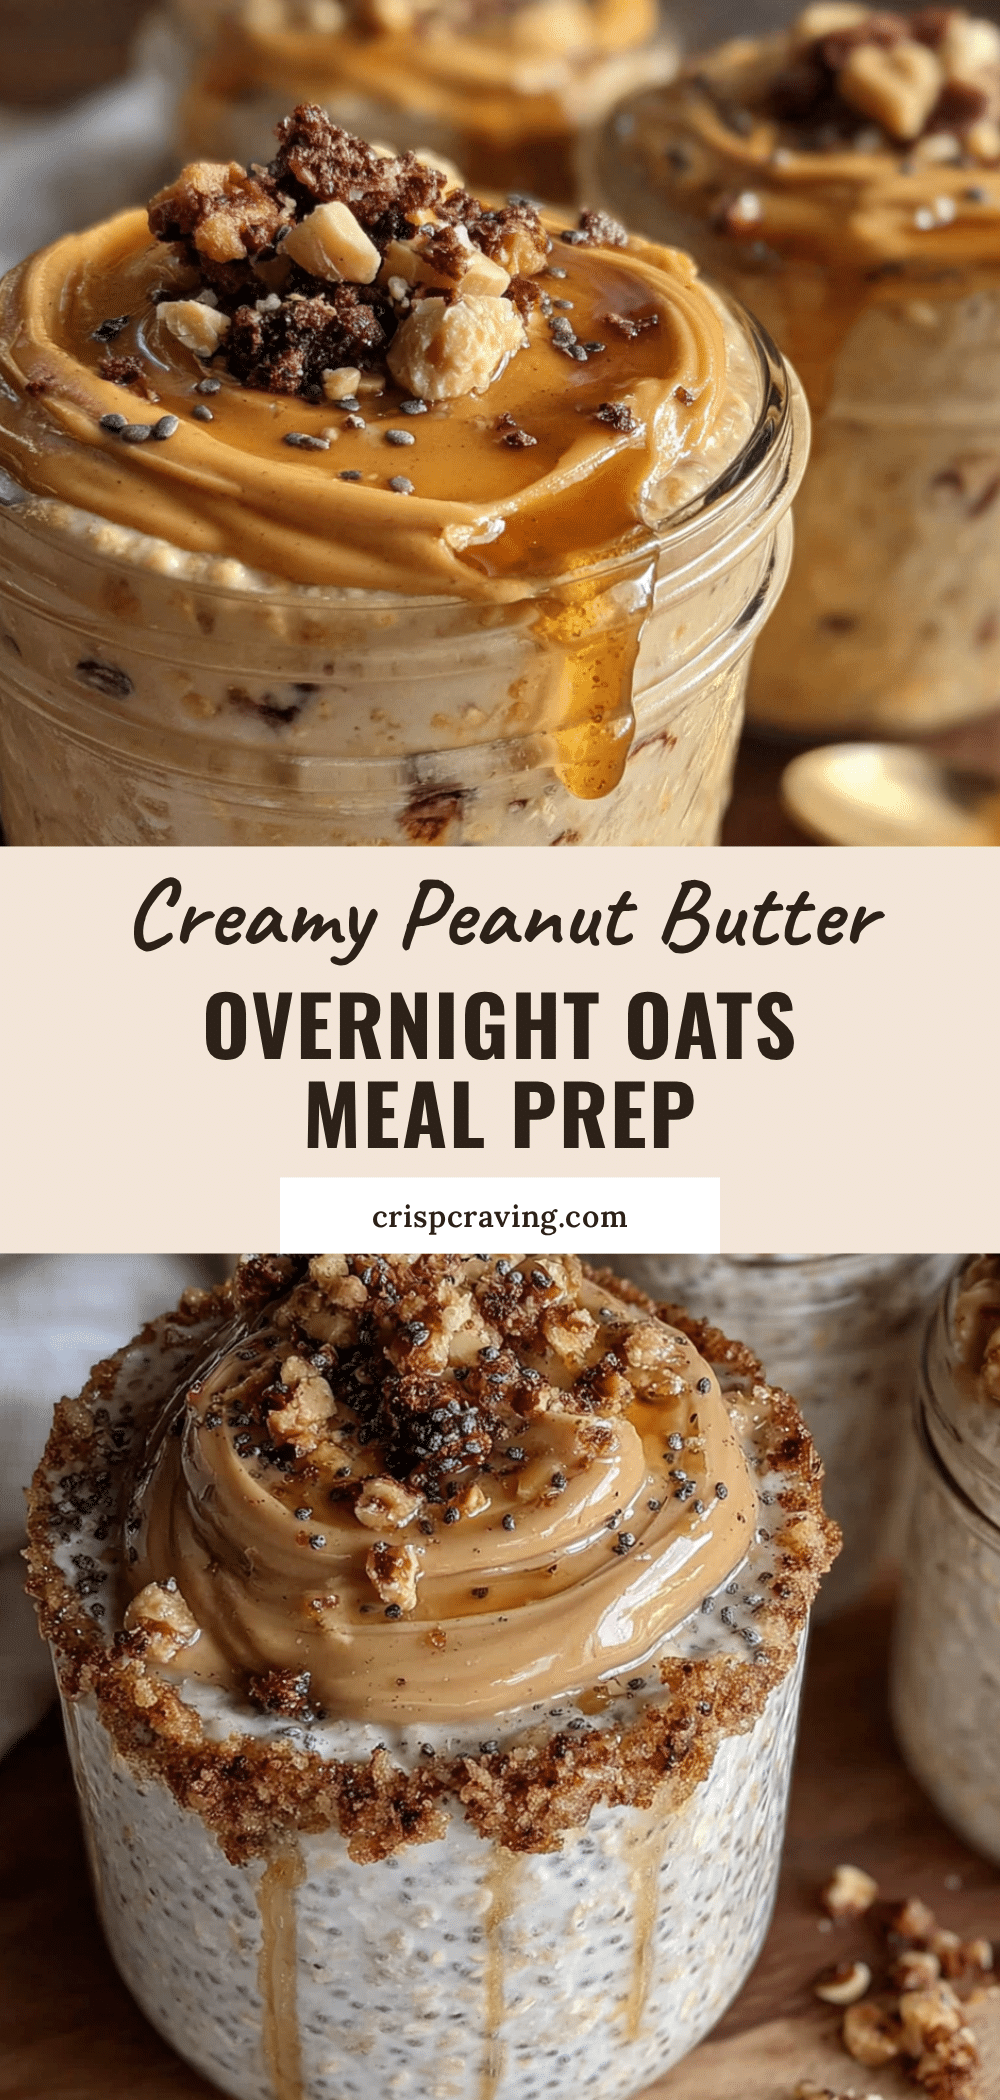
Creamy Peanut Butter Overnight Oats (Easy Meal Prep)

These creamy peanut butter overnight oats are the ultimate meal prep breakfast. Made with simple ingredients and a foolproof technique, they come together in under 5 minutes and deliver a rich, pudding-like texture that keeps you full until lunch.
- Prep Time: 5 minutes
- Cook Time: 0 minutes
- Total Time: 5 minutes (plus 6-12 hours refrigeration)
- Yield: 4-5 servings 1x
- Category: Breakfast
- Cuisine: American
Ingredients
- 2 cups rolled oats (old-fashioned, not quick oats)
- 2 cups milk (dairy or unsweetened almond milk)
- ½ cup creamy peanut butter (e.g., Justin’s or Smucker’s Natural)
- 2 tablespoons chia seeds
- 3 tablespoons maple syrup
- 1 teaspoon vanilla extract
- ¼ teaspoon salt
- Optional mix-ins: chocolate chips, sliced bananas, chopped peanuts, extra peanut butter drizzle
Instructions
- In a large measuring cup or small bowl, combine ½ cup creamy peanut butter with 2 cups milk. Whisk vigorously until the peanut butter is fully dissolved into the milk (about 30 seconds).
- Add 3 tablespoons maple syrup and 1 teaspoon vanilla extract. Whisk again until combined. Taste the mixture—it should be slightly sweeter than desired final product.
- Stir in 2 cups rolled oats, 2 tablespoons chia seeds, and ¼ teaspoon salt until all oats are fully coated. The mixture will look thin—this is normal.
- Divide the mixture evenly among 4-5 jars (12-ounce size works well), filling each about ¾ full.
- Screw lids on tightly and shake each jar for about 10 seconds to redistribute ingredients.
- Refrigerate for at least 6 hours, ideally 8-12 hours.
- In the morning, stir the oats. Add desired toppings (e.g., sliced bananas, chopped peanuts, chocolate chips, extra peanut butter drizzle). Serve cold or microwave for 30-45 seconds if preferred warm.
Notes
For best texture, whisk peanut butter into milk first to avoid clumps. If peanut butter is cold, microwave for 10-15 seconds to soften. Use room temperature milk for smoother blending. Don’t skip the salt—it enhances peanut butter flavor. If oats are too thick, stir in a splash of milk before serving. Store in refrigerator for up to 5 days. Do not freeze.
Nutrition
- Serving Size: 1 jar (about 1 cup)
- Calories: 380420
- Sugar: 1215
- Sodium: 200250
- Fat: 1618
- Saturated Fat: 34
- Carbohydrates: 4550
- Fiber: 810
- Protein: 1416
Keywords: overnight oats, peanut butter oats, meal prep breakfast, healthy breakfast, creamy oats, no-cook breakfast



