Love this? Save it for later!
Share the inspiration with your friends
I was standing in line at my local hardware store—of all places—when the person ahead of me, a guy named Frank who I only knew as the one who always has a tape measure clipped to his belt, started talking about food. Not power tools, not plumbing issues, but protein balls. He turned around, saw me eyeing the display of energy bars near the register, and said, “You know, you can make those yourself with like, five things. Way cheaper, too.” And just like that, Frank the hardware guy became my accidental recipe guru.
He scribbled the basic idea on the back of a receipt—peanut butter, oats, honey, chocolate chips, and something “to hold it together.” That something turned out to be ground flaxseed, which I happened to have in my pantry because I bought it for a smoothie phase that lasted exactly three days. Honestly, I was skeptical at first. I mean, the guy sells nails for a living. But the next afternoon, with my kitchen counter covered in sticky peanut butter and my toddler “helping” by eating chocolate chips straight from the bag, I realized Frank was onto something.
These easy no-bake protein balls have become my emergency snack, my post-workout refuel, and the thing I grab when I’m standing in front of the fridge at 3 p.m. wondering what to eat. Maybe you’ve been there—that weird afternoon slump where you want something satisfying but don’t want to turn on the oven or wash a million dishes. That’s exactly where these come in. They take ten minutes to make, require zero baking skills, and somehow taste like a treat while actually being good for you. I’ve made them so many times now that I don’t even look at the recipe anymore. My hands just know what to do.
Why You Will Love This Recipe
Let me tell you why these protein balls have earned a permanent spot in my weekly rotation. I’ve tested this recipe at least a dozen times, tweaking the ratios, trying different add-ins, and even messing up a batch so badly that it crumbled into a sad pile of oat dust. Through all that trial and error, I landed on a version that just works.
- Quick & Easy: Mix everything in one bowl, roll into balls, and you’re done in under 15 minutes. No oven, no mixer, no complicated steps.
- Simple Ingredients: You probably already have oats, peanut butter, and honey in your kitchen. The other two are pantry staples you can grab at any grocery store.
- Perfect for Busy Days: Great for packing in lunches, taking on road trips, or keeping in your bag for when hunger strikes unexpectedly.
- Crowd-Pleaser: My kids devour these, my husband steals them from the fridge, and even my picky mother-in-law asked for the recipe.
- Unbelievably Delicious: The texture is soft and chewy, with little bursts of chocolate in every bite. It honestly feels like eating cookie dough, but without the raw eggs.
What makes this recipe different from all the other protein ball recipes out there? It’s the ratio. I spent weeks figuring out the perfect balance of wet to dry ingredients so that the balls hold together without being greasy or falling apart. Plus, I use ground flaxseed instead of protein powder, which means no chalky aftertaste and no expensive specialty ingredients. This isn’t just another version of protein balls—it’s the one that actually tastes good and works every single time.
This recipe is the kind that makes you close your eyes after the first bite. It’s comfort food reimagined—healthier, faster, but with the same soul-soothing satisfaction. Perfect for impressing guests without stress, or turning a simple snack into something memorable.
What Ingredients You Will Need
This recipe uses five simple ingredients to deliver bold flavor and satisfying texture without the fuss. Everything is a pantry staple, so you probably don’t even need to go shopping.
- Rolled Oats (1 cup / 90g): Use old-fashioned rolled oats, not quick oats. Rolled oats give the protein balls a nice chewy texture and hold their shape better. I prefer Quaker Old-Fashioned Oats, but any brand works. If you’re gluten-sensitive, look for certified gluten-free oats.
- Creamy Peanut Butter (1/2 cup / 128g): Natural peanut butter works best here—the kind that’s just peanuts and salt. Stir it well before measuring because the oil separates. If you use the sugary commercial kind, the balls will be too sweet and might not hold together as well. You can substitute almond butter or sunflower seed butter for a nut-free version.
- Honey (1/3 cup / 113g): Honey acts as the natural sweetener and binder. It adds moisture and helps everything stick together. Maple syrup works too, but the balls will be slightly softer. Local honey is my go-to because I like supporting nearby beekeepers, plus it has that wonderful floral flavor.
- Mini Chocolate Chips (1/3 cup / 60g): Mini chips distribute more evenly than regular-sized ones, so you get chocolate in every bite. I use Enjoy Life mini chocolate chips for a dairy-free option, but any brand works. Dark chocolate chips add a nice depth of flavor if you prefer less sweetness.
- Ground Flaxseed (2 tablespoons / 14g): This is the secret ingredient that holds everything together. Flaxseed absorbs moisture and creates a gel-like texture that acts as a binder, similar to an egg in baking. It also adds omega-3 fatty acids and fiber. You can substitute chia seeds, but grind them first for better texture.
One thing I learned the hard way—don’t skip the flaxseed. I tried making these without it once because I thought the peanut butter would be enough, and the balls fell apart into a crumbly mess. The flaxseed is what gives them that perfect soft-but-holds-together texture.
Equipment Needed
You don’t need fancy equipment for this recipe, which is part of why I love it. Here’s what you’ll need:
- Large Mixing Bowl: Any medium-to-large bowl works. I use a glass mixing bowl because it doesn’t retain odors, but ceramic or stainless steel is fine too.
- Measuring Cups and Spoons: Accurate measurements matter for getting the texture right. I recommend using dry measuring cups for the oats and chocolate chips, and a liquid measuring cup for the honey.
- Rubber Spatula or Wooden Spoon: The mixture gets thick and sticky, so a sturdy spatula helps you scrape every bit from the bowl. A silicone spatula is my favorite because nothing sticks to it.
- Baking Sheet or Plate: You’ll need a flat surface to place the rolled balls on while they chill. Line it with parchment paper for easy cleanup.
- Small Cookie Scoop (optional): If you want perfectly uniform balls, a 1-tablespoon cookie scoop is a game-changer. I got mine at a kitchen supply store for about eight dollars, and it makes the process so much faster. But honestly, your hands work just fine.
- Refrigerator: The balls need at least 30 minutes to set up. Make sure you have space in your fridge before you start mixing.
If you don’t have a cookie scoop, just wet your hands slightly before rolling—it keeps the mixture from sticking to your palms. I learned that trick after my first batch looked like lumpy little monsters instead of neat balls.
Preparation Method
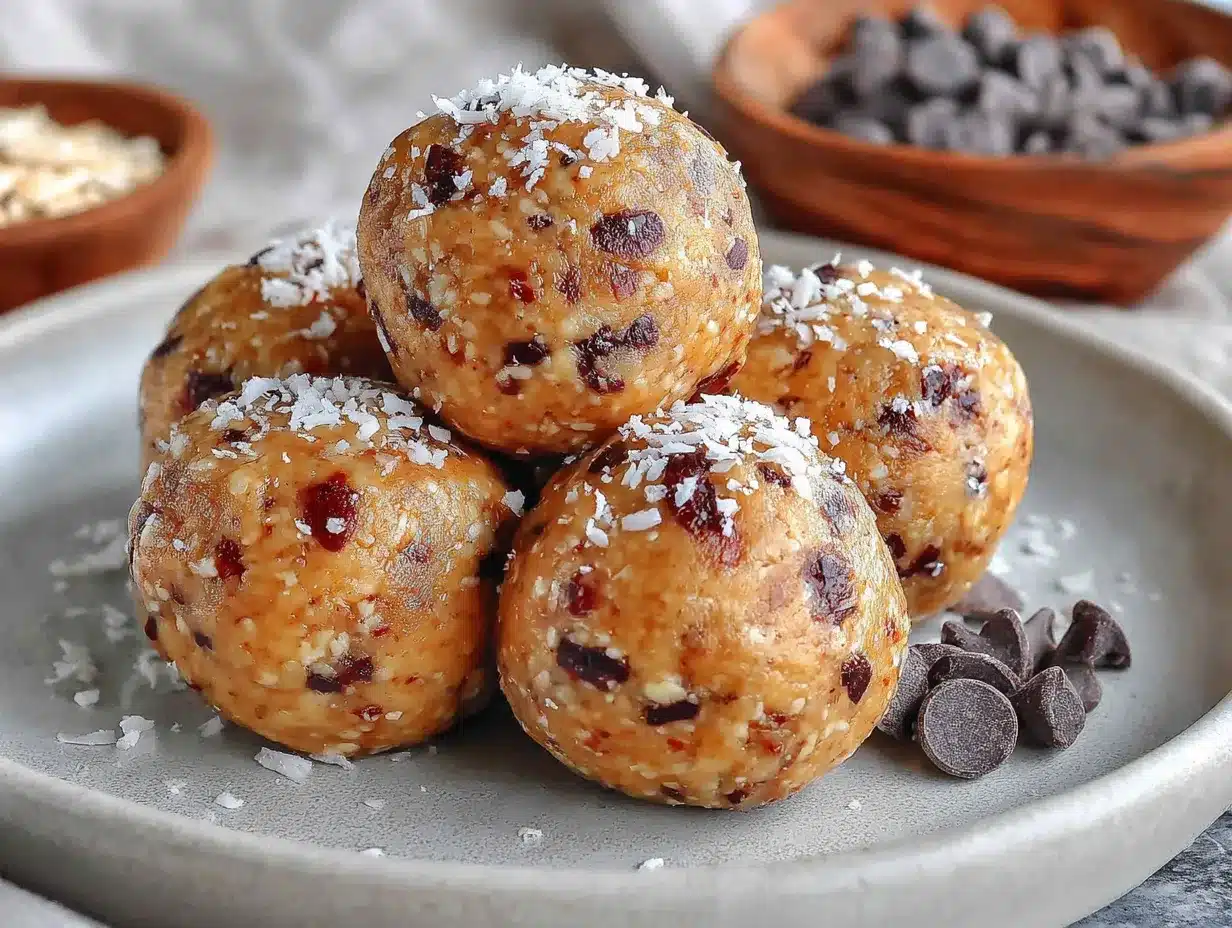
- Combine the dry ingredients. In a large mixing bowl, add 1 cup (90g) rolled oats, 1/3 cup (60g) mini chocolate chips, and 2 tablespoons (14g) ground flaxseed. Stir them together with your spatula until everything is evenly distributed. This step ensures the chocolate chips don’t all clump together later.
- Add the wet ingredients. Spoon 1/2 cup (128g) creamy peanut butter and 1/3 cup (113g) honey into the bowl with the dry ingredients. Don’t worry if the peanut butter is stiff—it will soften as you mix. Make sure your honey is runny, not crystallized, or it won’t incorporate properly.
- Mix until combined. Stir everything together with your rubber spatula, using a folding motion. At first, it will look like a dry, crumbly mess. Keep going. Scrape the bottom and sides of the bowl frequently. After about a minute of vigorous stirring, the mixture will suddenly come together into a thick, sticky dough. You’ll know it’s ready when you can press it together with your spatula and it holds its shape.
- Chill the mixture (optional but helpful). If your kitchen is warm or your peanut butter was very soft, pop the bowl in the fridge for 15-20 minutes. This makes the dough easier to handle and less sticky. I usually skip this step because I’m impatient, but on hot summer days, it makes a big difference.
- Roll into balls. Scoop about 1 tablespoon of the mixture and roll it between your palms to form a smooth ball. Aim for roughly 1-inch diameter balls. If the mixture sticks to your hands, lightly wet your palms with water or rub a tiny drop of oil on them. Place each ball on your parchment-lined baking sheet or plate as you go.
- Repeat until all dough is used. This recipe makes about 16-18 balls, depending on how big you roll them. If you have kids around, expect a few to disappear before they make it to the fridge—my youngest is a notorious taste-tester.
- Chill for at least 30 minutes. Place the baking sheet in the refrigerator and let the balls firm up. This step is crucial—without chilling, they’ll be too soft and might fall apart when you try to pick them up. After 30 minutes, they should be firm but still tender.
- Transfer to storage container. Once chilled, move the protein balls to an airtight container. Layer them between sheets of parchment paper if you’re stacking them, so they don’t stick together.
A quick sensory note: the dough should feel thick and slightly tacky, like play dough that’s been left out for a few minutes. If it feels dry and crumbly, add a teaspoon of honey or peanut butter. If it feels too wet and sticky, add a tablespoon of oats. Trust your hands on this one—every brand of peanut butter has a different moisture level.
Cooking Tips & Techniques
After making these protein balls more times than I can count, I’ve picked up a few tricks that make the process smoother and the results better.
Use room temperature ingredients. Cold peanut butter straight from the fridge is a nightmare to mix. It clumps up and refuses to blend with the honey. Let your peanut butter sit on the counter for 20 minutes before starting, or microwave it for 10 seconds to soften it. The same goes for honey if it’s crystallized—a quick 5-second zap in the microwave makes it pourable again.
Taste the dough before rolling. This is my favorite part. Take a tiny pinch of the mixture and taste it. Is it sweet enough? Does it need more chocolate chips? Adjust before you commit to rolling all the balls. I once made a batch that was too salty because I used salted peanut butter and didn’t account for it. Now I always taste first.
Don’t overmix. Once everything comes together, stop stirring. Overmixing can break down the oats too much, resulting in a mushy texture instead of that pleasant chewiness. You want the oats to retain some of their structure.
Use a cookie scoop for consistency. If you want all your protein balls to be the same size—which helps them chill evenly and look prettier on a plate—use a small cookie scoop. The 1-tablespoon size is perfect. Scoop, level off, and dump into your palm. Then just roll quickly to smooth the surface.
One mistake I made early on: I used old, stale oats from the back of my pantry. The protein balls turned out dry and flavorless. Fresh oats make a huge difference. If your oats smell a bit flat or have been open for more than six months, buy a new container.
Variations & Adaptations
One of the best things about this recipe is how flexible it is. Here are some variations I’ve tried and loved:
Chocolate Peanut Butter Protein Balls: Add 1 tablespoon of unsweetened cocoa powder to the dry ingredients. It gives them a rich, brownie-like flavor without adding sugar. My kids call these “healthy brownie bites” and ask for them constantly.
Coconut Almond Protein Balls: Swap the peanut butter for almond butter, and add 1/4 cup (20g) unsweetened shredded coconut. Roll the finished balls in more shredded coconut for a pretty finish. The texture is a bit firmer, and the flavor is more subtle.
Vegan Version: Replace the honey with maple syrup or agave nectar. The balls will be slightly softer, so you might need to add an extra tablespoon of oats to compensate. Use dairy-free chocolate chips, and you’ve got a fully vegan snack.
Nut-Free Option: Substitute sunflower seed butter for the peanut butter. Be aware that sunflower seed butter can react with baking soda (if you ever add it) and turn green, but since this recipe doesn’t use baking soda, you’re safe. The flavor is a bit different—more earthy—but still delicious.
High-Protein Boost: Add 2 tablespoons of your favorite protein powder. Reduce the oats by 2 tablespoons to keep the texture balanced. Vanilla or chocolate protein powder works best. I tried unflavored once and it was… not great.
Seasonal Twist: In the fall, add 1/2 teaspoon of pumpkin pie spice and swap the chocolate chips for dried cranberries. In the summer, use white chocolate chips and add a teaspoon of lemon zest. These little changes keep the recipe from getting boring.
Serving & Storage Suggestions
These protein balls are best served cold or at room temperature. I prefer them straight from the fridge—they’re firmer and more satisfying that way. If you’re packing them for a lunchbox or a hike, let them sit at room temperature for about 10 minutes before eating, so they soften slightly.
They pair beautifully with a cup of coffee in the morning or as a post-workout snack with a glass of milk. For a fun dessert, crumble one over a bowl of Greek yogurt and drizzle with extra honey. I’ve also been known to chop them up and sprinkle them over vanilla ice cream—don’t judge me, it’s amazing.
Storage Instructions: Keep the protein balls in an airtight container in the refrigerator for up to 2 weeks. They actually get better after a day or two as the flavors meld together. Layer them between parchment paper if you’re stacking to prevent sticking.
Freezer Instructions: These freeze beautifully. Place the balls on a baking sheet and freeze until solid (about 1 hour), then transfer to a freezer-safe bag or container. They’ll keep for up to 3 months. To thaw, just move them to the fridge overnight, or let them sit at room temperature for 15-20 minutes. I always keep a stash in my freezer for busy weeks when I don’t have time to make snacks.
Reheating: You don’t need to reheat these, but if you want a softer texture, microwave one ball for 5-7 seconds. Be careful not to overheat, or the chocolate chips will melt and make a mess.
One thing I’ve noticed: the flavors develop over time. On day one, they taste good. On day three, they taste amazing. Something about the oats absorbing the honey and peanut butter makes the texture more uniform and the flavor more rounded. So if you can resist eating them all on the first day, you’re in for a treat.
Nutritional Information & Benefits
Here’s the approximate nutritional breakdown for one protein ball (based on 16 servings):
| Nutrient | Amount per Ball |
|---|---|
| Calories | 135 |
| Protein | 5g |
| Carbohydrates | 16g |
| Fiber | 2g |
| Sugar | 9g |
| Fat | 7g |
| Saturated Fat | 2g |
| Sodium | 55mg |
These numbers are estimates and will vary based on your specific ingredients. If you use natural peanut butter without added sugar, the sugar content will be lower.
The health benefits here are real. Oats provide soluble fiber that helps with digestion and keeps you full longer. Peanut butter offers protein and healthy monounsaturated fats. Flaxseed is packed with omega-3 fatty acids and lignans, which have antioxidant properties. And honey contains trace amounts of vitamins and minerals, plus natural antibacterial compounds.
This recipe is naturally vegetarian and can easily be made gluten-free (use certified gluten-free oats) or vegan (swap honey for maple syrup). It’s also dairy-free if you use dairy-free chocolate chips. The only potential allergen is peanuts, but that’s easy to swap out.
From a wellness perspective, I love that these protein balls give me sustained energy without the crash that comes from processed snacks. They’re my go-to for that 3 p.m. slump when I need something satisfying but don’t want to ruin my dinner appetite.
Conclusion
These easy no-bake protein balls are proof that you don’t need a fancy kitchen, expensive ingredients, or hours of time to make something truly delicious and good for you. They came into my life through a chance encounter at a hardware store, and now I can’t imagine my weekly routine without them. Frank probably has no idea he changed my snack game forever, but I think about him every time I roll a batch.
What I love most about this recipe is how forgiving it is. You can swap ingredients, adjust the sweetness, add your favorite mix-ins, and it still works. It’s the kind of recipe that invites experimentation rather than demanding precision. So go ahead—make them your own. Add dried fruit, swap the nut butter, throw in some seeds. The basic formula is solid, but the possibilities are endless.
I’d love to hear how your batch turns out. Did you try a variation I didn’t mention? Did your kids love them as much as mine do? Drop a comment below and let me know. And if you’re feeling generous, share this recipe with someone who needs a quick, healthy snack in their life. Maybe you’ll be the Frank in someone else’s story.
Frequently Asked Questions
Can I use quick oats instead of rolled oats?
You can, but the texture will be different. Quick oats are more finely ground, so they absorb moisture faster and create a softer, almost mushy texture. Rolled oats give the protein balls a pleasant chewiness. If you only have quick oats, reduce the honey by 1 tablespoon to compensate for the faster absorption.
Why are my protein balls falling apart?
This usually happens for one of three reasons: not enough peanut butter or honey, skipping the flaxseed, or not chilling them long enough. Make sure you measure accurately and don’t skimp on the binder ingredients. If they’re still crumbly after chilling, add another tablespoon of peanut butter and a teaspoon of honey to the mixture.
How long do these protein balls last at room temperature?
They’re best kept refrigerated, but they can sit at room temperature for up to 4-6 hours without issue. If you’re taking them on a hike or packing them in a lunchbox, they’ll be fine for the day. Just don’t leave them in a hot car or in direct sunlight, or the chocolate chips might melt and the texture will suffer.
Can I make these without chocolate chips?
Absolutely. The chocolate chips are optional. You can replace them with dried fruit like raisins, cranberries, or chopped dates. You can also add seeds like sunflower seeds or pumpkin seeds for extra crunch. Just keep the total add-in amount to about 1/3 cup to maintain the right texture balance.
Can I double this recipe?
Yes, and I do it all the time. Double everything and mix in a larger bowl. The only thing to watch out for is the mixing time—it takes a bit longer to get everything evenly combined with a double batch. I recommend using your hands to mix if the spatula isn’t cutting it. Just wash your hands thoroughly first, and don’t be afraid to get in there and squish everything together.
Pin This Recipe!
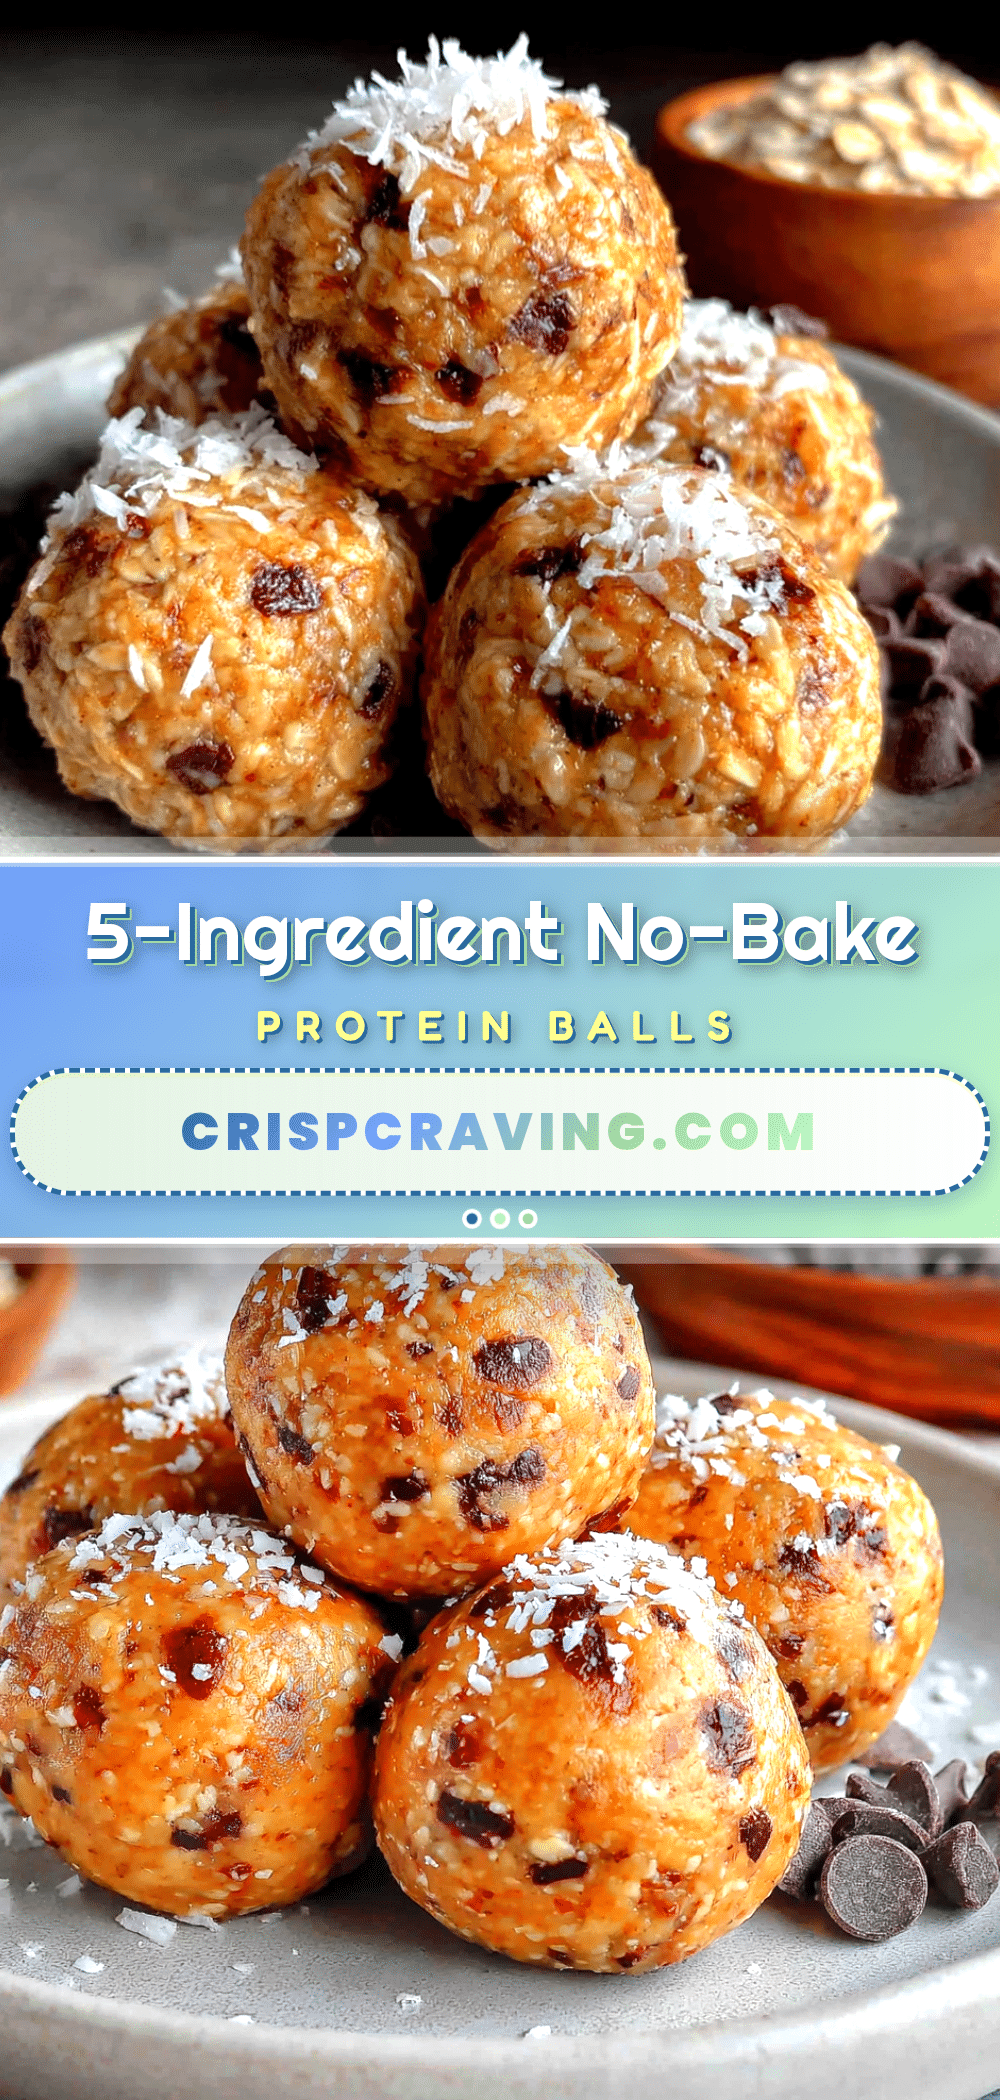
Easy No-Bake Protein Balls: Best 5-Ingredient Healthy Snack

These easy no-bake protein balls are made with just five simple ingredients and come together in under 15 minutes. They’re the perfect healthy snack for busy days, post-workout refueling, or satisfying that afternoon slump without turning on the oven.
- Prep Time: 10 minutes
- Cook Time: 0 minutes
- Total Time: 40 minutes
- Yield: 16-18 balls 1x
- Category: Snack
- Cuisine: American
Ingredients
- 1 cup (90g) rolled oats
- 1/2 cup (128g) creamy peanut butter
- 1/3 cup (113g) honey
- 1/3 cup (60g) mini chocolate chips
- 2 tablespoons (14g) ground flaxseed
Instructions
- Combine the dry ingredients. In a large mixing bowl, add 1 cup (90g) rolled oats, 1/3 cup (60g) mini chocolate chips, and 2 tablespoons (14g) ground flaxseed. Stir them together with your spatula until everything is evenly distributed.
- Add the wet ingredients. Spoon 1/2 cup (128g) creamy peanut butter and 1/3 cup (113g) honey into the bowl with the dry ingredients.
- Mix until combined. Stir everything together with your rubber spatula, using a folding motion. After about a minute of vigorous stirring, the mixture will come together into a thick, sticky dough.
- Chill the mixture (optional but helpful). If your kitchen is warm or your peanut butter was very soft, pop the bowl in the fridge for 15-20 minutes.
- Roll into balls. Scoop about 1 tablespoon of the mixture and roll it between your palms to form a smooth ball, about 1-inch in diameter. Place each ball on a parchment-lined baking sheet or plate.
- Repeat until all dough is used. This recipe makes about 16-18 balls.
- Chill for at least 30 minutes. Place the baking sheet in the refrigerator and let the balls firm up.
- Transfer to storage container. Once chilled, move the protein balls to an airtight container. Layer them between sheets of parchment paper if stacking.
Notes
Use room temperature ingredients for easier mixing. Taste the dough before rolling to adjust sweetness. Don’t overmix to maintain oat texture. If dough is too dry, add a teaspoon of honey or peanut butter; if too wet, add a tablespoon of oats. Chill for at least 30 minutes for best texture. Store in refrigerator for up to 2 weeks or freeze for up to 3 months.
Nutrition
- Serving Size: 1 ball
- Calories: 135
- Sugar: 9
- Sodium: 55
- Fat: 7
- Saturated Fat: 2
- Carbohydrates: 16
- Fiber: 2
- Protein: 5
Keywords: no-bake protein balls, healthy snack, 5-ingredient, peanut butter, oats, chocolate chips, easy snack, gluten-free option, vegan option



