Love this? Save it for later!
Share the inspiration with your friends
The corner bakery on Elm Street had a window display that always drew me in every October. It wasn’t the pumpkins or the hay bales outside that stopped me, but the neon pink sign in the window advertising their “Pumpkin Cheesecake Bars.” I remember standing there, clutching a twenty-dollar bill, waiting in line with three other people just to get a slice of that dense, creamy, spiced perfection. When they suddenly closed down one rainy Tuesday in November, I felt a genuine sense of loss. It wasn’t just a dessert; it was a seasonal anchor for my city.
I spent months trying to recreate it. I bought expensive cream cheese. I tried baking it. I tried chilling it for days. Nothing matched that specific velvety mouthfeel or that perfect balance of sweet pumpkin and warm spice. Honestly, I almost gave up after the fifth failed attempt where the bars fell apart completely. But then, I stopped trying to bake it. I started thinking about what made those bars so special without the oven heat. The secret was in the no-bake technique.
After seven tries — and one very messy kitchen incident involving a splattered graham cracker crust — I finally got it. These Creamy No-Bake Pumpkin Cheesecake Bars are the closest thing to that lost bakery treat I’ve ever made. They are rich, they are sturdy enough to hold a square shape, and they taste like autumn in a bite. I mean, let me tell you, the first time I took a bite, I literally closed my eyes and sighed. It was like the bakery never closed. Maybe you’ve been there, chasing a flavor from a place that’s gone. This recipe is my way of keeping that memory alive.
What I love most about this version is how easy it is to make. You don’t need a fancy oven or hours of standing over a stove. You just need a few ingredients and some patience for chilling. These bars have become my go-to for October gatherings because they look professional but require zero stress. I keep making them because they bring back that specific feeling of walking into that warm bakery, and now, I can bring that feeling to my own table.
Why You’ll Love This Recipe
There is a specific kind of magic that happens when you combine cream cheese, pumpkin puree, and just the right amount of spice without ever turning on the oven. This recipe isn’t just another fall dessert; it is the result of years of testing different textures and binding agents to get that perfect slice. I’ve tried dozens of no-bake cheesecake recipes, and most of them are either too runny or taste like raw flour. This one hits the sweet spot.
- Quick & Easy: This comes together in under 20 minutes of active prep time. It is perfect for busy weeknights or when you need a dessert to bring to a potluck last minute. You just mix, press, chill, and slice.
- Simple Ingredients: You likely already have everything in your kitchen. Cream cheese, sugar, pumpkin puree, and graham crackers are pantry staples or easy finds at any grocery store. No fancy trips to specialty shops needed.
- Perfect for Fall Gatherings: Whether it’s a Thanksgiving prep, a Halloween party, or just a cozy Sunday afternoon, these bars fit the season perfectly. They are sturdy enough to handle being transported in a car without falling apart.
- Crowd-Pleaser: I have served these to people who claim they “don’t like pumpkin,” and they always ask for the recipe. The flavor is subtle and creamy, not overpowering or overly spicy.
- Unbelievably Delicious: The texture is next-level comfort food. It’s dense like a cheesecake but light enough to eat in large quantities. It melts in your mouth in the best way possible.
What makes this recipe different from the rest is the ratio of cream cheese to pumpkin. Many recipes use too much pumpkin, which makes the bars wet and difficult to slice. I use a higher ratio of cream cheese to ensure the bars hold their shape while still tasting distinctly of pumpkin. It’s a small tweak, but it makes all the difference in the final presentation. This isn’t just a pumpkin dessert; it’s a cheesecake that happens to be pumpkin-flavored. It’s the kind of dessert that makes you close your eyes after the first bite and forget about your diet for an hour. It’s comfort food reimagined—simpler, faster, but with the same soul-soothing satisfaction as a warm pie.
What Ingredients You Will Need
This recipe uses simple, wholesome ingredients to deliver bold flavor and satisfying texture without the fuss. The beauty of no-bake desserts is that you can’t hide bad ingredients. If your cream cheese is sour or your pumpkin puree tastes metallic, you will taste it. So, quality matters here, but you don’t need anything exotic.
- Graham Cracker Crust: You will need graham cracker crumbs. I prefer making my own by crushing full sheets in a food processor, but store-bought crumbs work fine too. You will also need melted unsalted butter to bind them together. If you like a richer crust, you can use salted butter and reduce the added salt.
- Full-Fat Cream Cheese: This is the star of the show. Use block cream cheese, not the whipped kind in a tub. The block variety has less air and water, which means a denser, creamier filling. Let it come to room temperature before you start mixing; this is crucial for a smooth batter without lumps. I recommend brands like Philadelphia for their consistency.
- Granulated Sugar: Standard white sugar works perfectly here. It dissolves easily into the cream cheese mixture. You can substitute with powdered sugar if you want an even smoother texture, as it has a cornstarch filler that helps thicken the filling slightly.
- Pumpkin Puree: Not pumpkin pie filling. Make sure you use 100% pure pumpkin puree. Pumpkin pie filling already has sugar and spices added, which will throw off the balance of this recipe. Look for cans with a single ingredient list. If you want to be extra careful, look for organic pumpkin puree to avoid any potential pesticides.
- Vanilla Extract: Use pure vanilla extract, not imitation vanilla. The flavor of vanilla pairs beautifully with the warm spices and adds depth to the cream cheese. A little bit goes a long way.
- Pumpkin Pie Spice: This is a blend of cinnamon, ginger, nutmeg, and cloves. If you don’t have a pre-made blend, you can mix your own. It adds that classic autumn aroma that makes the dessert feel special. Start with one teaspoon and taste before adding more.
- Heavy Cream (Optional but Recommended): For the fluffiest texture, you can whip heavy cream and fold it into the mixture. This adds air and makes the bars lighter. If you want a denser, more traditional cheesecake texture, you can skip this, but I find the whipped cream adds a nice lift.
For substitutions, if you need a gluten-free option, simply use gluten-free graham crackers or almond flour for the crust. For a dairy-free version, you can use vegan cream cheese and coconut cream, though the texture will be slightly different. In summer, you might swap the pumpkin puree for sweet potato puree for a similar flavor profile with a slightly earthier taste.
Equipment Needed
You don’t need much to make these bars, which is part of their appeal. A standard 9×13 inch baking pan is essential. I prefer using a glass pan because it allows me to see the bottom crust as I press it in, ensuring it is even. You will also need a large mixing bowl. A stand mixer or a hand mixer makes the job much easier, especially when beating the cream cheese and sugar together until smooth. If you don’t have a mixer, you can do it by hand with a sturdy wooden spoon, but it will take more elbow grease.
A food processor or a zip-top bag and a rolling pin are needed to make the graham cracker crumbs if you aren’t buying them pre-made. I have a favorite food processor that I use for almost all my baking, but a heavy-duty blender works too. For the mixing, a rubber spatula is your best friend. It helps you scrape down the sides of the bowl and fold in the whipped cream without deflating it. Finally, you need plastic wrap or aluminum foil to line the pan. This makes removing the bars later much easier. If you don’t have a sharp knife, a serrated bread knife works wonders for slicing clean squares without squishing the delicate bars.
Preparation Method
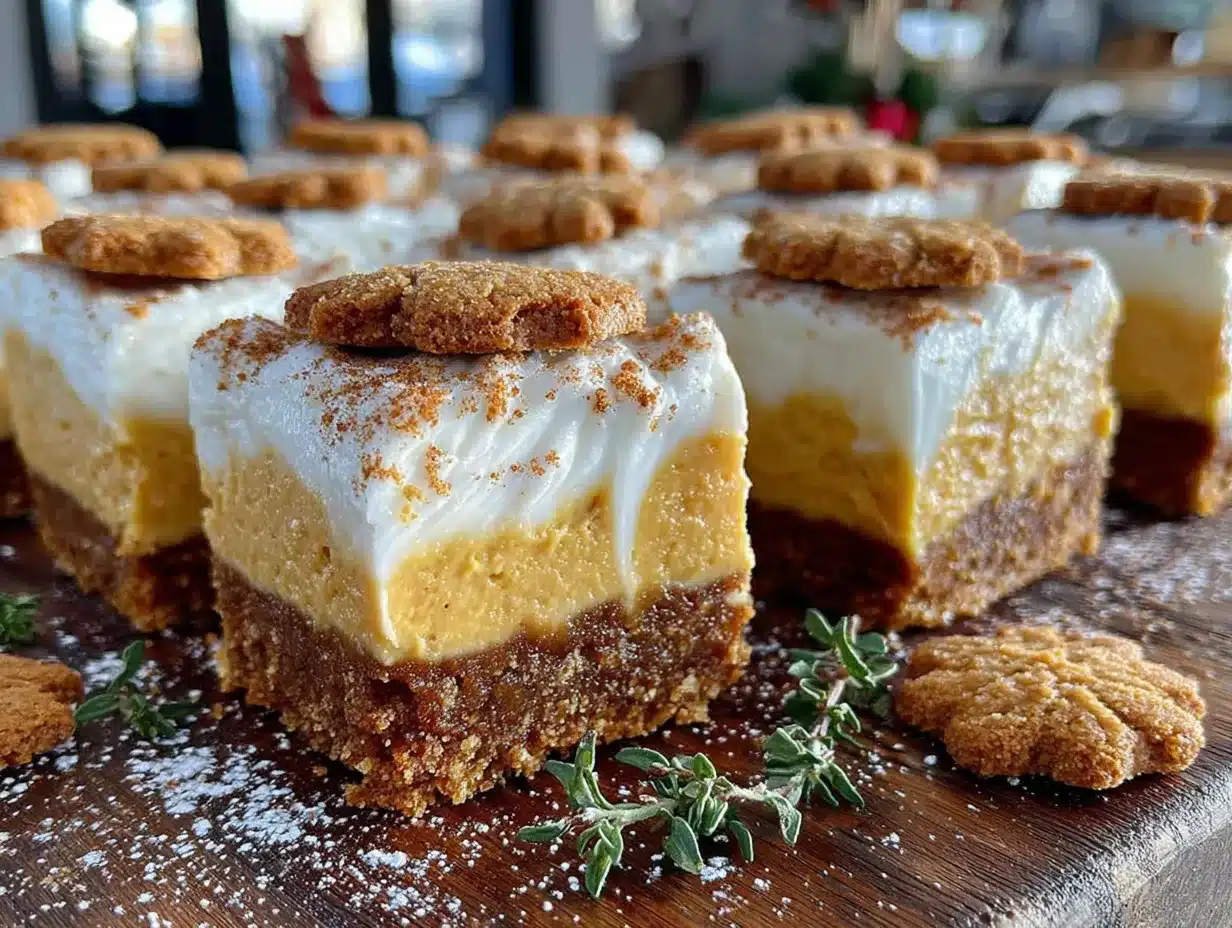
Let’s walk through the process step-by-step. This method is designed to be foolproof, so pay attention to the details.
- Prepare the Pan: Line your 9×13 inch baking pan with parchment paper or aluminum foil, leaving an overhang on the long sides. This creates “handles” to lift the bars out later. Lightly spray the lining with non-stick cooking spray. This step takes about 2 minutes.
- Make the Crust: In a medium bowl, combine 1 ½ cups of graham cracker crumbs with 6 tablespoons of melted unsalted butter and 2 tablespoons of granulated sugar. Mix until the crumbs look like wet sand. Press this mixture firmly into the bottom of your prepared pan. Use the bottom of a glass to pack it down evenly. You want it tight so the bars don’t crumble. Chill the crust in the refrigerator while you make the filling. This takes 10 minutes.
- Beat the Cream Cheese: In a large bowl, beat 16 ounces of room-temperature cream cheese on medium speed until it is completely smooth and creamy. This should take about 2-3 minutes. Scrape down the sides and bottom of the bowl to ensure there are no lumps. Lumpy cream cheese is the enemy of a smooth cheesecake.
- Add Sugar and Spices: Add 1 cup of granulated sugar, 1 teaspoon of pumpkin pie spice, and 1 teaspoon of vanilla extract to the cream cheese. Beat on low speed until the sugar is incorporated, then increase to medium speed and beat for another 2 minutes until the mixture is light and fluffy. The mixture should look pale and airy.
- Incorporate the Pumpkin: Add 1 cup of pumpkin puree to the bowl. Beat on low speed just until combined. Be careful not to overmix here, as adding too much air or mixing too long can make the filling too soft. Scrape the bowl one last time. This step takes about 1 minute.
- Whip the Cream (Optional): In a separate cold bowl, whip 1 cup of heavy cream until stiff peaks form. Gently fold the whipped cream into the pumpkin cream cheese mixture using a rubber spatula. Use a cutting motion, lifting from the bottom and folding over the top. Do this until no white streaks remain. This adds volume and a lighter texture. This takes about 2 minutes.
- Assemble: Pour the filling over the chilled crust. Spread it out evenly with a spatula, smoothing the top. Tap the pan gently on the counter to release any air bubbles. This step takes 2 minutes.
- Chill: Cover the pan with plastic wrap and refrigerate for at least 4 hours, but overnight is best. The bars need time to set firmly. If you cut them too soon, they will be messy. This takes 4-12 hours.
- Slice and Serve: Once set, lift the bars out of the pan using the parchment paper handles. Use a sharp knife to slice into 12 or 16 squares. Wipe the knife clean between cuts for the neatest slices. Serve immediately or store in the refrigerator.
Cooking Tips & Techniques
One common mistake people make is using cold cream cheese. It creates lumps that you can’t beat out. Always, always let your cream cheese sit on the counter for at least an hour before you start. If you’re short on time, you can microwave it in 10-second bursts, but be careful not to melt it. Another tip is to drain the pumpkin puree if it looks watery. I usually pour the puree into a fine-mesh strainer and let it sit for 15 minutes to remove excess liquid. This prevents the bars from becoming soggy.
When folding in the whipped cream, patience is key. If you rush this step, you lose the airiness, and the bars become dense. Take your time and be gentle. Also, when pressing the crust, make sure it goes up the sides slightly. This helps contain the filling and adds a nice buttery edge to every bite. I learned this the hard way when my first batch leaked out the sides. Finally, for clean cuts, dip your knife in hot water and wipe it dry before each cut. The heat helps the knife glide through the cold, creamy filling without squishing the crust.
Variations & Adaptations
While the classic version is my favorite, there are plenty of ways to customize these bars. For a chocolate twist, you can add 2 tablespoons of cocoa powder to the crust mixture, or drizzle melted chocolate over the top after slicing. If you want a nuttier flavor, substitute half of the graham cracker crumbs with crushed pecans or walnuts. This adds a nice crunch that contrasts with the smooth filling.
For a lighter version, you can reduce the sugar to ¾ cup and use low-fat cream cheese, though the texture will be less rich. If you are watching your carb intake, you can use almond flour for the crust and swap the granulated sugar for a keto-friendly sweetener like erythritol. I also love adding a layer of pumpkin spice caramel drizzle on top for a more indulgent treat. Just be sure to let the caramel set in the fridge before slicing. For a dairy-free option, use coconut milk cream cheese and coconut cream, but note that the flavor will be distinctly coconut-forward.
Serving & Storage Suggestions
These bars are best served chilled. They taste incredible straight from the refrigerator, where the flavors are most concentrated. You can garnish them with a dollop of whipped cream, a sprinkle of extra pumpkin pie spice, or a few candied pecans for added texture. They pair wonderfully with a hot cup of coffee or a glass of cold milk. For a more sophisticated touch, serve them on a slate board with fresh figs or apple slices.
For storage, keep the bars in an airtight container in the refrigerator for up to 5 days. If you want to freeze them, slice them first and place layers of parchment paper between the slices. They will keep in the freezer for up to 2 months. Thaw them in the refrigerator overnight before serving. The flavors actually develop and meld together over the first 24 hours, so they often taste better on the second day than on the first.
Nutritional Information & Benefits
Each bar contains approximately 250 calories, with a good balance of fats from the cream cheese and butter, and carbohydrates from the pumpkin and graham crackers. Pumpkin is rich in Vitamin A and fiber, which adds a nutritional boost to this dessert. The recipe is naturally gluten-free if you use gluten-free graham crackers, making it accessible for more guests. It is not suitable for those with dairy allergies unless substitutions are made. Personally, I appreciate that this dessert feels indulgent but doesn’t leave me feeling overly heavy, thanks to the lack of baking which keeps the density manageable.
Conclusion
These Creamy No-Bake Pumpkin Cheesecake Bars are the perfect way to capture the essence of fall without the hassle of baking. They are easy to make, delicious to eat, and surprisingly impressive to serve. I hope you try this recipe and find it becomes a new tradition in your home. Feel free to adjust the spice level or add your own toppings to make it your own. I’d love to hear how they turn out for you, so please leave a comment below with your thoughts or any variations you tried. Happy baking, or should I say, happy chilling!
FAQs
Can I use whipped cream cheese for this recipe?
No, you should not use whipped cream cheese. It contains air and stabilizers that will make the filling too loose and prevent it from setting properly. Always use block-style, full-fat cream cheese for the best texture.
How long do these bars last in the fridge?
They will last for up to 5 days in the refrigerator if stored in an airtight container. However, they are best eaten within the first 3 days for optimal texture and freshness.
Can I freeze these cheesecake bars?
Yes, you can freeze them. Slice the bars first, place them on a baking sheet to freeze individually, and then transfer them to a freezer-safe bag or container. They will keep for up to 2 months. Thaw in the fridge overnight before serving.
What if I don’t have pumpkin pie spice?
You can make your own blend by mixing 1 teaspoon of cinnamon, ¼ teaspoon of ginger, ¼ teaspoon of nutmeg, and ¼ teaspoon of cloves. This will give you the same warm, aromatic flavor profile.
Can I make these bars ahead of time?
Absolutely. These bars are actually better when made a day in advance. The flavors have time to meld, and the bars set more firmly. You can make them up to 2 days before your event.
Pin This Recipe!
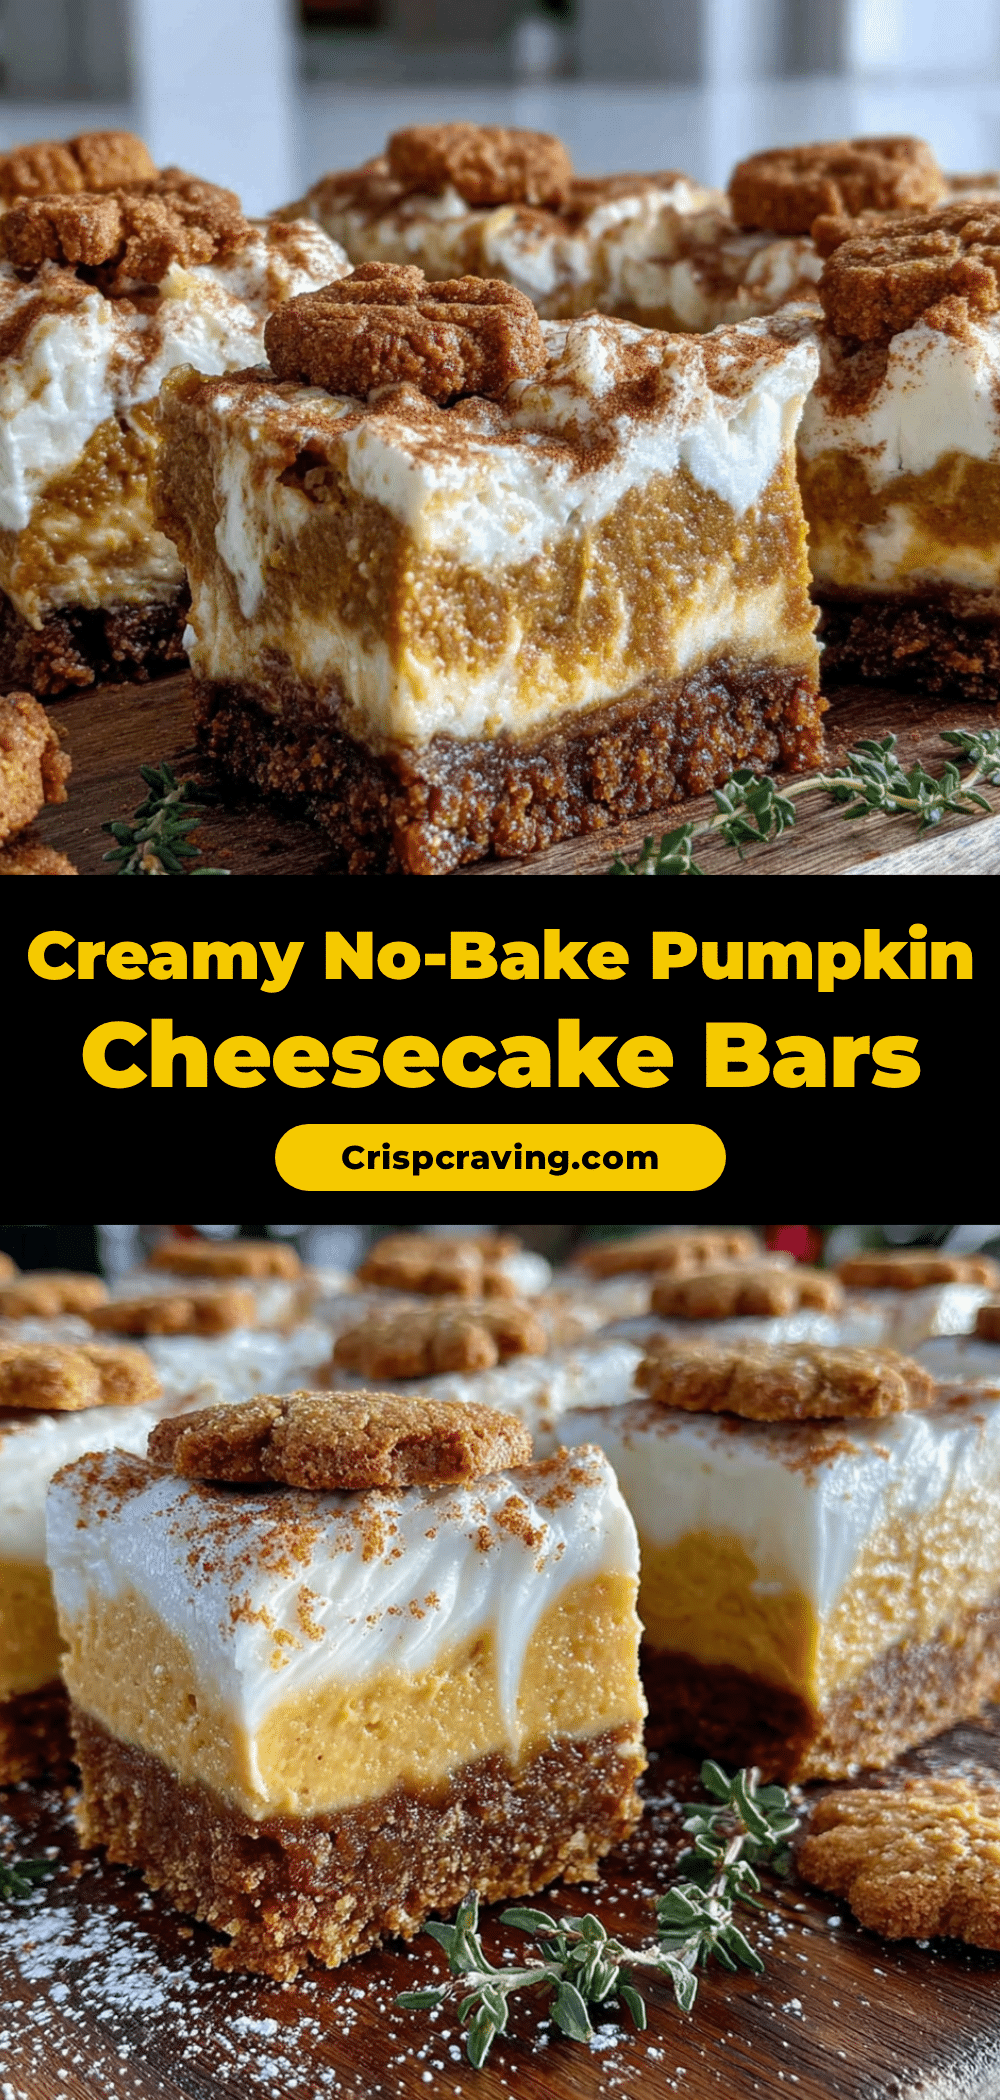
Creamy No-Bake Pumpkin Cheesecake Bars
A rich, dense, and creamy no-bake dessert that recreates the flavor of a classic bakery pumpkin cheesecake. These bars are easy to make with simple ingredients and require only chilling time to set.
- Prep Time: 20 minutes
- Cook Time: 0 minutes
- Total Time: 4 hours 20 minutes
- Yield: 12 servings 1x
- Category: Dessert
- Cuisine: American
Ingredients
- 1 ½ cups graham cracker crumbs
- 6 tablespoons unsalted butter, melted
- 2 tablespoons granulated sugar (for crust)
- 16 ounces full-fat block cream cheese, room temperature
- 1 cup granulated sugar (for filling)
- 1 teaspoon pumpkin pie spice
- 1 teaspoon pure vanilla extract
- 1 cup 100% pure pumpkin puree
- 1 cup heavy cream, whipped to stiff peaks (optional)
Instructions
- Line a 9×13 inch baking pan with parchment paper or aluminum foil, leaving an overhang on the long sides. Lightly spray with non-stick cooking spray.
- In a medium bowl, combine graham cracker crumbs, melted butter, and 2 tablespoons of sugar. Mix until it resembles wet sand.
- Press the crust mixture firmly into the bottom of the prepared pan. Use the bottom of a glass to pack it down evenly. Chill in the refrigerator for 10 minutes.
- In a large bowl, beat the room-temperature cream cheese on medium speed until completely smooth and creamy (2-3 minutes). Scrape down the sides and bottom.
- Add 1 cup of sugar, pumpkin pie spice, and vanilla extract to the cream cheese. Beat on low until incorporated, then increase to medium speed and beat for 2 minutes until light and fluffy.
- Add the pumpkin puree and beat on low speed just until combined. Do not overmix.
- In a separate cold bowl, whip the heavy cream until stiff peaks form. Gently fold the whipped cream into the pumpkin cream cheese mixture using a rubber spatula until no white streaks remain.
- Pour the filling over the chilled crust and spread evenly. Tap the pan gently to release air bubbles.
- Cover with plastic wrap and refrigerate for at least 4 hours, or overnight, until firm.
- Lift the bars out of the pan using the parchment handles. Slice into 12 or 16 squares using a sharp knife (dip knife in hot water and wipe dry between cuts for clean slices).
Notes
Ensure cream cheese is at room temperature to avoid lumps. If pumpkin puree is watery, drain it in a fine-mesh strainer for 15 minutes before using. For gluten-free bars, use gluten-free graham crackers. For dairy-free, use vegan cream cheese and coconut cream.
Nutrition
- Serving Size: 1 bar
- Calories: 250
- Sugar: 18
- Sodium: 180
- Fat: 18
- Saturated Fat: 11
- Carbohydrates: 22
- Fiber: 1
- Protein: 4
Keywords: pumpkin cheesecake, no-bake dessert, fall recipes, autumn treats, easy dessert, pumpkin bars, cream cheese dessert



