Love this? Save it for later!
Share the inspiration with your friends
I was standing in the fluorescent-lit aisle of a discount grocery store last Tuesday when the scent of roasted peanuts hit me. It wasn’t subtle. It cut through the smell of floor wax and stale coffee, dragging me instantly back to when I was seven years old at my Uncle Ray’s messy basement parties.
He didn’t make fancy cakes. He made magic with a box mix and a can of condensed milk. I remember the sticky carpet under my sneakers and the way he’d poke holes in the cooled cake with a fork, his eyes twinkling with mischief. He’d pour the sweet stuff over the top, letting it sink into those little craters like a secret.
Uncle Ray passed away five years ago, but that specific combination of salty peanut butter and sweet chocolate never faded. I mean, honestly, who doesn’t love that salty-sweet combo? It’s a classic for a reason. But recreating that exact feeling felt impossible until I tried this version.
It’s not just about the taste; it’s about that rush of nostalgia. Maybe you’ve been there too, chasing a flavor that reminds you of home. This cake captures that essence perfectly. It’s messy, it’s indulgent, and it’s deeply comforting.
I’ll admit, I burned the first batch because I was distracted by a phone call. Oops. But the second batch? Pure perfection. It’s creamy, it’s rich, and it tastes like childhood joy. Let me tell you, once you take a bite, you won’t care about the mess. You’ll just want another slice.
This isn’t just dessert; it’s a time machine. And the best part? You don’t need to be a professional baker to make it. You just need a fork and a willingness to indulge.
Why You’ll Love This Recipe
This recipe isn’t just another poke cake; it’s a carefully crafted experience that balances texture and flavor in a way most people don’t expect. I’ve tested this version dozens of times to ensure it hits that sweet spot between rich and airy.
Here is why this creamy Reese’s peanut butter poke cake stands out:
- Quick & Easy: It comes together in under 45 minutes, including cool-down time. This is perfect for busy weeknights or when you need a last-minute treat for a gathering.
- Simple Ingredients: You likely already have most of these items in your pantry. No fancy grocery trips needed. Just standard cake mix, peanut butter, and chocolate.
- Perfect for Parties: It’s a crowd-pleaser that works for potlucks, birthdays, or cozy dinner nights. The presentation is stunning yet effortless.
- Crowd-Pleaser: Kids love the chocolate, adults love the sophistication of the peanut butter cream. It always gets rave reviews from both groups.
- Unbelievably Delicious: The texture is next-level. The cake stays moist for days, and the topping adds a silky contrast that keeps you coming back.
What makes this different from other poke cakes? It’s the double-peanut butter layering. Most recipes just dump peanut butter cups on top. Here, we infuse the cake with peanut butter flavor *and* create a creamy peanut butter mousse topping.
It’s comfort food reimagined. It’s healthier in the sense that it’s made from scratch with real ingredients, but it still has that soul-soothing satisfaction. Whether you’re impressing guests or just treating yourself, this recipe delivers.
What Ingredients You Will Need
This recipe uses simple, wholesome ingredients to deliver bold flavor and satisfying texture without the fuss. We are focusing on quality over quantity here.
- Yellow Cake Mix: Use a high-quality box mix as your base. I recommend Duncan Hines for its reliable texture. You can also use a homemade yellow cake batter if you prefer.
- Butter: Unsalted butter, softened. This adds richness to the cake and the topping. Measure it carefully for best results.
- Peanut Butter: Creamy peanut butter is essential here. I suggest Jif or Skippy for that classic, smooth consistency. Natural peanut butter can be too oily for this specific texture.
- Heavy Cream: Cold heavy whipping cream is needed for the topping. It needs to whip up stiff to hold its structure. Look for organic brands if you can find them.
- Condensed Milk: Sweetened condensed milk adds that signature poke cake sweetness. Do not use evaporated milk; they are not interchangeable.
- Chocolate Chips: Semi-sweet chocolate chips provide a nice balance to the sweetness. Ghirardelli is my go-to for melting.
- Vanilla Extract: Pure vanilla extract enhances the overall flavor profile. Avoid imitation vanilla.
- Salt: A pinch of flaky sea salt on top adds a crucial contrast. It makes the chocolate pop.
- Peanut Butter Cups: Chopped Reese’s pieces or mini cups for garnish. This adds visual appeal and extra texture.
You can swap the yellow cake mix for chocolate if you want a deeper chocolate flavor, but the yellow mix lets the peanut butter shine more. For a gluten-free option, use a certified gluten-free cake mix.
Equipment Needed
You don’t need a fancy kitchen to make this. Here is what you’ll need:
- 9×13 Inch Baking Pan: A standard glass or metal pan works best. Glass retains heat better, so keep an eye on baking time.
- Wooden Spoon or Fork: To poke holes in the cake. A wooden spoon handle creates perfect-sized holes.
- Mixing Bowls: Two medium bowls for separating the topping ingredients.
- Electric Mixer: Handheld or stand mixer is crucial for whipping the cream. Do not skip this; hand-whisking takes forever.
- Spatula: For folding the whipped cream into the peanut butter mixture gently.
- Measuring Cups and Spoons: Accuracy matters in baking. Use metal measuring spoons for dry ingredients.
If you don’t have an electric mixer, you can use a whisk, but it will be arm work. For budget-friendly options, a basic handheld mixer from a discount store works just fine. Just ensure the beaters are clean and dry.
Preparation Method
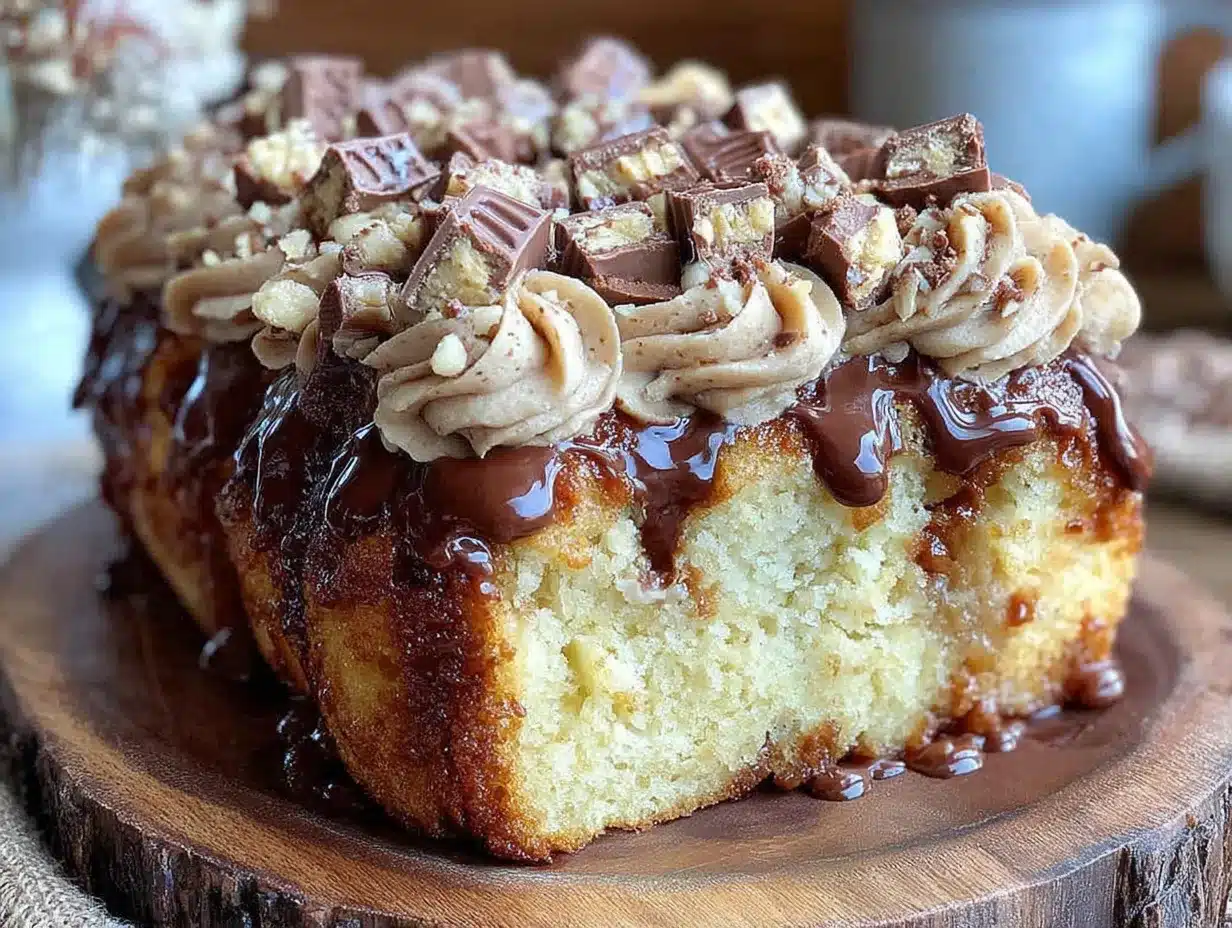
Follow these steps carefully for the best results.
- Preheat and Prep: Preheat your oven to 350°F (175°C). Grease your 9×13 inch pan with butter or cooking spray. This prevents sticking and ensures easy removal.
- Bake the Cake: Prepare the yellow cake mix according to the package directions. Pour the batter into the prepared pan. Bake for 20-25 minutes, or until a toothpick inserted in the center comes out clean.
- Cool Slightly: Remove the cake from the oven and let it cool for 10 minutes. It should be warm, not hot, when you poke holes. This helps the liquid absorb better.
- Poke Holes: Use a wooden spoon or fork to poke holes all over the surface of the cake. Space them about an inch apart. Don’t go all the way through to the pan bottom.
- Pour Condensed Milk: Warm the sweetened condensed milk slightly in the microwave for 15 seconds to make it runnier. Pour it evenly over the warm cake. Let it soak in for 15 minutes.
- Cool Completely: Allow the cake to cool completely in the refrigerator. This step is crucial; if the cake is warm, the topping will melt.
- Make the Topping: In a large bowl, whip the heavy cream until stiff peaks form. In another bowl, mix the softened butter and peanut butter until smooth. Gently fold the whipped cream into the peanut butter mixture until combined.
- Spread and Chill: Spread the peanut butter cream evenly over the cooled cake. Refrigerate for at least 2 hours to set the topping.
- Add Chocolate: Melt the chocolate chips in the microwave in 30-second intervals, stirring in between. Drizzle the melted chocolate over the peanut butter layer.
- Garnish: Sprinkle chopped peanut butter cups and a pinch of sea salt on top. Slice and serve cold.
Cooking Tips & Techniques
Here are some pro tips to ensure success:
- Temperature Control: Ensure your heavy cream is very cold before whipping. Warm cream won’t whip up properly. If your kitchen is hot, chill your bowl first.
- Poke Depth: Don’t poke too deeply. You want to create a reservoir for the condensed milk, not punch through the cake. Aim for about 3/4 inch deep.
- Patience with Cooling: Rushing the cooling step is the most common mistake. The cake must be completely cool before adding the dairy topping. Otherwise, you’ll have a soupy mess.
- Folding Technique: When combining the whipped cream and peanut butter, fold gently. You want to keep the air in the cream to maintain a light texture.
- Chocolate Drizzle: If the chocolate is too thick, add a teaspoon of coconut oil to thin it out. This makes it easier to drizzle evenly.
I once tried to speed up the cooling process by putting the cake in the freezer. It worked, but the texture became slightly dense. Room temp or fridge is best.
Variations & Adaptations
Feel free to customize this recipe to suit your tastes:
- Gluten-Free: Use a gluten-free yellow cake mix. Ensure your peanut butter and chocolate chips are certified gluten-free.
- Dairy-Free: Swap butter for vegan butter and use dairy-free chocolate chips. Note that the condensed milk will need to be swapped for a sweetened condensed coconut milk alternative.
- Chocolate Lovers: Use a chocolate cake mix instead of yellow. This intensifies the chocolate flavor significantly.
- Crunchy Texture: Add crushed pretzels or graham crackers to the topping for added crunch.
- Less Sweet: Use semi-sweet chocolate chips and reduce the amount of condensed milk by half. You can also add a pinch of espresso powder to deepen the flavor.
I tried adding bacon bits once. It was weirdly delicious. The salty crunch paired well with the sweet cream. Give it a try if you’re adventurous.
Serving & Storage Suggestions
This cake is best served chilled. The cold temperature helps the peanut butter topping set and provides a refreshing contrast to the rich chocolate.
- Serving: Slice into squares using a sharp knife. Wipe the knife between cuts for clean edges.
- Pairing: Serve with a cold glass of milk or a cup of black coffee to balance the sweetness.
- Storage: Store covered in the refrigerator for up to 5 days. The flavors meld together nicely over the first two days.
- Freezing: You can freeze individual slices for up to 1 month. Thaw in the refrigerator overnight before serving.
- Reheating: Do not reheat. This cake is meant to be eaten cold. Reheating will melt the topping and ruin the texture.
The cake actually tastes better the next day as the peanut butter flavor fully infuses the cake layers.
Nutritional Information & Benefits
While this is a dessert, understanding its components helps in moderation.
- Calories: Each square contains approximately 450-500 calories, depending on slice size.
- Fat: High in fat due to butter, cream, and peanut butter. Most of this is saturated fat.
- Protein: Peanut butter provides a modest amount of protein, around 6-8 grams per serving.
- Sugar: This cake is high in sugar from the condensed milk, cake mix, and chocolate. Enjoy in moderation.
- Allergens: Contains dairy, peanuts, and gluten. Not suitable for those with severe allergies.
Indulge mindfully. Pair it with a walk or some light activity to balance the day’s intake. It’s a treat, not a staple.
Conclusion
This creamy Reese’s peanut butter poke cake is more than just a dessert; it’s a celebration of simple pleasures. It’s easy to make, incredibly delicious, and guaranteed to impress.
I love this recipe because it brings back those warm, fuzzy memories of family gatherings. It’s a recipe that invites you to slow down and enjoy the process.
Try making it for your next gathering. Share your results in the comments below. I’d love to hear how it turned out for you. Don’t forget to pin this recipe for later!
Enjoy every bite. You deserve it.
FAQs
Can I use homemade cake batter instead of a box mix?
Yes, absolutely. A standard yellow cake batter works perfectly. Just ensure it is baked and cooled similarly to the box mix version. Homemade batter may add a denser texture, which some people prefer.
Why did my topping melt?
The cake was likely too warm when the topping was added. Always ensure the cake is completely cooled, preferably chilled in the refrigerator, before spreading the cream. Warm cake melts dairy instantly.
Can I make this cake ahead of time?
Yes, this cake is best made a day in advance. The flavors need time to meld. You can assemble it the night before and store it in the fridge until serving. It holds up well for up to five days.
What kind of peanut butter should I use?
Use creamy, processed peanut butter like Jif or Skippy. Natural peanut butter separates and can be too oily, which affects the texture of the topping. You want a smooth, stable consistency.
How do I store leftovers?
Cover the cake tightly with plastic wrap or aluminum foil. Store it in the refrigerator for up to five days. Do not freeze the whole cake; freeze individual slices if needed for longer storage.
Pin This Recipe!
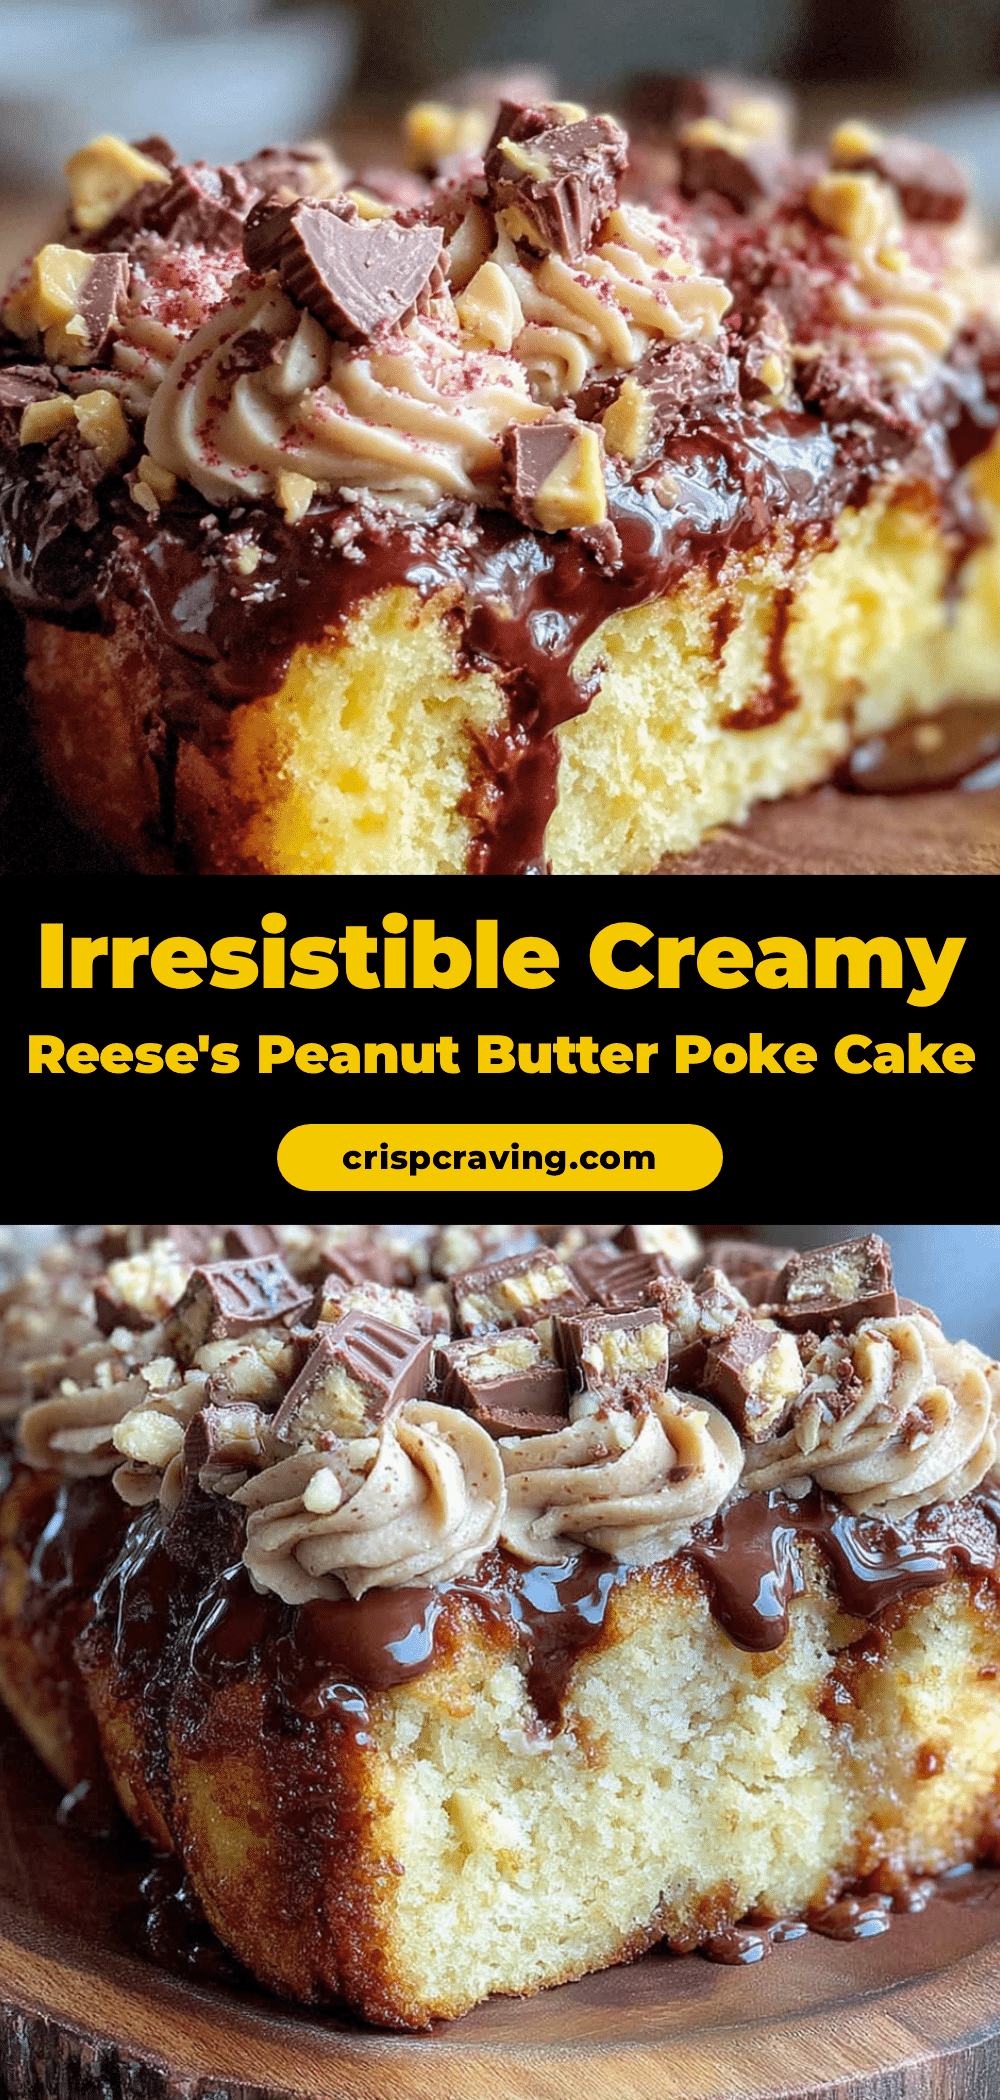
Creamy Reeses Peanut Butter Poke Cake: 5-Step Easy Dessert

A nostalgic, indulgent poke cake featuring a moist yellow cake base soaked in sweetened condensed milk, topped with a creamy peanut butter mousse and drizzled with melted chocolate.
- Prep Time: 15 minutes
- Cook Time: 25 minutes
- Total Time: 45 minutes
- Yield: 12 servings 1x
- Category: Dessert
- Cuisine: American
Ingredients
- 1 box yellow cake mix (e.g., Duncan Hines)
- Unsalted butter, softened
- Creamy peanut butter (e.g., Jif or Skippy)
- Heavy whipping cream, cold
- Sweetened condensed milk
- Semi-sweet chocolate chips (e.g., Ghirardelli)
- Pure vanilla extract
- Flaky sea salt
- Chopped Reese’s peanut butter cups or mini cups
Instructions
- Preheat oven to 350°F (175°C) and grease a 9×13 inch baking pan.
- Prepare the yellow cake mix according to package directions and pour into the prepared pan.
- Bake for 20-25 minutes or until a toothpick inserted in the center comes out clean.
- Let the cake cool for 10 minutes until warm but not hot.
- Poke holes all over the cake surface with a wooden spoon or fork, spacing them about an inch apart.
- Warm the sweetened condensed milk slightly in the microwave for 15 seconds to make it runnier, then pour evenly over the warm cake. Let it soak in for 15 minutes.
- Allow the cake to cool completely in the refrigerator.
- In a large bowl, whip the heavy cream until stiff peaks form.
- In another bowl, mix the softened butter and peanut butter until smooth.
- Gently fold the whipped cream into the peanut butter mixture until combined.
- Spread the peanut butter cream evenly over the cooled cake.
- Refrigerate for at least 2 hours to set the topping.
- Melt the chocolate chips in the microwave in 30-second intervals, stirring in between, and drizzle over the peanut butter layer.
- Garnish with chopped peanut butter cups and a pinch of sea salt. Slice and serve cold.
Notes
Ensure the cake is completely cool before adding the dairy topping to prevent melting. Use creamy, processed peanut butter rather than natural peanut butter for the best texture. The cake tastes better the next day as flavors meld. Do not reheat; serve cold.
Nutrition
- Serving Size: 1 square slice
- Calories: 475
- Sugar: 40
- Sodium: 350
- Fat: 28
- Saturated Fat: 12
- Carbohydrates: 55
- Fiber: 2
- Protein: 7
Keywords: poke cake, peanut butter cake, reese's dessert, easy dessert, chocolate peanut butter, party dessert, nostalgic recipe



