Love this? Save it for later!
Share the inspiration with your friends
My husband swore he hated sourdough. For years. The tang, he claimed, reminded him of something that had gone wrong in the fridge. I’d watch him pick at crusty loaves at dinner parties, always leaving the heel on his plate. Then, last Thursday, I pulled this focaccia out of the oven—golden, bubbling, the whole kitchen smelling like a Tuscan hillside—and found him standing over the cooling rack, tearing off pieces with his bare hands. “This doesn’t count,” he said, mouth full. “This is different.”
Honestly, I get it. I used to think sourdough was a whole personality, you know? The kind of thing people post about on Instagram with flour-dusted cutting boards. But this focaccia? It’s not trying to be fancy. It’s just really, really good bread. The kind you make on a Tuesday because you have a starter that needs feeding and a bunch of rosemary that’s about to go sad in the fridge.
The first time I made it, I forgot the salt. I mean, I put it in the dough, but I forgot the flaky salt on top. It was still good—the garlic roasted into the olive oil saved it—but it wasn’t that good. The kind of good where you close your eyes after the first bite. That came the second time, when I remembered the salt and let the dough do its slow, lazy rise on the counter all afternoon. Maybe you’ve been there, chasing that perfect bite. This one’s worth the chase.
What keeps me coming back is how forgiving it is. Sourdough can be a diva—I’ve had loaves that refused to rise, that baked up flat and sad. But this focaccia? It wants to be made. The high hydration dough practically begs for your fingers to press dimples into it. And that moment when you pour the garlic oil over the top and watch it pool in the craters? That’s the stuff.
Why You’ll Love This Recipe
This isn’t just another bread recipe. It’s the one that made my sourdough-skeptic husband ask for the leftovers. Here’s why it works:
- Simple Ingredients : You need flour, water, starter, olive oil, garlic, and rosemary. That’s it. No fancy equipment, no hard-to-find specialty items.
- Forgiving Process : The high hydration dough is incredibly forgiving. A little extra water? No problem. Forgot to do the stretch and folds on time? It’ll be fine. This bread wants to succeed.
- Perfect for Beginners : If you’re new to sourdough, start here. The technique is straightforward, and the payoff is huge. You get that beautiful open crumb without the stress of shaping a boule.
- Crowd-Pleaser : I’ve brought this to potlucks, served it alongside pasta dinners, and watched it disappear every single time. Even people who “don’t like sourdough” (you know who you are) go back for seconds.
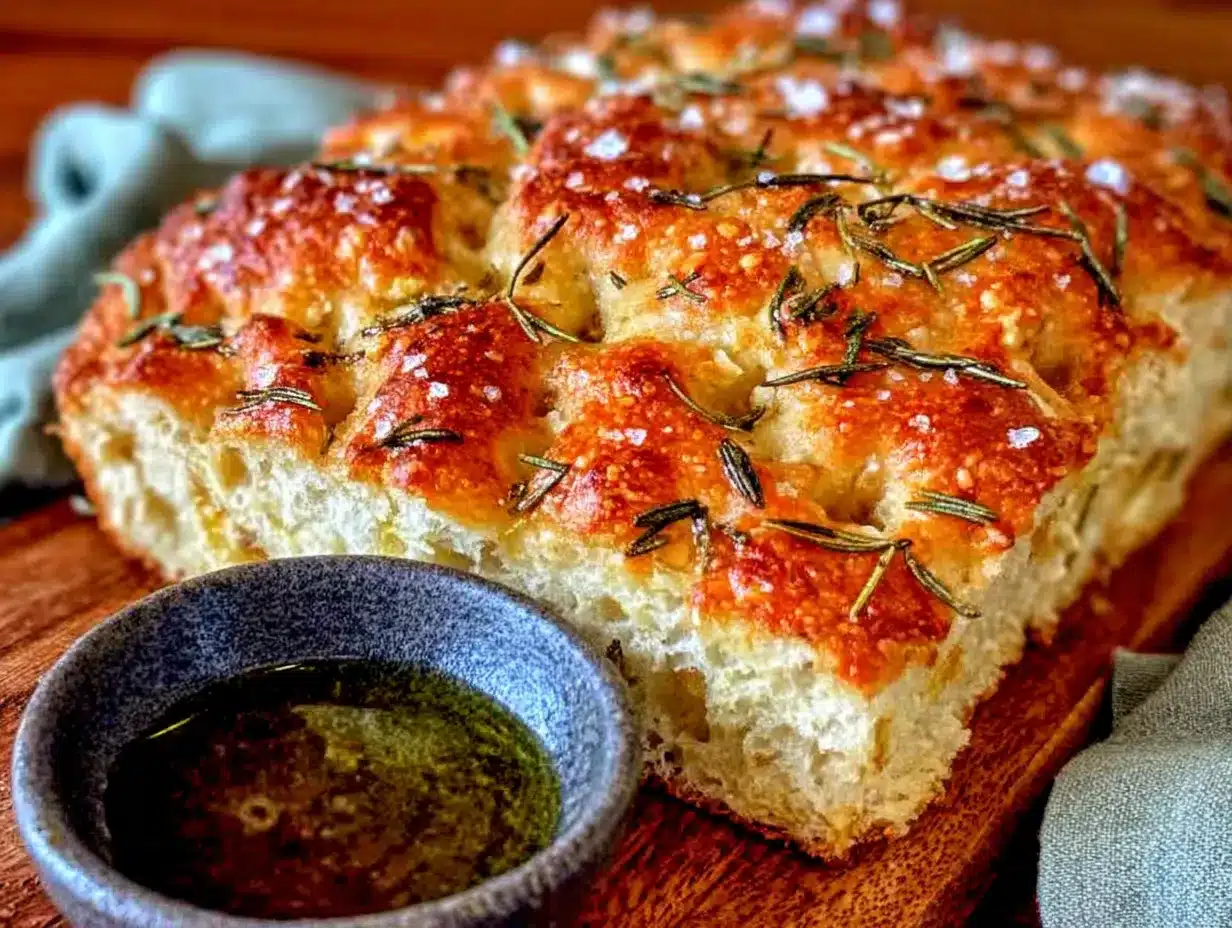
- Incredible Texture : Crispy, golden bottom. Soft, airy interior with those signature dimples. The contrast is everything.
What makes this recipe different is the technique. Instead of just mixing everything together and hoping for the best, we build flavor through a long, cold fermentation. The garlic gets a head start by infusing the olive oil overnight, so every bite carries that mellow, sweet garlic flavor without being overpowering. And the rosemary? It’s not just sprinkled on top—it’s worked into the dough itself, so every piece gets that herbal goodness.
This is the kind of bread that makes you feel accomplished without the stress. It’s comfort food that’s actually good for your gut, thanks to the fermentation. And it’s impressive enough to serve at a dinner party but simple enough to make on a random Wednesday.
What Ingredients You Will Need
This recipe uses simple, wholesome ingredients to deliver that perfect balance of savory garlic and fragrant rosemary. Most of these are pantry staples if you maintain a sourdough starter, and the fresh herbs are easy to find at any grocery store.
For the Dough
- 400g bread flour (I prefer King Arthur for consistent protein content, but any good bread flour works)
- 100g whole wheat flour (adds depth of flavor and a slightly nutty note; you can substitute all-purpose if needed)
- 380g warm water (around 80°F/27°C—should feel like a warm bath, not hot)
- 100g active sourdough starter (fed and bubbly, at its peak)
- 10g fine sea salt (don’t skip this—it’s crucial for flavor and structure)
- 2 tablespoons extra virgin olive oil (use a good one here; you’ll taste it)
For the Garlic Oil Topping
- 1/3 cup extra virgin olive oil (this is where the flavor lives)
- 6-8 cloves garlic, thinly sliced (use fresh, not pre-minced—trust me on this)
- 2 tablespoons fresh rosemary, finely chopped (about 3-4 sprigs)
- 1 teaspoon flaky sea salt (Maldon is my go-to, but any flaky salt works)
- Optional: 1/4 teaspoon red pepper flakes (for a gentle warmth)
The garlic oil is where the magic happens. I like to make it a few hours ahead or even the night before—just warm the olive oil gently with the sliced garlic and let it sit. The garlic infuses the oil without getting bitter, and you get these little soft, sweet garlic pieces throughout the bread. If you’re short on time, 30 minutes of steeping is better than nothing.
For the rosemary, use fresh if you can. Dried rosemary works in a pinch, but it’s more intense and can be a bit woody. If you’re using dried, crush it between your fingers before adding to release the oils, and use about half the amount.
One note on the starter: make sure it’s really active. I feed mine the night before I plan to mix the dough, using a 1:2:2 ratio (one part starter, two parts flour, two parts water). By morning, it should be doubled and full of bubbles. A lazy starter will give you a dense focaccia, and we’re not going for that.
Equipment Needed
You don’t need much for this recipe, which is part of its charm. Here’s what I use:
- Large mixing bowl (glass or ceramic is ideal—I use a 4-quart bowl)
- Digital kitchen scale (absolutely essential for consistent results; I’ve had my Escali for years and it’s never let me down)
- 9×13 inch baking pan (metal is best for even browning; glass works but watch the bottom doesn’t burn)
- Bench scraper (helps with the stretch and folds without making a mess)
- Plastic wrap or a damp kitchen towel (for covering the dough during rises)
- Small saucepan (for infusing the garlic oil)
- Sharp knife or kitchen shears (for chopping rosemary)
If you don’t have a 9×13 pan, you can use a 10-inch cast iron skillet or a round cake pan. The shape will be different, but the texture will be just as good. I’ve even made this in a disposable aluminum pan when I brought it to a friend’s house—worked perfectly.
One tip: don’t skip the bench scraper. It makes handling the sticky dough so much easier, and it’s great for cleaning flour off your counter. You can find a good one for under $10.
Preparation Method
This recipe works on a flexible timeline. I usually start the dough in the morning, let it do its thing throughout the day, and bake it in the evening. But you can also start it the night before and bake it the next morning. Here’s how it goes:
Step 1: Make the Garlic Oil (Can be done up to 24 hours ahead)
In a small saucepan, combine 1/3 cup olive oil and the sliced garlic. Warm over the lowest possible heat for 5-7 minutes—you want the oil to be warm, not hot. The garlic should soften and release its fragrance but not brown. Remove from heat and let it steep while you prepare the dough. If making ahead, cool completely and refrigerate in an airtight container.
Step 2: Mix the Dough (10 minutes active time)
In your large bowl, combine the warm water and active starter. Stir until the starter dissolves—it should look milky and slightly bubbly. Add both flours and mix with your hand or a dough whisk until no dry bits remain. The dough will be shaggy and wet. Cover with plastic wrap and let it rest for 30 minutes. This autolyse step gives the flour time to absorb the water and start developing gluten naturally.
Step 3: Add the Salt (5 minutes)
After the rest, sprinkle the salt over the dough and add the 2 tablespoons of olive oil. Wet your hands slightly (this prevents sticking) and squeeze the dough through your fingers to incorporate the salt and oil. It’ll feel messy at first, but keep going until everything is evenly distributed. The dough will be sticky and loose—that’s exactly what we want.
Step 4: Stretch and Folds (2 hours total, about 5 minutes active)
Cover the bowl and let it rest for 30 minutes. Then, with wet hands, grab one side of the dough, stretch it up, and fold it over itself. Rotate the bowl a quarter turn and repeat. Do this four times total (all four sides). Cover and repeat this process every 30 minutes for a total of 4 sets of stretch and folds. By the last set, you’ll feel the dough tightening up and becoming smoother. It should feel alive and bouncy.
Step 5: Bulk Fermentation (4-6 hours at room temperature, or overnight in the fridge)
After the last set of folds, cover the bowl and let the dough rise until it’s nearly doubled. At room temperature (around 70°F/21°C), this takes about 4-6 hours. The dough should be puffy, with bubbles visible on the surface and sides. If you’re doing a cold fermentation, pop it in the fridge overnight (up to 12 hours) after the first hour of room temperature rise.
Step 6: Pan and Second Rise (2-3 hours)
Generously coat your 9×13 pan with olive oil—don’t be shy here. Gently turn the dough out into the pan. It won’t fill the pan yet, and that’s fine. Cover with plastic wrap and let it rest for 30 minutes. Then, with oiled hands, gently stretch the dough to the edges of the pan. If it resists, let it rest another 15 minutes and try again. Cover and let it rise for another 1.5-2 hours, until it’s puffy and full of bubbles.
Step 7: Dimple and Top (5 minutes)
Preheat your oven to 425°F (218°C) with a rack in the middle. Once the dough is ready, drizzle about half of the garlic oil (including some garlic slices) over the top. Use your fingertips to press deep dimples all over the dough—go all the way to the bottom of the pan. Don’t be gentle here; those dimples are where the oil pools and creates those crispy, flavorful spots. Sprinkle the chopped rosemary and flaky salt evenly over the top.
Step 8: Bake (25-30 minutes)
Bake for 25-30 minutes, rotating the pan halfway through, until the top is deep golden brown and the bottom sounds hollow when tapped. If the top is browning too quickly, tent loosely with foil for the last 5-10 minutes. Remove from the oven and immediately drizzle the remaining garlic oil over the hot bread. Let it cool in the pan for 10 minutes, then transfer to a wire rack.
The hardest part? Waiting at least 20 minutes before cutting into it. I know, I know. But the steam needs to redistribute, and the texture will be so much better. Trust the process.
Cooking Tips & Techniques
After making this focaccia more times than I can count (including some real disasters), here’s what I’ve learned:
Don’t skip the autolyse. That 30-minute rest after mixing the flour and water is crucial. It gives the gluten a head start on developing, which means you get a better crumb with less effort. I learned this the hard way when I got impatient and skipped it—the dough was a sticky mess that never quite came together.
Wet hands are your best friend. This dough is wet. Really wet. But instead of fighting it by adding more flour (which makes the bread dense), just keep your hands damp. A small bowl of water next to your work station is a game-changer. Every time the dough starts sticking, dip your fingers in the water.
Temperature matters more than time. Your kitchen might be warmer or cooler than mine. On a hot summer day, the dough might be ready in 3 hours. In winter, it could take 8. Look for visual cues: the dough should be puffy, jiggly, and covered in bubbles. A cold dough that’s been in the fridge will need longer to warm up before it’s ready to bake.
The dimples need to be deep. I used to be too gentle with the dimpling, afraid I’d deflate the dough. But those deep wells are where the magic happens. Press all the way to the bottom of the pan. The dough will rise around your fingers, creating those iconic craters that catch the oil and crisp up beautifully.
Let it cool before cutting. I know it smells incredible and you want to tear into it immediately. But if you cut it while it’s hot, the interior will be gummy and the structure will collapse. Give it at least 20 minutes. Use that time to make the soup or salad you’re serving alongside it.
Variations & Adaptations
This recipe is incredibly adaptable. Here are some variations I’ve tried and loved:
Herb Garden Focaccia : Swap the rosemary for a mix of fresh thyme, oregano, and sage. I did this with herbs from my neighbor’s garden last summer, and it was incredible with roasted vegetables.
Everything Bagel Focaccia : After dimpling, sprinkle with everything bagel seasoning instead of rosemary and salt. The sesame seeds get toasty in the oven, and the garlic flakes add extra punch. My kids go crazy for this version.
Caramelized Onion & Thyme : Slowly caramelize 2 large onions in olive oil while the dough rises, then spread them over the top before baking. Add fresh thyme leaves and a sprinkle of Gruyere cheese in the last 5 minutes of baking. This one’s a showstopper for dinner parties.
Gluten-Free Adaptation : I’ve had mixed results with gluten-free flour blends here. The best version used a 1:1 gluten-free baking flour with xanthan gum, plus an extra 30-minute rest after mixing. The texture is different—denser, less airy—but the flavor is still fantastic. Be prepared for a flatter focaccia.
Whole Wheat Variation : You can increase the whole wheat flour to 200g and decrease the bread flour to 300g. The dough will be slightly less airy and more rustic, but the nutty flavor pairs beautifully with the rosemary. Add an extra tablespoon of water since whole wheat absorbs more liquid.
Serving & Storage Suggestions
This focaccia is best served warm, within a few hours of baking. The contrast between the crispy, oil-soaked bottom and the soft, airy interior is at its peak when it’s fresh. I love serving it alongside a big bowl of minestrone or a simple tomato soup for dipping.
For a casual dinner, I’ll cut it into squares and serve it with a salad of arugula, shaved Parmesan, and lemon vinaigrette. The peppery greens cut through the richness of the olive oil perfectly. It’s also fantastic alongside grilled meats or roasted vegetables.
Storage: If you have leftovers (unlikely, but possible), store them in an airtight container at room temperature for up to 2 days. Do not refrigerate—the cold will make the bread go stale faster. To refresh, warm individual pieces in a 350°F oven for 5 minutes, or pop them in a toaster oven.
Freezing: This focaccia freezes beautifully. Let it cool completely, then wrap tightly in plastic wrap and foil. Freeze for up to 3 months. To serve, thaw at room temperature and reheat in a 350°F oven for 10 minutes. The texture comes back remarkably well.
One thing I’ve noticed: the flavor actually develops overnight. The garlic and rosemary meld together, and the salt distributes more evenly. If you can resist eating it all the first day, day-old focaccia makes incredible croutons or breadcrumbs.
Nutritional Information & Benefits
Per serving (1/8 of the recipe): Approximately 280 calories, 12g fat, 36g carbohydrates, 4g fiber, 7g protein. These are estimates and will vary based on your specific ingredients.
The fermentation process in sourdough offers some real benefits. The long fermentation breaks down phytic acid in the flour, making the minerals more available for your body to absorb. It also creates beneficial bacteria that support gut health. Some people with mild gluten sensitivities find they can tolerate sourdough better than commercial yeast bread (though this isn’t suitable for celiac disease).
The olive oil provides healthy monounsaturated fats and antioxidants, while the garlic offers anti-inflammatory compounds. The rosemary is packed with antioxidants too. So while this is still bread (and delicious bread at that), it’s a more nutrient-dense option than your standard sandwich loaf.
If you’re watching your sodium, you can reduce the flaky salt on top, but I wouldn’t cut the salt in the dough itself—it’s essential for gluten development and flavor.
Frequently Asked Questions
Can I use all-purpose flour instead of bread flour?
Yes, but the texture will be slightly less chewy and the crumb might be a bit tighter. Bread flour has higher protein content, which gives focaccia its characteristic chew and structure. If using all-purpose, consider adding an extra set of stretch and folds to help develop the gluten.
My dough isn’t bubbling. What went wrong?
This usually means your starter isn’t active enough. Make sure you’re using it at its peak—when it’s doubled in size and full of bubbles, not when it’s just been fed or has already started to deflate. Also check your water temperature; if it’s too hot (over 100°F), it can kill the yeast in your starter.
Can I speed up the process?
You can, but the flavor won’t be as developed. For a same-day version, use warm water (85°F) and place the dough in a warm spot (like an oven with the light on). The bulk fermentation might finish in 3-4 hours. Just watch the dough, not the clock.
Why is my focaccia dense and heavy?
This usually happens when the dough hasn’t fermented long enough, or when too much flour was added during mixing. The dough should be wet and sticky—resist the urge to add more flour. Also, make sure your starter is really active. A sluggish starter won’t generate enough gas to lift the dough.
Can I use dried rosemary instead of fresh?
Yes, but use about half the amount (1 tablespoon) and crush it between your fingers before adding. Dried rosemary is more concentrated and can be tough if left in large pieces. I prefer fresh for the best texture and flavor, but dried works in a pinch.
Final Thoughts
This rosemary garlic sourdough focaccia has become a staple in my kitchen for good reason. It’s the recipe that converted my husband, impressed my mother-in-law, and made my neighbor ask for the recipe (which, let’s be honest, is the highest compliment a baker can get). It’s forgiving enough for beginners but rewarding enough for experienced sourdough bakers.
The thing I love most about this recipe is how it makes me feel. There’s something deeply satisfying about watching that wet, shaggy dough transform into a golden, bubbling pan of bread. It’s alchemy, but it’s alchemy you can do in your own kitchen with your own hands. And when you pull that pan out of the oven and the garlic-rosemary smell fills your house? That’s a moment worth savoring.
I’d love to hear how this turns out for you. Did you try a variation? Did your family love it as much as mine did? Drop a comment below and let me know. And if you’re feeling generous, share this recipe with a friend who needs a little bread-based joy in their life. Happy baking!
Pin This Recipe!
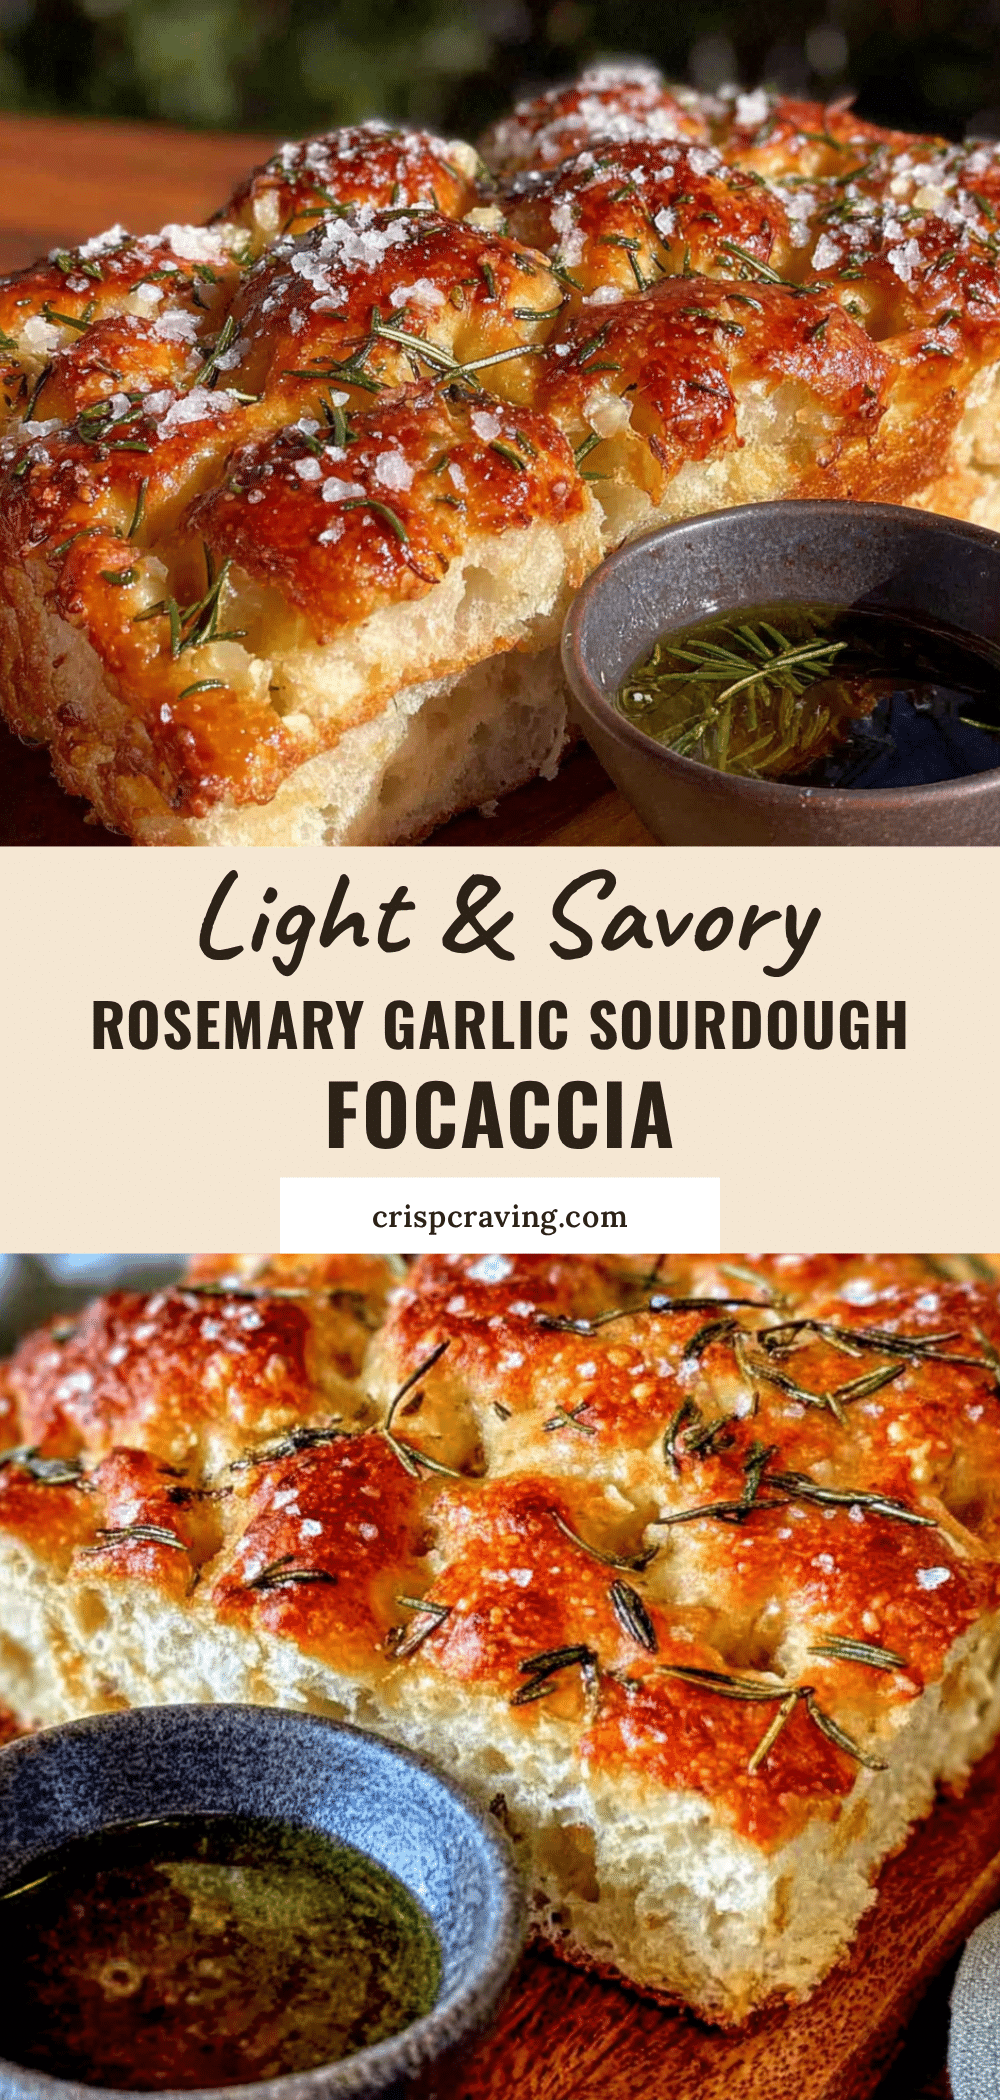
Light & Savory Rosemary Garlic Sourdough Focaccia: Best Easy Recipe

This forgiving, high-hydration sourdough focaccia features a crispy golden bottom, soft airy interior, and mellow garlic-rosemary flavor from infused olive oil. Perfect for beginners and sourdough skeptics alike, it’s a crowd-pleasing bread that’s simple to make with basic ingredients.
- Prep Time: 30 minutes
- Cook Time: 30 minutes
- Total Time: 8-10 hours (includes fermentation and rising time)
- Yield: 8 servings 1x
- Category: Bread
- Cuisine: Italian
Ingredients
- 400g bread flour (about 3 1/3 cups)
- 100g whole wheat flour (about 3/4 cup)
- 380g warm water (about 1 2/3 cups, around 80°F/27°C)
- 100g active sourdough starter (about 1/2 cup, fed and bubbly)
- 10g fine sea salt (about 1 1/2 teaspoons)
- 2 tablespoons extra virgin olive oil
- 1/3 cup extra virgin olive oil (for garlic oil topping)
- 6–8 cloves garlic, thinly sliced
- 2 tablespoons fresh rosemary, finely chopped (about 3–4 sprigs)
- 1 teaspoon flaky sea salt (such as Maldon)
- Optional: 1/4 teaspoon red pepper flakes
Instructions
- Make the garlic oil (can be done up to 24 hours ahead): In a small saucepan, combine 1/3 cup olive oil and sliced garlic. Warm over lowest heat for 5-7 minutes until garlic softens and releases fragrance but does not brown. Remove from heat and let steep. If making ahead, cool completely and refrigerate in an airtight container.
- Mix the dough: In a large bowl, combine warm water and active starter. Stir until starter dissolves. Add both flours and mix with your hand or a dough whisk until no dry bits remain. The dough will be shaggy and wet. Cover with plastic wrap and let rest for 30 minutes (autolyse).
- Add the salt: After the rest, sprinkle salt over dough and add 2 tablespoons olive oil. With slightly wet hands, squeeze dough through fingers to incorporate salt and oil until evenly distributed. The dough will be sticky and loose.
- Stretch and folds: Cover bowl and let rest 30 minutes. With wet hands, grab one side of dough, stretch it up, and fold it over itself. Rotate bowl a quarter turn and repeat. Do this four times total (all four sides). Cover and repeat every 30 minutes for a total of 4 sets of stretch and folds.
- Bulk fermentation: After last set of folds, cover bowl and let dough rise until nearly doubled, about 4-6 hours at room temperature (70°F/21°C). For cold fermentation, refrigerate overnight (up to 12 hours) after first hour of room temperature rise.
- Pan and second rise: Generously coat a 9×13 inch baking pan with olive oil. Gently turn dough into pan. Cover and let rest 30 minutes. With oiled hands, gently stretch dough to edges of pan. If it resists, rest another 15 minutes and try again. Cover and let rise 1.5-2 hours until puffy and full of bubbles.
- Dimple and top: Preheat oven to 425°F (218°C) with rack in middle. Drizzle about half the garlic oil (including some garlic slices) over dough. Use fingertips to press deep dimples all over dough, going all the way to bottom of pan. Sprinkle chopped rosemary and flaky salt evenly over top.
- Bake: Bake for 25-30 minutes, rotating pan halfway through, until top is deep golden brown and bottom sounds hollow when tapped. If top browns too quickly, tent loosely with foil for last 5-10 minutes. Remove from oven and immediately drizzle remaining garlic oil over hot bread. Cool in pan 10 minutes, then transfer to wire rack. Wait at least 20 minutes before cutting.
Notes
For best results, use an active sourdough starter at its peak. The dough is very wet—keep hands damp to prevent sticking. Don’t skip the autolyse or the cooling time before cutting. For a same-day version, use warm water (85°F) and place dough in a warm spot. Leftovers can be stored at room temperature for up to 2 days or frozen for up to 3 months.
Nutrition
- Serving Size: 1/8 of recipe
- Calories: 280
- Sugar: 1
- Sodium: 480
- Fat: 12
- Saturated Fat: 2
- Carbohydrates: 36
- Fiber: 4
- Protein: 7
Keywords: sourdough focaccia, rosemary garlic focaccia, easy sourdough bread, homemade focaccia, sourdough recipe, garlic focaccia, Italian bread



