Love this? Save it for later!
Share the inspiration with your friends
Clara wasn’t trying to impress anyone. I’d stopped by to borrow a chain saw—don’t ask—and the smell hit me before I even got to her back porch. Something nutty. Something warm. Something that made me forget why I was standing there in the first place. She was just pulling a baking sheet out of the oven, wearing an old flannel shirt with a hole in the elbow, and she said, almost apologetically, “Oh, those are just some cookies I threw together.” Just some cookies. I mean, I’ve been developing recipes for years, and I have never thrown anything together that smelled like that. The kitchen was a mess—flour on the counter, a stick of butter melting in a pan, pumpkin puree splattered on the stove. She didn’t care. She handed me one while it was still warm, and let me tell you, I almost dropped it. The edges were all crinkly and perfect, the center soft, and that brown butter flavor just hit you right in the back of the throat. I stood there eating it in her messy kitchen, and she was already talking about something else—some neighbor’s fence that fell down. Completely nonchalant. But I couldn’t stop thinking about that cookie. Maybe you’ve been there—where something so simple stops you cold and you know you have to figure out how to make it yourself. So I did. I watched her make them the next week, asked a million annoying questions, and now I’m sharing the version that’s a little more wholesome but just as good as the one that nearly made me drop my chain saw.
Why You’ll Love This Recipe
Let’s be honest—finding a cookie that feels indulgent but doesn’t leave you feeling heavy is like finding a parking spot right in front of the grocery store. It happens, but not often enough. These brown butter pumpkin snickerdoodle cookies are that parking spot. They’re the real deal.
- Made with Whole Grains: White whole wheat flour gives these cookies a lovely, tender crumb without that dense, “healthy” taste. You honestly won’t notice the difference.
- Naturally Sweetened: A mix of coconut sugar and a touch of maple syrup means you get that deep, caramel-like sweetness without the sugar crash. Your body will thank you.
- Pumpkin Perfection: Real pumpkin puree keeps these cookies incredibly soft and moist. It’s not just for show—it actually does something magical to the texture.
- Brown Butter Magic: That nutty, toasty flavor takes these from “good cookie” to “I need the recipe right now” territory. It’s a game-changer, honestly.
- Perfect for Fall (and Honestly, Any Time): Great for a cozy afternoon snack, a healthier treat for the kids, or something to bring to a gathering where everyone’s trying to eat a little better.
What makes these different from every other pumpkin cookie out there? It’s the brown butter combined with the whole grains and the perfectly balanced spice mix. It’s not just another pumpkin cookie—it’s the one you’ll actually want to make again and again. The first time I bit into one, I closed my eyes. No joke. It’s that kind of cookie—comforting, a little bit fancy, but totally unfussy. Perfect for when you want something that feels good to eat in every way.
What Ingredients You Will Need
This recipe uses simple, wholesome ingredients that work together to create something truly special. Most of these are probably already in your pantry, which is the best kind of recipe, if you ask me.
- Unsalted Butter, 1/2 cup (1 stick): We’re browning this, so unsalted is important to control the salt level. I like using Kerrygold or any good-quality European butter for the best flavor, but regular works great too.
- White Whole Wheat Flour, 1 3/4 cups (210g): This is my secret weapon. It has all the fiber and nutrients of whole wheat but a much lighter color and texture. King Arthur Flour makes a great one. If you only have all-purpose, that works too—just know the texture will be slightly less tender.
- Baking Soda, 1/2 teaspoon: Helps the cookies spread just enough and gives them a little lift.
- Cream of Tartar, 1 teaspoon: This is the classic snickerdoodle ingredient. It gives the cookies that signature tangy flavor and helps with the chewy texture. Don’t skip it!
- Pumpkin Pie Spice, 1 1/2 teaspoons: You can use store-bought or make your own with cinnamon, nutmeg, ginger, and cloves. I actually prefer making my own so I can control the cinnamon-to-nutmeg ratio.
- Cinnamon, 1 teaspoon: For the dough and for the coating. It’s non-negotiable in a snickerdoodle.
- Salt, 1/2 teaspoon: A fine sea salt or kosher salt works best. It balances the sweetness and makes the brown butter flavor pop.
- Coconut Sugar, 3/4 cup (packed): This gives the cookies a deeper, more caramel-like sweetness than regular white sugar. It’s less processed and has a lower glycemic index. If you don’t have it, you can use brown sugar, but the flavor will be slightly different.
- Maple Syrup, 1/4 cup: Pure maple syrup, not the pancake stuff. It adds moisture and a subtle, woodsy sweetness that pairs beautifully with the pumpkin and brown butter.
- Pumpkin Puree, 1/2 cup: Make sure it’s 100% pure pumpkin, not pumpkin pie filling. Libby’s is my go-to brand because it’s consistently thick and not watery. If your puree seems watery, pat it dry with a paper towel before using.
- Large Egg, 1: Room temperature is best so it emulsifies nicely into the butter mixture.
- Vanilla Extract, 1 teaspoon: Pure vanilla, not imitation. It rounds out all the warm, spicy flavors.
- For the Coating: 1/4 cup coconut sugar (or regular sugar) mixed with 1 tablespoon cinnamon. This is what gives snickerdoodles their iconic crackly top.
Equipment Needed
You don’t need a fancy kitchen to make these cookies, which is one of the reasons I love this recipe. Here’s what you’ll need:
- A Light-Colored Saucepan: This is important for browning the butter. A dark pan makes it hard to see the color change, and you might end up with burnt butter. I learned that the hard way.
- Mixing Bowls: One medium, one large. Glass or stainless steel is fine.
- A Whisk: For mixing the dry ingredients and for whisking the brown butter so it doesn’t splatter.
- A Rubber Spatula: For folding everything together. A wooden spoon works too, but a spatula gets into the corners better.
- A Baking Sheet: A light-colored, rimmed baking sheet is best. Dark sheets can cause the bottoms to burn before the centers are done.
- Parchment Paper or a Silicone Baking Mat: This prevents sticking and makes cleanup a breeze. I’m a silicone mat convert—they’re worth every penny.
- A Cookie Scoop (about 1.5 tablespoons): For evenly sized cookies. If you don’t have one, just use two spoons, but the scoop makes life so much easier.
- A Cooling Rack: So the cookies don’t steam and get soggy on the bottom.
Preparation Method
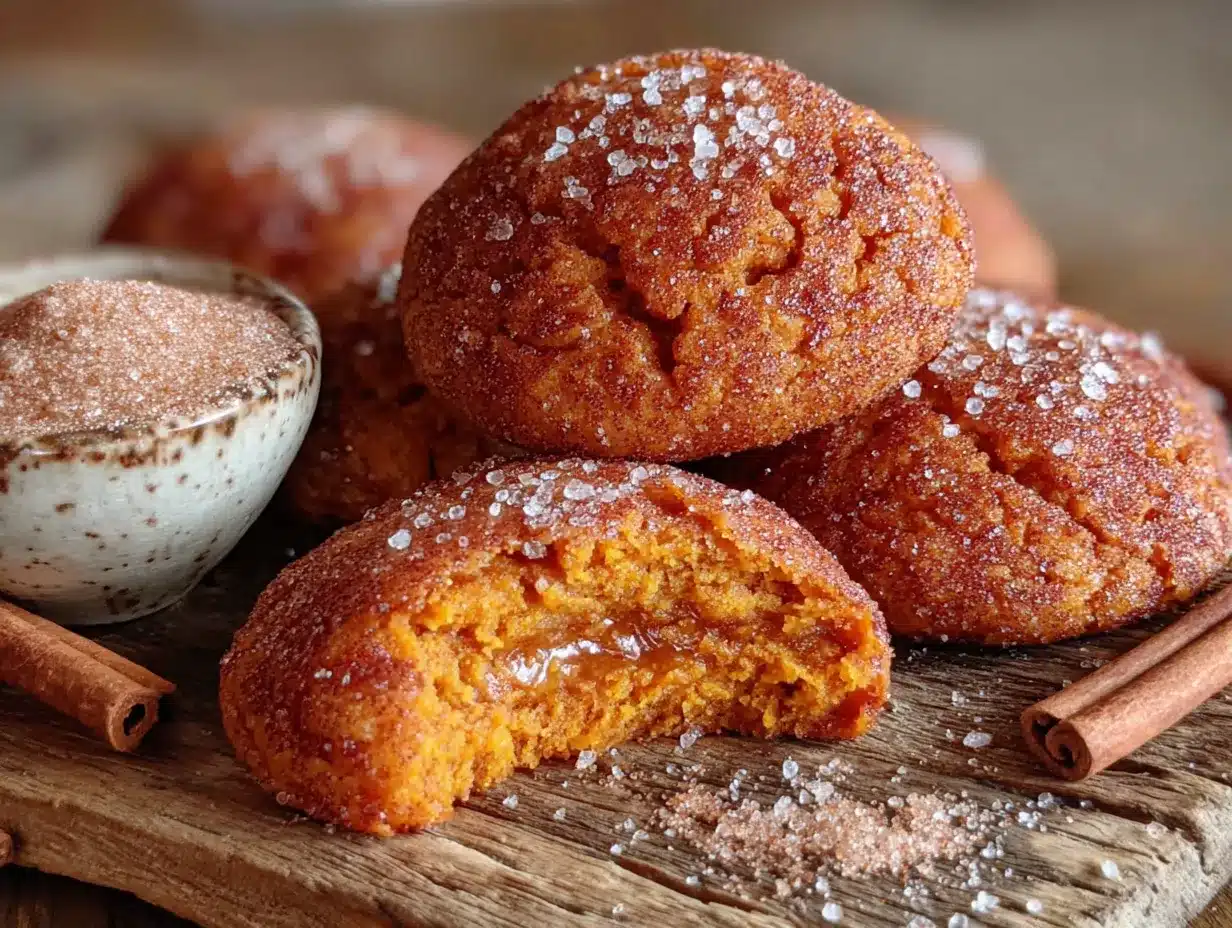
Alright, let’s get to it. This might look like a lot of steps, but I promise it’s straightforward. The brown butter adds one extra step, but it’s so worth it.
- Brown the Butter: Place the 1/2 cup of unsalted butter in your light-colored saucepan over medium heat. Let it melt completely, then start whisking gently. It’ll foam up, then start to crackle and pop. Keep whisking. After a few minutes, the foam will subside, and you’ll see little brown specks forming at the bottom. The butter will smell nutty and amazing. Once it’s a deep amber color—think the color of a hazelnut—take it off the heat immediately. Pour it into a heatproof bowl (including all those brown bits) and let it cool for about 10-15 minutes. Don’t skip the cooling step, or you’ll end up with scrambled eggs later.
- Mix the Dry Ingredients: In a medium bowl, whisk together the 1 3/4 cups white whole wheat flour, 1/2 teaspoon baking soda, 1 teaspoon cream of tartar, 1 1/2 teaspoons pumpkin pie spice, 1 teaspoon cinnamon, and 1/2 teaspoon salt. Set aside.
- Combine the Wet Ingredients: In a large bowl, whisk together the cooled brown butter, 3/4 cup coconut sugar, and 1/4 cup maple syrup until smooth. It should look like a thick, glossy paste. Add the 1/2 cup pumpkin puree, 1 large egg, and 1 teaspoon vanilla extract. Whisk until everything is completely combined. The mixture might look a little separated at first, but keep whisking—it’ll come together.
- Fold in the Dry Ingredients: Pour the dry ingredient mixture into the wet mixture. Using your rubber spatula, fold gently until just combined. A few streaks of flour are okay—overmixing will make the cookies tough. The dough will be soft and a little tacky, not stiff. That’s exactly what you want.
- Chill the Dough (Crucial Step!): Cover the bowl with plastic wrap and pop it in the fridge for at least 30 minutes. I know, I know—you want cookies now. But trust me, this step is non-negotiable. Chilling the dough prevents the cookies from spreading into flat, sad pancakes. It also lets the flavors meld together. You can even chill it for up to 24 hours if you want to prep ahead.
- Preheat and Prep: While the dough chills, preheat your oven to 350°F (175°C). Line your baking sheet with parchment paper or a silicone mat.
- Make the Coating: In a small bowl, mix together 1/4 cup coconut sugar and 1 tablespoon cinnamon. Set aside.
- Scoop and Roll: Take the chilled dough out of the fridge. Using your cookie scoop, scoop out tablespoon-sized balls of dough. Roll each ball between your palms to make it smooth, then roll it in the cinnamon-sugar coating until it’s completely covered. Place the coated dough balls on the prepared baking sheet, leaving about 2 inches between each one—they will spread a little.
- Bake: Bake for 10-12 minutes. The cookies will look puffy and slightly underdone in the center when you take them out. That’s good! They’ll continue to set on the baking sheet. The edges should be set and lightly golden. For a softer, chewier cookie, bake for 10 minutes. For a slightly crispier edge, go for 12.
- Cool: Let the cookies cool on the baking sheet for a full 5 minutes. This is important—they’re fragile right out of the oven. After 5 minutes, transfer them to a cooling rack to cool completely. Or, you know, eat one warm. I won’t tell anyone.
Cooking Tips & Techniques
I’ve made these cookies about a dozen times now, and I’ve definitely learned a few things along the way. Let me save you some trouble.
Don’t Walk Away from the Brown Butter. I did that once. I thought, “Oh, I’ll just check my email real quick.” Big mistake. That butter went from perfectly nutty to burnt and acrid in about 30 seconds. Stay at the stove, keep whisking, and watch it like a hawk. The moment it smells like toasted nuts and has those brown specks, it’s done.
Pumpkin Puree Can Be Sneaky. Sometimes pumpkin puree has a lot of water in it, especially if it’s been sitting in the can for a while. If your puree looks watery, spoon it onto a paper towel-lined plate and pat it dry before adding it to the dough. Too much water means flat, gummy cookies. Nobody wants that.
The Chilling Step is Not Optional. I know I said it already, but I’ll say it again. The first time I made these, I was impatient and skipped the chilling. The cookies spread into thin, crispy discs. They still tasted good, but they weren’t the soft, chewy, thick cookies I was going for. The chill solidifies the fat in the dough, which means the cookies spread less and stay nice and puffy.
Room Temperature Egg is Your Friend. A cold egg straight from the fridge can seize up the brown butter and make the dough lumpy. Just let your egg sit on the counter for 15 minutes before you start, or place it in a bowl of warm water for 5 minutes. Easy fix.
Use a Cookie Scoop for Consistency. I used to just eyeball it with two spoons, and I’d end up with cookies of all different sizes. Some would be underdone, some overdone. A cookie scoop ensures every cookie is the exact same size, so they all bake evenly. It’s a small investment that makes a huge difference.
Variations & Adaptations
One of the best things about this recipe is how flexible it is. I’ve tried a few different versions, and they’ve all been winners.
Gluten-Free Version: Swap the white whole wheat flour with a good 1:1 gluten-free baking flour blend. I like the one from Bob’s Red Mill. The texture will be a little more delicate, so handle the dough gently. You might also need to chill the dough for an extra 15 minutes since gluten-free flours can be a bit more absorbent.
Vegan Adaptation: Use a flax egg (1 tablespoon ground flaxseed mixed with 3 tablespoons water, let sit for 5 minutes) instead of the regular egg. Substitute the butter with a high-quality vegan butter stick, like the one from Miyoko’s. The cookies will be slightly less tender, but still delicious. Make sure to chill the dough well.
Add Some Crunch: Fold in 1/2 cup of chopped pecans or walnuts along with the dry ingredients. The nuts get a little toasty in the oven and add a wonderful texture contrast to the soft cookie. I did this for a Thanksgiving gathering, and they disappeared in minutes.
Spice It Up: If you like a little heat, add a pinch of cayenne pepper or a 1/4 teaspoon of ground ginger to the dry ingredients. It won’t make the cookies spicy—it just adds a lovely warmth that complements the pumpkin and brown butter.
Chocolate Lover’s Twist: Gently fold in 1/2 cup of dark chocolate chips or chunks after the dry ingredients are incorporated. The bitterness of the dark chocolate is amazing with the sweet, spiced cookie. This is my husband’s favorite version.
Serving & Storage Suggestions
These cookies are wonderful at room temperature, but honestly, they’re at their absolute best when they’re still a little warm from the oven. The brown butter flavor is most pronounced, and the texture is perfectly soft and chewy.
Serving Ideas: Serve them with a cold glass of oat milk or a warm mug of chai tea for the ultimate fall treat. They’re also fantastic crumbled over a bowl of vanilla ice cream for a quick, rustic dessert. For a brunch spread, arrange them on a wooden board with some sliced apples, pears, and a little bowl of honey for drizzling.
Storage: Store the cookies in an airtight container at room temperature for up to 4 days. Place a slice of bread in the container with the cookies—it will absorb excess moisture and keep the cookies soft. I learned that trick from my grandmother, and it works like a charm.
Freezing Instructions: These cookies freeze beautifully. You can freeze the baked cookies in a freezer-safe bag for up to 3 months. Thaw them at room temperature for about 30 minutes, then pop them in a 300°F oven for 5 minutes to re-crisp the edges. Even better: freeze the unbaked dough balls on a baking sheet until solid, then transfer them to a freezer bag. You can bake them straight from frozen—just add 2-3 minutes to the baking time. Fresh cookies whenever you want them!
Flavor Development: Here’s a little secret: these cookies actually taste even better the next day. The spices and brown butter flavor have time to meld together and deepen. So if you can resist eating them all on day one, you’re in for a treat on day two.
Nutritional Information & Benefits
I’m not a nutritionist, but I do care about what goes into my body. These cookies are a far cry from the ultra-processed, sugar-laden versions you find at the store. Here’s a rough estimate per cookie (based on making 18 cookies):
Approximate Nutritional Values (per cookie): Calories: 145, Fat: 7g, Carbohydrates: 20g, Fiber: 2g, Sugar: 12g, Protein: 3g.
Why They’re Better for You: The white whole wheat flour provides more fiber and nutrients than all-purpose flour, which helps with digestion and keeps you fuller longer. Coconut sugar has a lower glycemic index than white sugar, meaning it won’t spike your blood sugar as dramatically. The pumpkin puree is packed with Vitamin A and antioxidants, which are great for your immune system and skin. And the brown butter? Well, it’s still butter, but it adds so much flavor that you don’t need as much sugar or other additives.
Dietary Considerations: This recipe is vegetarian. For a vegan version, see the variations above. It’s also nut-free if you skip the pecan or walnut addition. However, it does contain gluten and dairy, so it’s not suitable for those with celiac disease or a dairy allergy.
My Personal Take: I love that I can feel good about eating two of these cookies without that heavy, guilty feeling. They satisfy my sweet tooth and my craving for something warm and comforting, but they’re made with ingredients that actually do something good for my body. That’s a win-win in my book.
Conclusion
These wholesome brown butter pumpkin snickerdoodle cookies are more than just a recipe—they’re a little moment of joy. They’re the cookie you make when you want to feel good about what you’re eating but still want to treat yourself. They’re the cookie you bring to a gathering and watch disappear, with people asking, “Wait, these are healthy?”
I love that they came from a completely unassuming moment in Clara’s messy kitchen. She wasn’t trying to be a food blogger or impress anyone. She was just making cookies. And that’s the whole point, isn’t it? Good food doesn’t have to be complicated or perfect. It just has to be made with care and shared with people you love.
I’d love to hear how these turn out for you! Did you add chocolate chips? Try a gluten-free version? Maybe you have a brown butter trick I haven’t tried yet. Drop a comment below and let me know. And if you really love them, share this recipe with a friend who needs a little wholesome comfort in their life. Happy baking!
Frequently Asked Questions
Can I use all-purpose flour instead of white whole wheat flour?
Absolutely. You can substitute the white whole wheat flour with an equal amount of all-purpose flour. The cookies will be slightly less tender and have a bit less fiber, but they’ll still be delicious. Just know the texture will be a little different—more like a traditional snickerdoodle.
Why did my cookies turn out flat?
Flat cookies are usually caused by one of three things: the dough wasn’t chilled long enough, the butter was too warm when you mixed it in, or the pumpkin puree was too watery. Make sure to chill the dough for at least 30 minutes, let the brown butter cool before adding the other wet ingredients, and pat the pumpkin puree dry if it looks watery. Also, make sure your baking soda isn’t expired!
Can I make the dough ahead of time?
Yes! The dough can be made up to 24 hours in advance and kept covered in the refrigerator. You can also freeze the dough balls for up to 3 months (see storage instructions above). This is perfect for when you want fresh-baked cookies but don’t have time to make the dough from scratch.
How do I know when the brown butter is done?
You’re looking for a deep amber color—think the color of a hazelnut or light caramel. The butter will smell intensely nutty and toasty. You’ll also see small brown specks at the bottom of the pan. The whole process takes about 5-7 minutes over medium heat. Don’t walk away from it, and take it off the heat immediately once it reaches that color.
Can I use canned pumpkin pie filling instead of pure pumpkin puree?
I wouldn’t recommend it. Pumpkin pie filling has added sugar and spices, which will throw off the sweetness and spice balance of the recipe. Stick with 100% pure pumpkin puree for the best results. If you have leftover puree, you can freeze it in small portions for later use.
Pin This Recipe!
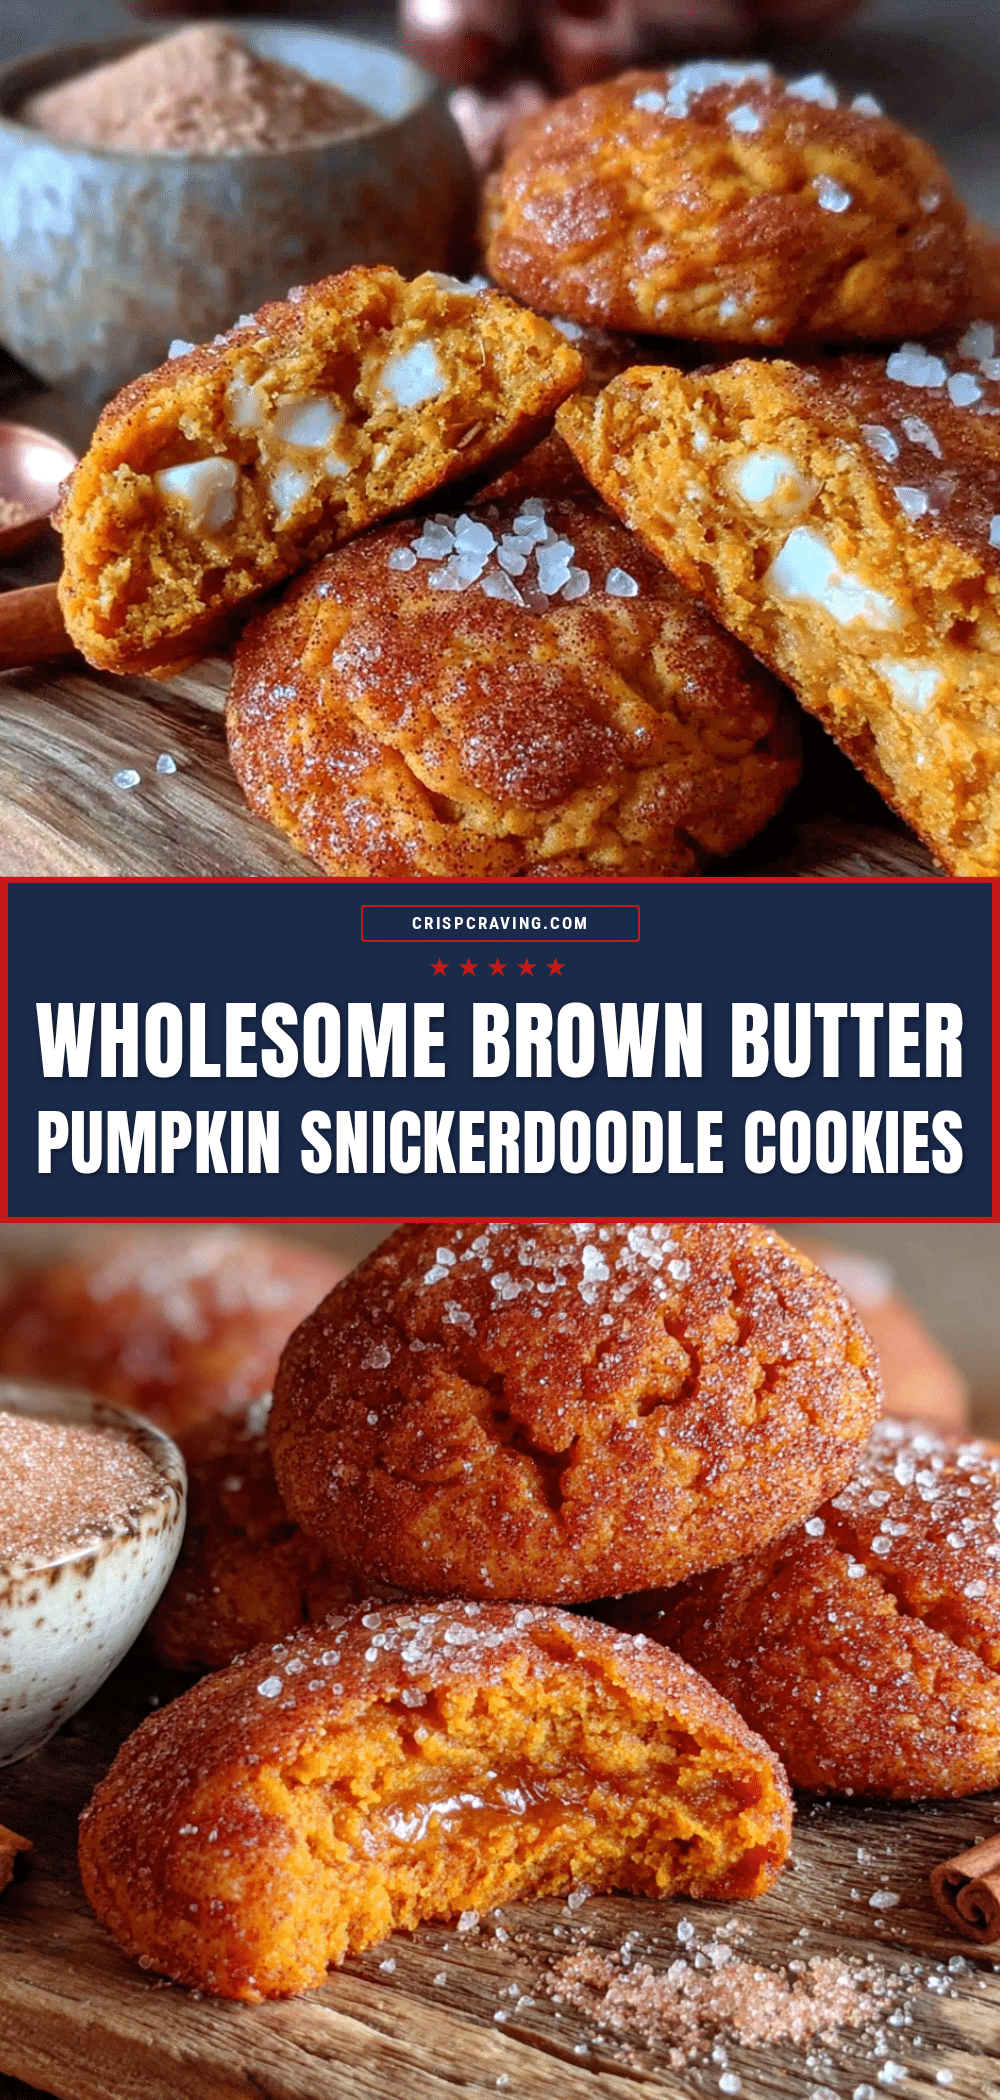
Wholesome Brown Butter Pumpkin Snickerdoodle Cookies
These wholesome brown butter pumpkin snickerdoodle cookies are soft, chewy, and made with whole grains and natural sweeteners. The nutty brown butter and warm spices create an irresistible fall treat that feels indulgent but is better for you.
- Prep Time: 15 minutes
- Cook Time: 12 minutes
- Total Time: 57 minutes (includes 30 minutes chilling)
- Yield: 18 cookies 1x
- Category: Dessert
- Cuisine: American
Ingredients
- 1/2 cup (1 stick) unsalted butter
- 1 3/4 cups (210g) white whole wheat flour
- 1/2 teaspoon baking soda
- 1 teaspoon cream of tartar
- 1 1/2 teaspoons pumpkin pie spice
- 1 teaspoon cinnamon
- 1/2 teaspoon salt
- 3/4 cup (packed) coconut sugar
- 1/4 cup pure maple syrup
- 1/2 cup pumpkin puree (100% pure pumpkin)
- 1 large egg, room temperature
- 1 teaspoon vanilla extract
- For the coating: 1/4 cup coconut sugar mixed with 1 tablespoon cinnamon
Instructions
- Brown the butter: Place the 1/2 cup unsalted butter in a light-colored saucepan over medium heat. Melt completely, then whisk gently. It will foam, crackle, and pop. Continue whisking until the foam subsides and brown specks form at the bottom. The butter should be a deep amber color and smell nutty. Remove from heat immediately and pour into a heatproof bowl. Let cool for 10-15 minutes.
- Mix the dry ingredients: In a medium bowl, whisk together the white whole wheat flour, baking soda, cream of tartar, pumpkin pie spice, cinnamon, and salt. Set aside.
- Combine the wet ingredients: In a large bowl, whisk together the cooled brown butter, coconut sugar, and maple syrup until smooth and glossy. Add the pumpkin puree, egg, and vanilla extract. Whisk until fully combined.
- Fold in the dry ingredients: Pour the dry ingredients into the wet mixture. Use a rubber spatula to fold gently until just combined. A few streaks of flour are okay. The dough will be soft and tacky.
- Chill the dough: Cover the bowl with plastic wrap and refrigerate for at least 30 minutes (up to 24 hours).
- Preheat and prep: Preheat oven to 350°F (175°C). Line a baking sheet with parchment paper or a silicone mat.
- Make the coating: In a small bowl, mix together 1/4 cup coconut sugar and 1 tablespoon cinnamon.
- Scoop and roll: Using a cookie scoop (about 1.5 tablespoons), scoop dough into balls. Roll each ball between your palms to smooth, then roll in the cinnamon-sugar coating until completely covered. Place on the prepared baking sheet, spacing about 2 inches apart.
- Bake: Bake for 10-12 minutes. The cookies will look puffy and slightly underdone in the center. For softer cookies, bake 10 minutes; for crispier edges, bake 12 minutes.
- Cool: Let cookies cool on the baking sheet for 5 minutes, then transfer to a cooling rack to cool completely.
Notes
Chilling the dough is crucial to prevent spreading. If pumpkin puree is watery, pat dry with a paper towel before using. For best flavor, use room temperature egg. Cookies taste even better the next day.
Nutrition
- Serving Size: 1 cookie
- Calories: 145
- Sugar: 12
- Sodium: 95
- Fat: 7
- Saturated Fat: 4
- Carbohydrates: 20
- Fiber: 2
- Protein: 3
Keywords: brown butter, pumpkin, snickerdoodle, cookies, whole wheat, coconut sugar, maple syrup, fall, healthy cookies



