Love this? Save it for later!
Share the inspiration with your friends
Introduction
This was supposed to be a pumpkin bread. A simple, no-fuss loaf I could slice up for school lunches and call it a win. I had the recipe memorized—or so I thought. I grabbed the gluten-free flour blend, the pumpkin puree, the eggs, and started mixing. But somewhere between answering a text from my sister and wiping a sticky counter, I grabbed the wrong measuring cup. Instead of the 1 ½ cups of flour the bread called for, I dumped in barely a cup. The batter was thin, almost soupy, and I stood there staring at it, my heart sinking. The kids were hungry, the oven was preheated, and I had zero time to start over.
I honestly almost threw it out. I mean, who bakes a bread with that kind of liquid disaster? But then I thought—maybe you’ve been there—that moment of kitchen panic where you just go with it. So I grabbed my donut pan, the one I’d bought on a whim at a garage sale and never used, and poured the batter in. I figured worst case, I’d have some weird pumpkin pancakes. What came out of the oven ten minutes later was nothing like the plan—and better. They were light, tender, and perfectly spiced. My youngest ate three before I could even get a photo. Let me tell you, that was the day these baked gluten-free pumpkin donuts were born, and I’ve never looked back.
Why You’ll Love This Recipe
Look, I’ve tested a lot of gluten-free baked goods over the years. Some turn out like hockey pucks. Others crumble the second you look at them. These donuts are different. They’re the kind of recipe that makes you forget they’re even gluten-free, and that’s a big deal in my house where I’ve got one picky eater who can sniff out a “healthy” swap from a mile away.
- Quick & Easy: From start to finish, these are ready in about 25 minutes. No yeast, no rising time, no complicated steps. Perfect for a Saturday morning treat or a last-minute school bake sale contribution.
- Simple Ingredients: You probably have most of these in your pantry right now. Canned pumpkin, basic gluten-free flour, eggs, sugar, and fall spices. No weird specialty items that cost a fortune.
- Perfect for Fall Mornings: There’s something about the smell of pumpkin and cinnamon baking that just makes the whole house feel cozy. These donuts are my go-to for Halloween mornings, Thanksgiving breakfasts, and those crisp October days when you need a little warmth.
- Crowd-Pleaser: My kids devour these. My neighbor who “doesn’t do gluten-free stuff” ate two. They’re moist, not dry, with that perfect tender crumb that everyone loves.
- Unbelievably Delicious: The secret is the combination of pumpkin puree and a touch of applesauce. It keeps them incredibly moist without being greasy. The spice blend is warm and aromatic, not overpowering.
What makes this recipe different from all the others I’ve tried? It’s the texture. I spent months tweaking the flour ratio and the liquid balance to get that perfect, cake-like donut that holds its shape and doesn’t taste like cardboard. This is my best version, and I’m honestly a little proud of it.
What Ingredients You Will Need
This recipe uses simple, wholesome ingredients that come together to deliver that classic pumpkin flavor with a soft, tender texture. Most of these are pantry staples, especially if you do a lot of fall baking.
- For the Donuts:
- 1 ½ cups gluten-free all-purpose flour blend (I recommend Bob’s Red Mill 1-to-1 Baking Flour for best texture; it already has xanthan gum)
- 1 teaspoon baking powder
- ½ teaspoon baking soda
- ½ teaspoon salt
- 1 ½ teaspoons pumpkin pie spice (or 1 teaspoon cinnamon, ½ teaspoon nutmeg, ¼ teaspoon ginger, ¼ teaspoon cloves)
- ½ cup granulated sugar
- ¼ cup packed light brown sugar (adds moisture and a deeper flavor)
- 2 large eggs, at room temperature
- ¾ cup canned pumpkin puree (not pumpkin pie filling—make sure it’s 100% pumpkin)
- ¼ cup unsweetened applesauce (keeps them moist without extra oil)
- ¼ cup melted coconut oil or vegetable oil (cooled slightly)
- 1 teaspoon vanilla extract
- For the Cinnamon-Sugar Coating (Optional but Highly Recommended):
- ¼ cup unsalted butter, melted
- ½ cup granulated sugar
- 1 teaspoon ground cinnamon
Ingredient Tips: I’ve tested this with several gluten-free blends, and the ones with xanthan gum work best. If your blend doesn’t have it, add ½ teaspoon of xanthan gum or guar gum. For the pumpkin, I always use Libby’s canned pumpkin—it’s consistent and has the right moisture content. If you’re using homemade pumpkin puree, you might need to drain it a bit on paper towels first because it can be more watery.
Substitution Guidance: Need a dairy-free option? Use a plant-based butter for the coating, and the donut batter itself is already dairy-free if you use coconut oil. For an egg-free version, I’ve had success using two flax eggs (2 tablespoons ground flaxseed mixed with 6 tablespoons water, let sit for 5 minutes). The texture is slightly denser but still delicious.
Equipment Needed
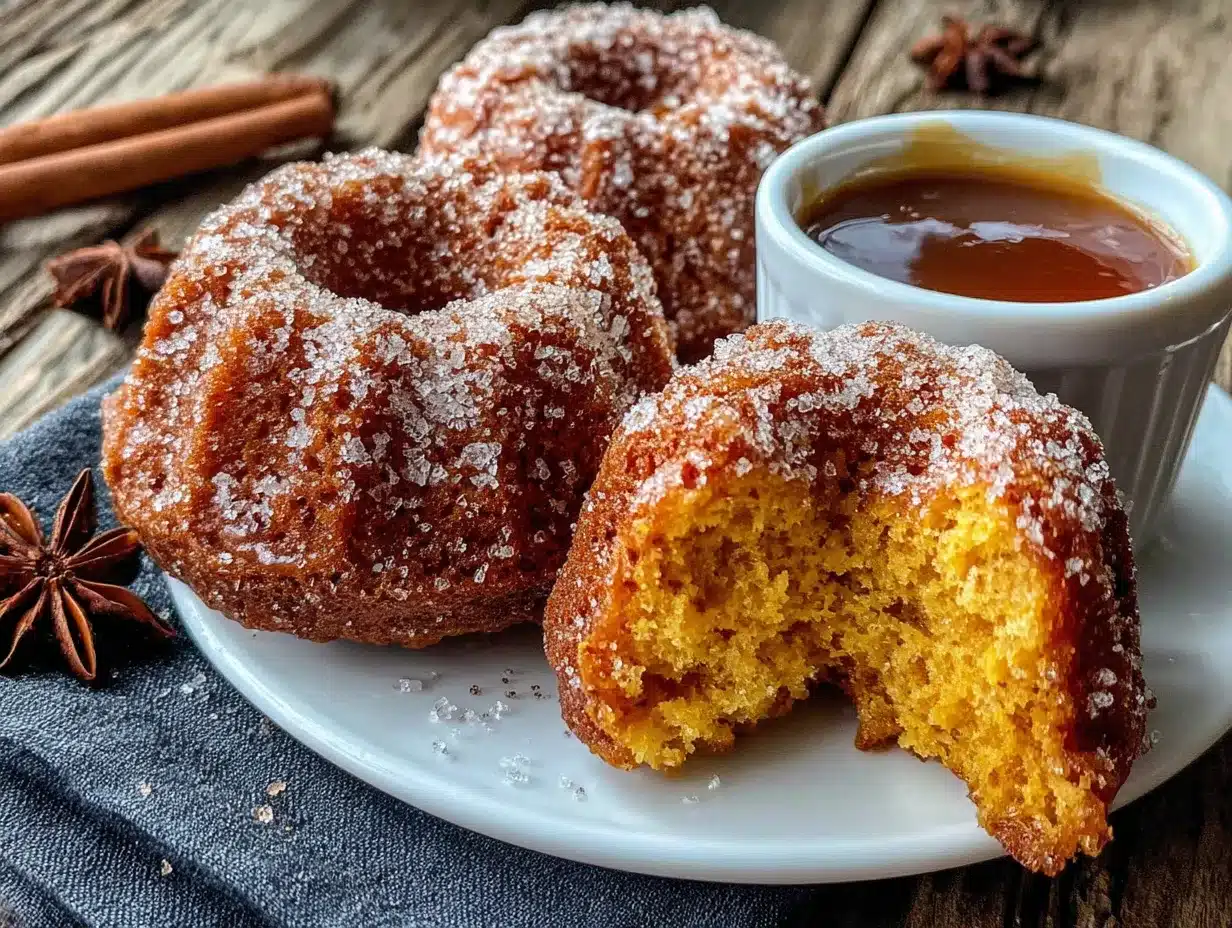
You don’t need a fancy kitchen to make these. Here’s what I use:
- Donut Pan: A standard 6-cavity donut pan is perfect. I use a Wilton non-stick pan, and it works great. If you don’t have one, you can also use a mini donut pan or even bake the batter as muffins (just adjust the time—about 15-18 minutes for muffins).
- Mixing Bowls: One medium and one large bowl. I prefer glass or stainless steel.
- Whisk: For combining dry ingredients and mixing the wet ingredients.
- Spatula: A silicone spatula is best for folding the batter together without overmixing.
- Piping Bag or Zip-Top Bag: To pipe the batter into the donut pan neatly. Trust me, it’s way less messy than trying to spoon it in.
- Cooling Rack: Essential for letting the donuts cool evenly so they don’t get soggy.
- Pastry Brush: For brushing the melted butter onto the donuts for the coating. A silicone brush works best.
I bought my donut pan for about $10 at a kitchen supply store, and it’s one of those tools I use way more than I expected. If you’re on a tight budget, check thrift stores or online marketplaces—people often sell barely-used pans for a few bucks.
Preparation Method
These come together fast, so I like to get everything measured and ready before I start mixing. It makes the whole process smoother, especially if you’ve got kids underfoot.
- Preheat and Prep: Preheat your oven to 350°F (175°C). Lightly grease your donut pan with non-stick spray or a little melted coconut oil. I use a pastry brush to make sure every nook and cranny is coated—sticking is the worst.
- Mix Dry Ingredients: In a medium bowl, whisk together the gluten-free flour blend, baking powder, baking soda, salt, and pumpkin pie spice. Make sure there are no lumps. Gluten-free flours can be clumpy, so whisk thoroughly.
- Mix Wet Ingredients: In a large bowl, whisk together the granulated sugar, brown sugar, and eggs until smooth and slightly thickened, about 1 minute. Add the pumpkin puree, applesauce, melted coconut oil, and vanilla extract. Whisk until everything is well combined and smooth. The mixture will be thick and smell amazing.
- Combine Wet and Dry: Pour the dry ingredients into the wet ingredients. Use a spatula to fold everything together gently. Mix just until no streaks of flour remain—overmixing will make the donuts tough. The batter will be thick and scoopable, not runny.
- Fill the Pan: Transfer the batter to a piping bag or a sturdy zip-top bag with the corner snipped off. Pipe the batter into the prepared donut pan, filling each cavity about ¾ full. Don’t overfill or the donuts will lose their hole. If you don’t have a piping bag, you can use a small spoon, but it’s messier.
- Bake: Bake for 10-12 minutes, or until the donuts are puffed and golden and a toothpick inserted into the thickest part comes out clean or with a few moist crumbs. My oven runs hot, so I check at 10 minutes. The tops should spring back when lightly touched.
- Cool: Let the donuts cool in the pan for 5 minutes. Then, carefully turn them out onto a cooling rack. Don’t skip this step—if you leave them in the pan too long, they can get soggy from the steam.
- Add the Coating (If Using): While the donuts are still warm but not hot, melt the butter in a small bowl. In another small bowl, mix the sugar and cinnamon. Dip each donut in the melted butter, turning to coat both sides, then immediately dip it in the cinnamon-sugar mixture. Place back on the cooling rack to set.
Sensory Cues: When you mix the wet ingredients, the pumpkin and spices should smell warm and inviting. The batter should be thick enough that it holds its shape when piped. When baked, the donuts will be a deep golden orange and the kitchen will smell like fall. The tops should be slightly domed and feel firm to the touch.
Cooking Tips & Techniques
I’ve made these donuts more times than I can count, and I’ve learned a few things the hard way. Here are my best tips:
- Don’t Overmix: I know I said this already, but it’s worth repeating. Overmixing gluten-free batter activates the starches and gums too much, leading to dense, rubbery donuts. Mix until just combined, and you’ll get that light, tender crumb.
- Room Temperature Ingredients: Cold eggs can make the batter seize up. Take your eggs out of the fridge about 30 minutes before you start baking. If you forget, place them in a bowl of warm water for 5 minutes.
- Check Your Pumpkin: I once grabbed a can of pumpkin pie filling by mistake. The donuts were way too sweet and had a weird texture. Always check the label—it should say 100% pumpkin puree.
- Grease the Pan Well: Gluten-free baked goods can be sticky. I use a pastry brush to get melted coconut oil into every crevice of the donut pan. My first batch stuck something awful, and I learned my lesson.
- Bake One Batch First: If you’re using a new pan or a new flour blend, bake just one pan of donuts first to test the timing. Every oven is different, and you don’t want to ruin a whole batch.
- Cool Completely Before Coating: If the donuts are too hot when you dip them in the butter, the coating will melt right off. Wait until they’re warm but not hot—about 5 minutes out of the pan is perfect.
Variations & Adaptations
One of the best things about this recipe is how easy it is to change up. Here are some of my favorite variations:
- Chocolate Pumpkin Donuts: Replace ¼ cup of the gluten-free flour with ¼ cup of unsweetened cocoa powder. Add ¼ cup of chocolate chips to the batter. The chocolate-pumpkin combo is amazing, and my kids go crazy for these.
- Maple Glazed Donuts: Skip the cinnamon-sugar coating and make a simple glaze instead. Whisk together 1 cup powdered sugar, 2 tablespoons maple syrup, and 1-2 tablespoons milk (dairy or non-dairy) until smooth. Dip the cooled donuts in the glaze and let it set on a rack.
- Vegan Version: Use two flax eggs instead of regular eggs, and use a plant-based milk in the glaze if you’re making that version. The texture is slightly denser but still delicious. I’ve made these for my vegan sister-in-law, and she loved them.
- Pumpkin Spice Latte Donuts: Add 1 tablespoon of instant espresso powder to the dry ingredients. The coffee flavor enhances the pumpkin spice beautifully. Top with a vanilla glaze and a sprinkle of cinnamon.
- Nutty Pumpkin Donuts: Fold in ½ cup of finely chopped pecans or walnuts into the batter before baking. The crunch is a lovely contrast to the soft donut.
I personally love the maple glazed version for Thanksgiving morning. It feels a little extra special without being fussy.
Serving & Storage Suggestions
These donuts are best served the day they’re made, but they still hold up well for a day or two. Here’s what I do:
- Serving: Serve them slightly warm or at room temperature. If you’re making them for a crowd, I like to arrange them on a pretty plate or a tiered stand. They’re perfect with a cup of coffee, a glass of cold milk, or a warm mug of apple cider.
- Storing: Store leftover donuts in an airtight container at room temperature for up to 2 days. If you’ve added the cinnamon-sugar coating, the sugar might dissolve a bit over time, but they’ll still taste great. For longer storage, place them in the refrigerator for up to 4 days.
- Freezing: These freeze beautifully. Place the cooled, uncoated donuts in a single layer on a baking sheet and freeze for 1 hour. Then transfer them to a freezer-safe bag or container. They’ll keep for up to 3 months. When you’re ready to eat them, thaw at room temperature, then warm them in the microwave for 10-15 seconds before adding the coating.
- Reheating: The microwave is your friend here. 10-15 seconds brings back that fresh-baked warmth. If you want a slightly crisper exterior, pop them in a toaster oven at 300°F for 3-4 minutes.
One thing I’ve noticed—the flavors actually meld together and get even better the next day. The pumpkin and spices become more pronounced. So don’t worry if you have leftovers!
Nutritional Information & Benefits
I’m not a nutritionist, but I do like to know what’s going into my family’s food. Here’s a rough estimate per donut (based on 12 donuts with the cinnamon-sugar coating):
- Calories: ~180
- Fat: 8g
- Carbohydrates: 26g
- Fiber: 2g
- Sugar: 14g
- Protein: 3g
Health Benefits: Pumpkin is packed with Vitamin A, which is great for eye health and immune function. It’s also a good source of fiber, which helps with digestion. The applesauce replaces some of the oil, cutting down on fat without sacrificing moisture. Plus, using a gluten-free flour blend makes these accessible for those with celiac disease or gluten sensitivity.
Dietary Considerations: This recipe is naturally dairy-free if you use coconut oil and a dairy-free butter alternative for the coating. It’s also easily made vegan with flax eggs. The main allergens to note are eggs and gluten (obviously, since we’re using gluten-free flour). Always check your flour blend for any cross-contamination warnings if you’re baking for someone with celiac disease.
Conclusion
Look, I know there are a million pumpkin recipes out there. But these baked gluten-free pumpkin donuts are the ones I keep coming back to, batch after batch. They started as a mistake—a happy accident in a rushed kitchen—and now they’re a fall staple in my house. They’re easy enough for a weekday morning, special enough for a holiday brunch, and forgiving enough for a beginner baker. That’s the kind of recipe I love to share.
I hope you give them a try. Maybe you’ll even have your own happy accident in the kitchen and discover something new. If you do, I’d love to hear about it. Leave a comment below and tell me how your donuts turned out, or share your own twist on the recipe. Did you try the chocolate version? The maple glaze? Let me know! And if you’re looking for more fall baking ideas, be sure to check out my gluten-free pumpkin bread and apple cider donuts—they’re both family favorites around here.
Happy baking, friends. May your kitchen smell like cinnamon and your donuts always have their holes.
Frequently Asked Questions
Can I make these donuts ahead of time?
Absolutely. You can bake the donuts a day ahead and store them in an airtight container. I recommend adding the coating or glaze just before serving so it stays fresh and crunchy. If you’re making them for a party, bake them the night before, then do the coating in the morning.
Can I use a different gluten-free flour blend?
Yes, but results may vary. I’ve had the best luck with blends that contain xanthan gum, like Bob’s Red Mill 1-to-1 or Cup4Cup. If you’re using a blend without xanthan gum, add ½ teaspoon to the dry ingredients. Almond flour or coconut flour won’t work here because they absorb liquid differently.
My donuts stuck to the pan. What went wrong?
This happens to the best of us. Make sure you grease the pan thoroughly, getting into all the crevices. I use a pastry brush with melted coconut oil. Also, let the donuts cool in the pan for exactly 5 minutes—no longer, no shorter. If they cool completely in the pan, they’ll steam and stick.
Can I make these without a donut pan?
Yes! You can bake the batter as muffins. Use a standard muffin tin lined with paper liners or greased well. Fill the cups about ¾ full and bake at 350°F for 15-18 minutes, or until a toothpick comes out clean. You’ll get about 10-12 muffins. The texture will be slightly different but still delicious.
How do I make the donuts less sweet?
If you prefer a less sweet donut, you can reduce the granulated sugar to ⅓ cup and skip the cinnamon-sugar coating. The donuts will still have a nice pumpkin flavor from the spices. You could also use a sugar-free sweetener like monk fruit or erythritol, but I haven’t tested that myself, so I can’t guarantee the results.
Pin This Recipe!
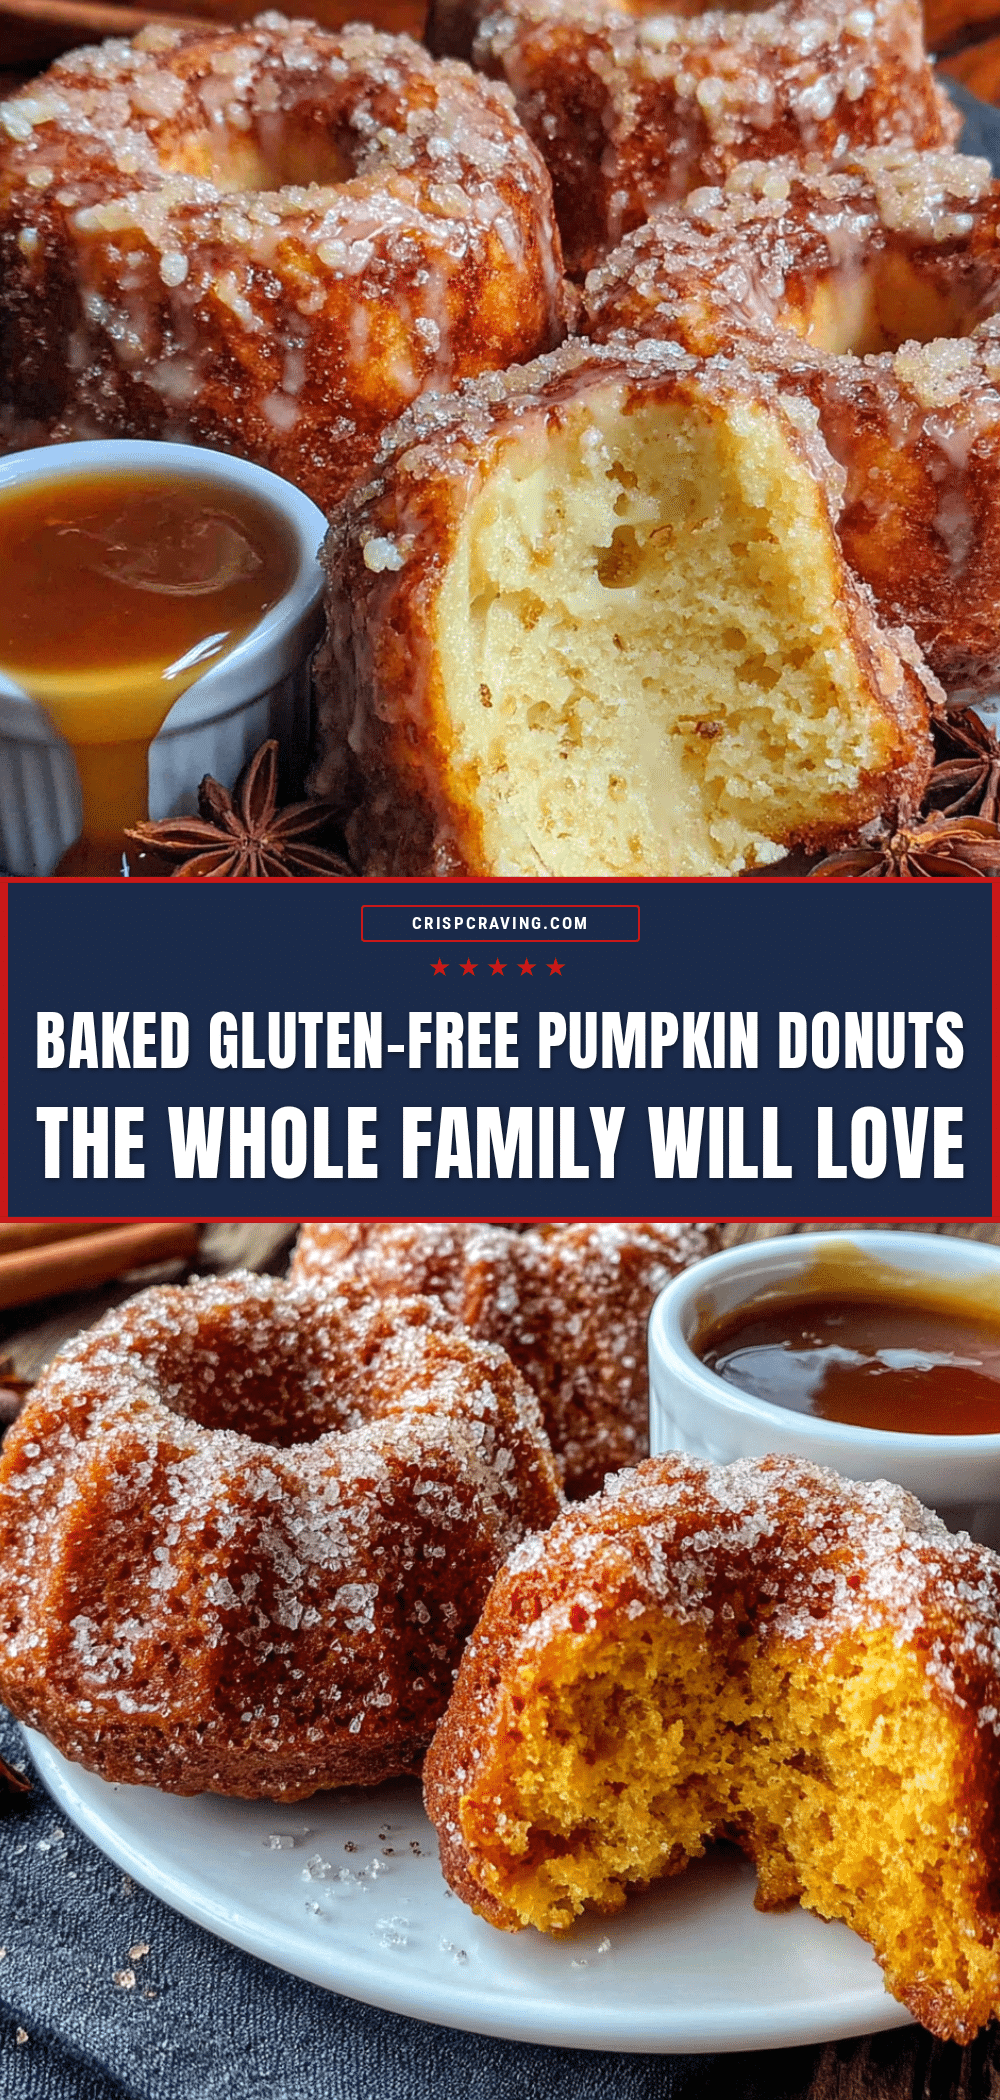
Best Gluten-Free Pumpkin Donuts – Easy Baked Recipe
These baked gluten-free pumpkin donuts are light, tender, and perfectly spiced. Made with simple ingredients, they’re ready in about 25 minutes and are a crowd-pleasing fall treat.
- Prep Time: 15 minutes
- Cook Time: 12 minutes
- Total Time: 27 minutes
- Yield: 12 servings 1x
- Category: Dessert
- Cuisine: American
Ingredients
- 1 ½ cups gluten-free all-purpose flour blend (with xanthan gum, e.g., Bob’s Red Mill 1-to-1)
- 1 teaspoon baking powder
- ½ teaspoon baking soda
- ½ teaspoon salt
- 1 ½ teaspoons pumpkin pie spice (or 1 teaspoon cinnamon, ½ teaspoon nutmeg, ¼ teaspoon ginger, ¼ teaspoon cloves)
- ½ cup granulated sugar
- ¼ cup packed light brown sugar
- 2 large eggs, at room temperature
- ¾ cup canned pumpkin puree (100% pumpkin, not pie filling)
- ¼ cup unsweetened applesauce
- ¼ cup melted coconut oil or vegetable oil, cooled slightly
- 1 teaspoon vanilla extract
- ¼ cup unsalted butter, melted (for coating)
- ½ cup granulated sugar (for coating)
- 1 teaspoon ground cinnamon (for coating)
Instructions
- Preheat oven to 350°F (175°C). Lightly grease a standard 6-cavity donut pan with non-stick spray or melted coconut oil.
- In a medium bowl, whisk together gluten-free flour blend, baking powder, baking soda, salt, and pumpkin pie spice until no lumps remain.
- In a large bowl, whisk together granulated sugar, brown sugar, and eggs until smooth and slightly thickened, about 1 minute. Add pumpkin puree, applesauce, melted coconut oil, and vanilla extract; whisk until well combined.
- Pour dry ingredients into wet ingredients. Fold gently with a spatula until just combined—do not overmix. Batter will be thick and scoopable.
- Transfer batter to a piping bag or sturdy zip-top bag with a corner snipped off. Pipe batter into prepared donut pan, filling each cavity about ¾ full.
- Bake for 10-12 minutes, until donuts are puffed and golden, and a toothpick inserted into the thickest part comes out clean or with a few moist crumbs.
- Let donuts cool in pan for 5 minutes, then turn out onto a cooling rack. Cool until warm but not hot, about 5 minutes more.
- For the coating: Melt butter in a small bowl. In another small bowl, mix ½ cup sugar and 1 teaspoon cinnamon. Dip each warm donut in melted butter, turning to coat both sides, then immediately dip in cinnamon-sugar mixture. Place back on rack to set.
Notes
For best texture, use a gluten-free flour blend with xanthan gum. If your blend lacks it, add ½ teaspoon xanthan gum. For dairy-free, use plant-based butter for coating and coconut oil in batter. For egg-free, use two flax eggs (2 tbsp ground flaxseed + 6 tbsp water, let sit 5 minutes). Don’t overmix batter. Grease pan thoroughly to prevent sticking. Cool donuts exactly 5 minutes in pan before removing. For muffins, bake 15-18 minutes.
Nutrition
- Serving Size: 1 donut
- Calories: 180
- Sugar: 14
- Sodium: 180
- Fat: 8
- Saturated Fat: 4
- Carbohydrates: 26
- Fiber: 2
- Protein: 3
Keywords: gluten-free pumpkin donuts, baked donuts, pumpkin donuts, gluten-free fall recipe, easy pumpkin donuts



