Love this? Save it for later!
Share the inspiration with your friends
It was 11:47 PM on a random Tuesday in October, and I was wide awake, staring at my ceiling fan. My brain had decided that what I desperately needed—what I absolutely could not live without—was something warm, spiced, and sweet. A pumpkin muffin, maybe? But I didn’t have any muffin mix. I didn’t even have a proper muffin tin handy. What I did have was a half-empty can of pumpkin puree from a soup attempt that went sideways, a bag of old-fashioned oats, and a crazy idea that just sort of… arrived. What if I skipped the flour entirely and just let the oats do the work? I mean, I was tired. It was late. The rules of breakfast (and baking) felt like they didn’t apply anymore. So I grabbed a bowl, mashed it all together, poured it into a greased pie plate because that’s all I had clean, and threw it in the oven. Twenty minutes later, I was eating what can only be described as a happy accident. They weren’t pretty, let me tell you—lopsided and a little too brown on one edge—but the texture was pure magic. Soft, chewy, and bursting with fall flavor. I knew right then this wasn’t just a late-night fluke; it was a recipe I’d be making for every potluck and brunch from now on. Maybe you’ve been there—stuck in that weird, creative headspace where the best ideas come when you’re not trying so hard. That’s exactly how these pumpkin baked oatmeal cups were born.
Why You’ll Love This Recipe
Let’s be real for a second. Finding a breakfast recipe that’s both impressive enough for guests and simple enough for a Tuesday morning feels like a win. These oatmeal cups are exactly that. I’ve tested this version more times than I can count, tweaking the spice blend and the oat-to-pumpkin ratio until it was absolutely perfect. Here’s what makes them stand out from the crowd:
- Quick & Easy: From bowl to oven in under 10 minutes. Seriously, you can whip these up before your coffee finishes brewing.
- Simple Ingredients: No trips to a specialty store. You probably have everything in your pantry right now—oats, pumpkin, eggs, and basic spices.
- Perfect for Hosting: These are a lifesaver when you’re having people over for brunch. They look fancy, they smell incredible, and you can make them the night before. Just pop them in the oven while your guests are arriving.
- Crowd-Pleaser: I’ve brought these to potlucks, family dinners, and even a casual book club meeting. They disappear every single time. Kids love them, adults love them, and nobody guesses they’re actually pretty good for you.
- Unbelievably Delicious: The texture is what gets everyone. It’s not too dense like a muffin, not too mushy like regular oatmeal. It’s just right—a little chewy, a little tender, with that perfect pumpkin spice warmth in every bite.
This isn’t just another baked oatmeal recipe you’ll find online. The trick here is letting the oats soak up the pumpkin mixture for a few minutes before baking. It sounds small, but it makes a huge difference. The oats get plump and soft instead of staying dry and tough. Honestly, this is the kind of recipe that makes you close your eyes after the first bite. It’s comfort food reimagined—healthier, faster, but with the same soul-soothing satisfaction. Perfect for impressing your guests without any stress, or turning a simple fall morning into something memorable.
What Ingredients You Will Need
This recipe uses simple, wholesome ingredients to deliver big flavor and a satisfying texture without any fuss. Most of these are pantry staples, which makes this dish perfect for last-minute hosting or a cozy weekend breakfast.
For the Oatmeal Cups
- Rolled oats, 2 cups (200g) — not the instant kind. Old-fashioned oats give the best chewy texture. I prefer Bob’s Red Mill for consistent results.
- Pumpkin puree, 1 cup (240g) — make sure you grab 100% pure pumpkin, not pumpkin pie filling. It’s a common mix-up, and the pie filling has added sugar and spices that will throw off the balance.
- Large eggs, 2, at room temperature — they help bind everything together. If you’re in a rush, place the eggs in a bowl of warm water for 5 minutes.
- Milk, 1 cup (240ml) — any kind works. I usually use whole milk for richness, but oat milk or almond milk are great dairy-free options.
- Maple syrup, 1/3 cup (80ml) — pure maple syrup adds a deep, caramel-like sweetness. Honey or agave are fine substitutes in a pinch.
- Coconut oil, 2 tablespoons (30ml), melted — or you can use melted butter for a richer flavor. Both work beautifully.
- Vanilla extract, 1 teaspoon — a must for rounding out the warm spices.
For the Spice Blend
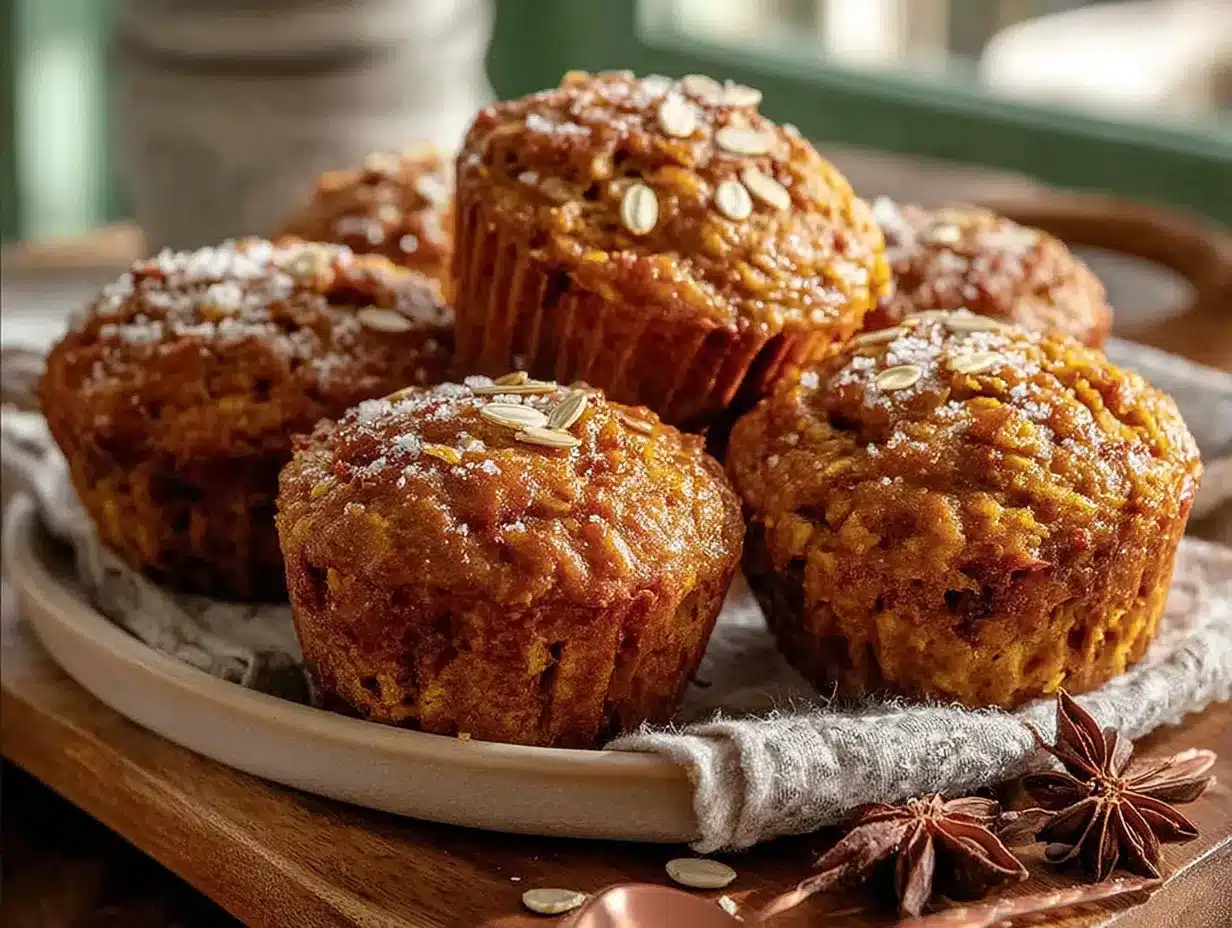
- Pumpkin pie spice, 1 ½ teaspoons — store-bought is fine, but I like to make my own with a mix of cinnamon, nutmeg, ginger, and a tiny pinch of cloves.
- Cinnamon, 1 teaspoon — because you can never have too much cinnamon in a pumpkin recipe.
- Baking powder, 1 teaspoon — this gives the cups a little lift so they’re not too dense.
- Salt, ¼ teaspoon — just enough to balance the sweetness and bring out the spices.
Optional Mix-Ins
- Chocolate chips, ½ cup (90g) — semi-sweet or dark. My personal favorite addition.
- Chopped pecans or walnuts, ½ cup (60g) — adds a lovely crunch. Toast them first for extra flavor.
- Dried cranberries, ¼ cup (40g) — for a tart pop that cuts through the sweetness.
When selecting pumpkin puree, look for cans that are firm and not dented. I’ve found that Libby’s is consistently smooth and not too watery, which is important for the right texture. If you’re using fresh pumpkin puree, make sure to drain it in a cheesecloth or fine-mesh strainer overnight to remove excess moisture. Nobody wants soggy oatmeal cups!
Equipment Needed
You don’t need a fancy kitchen to pull these off. Here’s what you’ll need:
- Muffin tin — a standard 12-cup tin works perfectly. If you only have a 6-cup tin, just bake in two batches.
- Mixing bowls — one large, one medium. Nothing fancy, just what you already have.
- Whisk — for blending the wet ingredients until smooth.
- Spatula — a silicone one is best for scraping every last bit of batter into the cups.
- Measuring cups and spoons — accuracy matters here, especially with the oats and pumpkin.
- Muffin liners — paper or silicone. I prefer silicone because they never stick, but paper liners work fine if you give them a quick spray with non-stick cooking spray.
- Ice cream scoop or large spoon — for evenly distributing the mixture into the cups. An ice cream scoop is my secret for uniform portions.
If you don’t have a muffin tin, you can bake the mixture in an 8×8 inch baking dish or even a pie plate. Just increase the baking time by 5-10 minutes and cut it into squares or wedges. I’ve done this more times than I care to admit, and it works great in a pinch. Also, a good quality non-stick muffin tin is worth the investment—it makes cleanup so much easier and your baked goods come out perfectly every time.
Preparation Method
Follow these steps carefully, and you’ll have a tray of perfectly baked oatmeal cups that will make you look like a pro.
- Preheat your oven to 375°F (190°C). Place the rack in the middle position. While it’s heating, line your muffin tin with paper liners or give each cup a good spray of non-stick cooking spray. Trust me on this—don’t skip the spray even with liners. The oatmeal mixture can be sticky.
- Mix the dry ingredients. In a large bowl, combine the rolled oats, pumpkin pie spice, cinnamon, baking powder, and salt. Give it a good stir with a whisk or fork so everything is evenly distributed. This step ensures you don’t get a pocket of baking powder in one cup.
- Whisk the wet ingredients. In a medium bowl, whisk together the pumpkin puree, eggs, milk, maple syrup, melted coconut oil, and vanilla extract. Whisk until the mixture is completely smooth and a beautiful orange color. It should look like a thick, creamy sauce.
- Combine wet and dry. Pour the wet mixture into the bowl with the dry ingredients. Stir gently with a spatula until everything is just combined. Don’t overmix! A few streaks of dry oats are okay. If you’re adding chocolate chips, pecans, or cranberries, fold them in now.
- Let the mixture rest. Here’s the crucial step that makes all the difference. Let the mixture sit for 5-10 minutes. This allows the oats to absorb some of the liquid, which makes them tender and soft instead of chewy and dry. I usually set a timer and clean up a few dishes while I wait.
- Fill the muffin cups. Using an ice cream scoop or a large spoon, divide the mixture evenly among the 12 muffin cups. Fill them almost to the top—they won’t rise much, so don’t worry about overflow. A heaping scoop per cup is perfect.
- Bake for 18-22 minutes. The oatmeal cups are done when the tops are set and golden brown, and a toothpick inserted into the center comes out clean or with just a few moist crumbs. Every oven is different, so start checking at 18 minutes. If the tops are browning too quickly, loosely tent a piece of foil over the pan.
- Cool in the pan. Let the oatmeal cups cool in the muffin tin for 5 minutes. This helps them set and makes them easier to remove. Then transfer them to a wire rack to cool completely. If you try to take them out too soon, they might fall apart.
A quick note: if you notice the mixture looks a little dry after resting, don’t panic. Just add a tablespoon of milk and stir gently. The oats will continue to absorb moisture as they bake. Also, the smell in your kitchen right now is going to be absolutely incredible. Breathe it in—this is what fall should smell like.
Cooking Tips & Techniques
I’ve made these pumpkin baked oatmeal cups more times than I can count, and I’ve learned a few things the hard way. Here are my best tips to ensure yours turn out perfect every time.
Don’t skip the rest time. I know it’s tempting to just mix and bake, but that 5-10 minute rest is non-negotiable. The first time I made these, I was in a rush and skipped it. The oats were disappointingly crunchy, and the cups didn’t hold together well. Letting the mixture sit gives the oats a head start on absorbing the liquid, which results in that perfect, tender texture.
Use room temperature eggs and milk. Cold ingredients can cause the coconut oil to solidify into little clumps when you mix everything together. If you forgot to take them out of the fridge, just place the eggs in a bowl of warm water for 5 minutes and microwave the milk for 15 seconds. It makes a noticeable difference in how smoothly everything combines.
Line your muffin tin properly. Even with non-stick pans, I recommend using paper liners or silicone cups. The oatmeal mixture can be sticky, and nothing ruins a good breakfast like wrestling with a stuck oatmeal cup. If you’re using paper liners, give them a quick spray with non-stick cooking spray. It’s an extra step, but it’s worth it.
Check for doneness with a toothpick. Oatmeal cups are different from muffins—they won’t spring back when you touch them. The best way to tell if they’re done is to insert a toothpick into the center. If it comes out clean or with just a few moist crumbs, they’re ready. If it’s wet, give them another 2-3 minutes.
Let them cool completely before storing. I made this mistake once, and the trapped steam made the bottoms soggy. Patience is key here. Let them cool on a wire rack for at least 20 minutes before transferring to an airtight container. They’ll stay fresh much longer.
Variations & Adaptations
One of the best things about this recipe is how easy it is to customize. Here are some of my favorite variations that I’ve tried over the years.
Vegan Version
Swap the eggs for two flax eggs (2 tablespoons ground flaxseed mixed with 6 tablespoons water, let sit for 5 minutes). Use a plant-based milk like oat or almond milk, and replace the maple syrup with an equal amount of agave. The texture will be slightly denser, but still delicious. I’ve brought these to a vegan potluck, and nobody could tell the difference.
Gluten-Free Option
Use certified gluten-free rolled oats. That’s it! Oats are naturally gluten-free, but they’re often processed in facilities that handle wheat, so look for the certified label. I’ve tested this with several brands, and they all work perfectly.
Protein-Packed Version
Add a scoop of vanilla or unflavored protein powder. Reduce the oats by ¼ cup (25g) to compensate. You might need to add an extra tablespoon of milk to keep the mixture from being too dry. This is my go-to post-workout breakfast on busy mornings.
Savory Twist
Reduce the maple syrup to 2 tablespoons, omit the pumpkin pie spice, and add ½ teaspoon of garlic powder, ½ teaspoon of dried rosemary, and ¼ cup of shredded cheddar cheese. It sounds weird, but trust me—savory pumpkin oatmeal cups are a thing, and they’re amazing alongside a fried egg.
Berry Blast
Fold in ½ cup of fresh or frozen blueberries, raspberries, or chopped strawberries. If using frozen berries, don’t thaw them first, or they’ll turn the batter purple. This variation is especially good in the summer when fresh berries are at their peak.
Serving & Storage Suggestions
These pumpkin baked oatmeal cups are incredibly versatile when it comes to serving. Here’s how I like to enjoy them and how to keep them fresh.
Serving Temperature: They’re delicious warm, at room temperature, or even cold straight from the fridge. For a cozy fall breakfast, I love serving them warm with a drizzle of maple syrup and a dollop of Greek yogurt. If I’m hosting a brunch, I arrange them on a platter with a bowl of warm maple syrup on the side for guests to help themselves.
What to Serve Alongside: These cups pair beautifully with a hot cup of coffee or a chai latte. For a complete brunch spread, serve them alongside a simple arugula salad with a lemon vinaigrette, or some crispy bacon or turkey sausage. The sweetness of the oatmeal cups balances perfectly with savory sides.
Storage Instructions: Store any leftover oatmeal cups in an airtight container in the refrigerator for up to 5 days. I like to place a paper towel in the bottom of the container to absorb any excess moisture, which helps keep them from getting soggy.
Freezing: These freeze like a dream. Let them cool completely, then place them in a single layer on a baking sheet and freeze for 1 hour. Transfer the frozen cups to a freezer-safe bag or container. They’ll keep for up to 3 months. To reheat, just pop one in the microwave for 30-45 seconds, or warm them in a 350°F oven for 10 minutes.
Flavor Development: Honestly, these taste even better the next day. The spices have time to meld together, and the texture becomes even more tender. I often make a double batch on Sunday so I have a grab-and-go breakfast all week long.
Nutritional Information & Benefits
Here’s the estimated nutritional breakdown for one pumpkin baked oatmeal cup (based on 12 servings, without optional mix-ins):
| Nutrient | Amount per Cup |
|---|---|
| Calories | 185 |
| Total Fat | 7g |
| Saturated Fat | 4g |
| Cholesterol | 35mg |
| Sodium | 95mg |
| Total Carbohydrates | 27g |
| Dietary Fiber | 4g |
| Sugars | 9g |
| Protein | 6g |
These oatmeal cups are packed with nutritional benefits. Oats are a great source of soluble fiber, which helps keep you full and supports heart health. Pumpkin is loaded with vitamin A, which is fantastic for your eyes and immune system. Plus, the eggs add a good dose of protein to start your day right. This recipe is naturally nut-free if you skip the optional pecans or walnuts, and it can easily be made dairy-free and gluten-free with simple substitutions. One thing I love about this recipe is that it feels indulgent but is actually a pretty balanced breakfast option—no guilt, just deliciousness.
Conclusion
These pumpkin baked oatmeal cups are the kind of recipe that becomes a staple in your fall rotation. They’re easy enough for a lazy Sunday morning, impressive enough for a holiday brunch with friends, and portable enough for busy weekday mornings. The best part? They’re endlessly adaptable, so you can make them your own. Whether you load them with chocolate chips, keep them simple with just the warm spices, or try a savory twist, I promise you’ll come back to this recipe again and again. I love that something born out of a late-night craving and a half-empty pantry turned into one of my most-requested dishes. Give them a try, and let me know in the comments how they turned out for you. Did you add any fun mix-ins? Serve them with something unexpected? I’d love to hear about your creations. Happy baking, and here’s to making every morning feel a little bit like fall!
Frequently Asked Questions
Can I use quick oats instead of rolled oats?
You can, but the texture will be different. Quick oats are more finely processed, so they’ll absorb liquid faster and result in a softer, almost mushy texture. Rolled oats give you that nice, chewy bite that makes these cups so satisfying. If you only have quick oats, reduce the rest time to 3-4 minutes and check for doneness a few minutes earlier.
Can I make these ahead of time for a party?
Absolutely! In fact, I recommend it. You can prepare the mixture the night before, cover it, and store it in the refrigerator. In the morning, just give it a stir, fill the muffin cups, and bake. You might need to add an extra minute or two to the baking time since the mixture will be cold. This is my go-to strategy for stress-free hosting.
Why did my oatmeal cups turn out dry?
This usually happens for one of two reasons: either you overbaked them, or you didn’t let the mixture rest long enough. Check your oven temperature with an oven thermometer—many ovens run hotter than the dial says. Also, make sure you’re measuring your oats accurately. Scooping oats directly from the bag can pack them down, so use the spoon-and-level method for the best results.
Can I use pumpkin pie filling instead of pumpkin puree?
I wouldn’t recommend it. Pumpkin pie filling has added sugar, spices, and sometimes thickeners that will throw off the balance of the recipe. Your oatmeal cups might end up too sweet and overly spiced. Stick with 100% pure pumpkin puree for the best results. If you’re in a pinch, you can try using sweet potato puree as a substitute.
How do I keep the oatmeal cups from sticking to the liners?
This is a common issue, especially with paper liners. The best solution is to spray the inside of the liners with non-stick cooking spray before adding the mixture. Silicone liners are another great option—they’re reusable and nothing sticks to them. If you’re using a well-seasoned non-stick muffin tin, you can skip the liners entirely and just spray the cups directly.
Pin This Recipe!
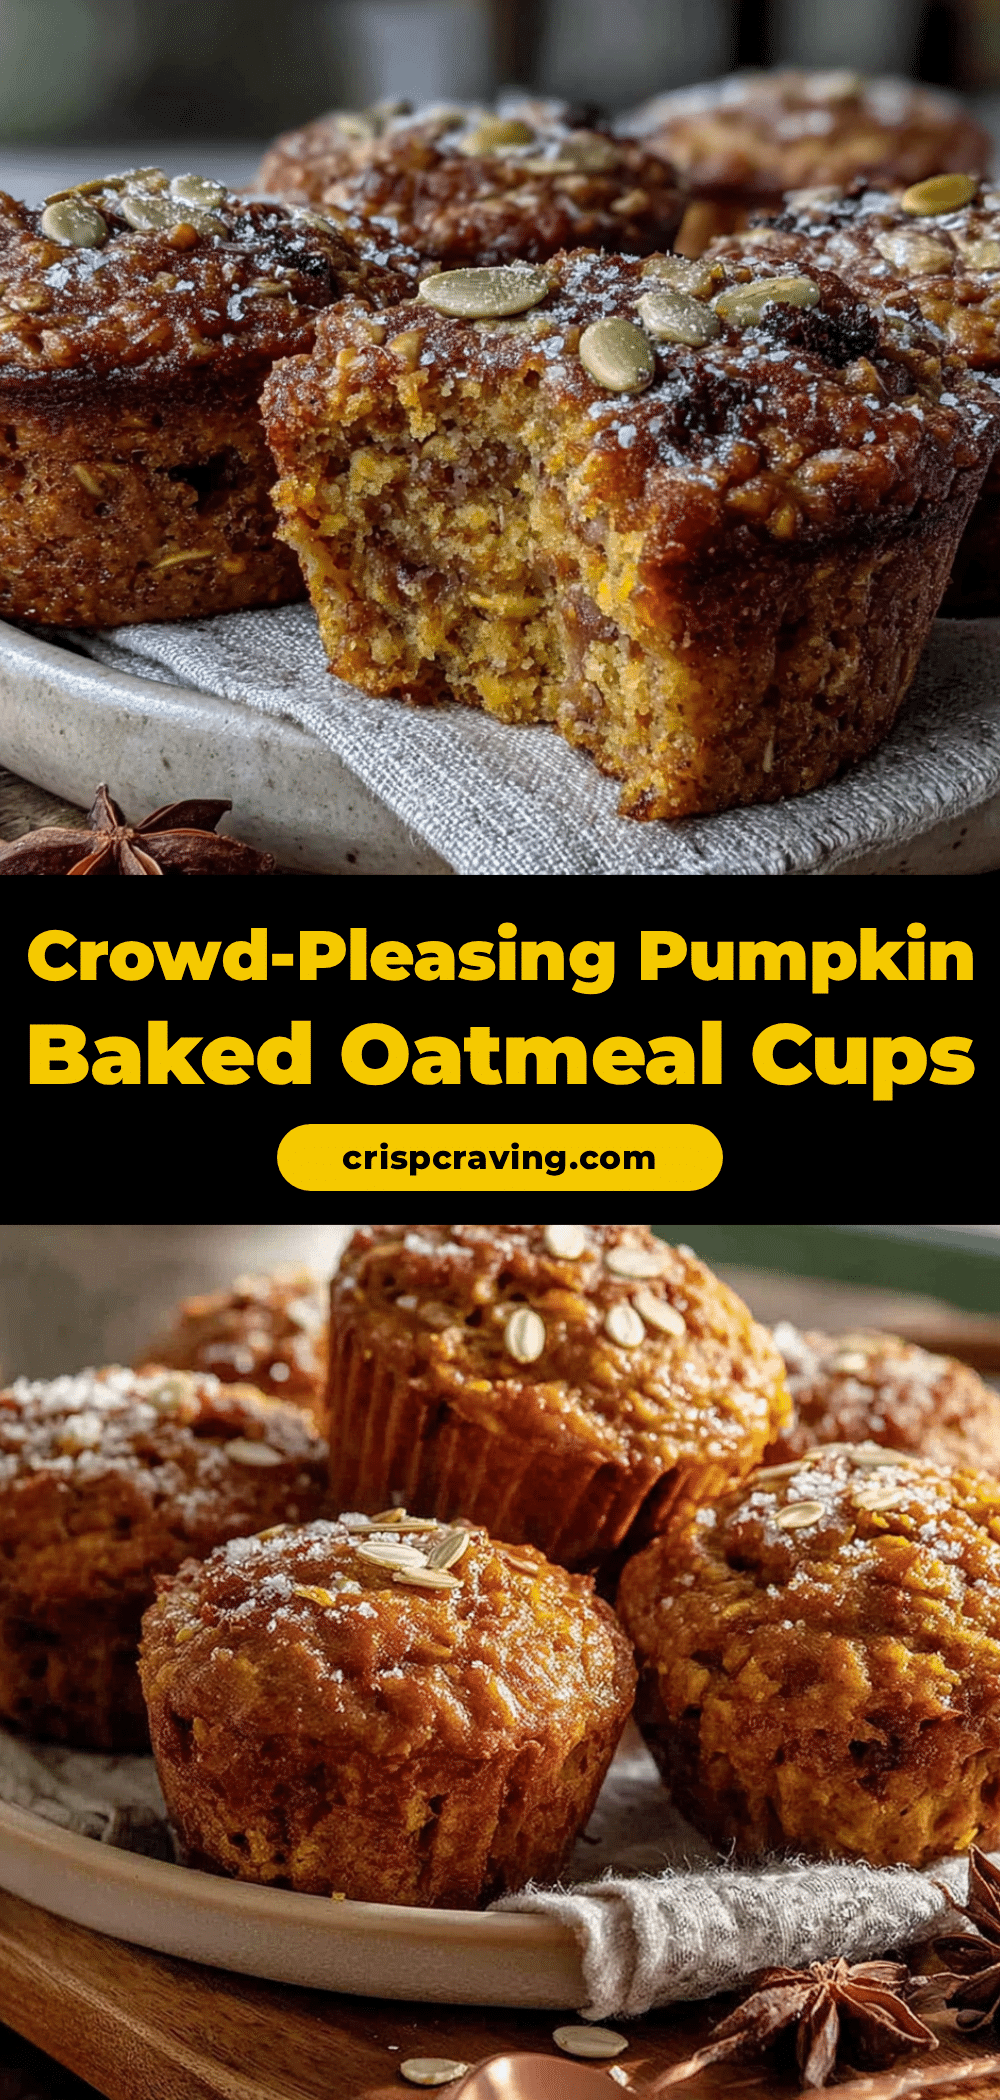
Best Pumpkin Baked Oatmeal Cups: Easy & Crowd-Pleasing
These pumpkin baked oatmeal cups are a quick, easy, and crowd-pleasing breakfast or brunch treat. Made with simple pantry ingredients, they’re soft, chewy, and bursting with warm fall spices.
- Prep Time: 10 minutes
- Cook Time: 20 minutes
- Total Time: 30 minutes
- Yield: 12 servings 1x
- Category: Breakfast
- Cuisine: American
Ingredients
- 2 cups (200g) rolled oats
- 1 cup (240g) pumpkin puree (100% pure, not pie filling)
- 2 large eggs, at room temperature
- 1 cup (240ml) milk (any kind)
- 1/3 cup (80ml) pure maple syrup
- 2 tablespoons (30ml) coconut oil, melted
- 1 teaspoon vanilla extract
- 1 ½ teaspoons pumpkin pie spice
- 1 teaspoon cinnamon
- 1 teaspoon baking powder
- ¼ teaspoon salt
- ½ cup (90g) chocolate chips (optional)
- ½ cup (60g) chopped pecans or walnuts (optional)
- ¼ cup (40g) dried cranberries (optional)
Instructions
- Preheat your oven to 375°F (190°C). Line a 12-cup muffin tin with paper liners or spray with non-stick cooking spray.
- In a large bowl, combine rolled oats, pumpkin pie spice, cinnamon, baking powder, and salt. Stir well.
- In a medium bowl, whisk together pumpkin puree, eggs, milk, maple syrup, melted coconut oil, and vanilla extract until smooth.
- Pour the wet mixture into the dry ingredients and stir gently with a spatula until just combined. Fold in any optional mix-ins if using.
- Let the mixture rest for 5-10 minutes to allow the oats to absorb liquid.
- Divide the mixture evenly among the 12 muffin cups, filling them almost to the top.
- Bake for 18-22 minutes, until the tops are set and golden brown, and a toothpick inserted into the center comes out clean or with a few moist crumbs.
- Cool in the pan for 5 minutes, then transfer to a wire rack to cool completely.
Notes
Let the mixture rest for 5-10 minutes before baking to ensure tender oats. Use room temperature eggs and milk to prevent coconut oil from solidifying. For best results, cool completely before storing. These cups freeze well for up to 3 months.
Nutrition
- Serving Size: 1 oatmeal cup
- Calories: 185
- Sugar: 9
- Sodium: 95
- Fat: 7
- Saturated Fat: 4
- Carbohydrates: 27
- Fiber: 4
- Protein: 6
Keywords: pumpkin baked oatmeal cups, pumpkin oatmeal cups, baked oatmeal cups, pumpkin breakfast, fall breakfast, easy oatmeal cups



