Love this? Save it for later!
Share the inspiration with your friends
It was 10:47 PM on a rainy Tuesday, and I had an aggressive hankering for a soft, pillowy cookie. Not the crisp kind that shatters when you bite it, and definitely not anything that required chilling the dough overnight. I wanted something warm, spiced, and essentially edible comfort in under 20 minutes. The problem? I had no butter softened on the counter, no eggs at room temperature, and frankly, no patience.
But I did have a can of pumpkin puree sitting in the back of the pantry, a bag of cinnamon sugar, and a weirdly stubborn idea. What if I skipped the butter entirely and used pumpkin as the fat and moisture? I mean, pumpkin bread is basically a quick bread, right? Why not a quick cookie? I grabbed a bowl, a spoon, and decided to break the rules. No stand mixer, no waiting, no fuss.
Honestly, I was half-expecting a disaster. Maybe you’ve been there—tired, hungry, and willing to gamble on a pantry experiment just to get a cookie in your hand. But what came out of the oven was absurdly good. Soft, cakey, and rolled in a crunchy cinnamon-sugar blanket, these pumpkin snickerdoodles tasted like I had spent hours in the kitchen. But I hadn’t. They were done before my kettle even finished boiling water for tea.
That late-night experiment turned into a recipe I now make on repeat. It’s the kind of cookie that feels like a hug, but respects your time. And honestly, that’s the best kind of recipe to have in your back pocket.
Why You’ll Love This Recipe
Let me tell you why these cookies have become my go-to for fall cravings and weeknight baking emergencies. First off, they are genuinely quick. From the moment you decide you want a cookie to the moment you’re eating one, you’re looking at about 20 minutes total. That’s faster than ordering delivery.
- Quick & Easy: Comes together in under 20 minutes with no chill time. Perfect for those “I need a cookie right now” moments.
- Simple Ingredients: You likely have everything in your pantry already. Canned pumpkin, flour, sugar, and basic spices—no fancy extracts or hard-to-find items.
- Perfect for Weeknights: These are designed for busy people. Minimal dishes, no mixer required, and they bake in just 10-12 minutes.
- Crowd-Pleaser: I’ve brought these to potlucks and watch parties, and they disappear faster than anything else on the table. Kids and adults both go nuts for them.
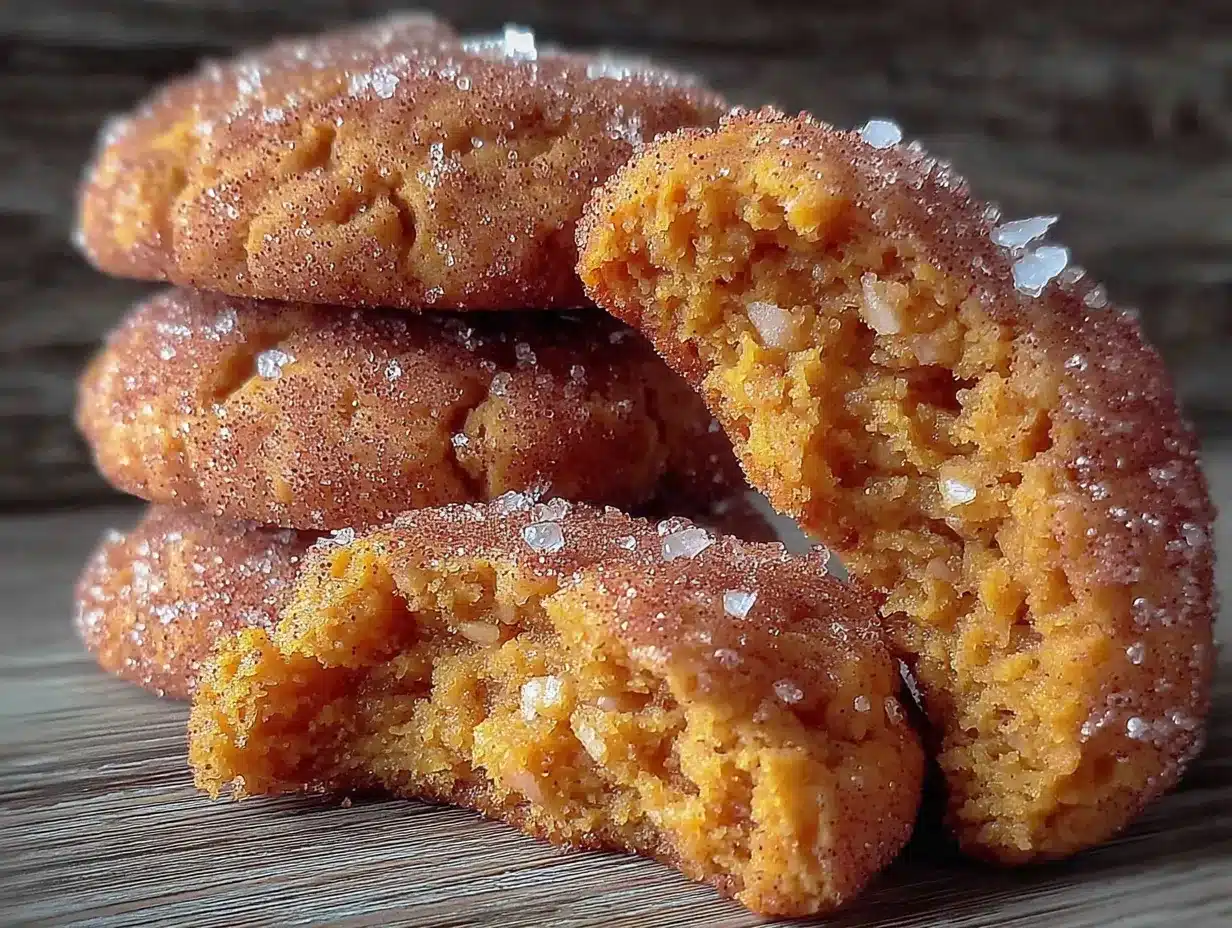
- Unbelievably Delicious: The texture is the real star here. They’re soft and almost muffin-like on the inside, with that signature crackly cinnamon-sugar crust on the outside. It’s comfort food at its finest.
What makes this recipe different from every other pumpkin cookie out there? It’s the method. By using pumpkin puree as the primary fat and moisture source, we skip the need for creaming butter or waiting for eggs to come to room temperature. This isn’t just another version—it’s the quickest, most forgiving pumpkin cookie you’ll ever make. I’ve tested it with different flours, different sugars, and even a few accidental substitutions, and it always works. It’s practically foolproof.
And honestly? These cookies make me close my eyes after the first bite. There’s something about that soft, spiced interior paired with the crunchy sugar coating that just hits differently. It’s comfort food reimagined—faster, simpler, but with the same soul-soothing satisfaction.
What Ingredients You Will Need
This recipe uses simple, wholesome ingredients to deliver bold flavor and satisfying texture without the fuss. Most of these are pantry staples, which is exactly what you want on a busy weeknight.
For the Cookie Dough
- All-purpose flour – 1 ¾ cups (210g). Spoon and level for accuracy. I’ve used King Arthur Flour for years and it never lets me down.
- Baking powder – 1 teaspoon. This gives the cookies their lift and soft texture.
- Baking soda – ½ teaspoon. Works with the pumpkin to create that tender crumb.
- Ground cinnamon – 1 teaspoon. The backbone of the flavor profile.
- Pumpkin pie spice – 1 teaspoon. If you don’t have this, use ½ teaspoon cinnamon, ¼ teaspoon nutmeg, ¼ teaspoon ginger, and a pinch of cloves.
- Salt – ½ teaspoon. Balances the sweetness and enhances the spices.
- Unsalted butter – ¼ cup (½ stick, 56g), melted and slightly cooled. We’re using just enough for richness without complicating things.
- Granulated sugar – ½ cup (100g). Provides structure and sweetness.
- Brown sugar – ½ cup (100g), packed. Adds moisture and a deeper, almost caramel-like flavor. I prefer light brown sugar, but dark works beautifully too.
- Pumpkin puree – ½ cup (120g). Not pumpkin pie filling—make sure it’s 100% pure pumpkin. Libby’s is my go-to brand for consistent results.
- Vanilla extract – 1 teaspoon. Pure, not imitation, if you can swing it.
- Large egg – 1, at room temperature. If you forgot to take it out of the fridge, place it in a bowl of warm water for 5 minutes.
For the Cinnamon Sugar Coating
- Granulated sugar – ¼ cup (50g).
- Ground cinnamon – 1 tablespoon. Don’t skimp here—this is the signature snickerdoodle crust.
Substitution Guidance: For a gluten-free option, swap the all-purpose flour with a 1:1 gluten-free baking flour blend. I’ve had great results with Bob’s Red Mill. If you’re dairy-free, use melted coconut oil or a plant-based butter stick instead of regular butter. The texture stays remarkably similar. And if you’re out of pumpkin pie spice, don’t stress—just use extra cinnamon and a pinch of nutmeg and ginger. It’ll still taste amazing.
Equipment Needed
You don’t need a fancy kitchen to pull these off. Here’s what you’ll actually use:
- Large mixing bowl – Any bowl you have will work. I use a ceramic one because it feels sturdy, but glass or metal is fine.
- Whisk – For combining the dry ingredients. A fork works in a pinch.
- Rubber spatula or wooden spoon – For mixing the dough. No electric mixer required, which means less cleanup.
- Measuring cups and spoons – For accuracy. I recommend a kitchen scale for the flour if you have one—it makes a difference in texture.
- Baking sheet – One standard half-sheet pan (18×13 inches) works perfectly. If you only have smaller pans, bake in batches.
- Parchment paper or silicone baking mat – Non-stick is essential here. The cookies are soft and can stick to bare metal.
- Cookie scoop or tablespoon – For uniform cookies. I use a 1.5-tablespoon scoop for consistent sizing.
- Small shallow bowl – For the cinnamon sugar coating.
- Cooling rack – Helps the cookies set properly without getting soggy on the bottom.
If you don’t have a cookie scoop, just use two spoons to portion the dough. It’s less precise but gets the job done. And honestly, I’ve baked these on a foil-lined sheet in a pinch—it works, just watch the bottoms to prevent over-browning.
Preparation Method
Ready to make the best 20-minute decision of your week? Here’s exactly how to do it.
- Preheat your oven to 350°F (175°C). Line a baking sheet with parchment paper or a silicone mat. This step is non-negotiable—the cookies will stick without it.
- Whisk the dry ingredients together. In a large bowl, combine the flour, baking powder, baking soda, cinnamon, pumpkin pie spice, and salt. Whisk until everything is evenly distributed. This takes about 30 seconds. Set aside.
- Mix the wet ingredients. In a separate medium bowl, whisk together the melted butter, granulated sugar, and brown sugar until smooth. It should look like wet sand. Add the pumpkin puree, vanilla extract, and egg. Whisk until fully combined. The mixture will be thick and slightly glossy.
- Combine wet and dry. Pour the wet mixture into the bowl with the dry ingredients. Use a rubber spatula to fold everything together until just combined. Do not overmix—stop as soon as you no longer see streaks of flour. Overmixing will make the cookies tough instead of soft.
- Prepare the cinnamon sugar coating. In a small shallow bowl, stir together the ¼ cup granulated sugar and 1 tablespoon cinnamon.
- Scoop and roll. Using a cookie scoop or tablespoon, portion out about 1.5 tablespoons of dough. Roll it into a ball between your palms—the dough will be slightly sticky, which is normal. Drop the ball into the cinnamon sugar mixture and roll to coat evenly. Place on the prepared baking sheet, spacing them about 2 inches apart. You should get about 18 cookies.
- Bake. Place the baking sheet in the preheated oven and bake for 10-12 minutes. At 10 minutes, the cookies will look puffed and slightly cracked on top. The edges should be set but the centers will still look soft and slightly underdone. That’s exactly what you want—they’ll continue to set as they cool.
- Cool on the sheet. Let the cookies rest on the baking sheet for 3-4 minutes. This step is crucial because the cookies are very tender when they come out of the oven. Moving them too early will cause them to fall apart. After 4 minutes, transfer them to a wire cooling rack to cool completely.
Pro tip: If you want extra crackly tops, gently press down on each dough ball with the bottom of a glass before baking. This flattens them slightly and creates more surface area for that beautiful crinkled look. Also, don’t skip the cooling time on the sheet—I learned this the hard way when I tried to move a batch too quickly and ended up with a pile of pumpkin crumbs.
Cooking Tips & Techniques
After making these cookies more times than I can count (and a few memorable failures), here’s what I’ve learned.
Don’t overmix the dough. This is the number one mistake I see. Once you add the dry ingredients to the wet, mix only until the flour disappears. Overmixing develops gluten, which makes the cookies dense and tough instead of soft and tender. I speak from experience—the first time I made these, I used an electric mixer and ended up with hockey pucks. Hand-mixing is the way to go.
Measure your flour correctly. Spoon the flour into your measuring cup and level it off with a knife. Scooping directly from the bag compacts the flour, and you can end up with 20-30% more than the recipe calls for. That extra flour will make your cookies dry and cakey in a bad way. If you have a kitchen scale, use it—210 grams is the sweet spot.
Use room temperature egg. I know, I know—you’re in a hurry. But a cold egg can seize the melted butter and create a lumpy dough. If you forgot to set it out, place the egg in a mug of warm water for 5 minutes. It’ll come to temperature quickly and your dough will thank you.
Bake one sheet at a time. If you try to bake two sheets at once, the cookies will spread unevenly and the bottoms may burn before the centers are done. Bake in the middle rack for even heat distribution. If you only have one sheet, let it cool completely between batches—a hot sheet will cause the dough to spread too fast.
Trust the underbaked look. When you pull these cookies out of the oven, they should look slightly underdone in the center. This is not a mistake. The residual heat from the baking sheet finishes the cooking process. If you wait until they look fully baked in the oven, they’ll be overbaked and dry once cooled. Trust the process—I’ve ruined many batches by second-guessing myself.
Variations & Adaptations
One of the best things about this recipe is how easily it adapts. Here are a few variations I’ve tried and loved.
Gluten-Free Version: Substitute the all-purpose flour with a 1:1 gluten-free baking blend. I’ve used both Bob’s Red Mill and King Arthur Flour’s gluten-free blends with excellent results. The texture is slightly more delicate, so handle the dough gently and let the cookies cool completely on the sheet before moving them.
Vegan Adaptation: Replace the butter with melted coconut oil (use refined for a neutral flavor) and the egg with a flax egg (1 tablespoon ground flaxseed mixed with 3 tablespoons water, let sit for 5 minutes). The cookies will be slightly less puffy but still soft and delicious. I made this version for a friend with dairy and egg allergies, and she couldn’t tell the difference.
Chocolate Chip Pumpkin Snickerdoodles: Fold in ½ cup of semi-sweet chocolate chips or white chocolate chips after combining the wet and dry ingredients. The chocolate adds a rich contrast to the warm spices. This is my personal favorite variation—it feels indulgent without being over-the-top.
Spiced-Up Version: Add ¼ teaspoon of cardamom and a pinch of black pepper to the dry ingredients. The cardamom adds a floral, almost citrusy note, while the black pepper enhances the warmth of the cinnamon. It sounds weird, but trust me—it’s incredible.
Pumpkin Cream Cheese Frosting: For an extra-special treat, whip up a quick cream cheese frosting (4 oz cream cheese, 2 tablespoons butter, 1 cup powdered sugar, ½ teaspoon vanilla) and spread it on cooled cookies. These become more like little pumpkin cakes, perfect for a dessert table or holiday gathering.
Serving & Storage Suggestions
These cookies are best enjoyed warm, when the centers are still soft and the cinnamon sugar coating is slightly crunchy. But they’re also excellent at room temperature—the flavor actually deepens after a few hours as the spices meld together.
Serving Temperature: Serve at room temperature or slightly warm. If you’re reheating, pop them in a 300°F oven for 3-4 minutes or microwave for 10 seconds. The microwave will soften them, while the oven will re-crisp the exterior.
Perfect Pairings: These cookies are amazing with a cup of hot coffee, chai tea, or a cold glass of milk. For a dessert board, arrange them alongside apple slices, caramel sauce, and a few dark chocolate squares. They also make a fantastic ice cream topping—crumble them over vanilla bean ice cream for an instant pumpkin spice sundae.
Storage Instructions: Store cookies in an airtight container at room temperature for up to 4 days. Place a slice of bread in the container to keep them extra soft—the bread absorbs excess air and releases moisture. Replace the bread slice every other day if needed. Do not refrigerate, as the cold air will dry them out.
Freezing Instructions: These cookies freeze beautifully. Place cooled cookies in a single layer on a baking sheet and freeze for 1 hour. Transfer to a freezer-safe bag or container, layering parchment between stacks. They’ll keep for up to 3 months. To thaw, leave them at room temperature for 15-20 minutes or microwave for 15 seconds. You can also freeze the unbaked dough balls—roll them in cinnamon sugar, freeze on a sheet, then transfer to a bag. Bake directly from frozen, adding 2-3 minutes to the baking time.
Flavor Development: Honestly, these cookies taste even better the next day. The spices mellow and meld together, and the texture becomes perfectly tender. If you can resist eating them all immediately, you’re in for a treat.
Nutritional Information & Benefits
Here’s the approximate nutritional breakdown for one cookie (based on 18 cookies):
- Calories: 135
- Total Fat: 4.5g
- Saturated Fat: 2.5g
- Cholesterol: 20mg
- Sodium: 95mg
- Total Carbohydrates: 22g
- Dietary Fiber: 1g
- Sugars: 13g
- Protein: 2g
Health Benefits: Pumpkin is packed with vitamin A (beta-carotene), which supports eye health and immune function. It also provides fiber, which aids digestion and helps you feel full. The cinnamon in this recipe isn’t just for flavor—it’s been linked to anti-inflammatory properties and blood sugar regulation. While these are still a treat, the pumpkin adds a nutritional boost you won’t find in a standard sugar cookie.
Dietary Considerations: This recipe can easily be adapted for gluten-free, dairy-free, and vegan diets (see variations section). It is nut-free as written, making it a safe option for school bake sales or nut-free households. The cookies contain eggs and wheat (gluten), so those with allergies should use the appropriate substitutions.
My Personal Take: I love that these cookies let me indulge without the guilt. They’re not health food by any stretch, but knowing there’s real pumpkin and whole ingredients in there makes that second cookie feel a little less indulgent. Balance is everything, right?
Conclusion
These Quick Soft Pumpkin Snickerdoodle Cookies are proof that you don’t need hours in the kitchen to create something genuinely delicious. They come together in 20 minutes, use ingredients you probably already have, and deliver that soft, spiced, cinnamon-sugar magic that makes everyone smile.
I love this recipe because it respects your time without sacrificing flavor. It’s the kind of recipe you’ll turn to again and again—for a last-minute dessert, a rainy afternoon pick-me-up, or just because you deserve a warm cookie. And honestly? You do.
So go ahead, preheat that oven, and give these a try. I promise they’ll become a staple in your kitchen, just like they have in mine. And when you make them—because I know you will—come back and let me know how they turned out. Did you add chocolate chips? Try the vegan version? Share your creations in the comments below. I love hearing how you make this recipe your own!
Happy baking, friends. You’ve got this.
Frequently Asked Questions
Can I use fresh pumpkin instead of canned?
Yes, you can use fresh pumpkin puree, but you’ll need to strain it first. Fresh pumpkin has more water content than canned, which can make the cookies too soft. Place the puree in a cheesecloth-lined sieve over a bowl for 30 minutes to remove excess liquid before using. I’ve done this with roasted sugar pumpkin, and the flavor is lovely—just a bit more work.
Why did my cookies spread too much?
This usually happens for one of three reasons: the butter was too warm, the dough was overmixed, or the baking sheet was still hot from a previous batch. Make sure your melted butter is cooled to room temperature before mixing, and let your baking sheet cool completely between batches. If your dough feels very soft, pop it in the fridge for 10 minutes before scooping.
Can I make the dough ahead of time?
Absolutely. You can prepare the dough, roll it into balls, and store them in the refrigerator for up to 3 days. Roll them in the cinnamon sugar coating just before baking. If baking from chilled, add 1-2 minutes to the baking time. You can also freeze the unbaked dough balls for up to 3 months—bake directly from frozen, adding 2-3 minutes.
How do I get the crackly tops?
The crackly tops come from two things: rolling the dough balls generously in cinnamon sugar, and slightly underbaking the cookies. The sugar creates a crust that cracks as the cookie expands in the oven. For extra crackle, gently press each dough ball with the bottom of a glass before baking. And remember—pull them out when the centers still look soft!
Can I double this recipe?
Yes! This recipe doubles beautifully. Just make sure you’re using a large enough bowl for mixing, and bake in batches rather than trying to fit all the cookies on one sheet. Store the unbaked dough in the refrigerator while the first batch bakes to prevent spreading. I’ve made a double batch for holiday cookie exchanges multiple times, and it’s always a hit.
Pin This Recipe!
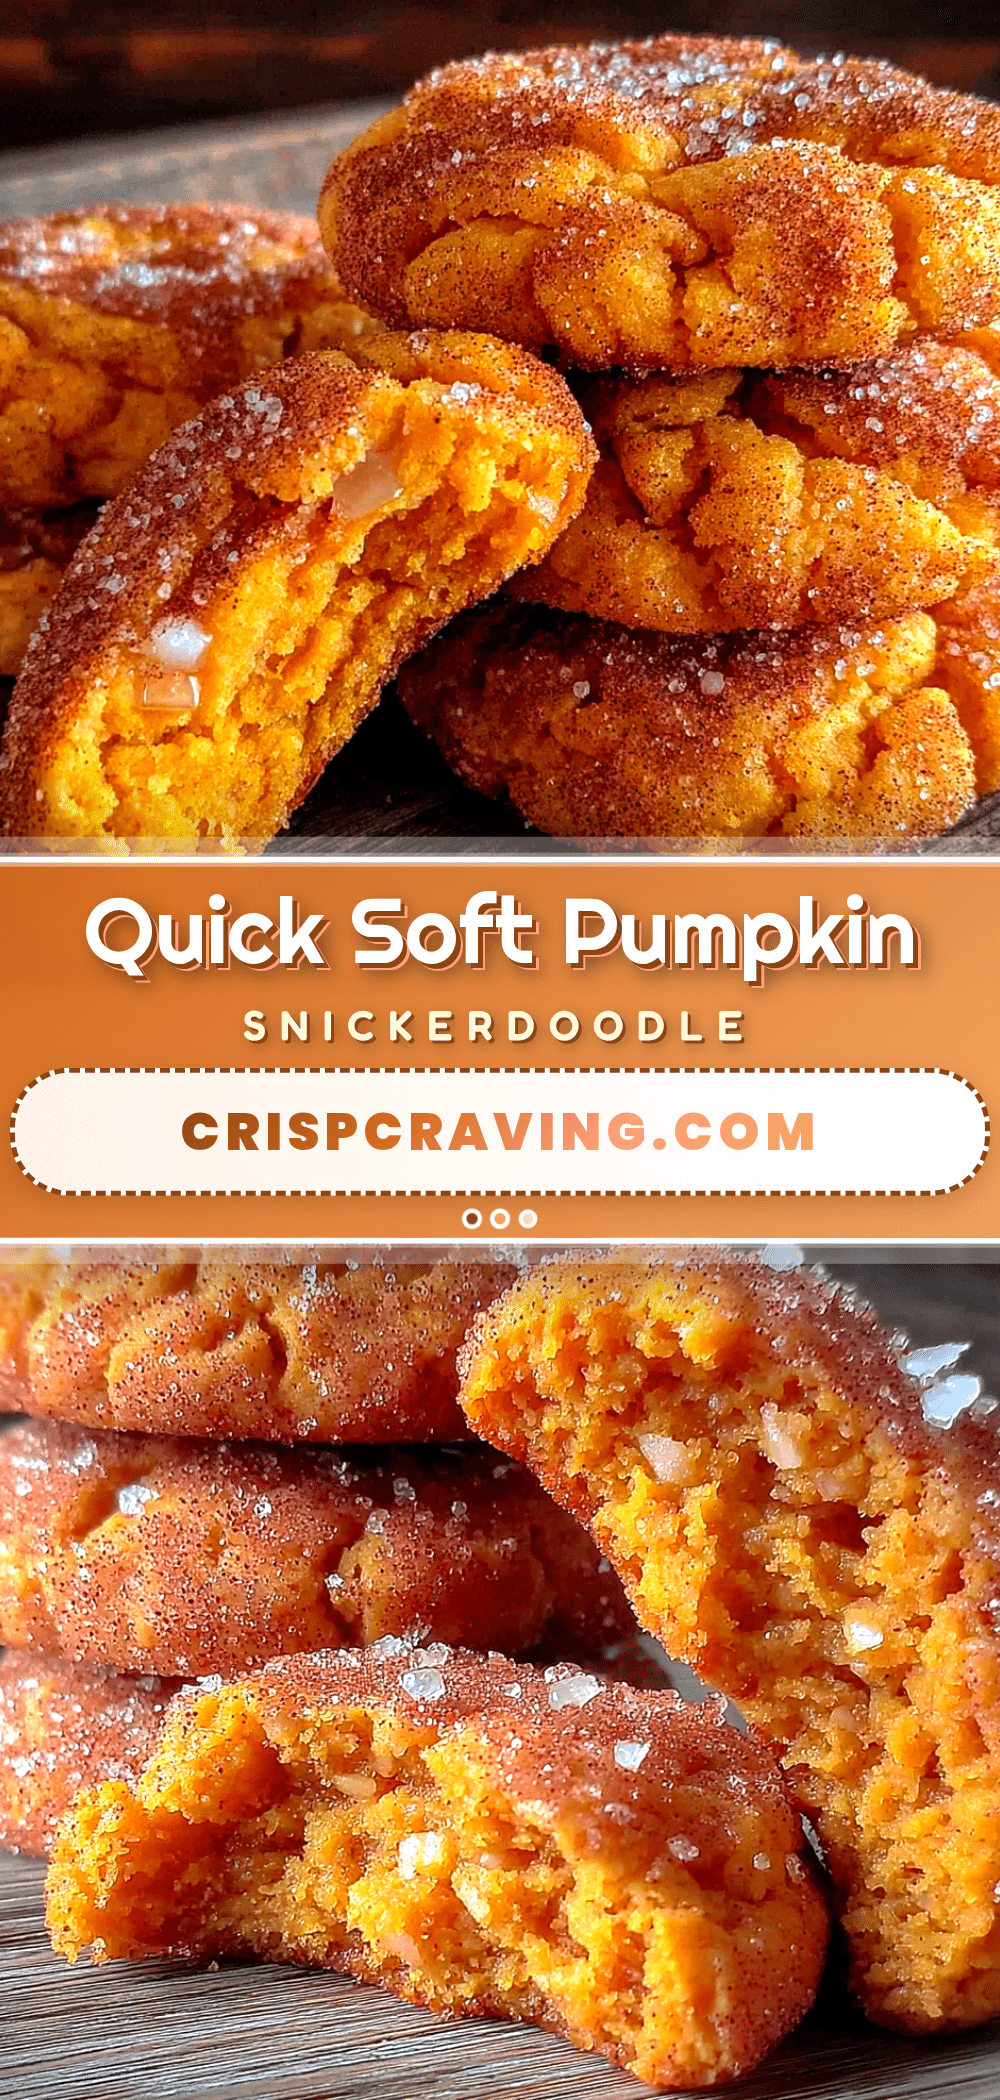
Quick Soft Pumpkin Snickerdoodle Cookies: Easy 20-Min Recipe
These quick and easy pumpkin snickerdoodle cookies come together in under 20 minutes with no chill time. Soft, cakey, and rolled in a crunchy cinnamon-sugar coating, they’re the perfect weeknight treat.
- Prep Time: 10 minutes
- Cook Time: 10-12 minutes
- Total Time: 20 minutes
- Yield: 18 cookies 1x
- Category: Dessert
- Cuisine: American
Ingredients
- 1 ¾ cups (210g) all-purpose flour
- 1 teaspoon baking powder
- ½ teaspoon baking soda
- 1 teaspoon ground cinnamon
- 1 teaspoon pumpkin pie spice
- ½ teaspoon salt
- ¼ cup (½ stick, 56g) unsalted butter, melted and slightly cooled
- ½ cup (100g) granulated sugar
- ½ cup (100g) packed brown sugar
- ½ cup (120g) pumpkin puree (not pumpkin pie filling)
- 1 teaspoon vanilla extract
- 1 large egg, at room temperature
- ¼ cup (50g) granulated sugar (for coating)
- 1 tablespoon ground cinnamon (for coating)
Instructions
- Preheat your oven to 350°F (175°C). Line a baking sheet with parchment paper or a silicone mat.
- In a large bowl, whisk together the flour, baking powder, baking soda, cinnamon, pumpkin pie spice, and salt until evenly distributed.
- In a separate medium bowl, whisk together the melted butter, granulated sugar, and brown sugar until smooth. Add the pumpkin puree, vanilla extract, and egg; whisk until fully combined.
- Pour the wet mixture into the dry ingredients. Use a rubber spatula to fold together until just combined—do not overmix.
- In a small shallow bowl, stir together the ¼ cup granulated sugar and 1 tablespoon cinnamon for the coating.
- Using a cookie scoop or tablespoon, portion out about 1.5 tablespoons of dough. Roll into a ball (dough will be slightly sticky), then roll in the cinnamon sugar mixture to coat evenly. Place on the prepared baking sheet, spacing about 2 inches apart. You should get about 18 cookies.
- Bake for 10-12 minutes. At 10 minutes, the cookies should look puffed and slightly cracked on top, with edges set but centers still soft.
- Let the cookies rest on the baking sheet for 3-4 minutes, then transfer to a wire cooling rack to cool completely.
Notes
For extra crackly tops, gently press each dough ball with the bottom of a glass before baking. Don’t skip the cooling time on the sheet—cookies are very tender when hot. Store in an airtight container at room temperature for up to 4 days; place a slice of bread in the container to keep them soft. Freeze baked cookies for up to 3 months, or freeze unbaked dough balls and bake directly from frozen, adding 2-3 minutes.
Nutrition
- Serving Size: 1 cookie
- Calories: 135
- Sugar: 13
- Sodium: 95
- Fat: 4.5
- Saturated Fat: 2.5
- Carbohydrates: 22
- Fiber: 1
- Protein: 2
Keywords: pumpkin snickerdoodle, quick cookies, soft cookies, fall dessert, 20-minute recipe, pumpkin cookies, snickerdoodle



