Love this? Save it for later!
Share the inspiration with your friends
I wasn’t expecting a cooking revelation from a taxi driver, but there I was, stuck in gridlock on a rainy Tuesday, listening to Carlos describe the exact way to make brown butter honeynut squash. He was telling his dispatcher about dinner, and I shamelessly eavesdropped from the back seat. “You gotta get the little ones,” he said into his headset, “the honeynuts, not the big butternuts. And you burn the butter—on purpose.” I almost laughed. Burn the butter on purpose? That sounded like a kitchen disaster waiting to happen. But Carlos was adamant. He explained how the nutty, toasty flavor of browned butter transforms the sweet, creamy squash into something that tastes like it took an hour of work, when really, it’s a twenty-minute weeknight miracle. I scribbled his method on a napkin while he weaved through traffic, and honestly, it changed the way I look at squash forever. Maybe you’ve been there—standing in the produce aisle, staring at a butternut squash, and wondering who has the time to peel and cube that thing on a Tuesday. The honeynut is the answer. It’s smaller, sweeter, and the skin is so thin you don’t even need to peel it. Carlos was right. This quick brown butter honeynut squash is the shortcut you didn’t know you needed, and I’ve been making it every week since that rainy ride.
Why You’ll Love This Recipe
This isn’t just another roasted squash recipe. It’s the one that makes you look like a hero on a busy weeknight with almost zero effort. I’ve tested this method at least a dozen times, tweaking the heat, the butter color, and the timing to get it just right. Here’s why this one is different:
- Quick & Easy: From start to table in 20 minutes flat. No peeling, no complicated chopping, just slice and cook.
- Simple Ingredients: Honeynut squash, butter, salt, and maybe a little sage or maple syrup if you’re feeling fancy. You probably have most of this already.
- Perfect for Busy Weeknights: It cooks fast enough to throw together while the main dish rests, but it’s elegant enough for company.
- Crowd-Pleaser: Even picky eaters and kids love the sweet, nutty flavor. The texture is creamy and caramelized, not mushy.
- Unbelievably Delicious: The brown butter adds a deep, toasty richness that plain roasted squash just doesn’t have. It’s comfort food that feels special without the fuss.
What makes this recipe stand out is the technique. Most recipes have you roast squash for 40 minutes, but by slicing the honeynut into thin half-moons and using a hot skillet, you get that caramelized, golden-brown exterior in a fraction of the time. The brown butter is the secret weapon—it’s nutty, aromatic, and coats every piece of squash like a warm hug. This is the kind of side dish that makes you close your eyes after the first bite. It’s simple, honest cooking that delivers big flavor when you need it most.
What Ingredients You Will Need
This recipe relies on just a handful of ingredients to create something truly special. The key is using quality butter and picking the right squash. Here’s everything you need:
- 2 medium honeynut squash (about 1 to 1.5 pounds total) — Look for squash that feels heavy for its size and has a deep orange color. The skin should be smooth and free of soft spots. You don’t need to peel these—the skin is thin and edible, and it gets tender when cooked.
- 3 tablespoons unsalted butter (I prefer Kerrygold or Plugrà for their rich flavor, but any good quality butter works) — This is the star of the show. The milk solids in the butter brown and create that nutty, toasty flavor.
- ½ teaspoon kosher salt (Diamond Crystal is my go-to; if using Morton’s, use a little less) — Salt balances the sweetness of the squash and enhances the brown butter.
- ¼ teaspoon black pepper, freshly ground — Adds a subtle warmth that complements the nuttiness.
- Optional: 4-6 fresh sage leaves — These fry up in the brown butter and add an earthy, aromatic note. Totally optional but highly recommended.
- Optional: 1 tablespoon maple syrup or honey — If your squash isn’t super sweet, a drizzle of maple syrup at the end takes it over the top. I add this about half the time, depending on the squash.
- Optional: Flaky sea salt for finishing (like Maldon) — That little crunch and pop of salt makes a difference.
Ingredient Tips: Honeynut squash is a hybrid of butternut and buttercup squash, and it’s noticeably sweeter and creamier than regular butternut. If you can’t find honeynut, you can use small butternut squash, but you’ll need to peel them and increase the cooking time by 5-7 minutes. Look for honeynuts at farmers’ markets or specialty grocery stores in the fall and winter—they’re worth seeking out.
Substitutions: For a dairy-free version, use a high-quality vegan butter or ghee (which is lactose-free but not dairy-free). Coconut oil also works, but you won’t get the same nutty brown butter flavor. If you’re avoiding added sugar, skip the maple syrup entirely—the squash is naturally sweet enough.
Equipment Needed
You don’t need a lot of fancy tools for this recipe, which is part of the beauty. Here’s what you’ll need:
- Large skillet or frying pan (12-inch is ideal) — A heavy-bottomed pan like cast iron or stainless steel works best for even browning. Non-stick works too, but you won’t get as much caramelization.
- Sharp chef’s knife — Honeynut squash are small but dense. A sharp knife makes slicing them safely much easier. I use my 8-inch Wüsthof for this.
- Cutting board — A sturdy wooden or plastic board that won’t slip around.
- Spoon or small scoop — For scraping out the seeds. A regular teaspoon works fine.
- Spatula or tongs — For flipping the squash slices in the hot butter. Tongs give you more control.
- Small bowl — To hold the sliced squash before cooking.
Budget-Friendly Tip: Don’t have a cast iron skillet? Any heavy-bottomed pan will work. If your pan is thin, just watch the heat closely so the butter doesn’t burn before the squash is cooked. A good-quality stainless steel pan from a thrift store is a fantastic budget find for this kind of cooking.
Preparation Method
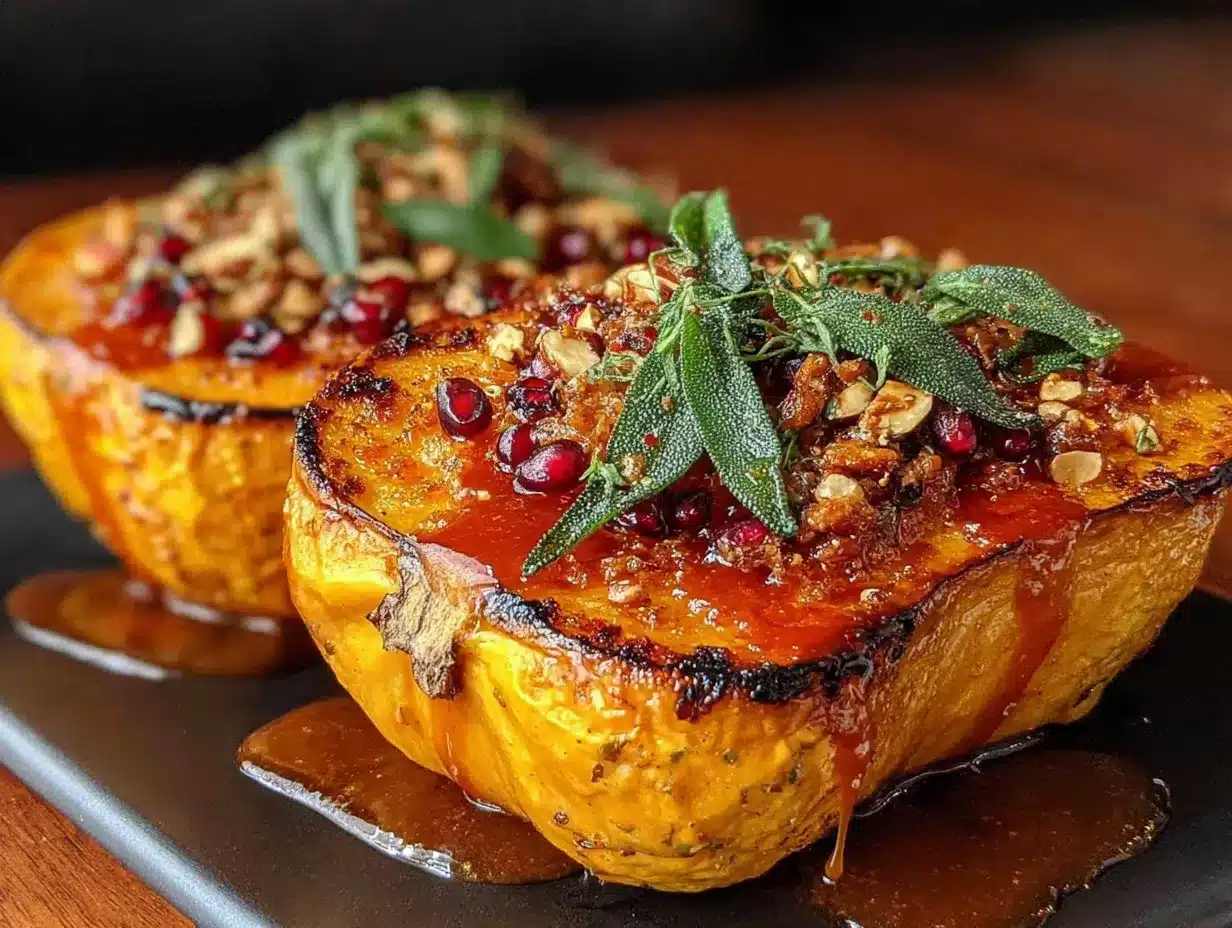
Let’s get cooking. This whole process takes about 20 minutes from start to finish, and I promise you can do it while your main dish finishes up.
- Prep the squash (2 minutes): Wash the honeynut squash well—remember, we’re not peeling them. Using a sharp chef’s knife, carefully cut off the stem end and the tip. Then slice each squash in half lengthwise. Use a spoon to scoop out the seeds and stringy bits. Don’t worry about getting every last fiber—just remove the loose stuff. Now, place each half cut-side down and slice crosswise into ½-inch thick half-moons. Aim for uniform thickness so they cook evenly. You’ll end up with a pile of beautiful orange crescents.
- Start the brown butter (3 minutes): Place your skillet over medium heat and add the 3 tablespoons of butter. Let it melt completely, swirling the pan occasionally. The butter will foam up, then the foam will subside, and you’ll start to see little brown specks forming at the bottom of the pan. This is the milk solids toasting. Swirl the pan gently and watch closely—the butter will go from brown to burnt very quickly. When it smells nutty and looks like the color of a hazelnut, it’s ready. This usually takes about 2-3 minutes from when the butter melts. If you’re using sage leaves, add them now—they’ll crisp up in about 30 seconds.
- Add the squash (1 minute): Carefully add the sliced squash to the skillet in a single layer. Don’t overcrowd the pan—if you have too much squash, cook it in two batches. Sprinkle with the kosher salt and black pepper. Toss the slices gently with tongs or a spatula to coat them in the brown butter. Listen for that satisfying sizzle—that’s what you want.
- Cook the squash (8-10 minutes): Let the squash cook undisturbed for 3-4 minutes. You want a deep, golden-brown crust to form on the bottom. After 4 minutes, flip each slice carefully. The cooked side should be beautifully caramelized. Cook for another 3-4 minutes on the second side. The squash is done when it’s tender enough to pierce easily with a fork, and both sides are golden brown with some darker, caramelized spots. If your slices are thicker than ½ inch, you may need an extra minute or two.
- Finish and serve (2 minutes): If you’re using maple syrup or honey, drizzle it over the squash in the last minute of cooking and toss to glaze. Taste a piece and adjust seasoning—you might want another pinch of salt. Transfer the squash to a serving platter. Spoon any remaining brown butter from the pan over the top. If you have flaky sea salt, sprinkle a little on right before serving. The contrast of the sweet, nutty squash with the salty crunch is perfection.
My Personal Tip: Don’t walk away from the butter while it’s browning. I’ve burned more batches than I’d like to admit because I turned around to grab the salt. It goes from perfect to acrid in about 15 seconds. Stay at the stove, watch the color, and trust your nose—when it smells like toasted nuts, you’re there.
Cooking Tips & Techniques
I’ve made this recipe enough times to know where things can go wrong. Here are the lessons I learned the hard way, so you don’t have to.
The Biggest Mistake: Overcrowding the Pan. If you pile all the squash in at once, they’ll steam instead of caramelize. You’ll end up with pale, soggy squash instead of golden-brown beauties. Cook in batches if you need to—it’s worth the extra 4 minutes. Trust me, I learned this one on a night when I was in a hurry and ended up with sad, watery squash.
Getting the Butter Just Right: Brown butter can be intimidating, but here’s the trick. Use a light-colored pan if you have one—it makes it easier to see the color change. Swirl the pan constantly once the butter melts. When the foam subsides and you see brown specks forming, you’re seconds away. Remove the pan from the heat immediately and add the squash. The residual heat will continue to cook the butter slightly, so err on the side of pulling it a touch early.
Multitasking Strategy: While the squash cooks, you can prep a quick protein or set the table. The squash needs your attention for the first 3 minutes to get the butter right, then you have a solid 4-minute window where it’s just sizzling away. Use that time to plate your main dish or make a simple salad.
Consistency Tip: For perfectly even cooking, slice the squash to the same thickness. I aim for ½ inch—not too thin that they burn, not too thick that they don’t cook through. If you end up with some thicker pieces, put them in the pan first and add the thinner ones 30 seconds later.
Variations & Adaptations
This recipe is a fantastic base that you can tweak depending on what you have on hand or what you’re craving. Here are a few variations I’ve tried and loved:
- Spicy Maple Version: Add ¼ teaspoon of red pepper flakes or a pinch of cayenne pepper along with the salt and pepper. Finish with maple syrup and a squeeze of fresh lime juice. The heat, sweet, and tang are incredible together. I made this for a taco night and it was the first thing to disappear.
- Herby Garlic Version: After the butter browns, add 2 minced garlic cloves and cook for 30 seconds before adding the squash. Toss in 2 tablespoons of chopped fresh parsley or chives at the end. The garlic gets sweet and mellow in the brown butter, and the fresh herbs brighten everything up.
- Balsamic Glaze Version: Skip the maple syrup and drizzle the finished squash with a good balsamic glaze (the thick, syrupy kind). The tangy sweetness pairs beautifully with the nutty butter. This version feels fancy enough for a holiday dinner but takes the same 20 minutes.
- Air Fryer Adaptation: If you want to free up your stovetop, you can make this in an air fryer. Toss the sliced squash with melted brown butter (brown it in a small pan first), salt, and pepper. Air fry at 400°F for 10-12 minutes, shaking the basket halfway through. The texture is slightly less caramelized but still delicious and even faster.
- Dairy-Free Adaptation: Use a good quality vegan butter or coconut oil. If using coconut oil, add a pinch of nutritional yeast to mimic some of the nuttiness. It won’t be exactly the same, but it’s still a tasty side dish.
Serving & Storage Suggestions
This squash is incredibly versatile. Here’s how to serve it and what to do with leftovers.
Serving Temperature: Serve this squash warm, right after cooking. The brown butter is at its best when it’s hot and glossy. If it sits too long, the butter will start to solidify and the squash will lose its crisp edges. That said, it’s also delicious at room temperature, which makes it great for potlucks or holiday buffets.
What to Serve With It: This squash pairs beautifully with almost any protein. I love it alongside a simple roasted chicken, pan-seared pork chops, or a piece of flaky white fish. It’s also fantastic with a cozy grain bowl—think farro, roasted chickpeas, and a dollop of yogurt. For a vegetarian main, serve it over creamy polenta with a sprinkle of Parmesan. A crisp green salad with a lemony vinaigrette balances the richness perfectly.
Storage Instructions: Store leftover squash in an airtight container in the refrigerator for up to 4 days. The texture won’t be quite as crisp as fresh, but the flavor is still wonderful. I often make a double batch just to have leftovers for lunch bowls.
Reheating Methods: The best way to reheat is in a skillet over medium heat for 2-3 minutes, flipping once. This restores some of the caramelized exterior. You can also reheat in a 350°F oven for 5-7 minutes. Avoid the microwave—it makes the squash soggy and the butter greasy.
Flavor Development: Interestingly, the brown butter flavor deepens overnight. The squash absorbs more of that nutty richness, and the flavors meld together beautifully. Leftovers are honestly fantastic cold, straight from the fridge, as a little snack.
Nutritional Information & Benefits
This recipe isn’t just delicious—it’s packed with good-for-you ingredients. Here’s a rough estimate per serving (based on 4 servings):
| Nutrient | Amount per Serving |
|---|---|
| Calories | 185 |
| Total Fat | 12g |
| Saturated Fat | 7g |
| Carbohydrates | 20g |
| Fiber | 4g |
| Sugar | 8g |
| Protein | 2g |
| Vitamin A | 350% DV |
| Vitamin C | 25% DV |
Health Benefits: Honeynut squash is a powerhouse of nutrition. It’s loaded with beta-carotene, which your body converts to vitamin A for healthy vision and immune function. The fiber content supports digestive health and keeps you feeling full. Brown butter, while rich, adds healthy fats that help your body absorb the fat-soluble vitamins in the squash. This recipe is naturally gluten-free, vegetarian, and can be made dairy-free with a simple swap. The only potential allergen is dairy from the butter, so keep that in mind for guests.
My Wellness Perspective: I love that this recipe feels indulgent but is actually really wholesome. You’re getting a hefty dose of vegetables with minimal processing and no added junk. The butter is the only source of added fat, and a little goes a long way in terms of flavor satisfaction. It’s the kind of side dish that makes you feel good about eating your veggies.
Frequently Asked Questions
Can I use butternut squash instead of honeynut?
Yes, but you’ll need to peel it first since butternut skin is tough. Cut it into similar ½-inch half-moons and increase the cooking time by about 5 minutes. The flavor won’t be quite as sweet, so you might want to add the maple syrup option.
How do I know when the brown butter is done?
Watch for the color change—it should be the color of a hazelnut or light caramel. The smell is also a big clue; it should smell nutty and toasty, not burnt. When the foam subsides and you see brown specks forming, remove it from the heat immediately.
Can I make this ahead of time?
You can slice the squash up to 24 hours in advance and store it in an airtight container in the fridge. Cook it just before serving for the best texture. The brown butter doesn’t reheat well, so I don’t recommend making the full dish ahead.
Is the skin really edible?
Yes! Honeynut squash has a thin, tender skin that becomes soft and pleasant when cooked. It’s packed with fiber and nutrients, so there’s no need to peel it. Just wash it well before slicing.
What if my squash isn’t very sweet?
Honeynuts are usually very sweet, but sometimes you get a less flavorful one. If your squash tastes bland after cooking, drizzle with maple syrup or honey and toss to coat. A pinch of extra salt can also help bring out the natural sweetness.
Conclusion
This quick brown butter honeynut squash is the kind of recipe that makes weeknight cooking feel effortless and exciting. It’s proof that you don’t need complicated techniques or a long list of ingredients to create something truly memorable. The nutty brown butter, the tender caramelized squash, the salty finish—it all comes together in 20 minutes flat. I love how versatile it is, how it fits into almost any meal, and how it makes vegetables the star of the plate. Whether you’re serving it alongside a simple roasted chicken or piling it onto a grain bowl for lunch, this squash delivers every single time.
I’d love to hear how it turns out for you. Did you add the sage? Drizzle it with maple syrup? Serve it with something unexpected? Drop a comment below and let me know your favorite variation. And if you’re looking for more quick and easy side dishes, don’t forget to check out our crispy garlic chicken or these perfect roasted broccoli—they’re both weeknight heroes in their own right. Happy cooking, and remember: sometimes the best recipes come from the most unexpected places.
Pin This Recipe!
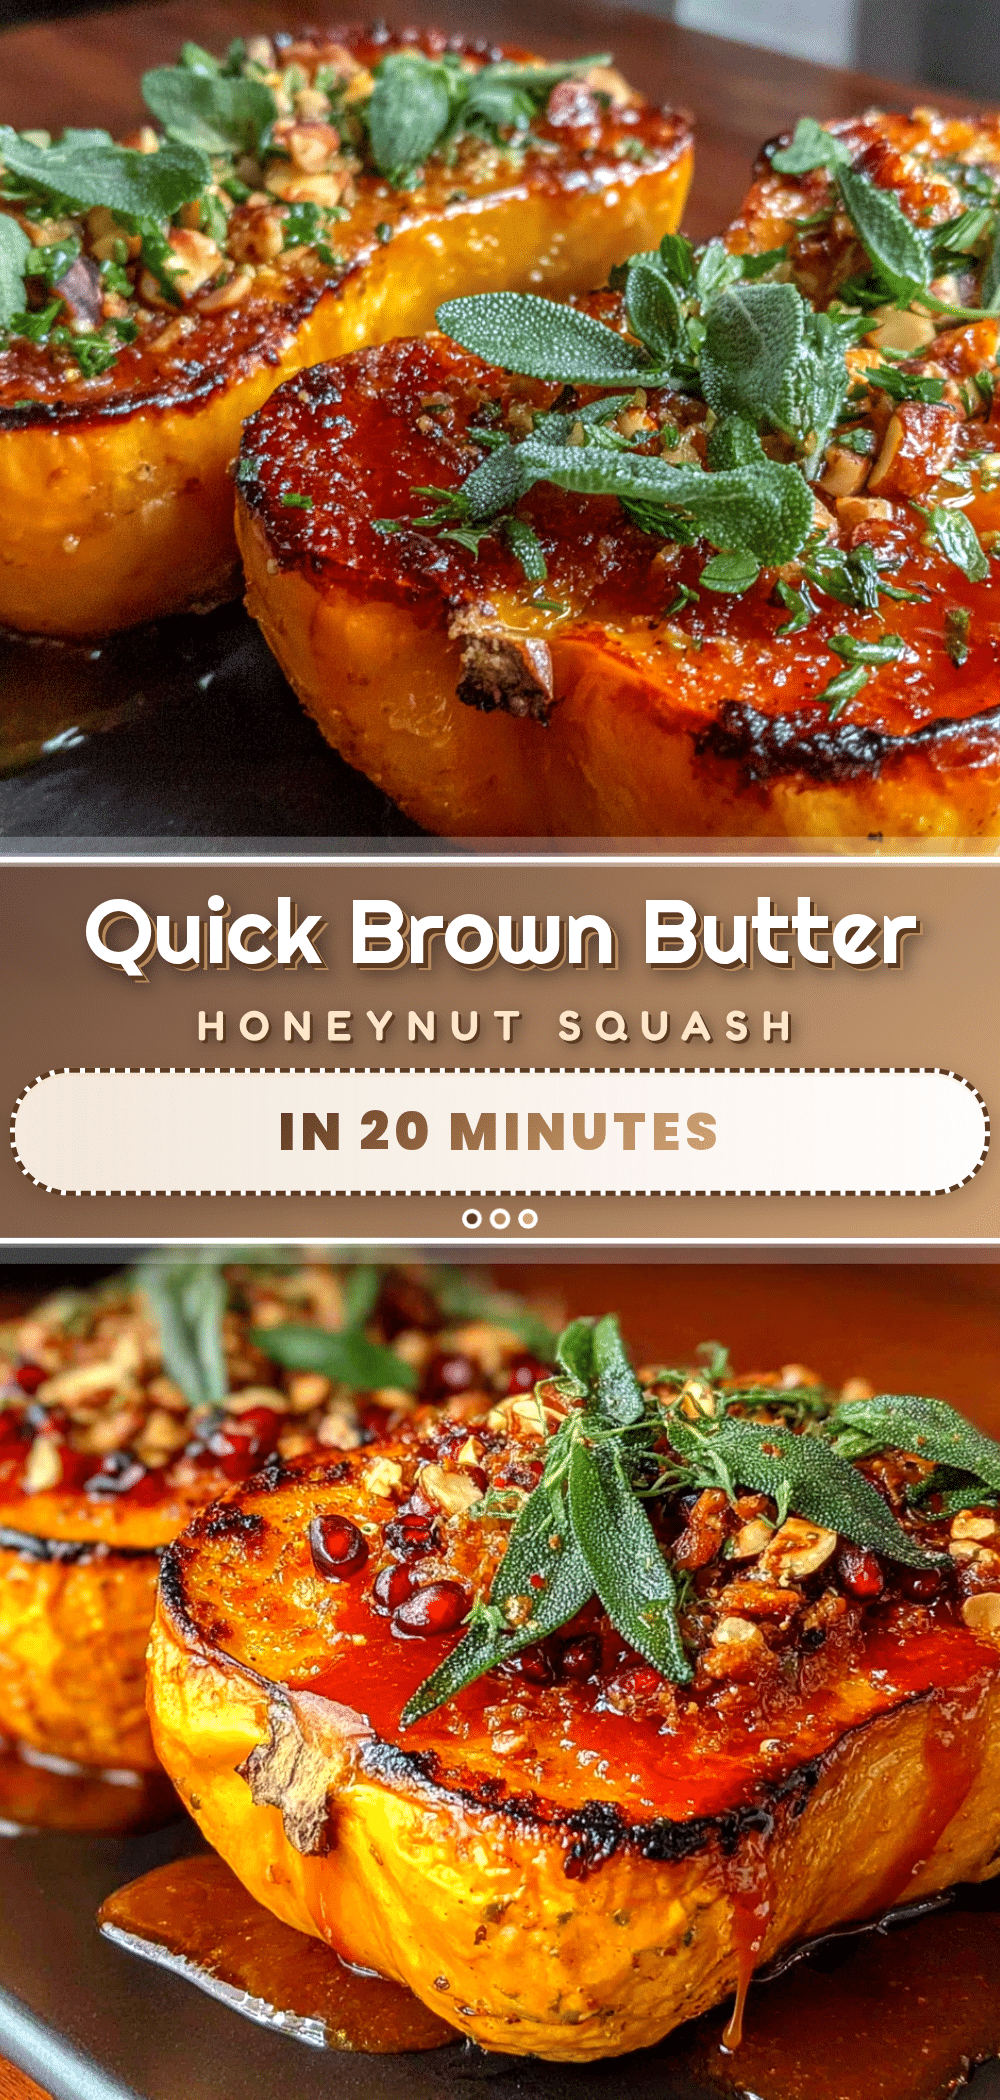
Quick Brown Butter Honeynut Squash in 20 Minutes

A quick and easy side dish featuring tender honeynut squash caramelized in nutty brown butter. Ready in just 20 minutes, this recipe is perfect for busy weeknights and delivers big flavor with minimal effort.
- Prep Time: 5 minutes
- Cook Time: 15 minutes
- Total Time: 20 minutes
- Yield: 4 servings 1x
- Category: Side Dish
- Cuisine: American
Ingredients
- 2 medium honeynut squash (about 1 to 1.5 pounds total)
- 3 tablespoons unsalted butter
- ½ teaspoon kosher salt
- ¼ teaspoon black pepper, freshly ground
- 4–6 fresh sage leaves (optional)
- 1 tablespoon maple syrup or honey (optional)
- Flaky sea salt for finishing (optional)
Instructions
- Prep the squash: Wash the honeynut squash well. Using a sharp chef’s knife, cut off the stem end and the tip. Slice each squash in half lengthwise. Use a spoon to scoop out the seeds and stringy bits. Place each half cut-side down and slice crosswise into ½-inch thick half-moons.
- Start the brown butter: Place a large skillet over medium heat and add the butter. Let it melt completely, swirling the pan occasionally. The butter will foam, then the foam will subside, and brown specks will form at the bottom. When it smells nutty and is the color of a hazelnut (about 2-3 minutes), it’s ready. If using sage leaves, add them now and cook for 30 seconds until crisp.
- Add the squash: Carefully add the sliced squash to the skillet in a single layer. Sprinkle with kosher salt and black pepper. Toss gently with tongs to coat in the brown butter.
- Cook the squash: Let the squash cook undisturbed for 3-4 minutes until a deep golden-brown crust forms. Flip each slice carefully and cook for another 3-4 minutes on the second side. The squash is done when tender and caramelized on both sides.
- Finish and serve: If using maple syrup or honey, drizzle over the squash in the last minute of cooking and toss to glaze. Taste and adjust seasoning. Transfer to a serving platter, spoon remaining brown butter over the top, and sprinkle with flaky sea salt if desired.
Notes
Don’t walk away from the butter while it’s browning—it goes from perfect to burnt in about 15 seconds. For even cooking, slice squash to uniform ½-inch thickness. If your pan is overcrowded, cook in batches to ensure caramelization instead of steaming.
Nutrition
- Serving Size: 1 serving
- Calories: 185
- Sugar: 8
- Sodium: 300
- Fat: 12
- Saturated Fat: 7
- Carbohydrates: 20
- Fiber: 4
- Protein: 2
Keywords: brown butter honeynut squash, quick squash recipe, easy side dish, weeknight dinner, fall recipe, vegetarian, gluten-free



