Love this? Save it for later!
Share the inspiration with your friends
There used to be a tiny sandwich shop tucked next to a laundromat on Oak Street that made the most incredible peanut butter and banana wraps. When they closed suddenly three summers ago—just a handwritten sign on the door saying “Thank you for ten years”—I honestly felt a little lost. That wrap was my Tuesday ritual, the thing that got me through the midweek slump. After twelve tries—some so sad I fed them to the birds—I finally cracked the code. And let me tell you, this version might actually be better than the original.
The secret isn’t complicated. It’s not some fancy technique or rare ingredient you have to hunt down at a specialty store. It’s about the ratios, the texture, and one little trick I stumbled upon when I was out of cream cheese and desperate. I grabbed a handful of pantry staples, shrugged, and threw something together that made my kid look up from her tablet and say, “Mom, can you make this every day?” That’s when I knew I had something worth sharing.
Maybe you’ve been there—chasing a flavor memory that feels just out of reach. Or maybe you’re just tired of the same old lunch rotation and need something that actually excites your kids (and honestly, yourself). These Easy Peanut Butter Banana Lunchbox Wraps are that recipe. They’re quick enough for hectic mornings, sturdy enough to survive a backpack, and delicious enough that you’ll find yourself making extras for your own lunch. I mean, I won’t tell if you don’t.
Why You’ll Love This Recipe
Let me be real with you—I’ve tested this recipe more times than I care to count. My family has been my official taste-testing panel, and they’ve been brutally honest. The first version was too dry. The second was a sticky mess. But this one? This is the sweet spot. Here’s why these wraps have earned a permanent spot in our weekly rotation:
- Ready in 5 Minutes : No joke. If you can spread peanut butter and slice a banana, you can make these wraps. Perfect for those mornings when you’re running late and the bus is honking outside.
- Pantry-Friendly Ingredients : You probably have everything you need right now. No special trips to the store, no obscure ingredients that’ll sit in your cabinet for months.
- Backpack-Proof Design : These wraps don’t get soggy. They don’t fall apart. They actually taste better after sitting for an hour or two, which makes them ideal for school lunches or picnics.
- Kid-Approved, Parent-Loved : My daughter has requested these for school lunch three weeks straight. Her friends at the lunch table have started asking for trades. That’s the kind of approval you can’t fake.
- Endlessly Customizable : You can switch up the nut butter, add different fruits, or sneak in some extra protein. It’s a recipe that bends to your family’s needs without breaking.
What makes these wraps different from every other peanut butter banana recipe out there? It’s the texture. Most versions end up either too dry or so messy that you need a fork. I figured out how to get that perfect creamy-yet-holdable consistency by toasting the tortilla just slightly and using a thin layer of something unexpected. The first time you bite into one, you’ll understand why I spent twelve tries getting it right. It’s the kind of lunch that makes you close your eyes for a second and just enjoy the moment.
What Ingredients You Will Need
This recipe keeps things simple, but every ingredient plays a specific role. I’ve tested substitutions and shortcuts, so I’ll share what works and what doesn’t. Trust me, the details matter here.
- Flour tortillas (8-inch) : Look for soft, pliable tortillas—not the thin, crispy ones. I prefer Mission or Guerrero brands for their flexibility. Whole wheat works great too, just make sure they’re fresh. Stale tortillas crack when you roll them, and nobody wants a cracked wrap leaking peanut butter into their backpack.
- Creamy peanut butter (¼ cup per wrap) : Use the good stuff. I’m partial to Skippy Natural or Justin’s Classic. Avoid the natural brands that separate too much—they make the wrap greasy. If you’re using a stir-it-yourself brand, mix it really well first. The oil separation is real, and it’ll ruin the texture.
- Ripe banana (1 medium per wrap) : The banana needs to be ripe but not mushy. Look for one with a few brown spots but still firm to the touch. Overripe bananas turn into paste when you roll the wrap, and underripe ones are too hard and lack sweetness. I’ve made both mistakes, and neither is pleasant.
- Honey (1 tablespoon per wrap) : Local honey is my go-to—it adds a floral note that complements the peanut butter beautifully. But any honey works. If you’re vegan, maple syrup is a perfect swap. Just don’t skip the sweetener entirely; the wrap needs that little extra to balance the peanut butter’s saltiness.
- Cream cheese, softened (2 tablespoons per wrap) : This is my secret weapon. I know it sounds weird, but trust me. A thin layer of cream cheese acts as a barrier between the tortilla and the peanut butter, preventing sogginess. It also adds a tangy richness that makes the whole thing taste more grown-up. Use full-fat for best results—low-fat has too much water and makes things wet.
- Ground cinnamon (¼ teaspoon per wrap) : Just a sprinkle. It wakes up the flavors and makes the whole thing smell incredible. I use Saigon cinnamon when I can find it—it’s stronger and more aromatic.
- Optional add-ins : Mini chocolate chips (about a tablespoon) for a treat, crushed granola for crunch, or a sprinkle of chia seeds for extra fiber. My daughter loves adding a few dark chocolate chips—she calls them “surprise bites.”
One thing I learned the hard way: don’t use flavored tortillas. I tried a spinach wrap once thinking I’d be clever, and the combination was just weird. Stick with plain flour or whole wheat. Trust me on this.
Equipment Needed
You don’t need a fancy kitchen to make these wraps. Here’s what you’ll actually use:
- Butter knife or offset spatula : For spreading the cream cheese and peanut butter evenly. A regular knife works, but an offset spatula gives you better control and fewer torn tortillas.
- Cutting board : Nothing fancy. I use a plastic one that’s seen better days. Just make sure it’s clean and dry before you start.
- Sharp knife : For slicing the bananas and cutting the finished wraps. A serrated knife works best—it cuts through the tortilla without squishing everything inside.
- Skillet or griddle (optional) : If you want to toast the tortilla slightly, a non-stick skillet works perfectly. I use my old cast iron for a little extra warmth, but it’s not necessary.
- Parchment paper or wax paper : For wrapping the finished rolls. It keeps them from sticking together and makes them easy to grab from the fridge.
- Small bowl : For mixing the honey and cinnamon if you want to combine them first. I usually just drizzle and sprinkle separately because I’m lazy, but mixing them creates a more even distribution.
I bought a tortilla press once thinking it would change my life. It’s been in the back of my cabinet for three years. Save your money—store-bought tortillas work perfectly for this recipe.
Preparation Method
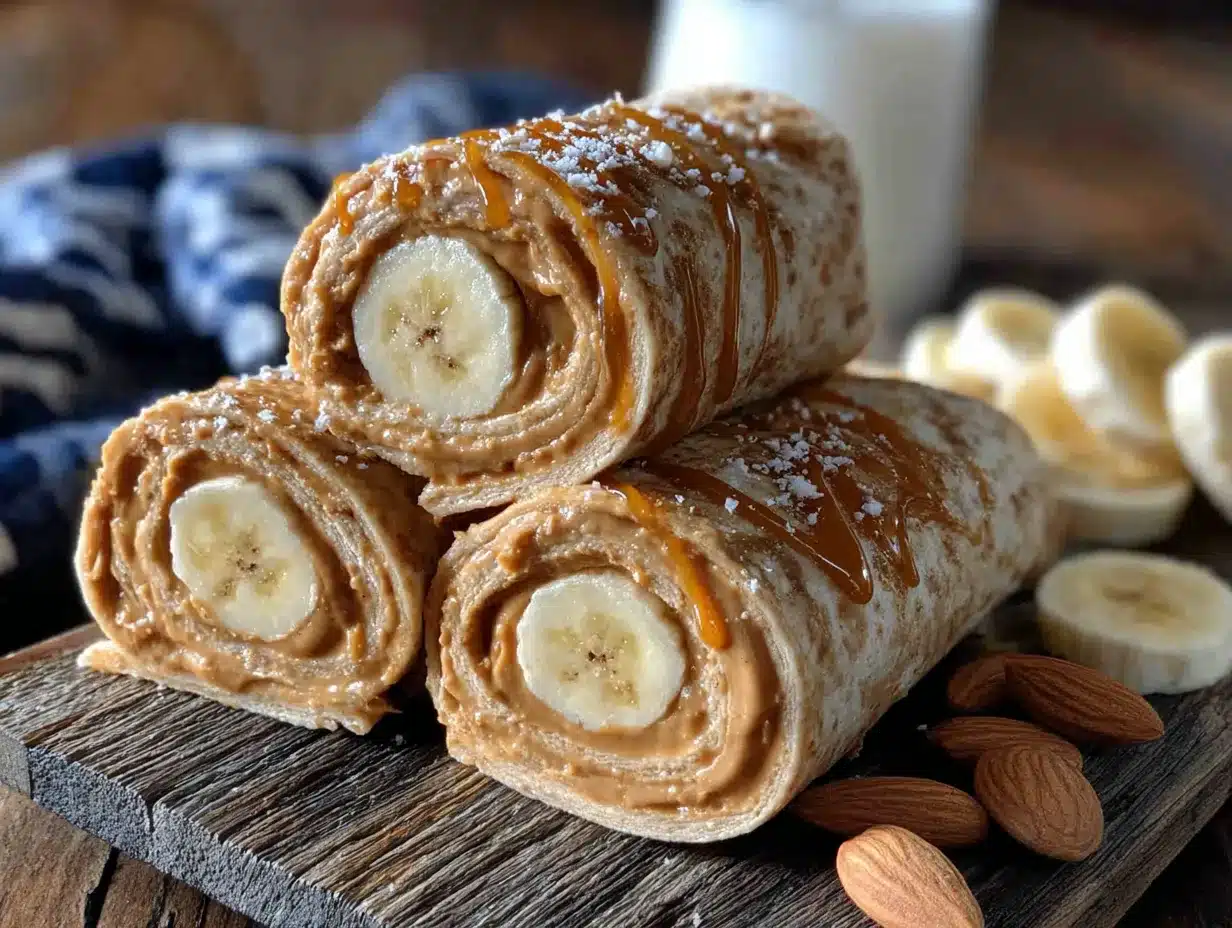
Alright, let’s make these wraps. I’ve broken everything down so even a sleep-deprived parent can follow along at 6 AM.
- Warm the tortilla (15 seconds) : Pop your tortilla in the microwave for about 10-15 seconds. You want it pliable but not hot. If you’re using a skillet, give it 20 seconds per side on medium heat. A warm tortilla is much easier to roll without cracking. I learned this after my third wrap fell apart like a broken promise.
- Spread the cream cheese (30 seconds) : Using your butter knife or offset spatula, spread a thin, even layer of softened cream cheese over the entire tortilla. Leave about a half-inch border around the edges. This layer is your moisture barrier—it keeps the peanut butter from making the tortilla soggy. Don’t skip this step, even if you’re in a hurry.
- Add the peanut butter (30 seconds) : Spread the peanut butter over the cream cheese. Again, keep it even and leave that border. If your peanut butter is too thick to spread easily, microwave it for 10 seconds. I keep a jar of peanut butter specifically for spreading—it stays at room temperature and never gives me trouble.
- Drizzle the honey (10 seconds) : Drizzle the honey over the peanut butter layer. If you want to be fancy, mix the honey with the cinnamon first. If you’re like me and have a toddler pulling at your pant leg, just drizzle and sprinkle separately. It all tastes the same in the end.
- Slice and arrange the banana (1 minute) : Peel your banana and slice it lengthwise into quarters. Arrange the banana pieces in a single layer down the center of the tortilla, leaving about an inch at the top and bottom. Don’t overcrowd—if your banana is huge, use three quarters instead of four. Overstuffing leads to blowouts, and blowouts lead to sad lunchboxes.
- Add your extras (15 seconds) : Sprinkle on any optional add-ins now. Chocolate chips, granola, chia seeds—whatever your heart desires. Just don’t go overboard. A tablespoon of extras is plenty.
- Roll it up (30 seconds) : Fold the bottom edge of the tortilla up over the filling, then fold in the sides. Roll tightly away from you, keeping gentle pressure so everything stays compact. Think of it like rolling a burrito—firm but not aggressive. You want a snug cylinder, not a squished mess.
- Slice and serve (30 seconds) : Using a serrated knife, slice the wrap crosswise into 4-6 pieces. For lunchboxes, I cut them into pinwheels about an inch thick. The kids love the spiral look, and they’re easier for little hands to grab.
- Wrap for storage (20 seconds) : If you’re packing these for later, wrap each roll tightly in parchment paper or wax paper. I fold the ends like a candy wrapper to keep everything secure. They’ll stay fresh in the fridge for up to 24 hours.
The first time I made these, I forgot to warm the tortilla and ended up with a cracked mess that looked like a failed art project. My dog appreciated it, but nobody else did. Warm your tortilla. Learn from my mistakes.
Cooking Tips & Techniques
After making these wraps more times than I can count, I’ve picked up a few tricks that make a real difference. Here’s what I wish someone had told me:
Temperature matters : Cold cream cheese will tear your tortilla every single time. Let it sit on the counter for 15 minutes before you start, or microwave it in 5-second bursts until it’s spreadable. The same goes for your peanut butter—room temperature spreads much more evenly than cold.
The moisture balance is everything : Too much peanut butter and your wrap becomes a sticky mess. Too little and it’s dry and sad. I use exactly ¼ cup per 8-inch tortilla. It’s the Goldilocks amount—not too much, not too little. If you’re using a natural peanut butter that’s more oily, blot it with a paper towel first. Trust me, your lunchbox will thank you.
Don’t overfill : I know it’s tempting to load up on bananas and extras, but resist the urge. An overstuffed wrap is a wrap that falls apart. You want a tight, compact roll that stays together when you bite into it. Think quality over quantity.
The roll technique matters : Start with the bottom flap folded up, then tuck the sides in firmly before rolling. If you skip the bottom fold, the filling will squeeze out the ends. I learned this the hard way when I found a puddle of peanut butter at the bottom of my daughter’s lunchbox. She was not amused.
Toast for extra crunch : If you have an extra minute, toast the rolled wrap in a dry skillet for 30 seconds per side. It gives the tortilla a slight crispiness that contrasts beautifully with the creamy filling. My husband calls these the “fancy version,” but honestly, it takes almost no extra effort.
Let it rest : If you’re packing these for later, let the finished wrap rest for 5 minutes before slicing. This gives the ingredients time to settle and makes for cleaner cuts. I usually make the wraps, clean up the mess, and then slice them right before packing.
Variations & Adaptations
One of the best things about this recipe is how flexible it is. Here are some variations I’ve tried and loved:
Nut-Free Version : Swap the peanut butter for sunflower seed butter or WowButter. Both have a similar consistency and work perfectly. Just be aware that sunflower seed butter can turn green when combined with baking soda—not an issue here since there’s no baking involved. My daughter’s school is nut-free, so this is our go-to for classroom parties.
Protein-Packed Wrap : Add a scoop of vanilla or chocolate protein powder to the peanut butter before spreading. You’ll need to mix it in well to avoid dry pockets. I also add a tablespoon of Greek yogurt to keep the texture smooth. This version keeps my teenager full through afternoon practice.
Berry Bliss Variation : Replace the banana with thinly sliced strawberries or raspberries. The tartness of the berries balances the sweet peanut butter beautifully. Just pat the berries dry with a paper towel first to avoid excess moisture. I made this version for a brunch party, and it disappeared in minutes.
Savory-Sweet Twist : Add a sprinkle of flaky sea salt on top of the peanut butter before rolling. The salt enhances the sweetness and adds a sophisticated touch. It sounds weird, but trust me—it’s addictive. I discovered this accidentally when I grabbed the wrong salt shaker, and now I do it on purpose.
Gluten-Free Option : Use gluten-free tortillas or large collard green leaves. Collard greens need their thick stems trimmed first, then blanch them in hot water for 30 seconds to make them pliable. The result is a fresh, crunchy wrap that’s completely gluten-free and surprisingly delicious.
Breakfast Version : Add a scrambled egg to the wrap before rolling. It sounds unusual, but the combination of egg, peanut butter, and banana is a classic for a reason. My dad used to make this for me when I was a kid, and it’s still my favorite way to start a busy morning.
Serving & Storage Suggestions
These wraps are incredibly versatile when it comes to serving. Here’s how I handle different situations:
Serving Temperature : These wraps are best at room temperature or slightly chilled. If you’re serving them immediately, let them sit for 5 minutes after rolling to let the flavors meld. For lunchboxes, pack them cold—they’ll come to room temperature by lunchtime and taste perfect.
Presentation Ideas : For parties or brunches, slice the wraps into pinwheels and arrange them on a platter with toothpicks. Sprinkle a little cinnamon on top for visual appeal. For kids’ lunchboxes, I cut them into fun shapes using cookie cutters—stars and dinosaurs are big hits in our house.
What to Serve With : These wraps pair beautifully with fresh fruit, veggie sticks, or a small cup of yogurt. For a heartier lunch, add a handful of pretzels or a hard-boiled egg. My daughter loves them with apple slices and a side of extra peanut butter for dipping.
Storage Instructions : Wrap each roll tightly in parchment paper or wax paper and store in an airtight container in the refrigerator. They’ll stay fresh for up to 24 hours. Beyond that, the banana starts to brown and the tortilla gets soft. I don’t recommend freezing these—the texture changes too much when thawed.
Reheating Tips : If you prefer your wrap warm, microwave it for 10-15 seconds. Don’t overdo it, or the peanut butter will get runny and leak everywhere. Alternatively, toast the sliced pinwheels in a dry skillet for 30 seconds per side. This gives them a nice crunch.
Flavor Development : Here’s something interesting—these wraps actually taste better after sitting for an hour or two. The flavors meld together, and the tortilla softens slightly. I’ve started making them the night before and packing them in the morning. They’re consistently better that way.
Nutritional Information & Benefits
Let’s talk about what’s actually in these wraps, because I know we’re all trying to make better choices for our families. Per wrap (using standard ingredients, no extras), here’s the breakdown:
| Nutrient | Amount |
|---|---|
| Calories | 320 |
| Protein | 10g |
| Carbohydrates | 38g |
| Fiber | 4g |
| Sugar | 16g |
| Fat | 16g |
| Saturated Fat | 4g |
| Sodium | 280mg |
The peanut butter provides healthy fats and protein that keep kids full through the afternoon. Bananas are packed with potassium and vitamin B6, which support heart health and energy levels. The cream cheese adds calcium and a little protein, while the honey offers natural sweetness without refined sugar. It’s a balanced lunch option that actually tastes good—no sad desk salad here.
Dietary Considerations : This recipe can be made gluten-free, nut-free, and vegan with simple substitutions. It’s naturally vegetarian and contains no artificial ingredients. The main allergens are peanuts, dairy (cream cheese), and wheat (tortillas). Always check labels if you’re cooking for someone with allergies.
I’m not a nutritionist, and these numbers are estimates based on standard ingredients. But I feel good about packing these for my family—they’re getting real food that fuels their bodies and makes them happy. That’s a win in my book.
Conclusion
These Easy Peanut Butter Banana Lunchbox Wraps have become a staple in our kitchen for a reason. They’re quick, they’re delicious, and they solve that eternal question of what to pack for lunch that won’t come back uneaten. After chasing that memory of the Oak Street sandwich shop for three summers, I finally have a recipe that not only matches the original but improves on it. And honestly, that feels pretty good.
What I love most about this recipe is how forgiving it is. You can tweak it, adapt it, and make it your own without worrying about ruining it. Add chocolate chips for a treat. Swap in almond butter for variety. Throw in some granola for crunch. The basic formula is solid, and everything else is just playing around.
I’d love to hear how these turn out for you. Do your kids love them? Did you discover a variation I haven’t tried? Drop a comment below and let me know—I read every single one, and your ideas often end up in my own kitchen. And if you’re looking for more lunchbox inspiration, check out my healthy lunchbox ideas or this no-sandwich lunch recipes collection for more quick, kid-friendly meals.
Happy wrapping, friends. Your lunchboxes are about to get a whole lot more exciting.
Frequently Asked Questions
Can I make these wraps the night before?
Absolutely! In fact, they taste even better after sitting for a few hours. Make them the night before, wrap them tightly in parchment paper, and store them in the fridge. They’ll be perfect for packing in the morning. Just don’t add any crunchy toppings like granola until right before serving, or they’ll get soft.
How do I keep the banana from turning brown?
This is a common concern, and here’s the trick: the cream cheese layer creates a barrier that prevents the banana from browning as quickly. Also, the honey and peanut butter help preserve the banana’s color. If you’re really worried, brush the banana slices with a little lemon juice before adding them. You won’t taste the lemon, and it keeps everything looking fresh.
Can I use a different type of nut butter?
Yes! Almond butter, cashew butter, and sunflower seed butter all work beautifully. Just keep in mind that different nut butters have different consistencies. Almond butter is usually thicker and may need to be stirred well before spreading. Cashew butter is creamier and spreads more easily. Adjust the amount slightly if needed—you want a thin, even layer.
What if my tortilla cracks when I roll it?
This usually happens when the tortilla is too cold or too dry. Always warm your tortilla for 10-15 seconds in the microwave before starting. If it still cracks, your tortillas might be stale. Fresh tortillas are much more flexible. You can also try using a damp paper towel to steam them slightly before warming.
Are these wraps healthy enough for everyday lunchboxes?
They’re a great option for regular lunches! With protein, healthy fats, fiber, and natural sweetness, they provide balanced energy for active kids. The key is portion control and variety. Pair them with fresh fruit or veggies for a complete meal. If you’re watching sugar intake, reduce the honey or skip it entirely—the banana provides plenty of sweetness on its own.
Pin This Recipe!
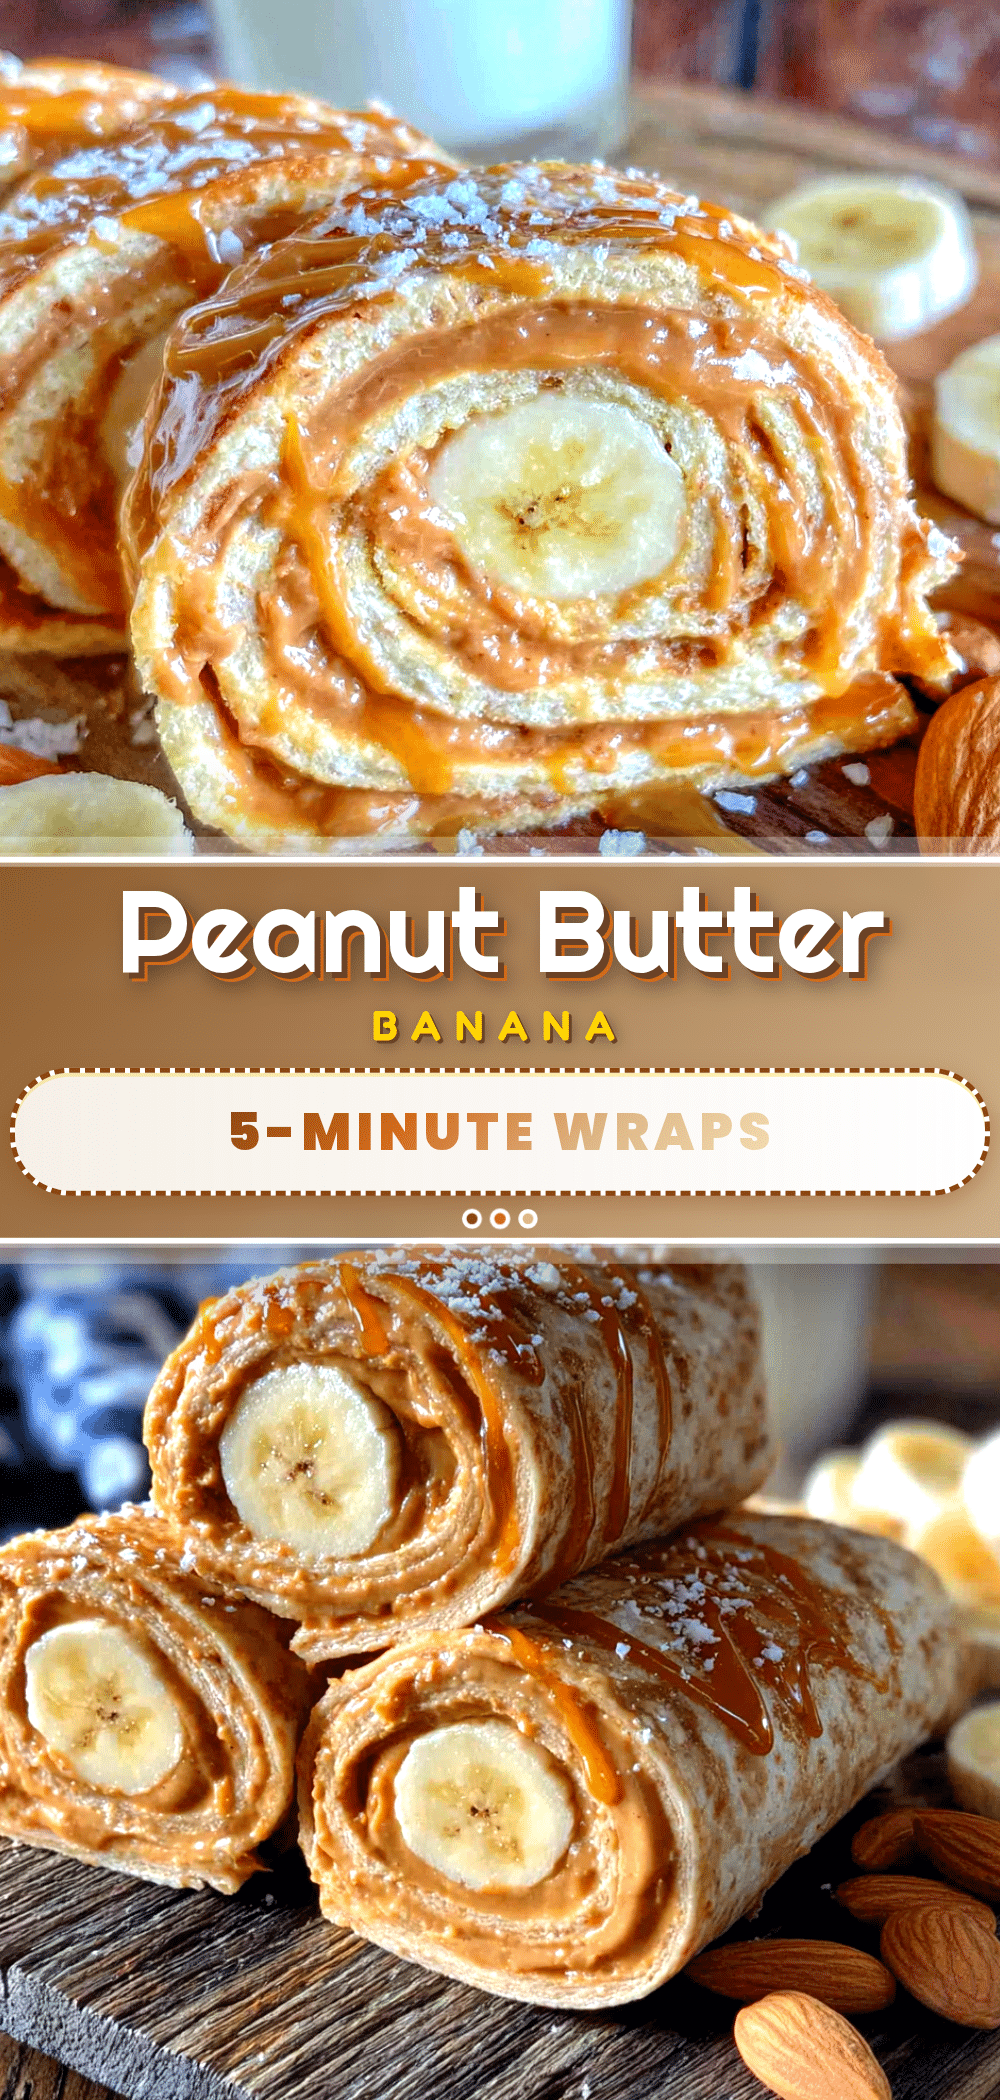
Easy Peanut Butter Banana Wraps: Perfect Lunchbox Idea
These quick and delicious peanut butter banana wraps are perfect for lunchboxes. Ready in 5 minutes with pantry-friendly ingredients, they’re backpack-proof and kid-approved.
- Prep Time: 5 minutes
- Cook Time: 0 minutes
- Total Time: 5 minutes
- Yield: 1 serving 1x
- Category: Lunch
- Cuisine: American
Ingredients
- 1 (8-inch) flour tortilla
- 1/4 cup creamy peanut butter
- 1 medium ripe banana
- 1 tablespoon honey
- 2 tablespoons cream cheese, softened
- 1/4 teaspoon ground cinnamon
- Optional: mini chocolate chips, crushed granola, or chia seeds
Instructions
- Warm the tortilla in the microwave for 10-15 seconds until pliable.
- Spread a thin, even layer of softened cream cheese over the tortilla, leaving a half-inch border.
- Spread the peanut butter over the cream cheese, keeping the border.
- Drizzle honey over the peanut butter layer and sprinkle with cinnamon.
- Peel the banana and slice lengthwise into quarters. Arrange the pieces in a single layer down the center of the tortilla, leaving an inch at the top and bottom.
- Add any optional extras (chocolate chips, granola, chia seeds) if desired.
- Fold the bottom edge of the tortilla up over the filling, then fold in the sides. Roll tightly away from you into a snug cylinder.
- Using a serrated knife, slice the wrap crosswise into 4-6 pieces (or pinwheels about 1 inch thick).
- If packing for later, wrap each roll tightly in parchment or wax paper. Store in the refrigerator for up to 24 hours.
Notes
Warm the tortilla to prevent cracking. Use room temperature cream cheese and peanut butter for easier spreading. Don’t overfill to avoid blowouts. Let the wrap rest for 5 minutes before slicing for cleaner cuts. These wraps taste even better after sitting for an hour or two.
Nutrition
- Serving Size: 1 wrap
- Calories: 320
- Sugar: 16
- Sodium: 280
- Fat: 16
- Saturated Fat: 4
- Carbohydrates: 38
- Fiber: 4
- Protein: 10
Keywords: peanut butter banana wraps, lunchbox ideas, kid-friendly lunch, easy lunch recipe, no-cook lunch



