Love this? Save it for later!
Share the inspiration with your friends
My brother-in-law Mark asked why I couldn’t just bake the whole cheese ball instead of serving it cold. I started to explain why that wouldn’t work — then stopped. Honestly, I had no good reason. I’d just always done it the other way, you know? The way my mom did it, and her mom before her. But Mark had a point. That afternoon, I tossed a standard cheese ball into the oven, and let me tell you, the kitchen smelled like the world’s best pub. The outside got all golden and slightly crisp while the inside turned into this warm, dippable dream. I felt a little silly for never trying it before.
The first time I made this Game Day Baked Football Cheese Ball, I used a cracked casserole dish I forgot I had. Halfway through, I realized I was out of crackers. So we ate it with celery sticks and pretzel rods, standing around the counter. It was honestly the best game day snack I’d ever had, and it happened by accident. Maybe you’ve been there — when a recipe turns out better because you messed something up. That’s this cheese ball. It’s forgiving, it’s impressive, and it tastes like you planned the whole thing.
I keep making it because it disappears every single time. People hover around it. They talk to each other while dipping. It’s the kind of snack that makes a party feel like a party, even if the game is a blowout. And honestly, it’s so easy that you’ll wonder why you haven’t been baking your cheese balls all along.
Why You’ll Love This Recipe
This isn’t just another cold cheese ball rolled in nuts. This baked version changes everything. The heat does something magical to the cheese — it gets all melty and rich without turning into a greasy mess. I’ve tested this recipe at four different parties now, and I can tell you with confidence: it’s the first thing to disappear from the table.
- Quick & Easy: Comes together in under 30 minutes, with only 10 minutes of active prep. Perfect for last-minute game day plans or when you forget you’re hosting.
- Simple Ingredients: No fancy grocery trips needed. Cream cheese, cheddar, a few seasonings, and you’re basically done. You probably have everything right now.
- Perfect for Game Day: Great for football parties, Super Bowl gatherings, or any time you want a warm, shareable appetizer that feeds a crowd.
- Crowd-Pleaser: Always gets rave reviews from kids and adults alike. I’ve seen people who “don’t like cheese balls” go back for thirds.
- Unbelievably Delicious: The contrast between the warm, creamy center and the slightly firm, golden exterior is next-level comfort food.
What makes this recipe different from the rest? It’s the baking technique. Most cheese ball recipes are served cold and dense. By baking it, you get this luscious, dippable texture that’s closer to fondue than a traditional cheese ball. Plus, the football shape makes it a total conversation starter. It’s not just another version — it’s the best version. I promise you, the first time you pull this out of the oven, you’ll feel like a kitchen rockstar.
This recipe isn’t just good — it is the kind that makes you close your eyes after the first bite. It’s comfort food reimagined — warmer, cheesier, but with the same soul-soothing satisfaction. Perfect for impressing guests without stress, or turning a simple game day into something memorable.
What Ingredients You Will Need
This recipe uses simple, wholesome ingredients to deliver bold flavor and satisfying texture without the fuss. Most are pantry staples or easy to find at any grocery store. Here’s what you’ll need:
For the Cheese Ball Base
- 16 oz cream cheese, softened to room temperature (I recommend Philadelphia for the smoothest texture — the generic brands can be a bit grainy)
- 2 cups sharp cheddar cheese, freshly shredded (please shred your own — pre-shredded has anti-caking agents that prevent smooth melting)
- 1 cup mozzarella cheese, shredded (adds that perfect stretchy pull when warm)
- 1/4 cup grated Parmesan cheese (adds a salty, nutty depth)
- 1 teaspoon garlic powder (not garlic salt — we’ll control the salt separately)
- 1/2 teaspoon onion powder
- 1/2 teaspoon smoked paprika (adds a subtle smoky flavor that makes it taste like it cooked all day)
- 1/4 teaspoon black pepper
- 1/4 teaspoon salt (optional — cheddar is already salty, so taste your cheese first)
For the Coating & Decoration
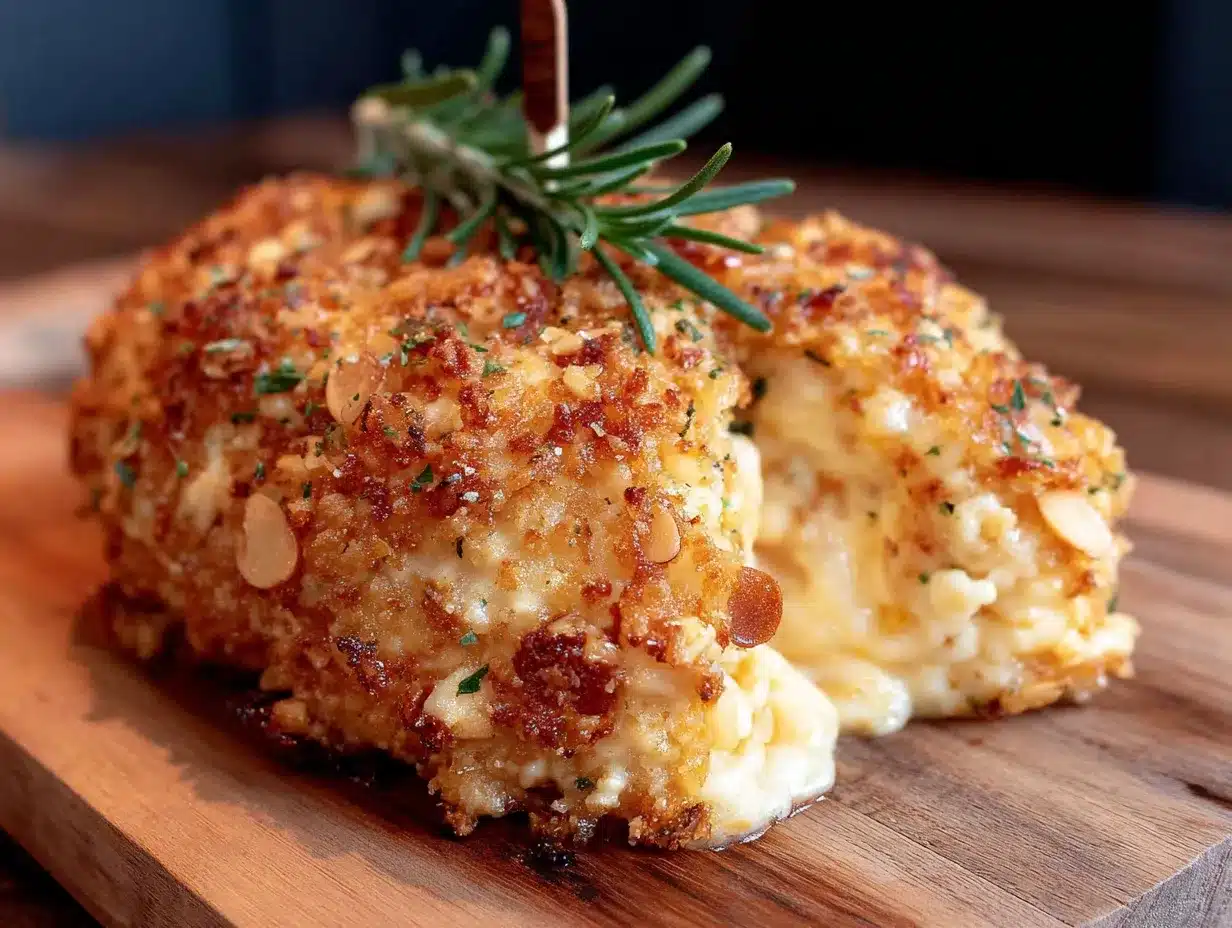
- 1 cup chopped pecans (or walnuts, if you prefer a milder flavor)
- 1 tablespoon melted butter (for toasting the pecans — brings out their natural oils)
- 1/4 cup sliced almonds (for the football laces — trust me on this, it looks amazing)
For Serving
- Crackers of your choice (I love buttery Ritz or sturdy wheat crackers)
- Celery sticks (for a crunchy, low-carb option)
- Pretzel rods or chips
- Sliced baguette (toasted, if you’re feeling fancy)
Ingredient Selection Tips: Look for block cheese and shred it yourself. I know it’s extra work, but the difference in melting is night and day. For the cream cheese, make sure it’s genuinely softened — leave it on the counter for at least an hour. Cold cream cheese will leave you with lumpy spots. If you’re in a hurry, you can microwave it in 10-second bursts, but be careful not to melt it.
Substitution Guidance: Use dairy-free cream cheese and vegan cheddar shreds for a dairy-free option. Swap the pecans for crushed pork rinds if you’re keto and want to keep it low-carb. For a milder flavor, use Monterey Jack instead of sharp cheddar. The recipe is forgiving — I’ve made it with whatever cheese I had in the fridge, and it always worked.
Equipment Needed
- Large mixing bowl — any size works, but bigger is better for mixing without making a mess
- Hand mixer or stand mixer — you can do this by hand, but a mixer makes it so much faster and smoother
- Rubber spatula — for scraping every last bit of cheesy goodness
- Plastic wrap — to shape and chill the cheese ball
- Baking sheet — lined with parchment paper or a silicone baking mat
- Small skillet — for toasting the pecans (optional, but highly recommended)
- Sharp knife — for slicing almonds into lace strips (or buy pre-sliced)
- Serving platter — something wide enough to hold the cheese ball and surrounding dippers
If you don’t have a hand mixer, you can absolutely mix this by hand with a wooden spoon. It’ll take a few extra minutes and your arm might get a workout, but the cheese ball won’t know the difference. For the baking sheet, any rimmed pan works — just don’t use a flat cookie sheet without edges, or the cheese might drip off as it warms.
I’ve made this in a friend’s kitchen with just a fork and a cereal bowl, and it still turned out great. Don’t let equipment stop you. The only non-negotiable is the plastic wrap for shaping — without it, you’ll have cheese all over your hands.
Preparation Method
- Preheat your oven to 375°F (190°C). Line a baking sheet with parchment paper. This makes cleanup so much easier — trust me, melted cheese is not fun to scrub off.
- Toast the pecans. In a small skillet over medium heat, add the chopped pecans and melted butter. Stir constantly for 3-4 minutes until they smell nutty and look slightly darker. Watch them carefully — nuts go from toasted to burnt in about 10 seconds. Set them aside to cool completely. (Pro tip: spread them on a plate so they cool faster.)
- Soften the cream cheese. If you forgot to take it out of the fridge, unwrap it and microwave in 10-second bursts until it’s soft but not hot. You want it to give easily when you press it with your finger.
- Mix the cheese base. In your large mixing bowl, combine the softened cream cheese, shredded cheddar, shredded mozzarella, grated Parmesan, garlic powder, onion powder, smoked paprika, black pepper, and salt (if using). Beat with a hand mixer on medium speed until everything is fully combined and smooth. Scrape down the sides at least once. The mixture should be thick, creamy, and slightly sticky.
- Shape the football. Scoop the cheese mixture onto a large piece of plastic wrap. Use the wrap to help you shape it into a football form — think of an oval with slightly pointed ends. Don’t worry about perfection here; you’ll refine the shape after it chills. Wrap it tightly and twist the ends to secure. Refrigerate for at least 30 minutes, or up to 24 hours. (I’ve found that 45 minutes is the sweet spot — long enough to hold shape, not so long that it’s rock hard.)
- Unwrap and shape again. Remove the chilled cheese ball from the plastic wrap. Place it on your prepared baking sheet. Use your hands to refine the football shape — smooth out any bumps and sharpen the ends slightly. Don’t worry if it’s not perfect; the coating will hide small imperfections.
- Apply the pecan coating. Gently press the cooled, toasted pecans into the surface of the cheese ball. Cover it evenly, but leave a strip down the middle for the laces. The pecans should stick easily — if they’re falling off, the cheese ball might be too cold. Let it sit at room temperature for 5 minutes if needed.
- Add the laces. Arrange the sliced almonds in a ladder pattern down the uncovered strip. I usually do 4-5 horizontal strips with one vertical strip down the center. Press them gently so they stay put during baking.
- Bake. Place the baking sheet in the preheated oven. Bake for 12-15 minutes, until the cheese ball is warm through and slightly golden on the outside. You’ll see the edges starting to soften and the cheese just beginning to melt. Don’t overbake — you want it warm and dippable, not a melted puddle.
- Rest and serve. Let the baked cheese ball rest on the baking sheet for 5 minutes. This lets it set up slightly so it doesn’t collapse when you move it. Carefully transfer to a serving platter using a wide spatula. Surround with crackers, celery, pretzels, and baguette slices. Serve immediately while warm.
Sensory Cues: When it’s done, the cheese ball should feel slightly firm but give way when you press it gently. The pecans will be fragrant and toasty. The cheese will be warm and creamy — not liquid, but soft enough to spread easily on a cracker. You’ll smell the garlic and smoked paprika mingling with the toasted nuts. It’s basically the scent of a perfect football party.
Cooking Tips & Techniques
I learned the hard way that rushing the cream cheese softening step leads to lumpy cheese balls. One time, I microwaved it too long and ended up with partially melted cream cheese that wouldn’t mix properly. The texture was weird — grainy in some spots, greasy in others. So take the extra 10 minutes to let it soften naturally. Your cheese ball will thank you.
Another mistake I made early on was overbaking. I thought “baked cheese ball” meant I needed to bake it until it was hot all the way through. Nope. You just want it warm enough to soften the interior and get the outside slightly golden. Twelve minutes at 375°F is usually perfect. If your oven runs hot, check it at 10 minutes.
Here’s a timing strategy that works well: make the cheese ball the night before and keep it wrapped in the fridge. The next day, let it sit at room temperature for 15 minutes while the oven preheats. Then coat, lace, and bake. This way, you’re not scrambling on game day. I’ve done this for three parties now, and it’s saved my sanity every time.
For consistency, always shred your own cheese. I know I sound like a broken record, but pre-shredded cheese has cellulose and other anti-caking agents that prevent it from melting smoothly. Your cheese ball will be creamier and more cohesive with freshly shredded cheese. It takes an extra 5 minutes, and it’s absolutely worth it.
If you’re worried about the cheese ball sticking to the baking sheet, use parchment paper. I tried foil once and the cheese stuck right through it. Parchment is non-negotiable for easy cleanup. Also, let the baked cheese ball rest before moving it — it’s fragile when hot, and trying to slide it off the sheet too early will end in tears.
Variations & Adaptations
Spicy Jalapeño Popper Version: Add 2 finely chopped jalapeños (seeds removed unless you want heat), 4 slices of cooked and crumbled bacon, and an extra 1/4 cup of cheddar. The bacon adds smokiness, the jalapeños add a fresh kick, and it tastes like your favorite popper in cheese ball form. I made this for a Super Bowl party and it was gone in 20 minutes.
Herb & Garlic Mediterranean Twist: Swap the smoked paprika for 1 tablespoon of dried oregano and 1 teaspoon of dried thyme. Add 1/4 cup of sun-dried tomatoes (finely chopped) and 2 tablespoons of fresh basil (chopped). Skip the pecan coating and roll the cheese ball in toasted pine nuts instead. Serve with warm pita bread. This version feels fancier and works great for non-football gatherings.
Low-Carb/Keto Adaptation: Use full-fat cream cheese and cheddar (no changes needed there), but swap the pecans for crushed pork rinds mixed with a little grated Parmesan. Skip the crackers and serve with celery sticks, cucumber rounds, and bell pepper strips. The cheese ball itself is already low-carb — it’s the dippers that add the carbs. This version keeps it keto-friendly without sacrificing flavor.
Buffalo Chicken Style: Mix in 1 cup of shredded cooked chicken and 3 tablespoons of buffalo sauce. Reduce the cream cheese to 12 oz to keep the texture manageable. Top with crumbled blue cheese instead of pecans. This is basically buffalo chicken dip in football form. I tried this on a whim and my husband said it was the best thing I’ve ever made.
Make it Dairy-Free: Use dairy-free cream cheese (Kite Hill or Miyoko’s work well) and vegan cheddar shreds. The texture will be slightly softer, so chill it for a full hour before shaping. The flavor is surprisingly close to the original — I served it to a friend who’s lactose intolerant and she couldn’t tell the difference.
Serving & Storage Suggestions
Serve this cheese ball warm, right after it comes out of the oven. The ideal temperature is about 10 minutes out of the oven — warm enough to be dippable, but not so hot that it burns your mouth. Arrange it on a large wooden board or platter surrounded by an assortment of dippers. I like to include at least three different textures: crunchy crackers, sturdy vegetables, and something salty like pretzels.
For a full game day spread, pair this cheese ball with other finger foods like chicken wings, sliders, or a big bowl of chili. It also goes beautifully with a cold beer — a light lager or pilsner cuts through the richness perfectly. If you’re serving wine, go with a crisp Sauvignon Blanc or a dry sparkling wine. The acidity balances the creamy cheese.
Storage: Leftovers (if you have any) can be stored in an airtight container in the refrigerator for up to 3 days. The texture will change slightly — the cheese will firm up again, and the pecans will soften. To reheat, place the cheese ball on a baking sheet and warm it in a 350°F oven for 5-7 minutes. Don’t microwave it — the cheese will separate and get greasy.
Freezer Instructions: You can freeze the unbaked, shaped cheese ball for up to 2 months. Wrap it tightly in plastic wrap, then foil. When you’re ready to bake, thaw it in the refrigerator overnight, then proceed with the coating and baking steps. I’ve done this for holiday prep, and it works perfectly.
The flavors actually develop and deepen overnight. If you can make this a day ahead, do it. The garlic and onion powders meld with the cheese, and the smoked paprika becomes more pronounced. It’s one of those rare recipes that tastes even better the next day.
Nutritional Information & Benefits
Here are the estimated nutritional values per serving (based on 8 servings, with crackers not included):
| Nutrient | Amount Per Serving |
|---|---|
| Calories | 380 |
| Total Fat | 34g |
| Saturated Fat | 18g |
| Cholesterol | 95mg |
| Sodium | 480mg |
| Total Carbohydrates | 5g |
| Dietary Fiber | 1g |
| Sugars | 2g |
| Protein | 14g |
| Calcium | 280mg |
| Iron | 1mg |
This cheese ball is surprisingly high in protein thanks to the cream cheese and cheddar. The pecans add healthy fats and vitamin E, which is great for skin health. Calcium from the cheese supports bone health, and the garlic powder offers a small amount of immune-supporting compounds.
Dietary Considerations: This recipe is naturally low-carb and gluten-free (just be careful with your choice of crackers). It’s not suitable for vegans or those with dairy allergies, but the dairy-free adaptation works well. The pecans can be omitted for nut-free diets — just roll the cheese ball in everything bagel seasoning or crushed pork rinds instead.
From a wellness perspective, I see this as a treat — not an everyday snack. But it’s a treat made with real ingredients, no weird additives, and plenty of protein to keep you satisfied. That’s a win in my book.
Conclusion
This Game Day Baked Football Cheese Ball is the kind of recipe that makes you look like a hero with almost no effort. It’s warm, cheesy, and shaped like a football — what’s not to love? Whether you’re hosting a Super Bowl party, a casual get-together, or just want a fun snack for the big game, this cheese ball delivers every single time.
I love how forgiving this recipe is. You can make it ahead, customize it a dozen ways, and it always turns out delicious. The first time I made it, I used a cracked dish and forgot the crackers. Now I make it for every game day, and it’s become my signature party dish. It’s the one people ask for by name.
So go ahead — give it a try. Customize it with your favorite add-ins, serve it with whatever dippers you have on hand, and watch it disappear. And when someone asks for the recipe (they will), tell them about the time your brother-in-law suggested baking it. Some of the best recipes come from being wrong.
I’d love to hear how yours turns out! Drop a comment below with your favorite variation or tag me in your photos. Happy game day, and happy dipping!
Frequently Asked Questions
Can I make this cheese ball ahead of time?
Absolutely! You can prepare the cheese ball, shape it, wrap it tightly in plastic wrap, and refrigerate for up to 24 hours before baking. Just add the pecan coating and almond laces right before baking for the best texture.
Can I use pre-shredded cheese?
You can, but I don’t recommend it. Pre-shredded cheese contains anti-caking agents that prevent smooth melting. For the creamiest, most cohesive cheese ball, shred your own cheese from a block. It takes 5 extra minutes and makes a noticeable difference.
How do I keep the cheese ball from sticking to the baking sheet?
Use parchment paper! It’s the easiest solution. You can also use a silicone baking mat. Avoid foil — the cheese tends to stick to it. And let the cheese ball rest for 5 minutes after baking before trying to move it.
What if I don’t have pecans for the coating?
No problem! You can use walnuts, crushed pork rinds, everything bagel seasoning, or even leave it plain. The cheese ball will still be delicious. If you skip the coating entirely, just brush the outside with a little melted butter before baking for a golden finish.
Can I freeze the baked cheese ball?
I don’t recommend freezing after baking — the texture changes and it can become watery. However, you can freeze the unbaked, shaped cheese ball for up to 2 months. Thaw overnight in the fridge, then add the coating and bake as directed.
Pin This Recipe!
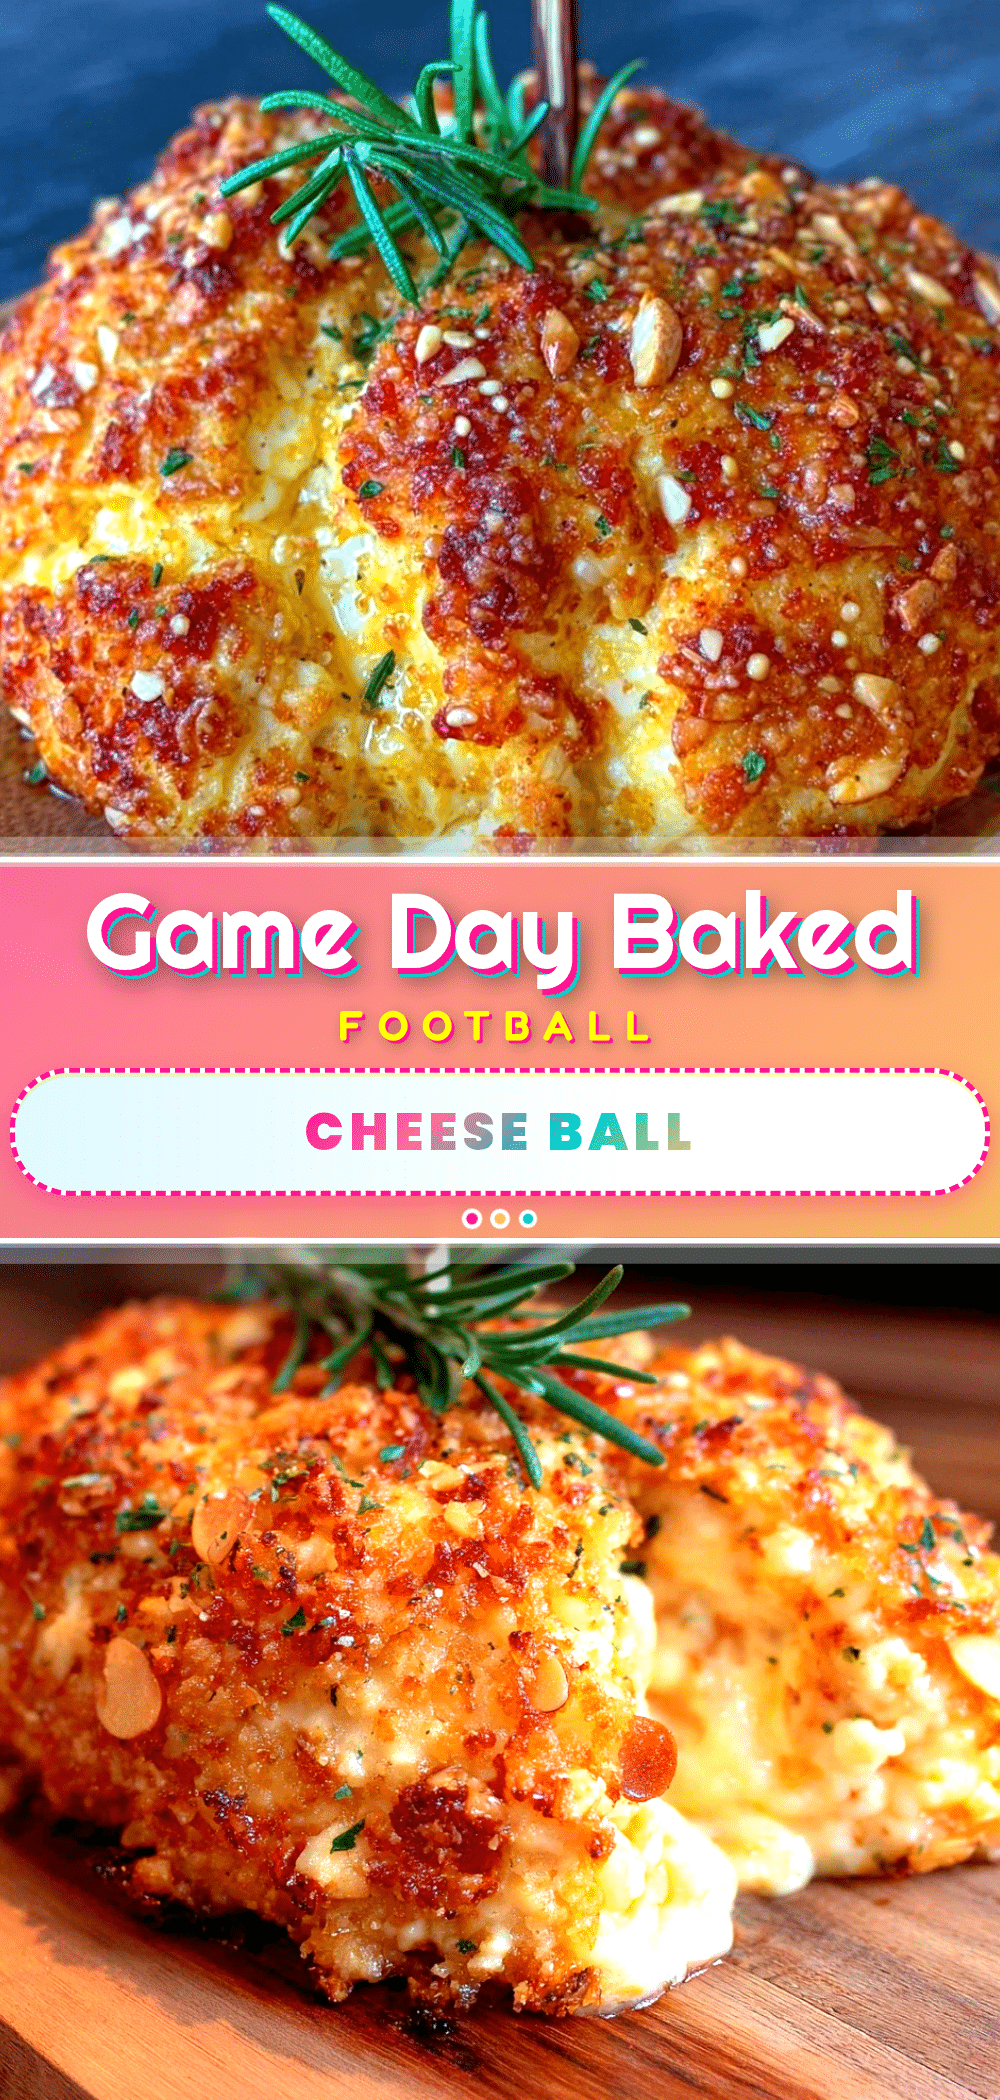
Best Game Day Baked Football Cheese Ball Recipe

This baked cheese ball transforms the classic cold appetizer into a warm, dippable dream with a golden, slightly crisp exterior and a creamy, melty interior. Shaped like a football and coated in toasted pecans, it’s the ultimate crowd-pleasing game day snack.
- Prep Time: 10 minutes
- Cook Time: 15 minutes
- Total Time: 25 minutes
- Yield: 8 servings 1x
- Category: Appetizer
- Cuisine: American
Ingredients
- 16 oz cream cheese, softened to room temperature
- 2 cups sharp cheddar cheese, freshly shredded
- 1 cup mozzarella cheese, shredded
- 1/4 cup grated Parmesan cheese
- 1 teaspoon garlic powder
- 1/2 teaspoon onion powder
- 1/2 teaspoon smoked paprika
- 1/4 teaspoon black pepper
- 1/4 teaspoon salt (optional)
- 1 cup chopped pecans
- 1 tablespoon melted butter
- 1/4 cup sliced almonds
- Crackers of your choice, for serving
- Celery sticks, for serving
- Pretzel rods or chips, for serving
- Sliced baguette, for serving
Instructions
- Preheat your oven to 375°F (190°C). Line a baking sheet with parchment paper.
- Toast the pecans: In a small skillet over medium heat, add the chopped pecans and melted butter. Stir constantly for 3-4 minutes until fragrant and slightly darker. Set aside to cool completely.
- Soften the cream cheese: If cold, microwave in 10-second bursts until soft but not hot.
- Mix the cheese base: In a large mixing bowl, combine softened cream cheese, shredded cheddar, shredded mozzarella, grated Parmesan, garlic powder, onion powder, smoked paprika, black pepper, and salt (if using). Beat with a hand mixer on medium speed until fully combined and smooth.
- Shape the football: Scoop the cheese mixture onto a large piece of plastic wrap. Use the wrap to shape it into a football form (oval with slightly pointed ends). Wrap tightly and twist the ends to secure. Refrigerate for at least 30 minutes, or up to 24 hours.
- Unwrap and shape again: Remove the chilled cheese ball from the plastic wrap. Place on the prepared baking sheet. Use your hands to refine the football shape, smoothing out bumps and sharpening the ends.
- Apply the pecan coating: Gently press the cooled, toasted pecans into the surface of the cheese ball, covering evenly but leaving a strip down the middle for the laces.
- Add the laces: Arrange the sliced almonds in a ladder pattern down the uncovered strip (4-5 horizontal strips with one vertical strip down the center). Press gently.
- Bake: Place the baking sheet in the preheated oven. Bake for 12-15 minutes, until the cheese ball is warm through and slightly golden on the outside.
- Rest and serve: Let the baked cheese ball rest on the baking sheet for 5 minutes. Carefully transfer to a serving platter. Surround with crackers, celery, pretzels, and baguette slices. Serve immediately while warm.
Notes
For best results, shred your own cheese from a block to avoid anti-caking agents. Let the cream cheese soften naturally for at least an hour. The cheese ball can be made a day ahead and refrigerated unbaked. For a dairy-free version, use dairy-free cream cheese and vegan cheddar shreds. To freeze, wrap the unbaked shaped cheese ball tightly in plastic wrap and foil for up to 2 months; thaw overnight in the fridge before coating and baking.
Nutrition
- Serving Size: 1 serving (based on
- Calories: 380
- Sugar: 2
- Sodium: 480
- Fat: 34
- Saturated Fat: 18
- Carbohydrates: 5
- Fiber: 1
- Protein: 14
Keywords: baked cheese ball, football cheese ball, game day appetizer, warm cheese ball, party snack, Super Bowl recipe, easy appetizer



