Love this? Save it for later!
Share the inspiration with your friends
The neighborhood block party was in four hours and I had completely forgotten. Everyone else would be bringing elaborate charcuterie boards or slow-roasted meats. I had half a string pumpkin and a bag of ice. Honestly, I was sweating through my shirt just thinking about showing up empty-handed.
I mean, you know that feeling when your stomach drops because you realized you’re the only person unprepared? It’s a specific kind of panic. I ran to the kitchen and pulled out the pumpkin I’d bought for decoration. It was already starting to look a bit sad and hollow.
I didn’t have time to make a pie. I didn’t have time to roast a whole squash. But I remembered my grandmother always said you don’t waste anything, especially not the seeds. So I grabbed a spoon and started scraping.
My kitchen floor was covered in stringy orange guts. It looked like a crime scene. I was cursing under my breath while trying to separate the seeds from the pulp. I almost threw the whole thing out in frustration.
But then I remembered that bag of spices in the back of the cabinet. Sea salt, chili powder, and a little garlic granules. I tossed them in a bowl and shook it up. It wasn’t fancy. It was messy and loud and chaotic.
When I finally pulled the tray out of the oven, they were golden and crunchy. I brought them to the party in a mason jar. People actually asked for the recipe. They thought I’d bought them from some artisanal shop.
I still make them this way every time I carve a pumpkin. It’s the only way I feel like I’m honoring the vegetable. Plus, they are infinitely better than store-bought junk. You have to try them at least once.
Why You’ll Love This Recipe
Let’s be real for a second. Store-bought pumpkin seeds are often stale, overly salty, or just plain boring. There is nothing quite like the crunch of Crispy Homemade Roasted Pumpkin Seeds that you’ve made yourself. The difference is night and day, and once you taste them, you’ll never go back.
Here is why these seeds deserve a spot in your regular rotation:
- Quick & Easy: The entire process, from scraping to snacking, takes about 45 minutes. It is the perfect way to use up time while watching a movie or just killing a few minutes on a rainy afternoon.
- Simple Ingredients: You likely already have everything you need in your pantry. Pumpkin seeds, oil, salt, and your favorite spices. No fancy grocery trips needed. It’s wholesome and clean eating without the hassle.
- Perfect for Movie Night: These are the ultimate healthy snack. They are crunchy enough to satisfy that chips craving but won’t leave you feeling heavy or guilty afterward.
- Crowd-Pleaser: I’ve served these at game day parties and bridal showers. Kids love the crunch, and adults appreciate the savory flavor. They disappear fast, so make a double batch.
- Unbelievably Delicious: The texture is next-level. When roasted correctly, they get a nutty, toasty flavor that is addictive. It’s comfort food that actually feels good for you.
What makes this recipe different from the rest is the attention to the drying step. Many people skip this and end up with soggy seeds. I learned the hard way that drying them thoroughly before roasting is the secret to that professional crunch.
This isn’t just a snack; it’s a way to reduce food waste. Pumpkin seeds are often thrown away, but they are packed with nutrients. Making them yourself connects you to the food you eat. It’s simple, satisfying, and surprisingly elegant.
What Ingredients You Will Need
This recipe uses simple, wholesome ingredients to deliver bold flavor and satisfying texture without the fuss. The beauty of this dish is that it relies on high-quality basics. You don’t need anything exotic.
Here is what you will need to get started:
- Pumpkin Seeds: Fresh seeds scooped from a sugar pumpkin or pie pumpkin. Avoid the giant carving pumpkins if you can, as their seeds can be flatter and harder to clean. Look for plump, healthy seeds. You will need about one cup of fresh seeds.
- Neutral Oil: I recommend using avocado oil or light olive oil. These have high smoke points and won’t overpower the natural nutty flavor of the seeds. Coconut oil works too if you want a slight sweetness.
- Sea Salt: Fine sea salt or kosher salt is best. It adheres well to the oily seeds and provides a clean, sharp flavor. Avoid table salt as it can be too metallic.
- Garlic Powder: This adds a savory depth that pairs perfectly with the natural earthiness of the pumpkin. Make sure it is powdered, not granulated, for an even coating.
- Smoked Paprika: For a little color and a subtle smoky heat. This is optional but highly recommended if you like a bit of kick. It gives them that BBQ vibe.
- Black Pepper: Freshly cracked black pepper adds a nice aromatic spice. It balances out the salt and garlic nicely.
- Optional: Cayenne Pepper: If you really like heat, add a pinch of cayenne. Start with a quarter teaspoon and adjust to your tolerance.
For the best results, ensure your seeds are clean. Any leftover stringy pulp will burn in the oven and give your seeds a bitter taste. I usually soak them in a bowl of water to help the pulp float away.
If you are looking for a variation, you can swap the savory spices for cinnamon and sugar for a sweet treat. But honestly, the savory version is my favorite. It goes so well with a cold beer or a glass of white wine.
Equipment Needed
You don’t need any fancy gadgets to make these. A few basic kitchen tools will get the job done perfectly.
- Large Bowl: You need a bowl big enough to hold the pumpkin and the water for cleaning. A stainless steel or glass bowl works best.
- Spoons: A sturdy metal spoon is great for scooping the guts out. A smaller teaspoon helps get the seeds out of the crevices.
- Colander: A fine-mesh colander is essential for rinsing the seeds. It catches the seeds while letting the water and pulp wash away.
- Baking Sheets: Use standard rimmed baking sheets. Line them with parchment paper for easy cleanup. Parchment paper prevents sticking and makes washing up a breeze.
- Small Mixing Bowl: A small bowl for tossing the seeds in oil and spices. This ensures an even coating.
- Wooden Spoon or Spatula: For stirring the seeds in the oven. You want to flip them halfway through for even browning.
If you don’t have parchment paper, you can use a silicone baking mat. It’s reusable and eco-friendly. Some people use foil, but parchment is better for preventing sticking.
I once tried using a non-stick pan on the stove to roast them. It worked, but it was harder to keep them moving around. The oven gives a more consistent heat. Stick with the oven for the best crunch.
Preparation Method
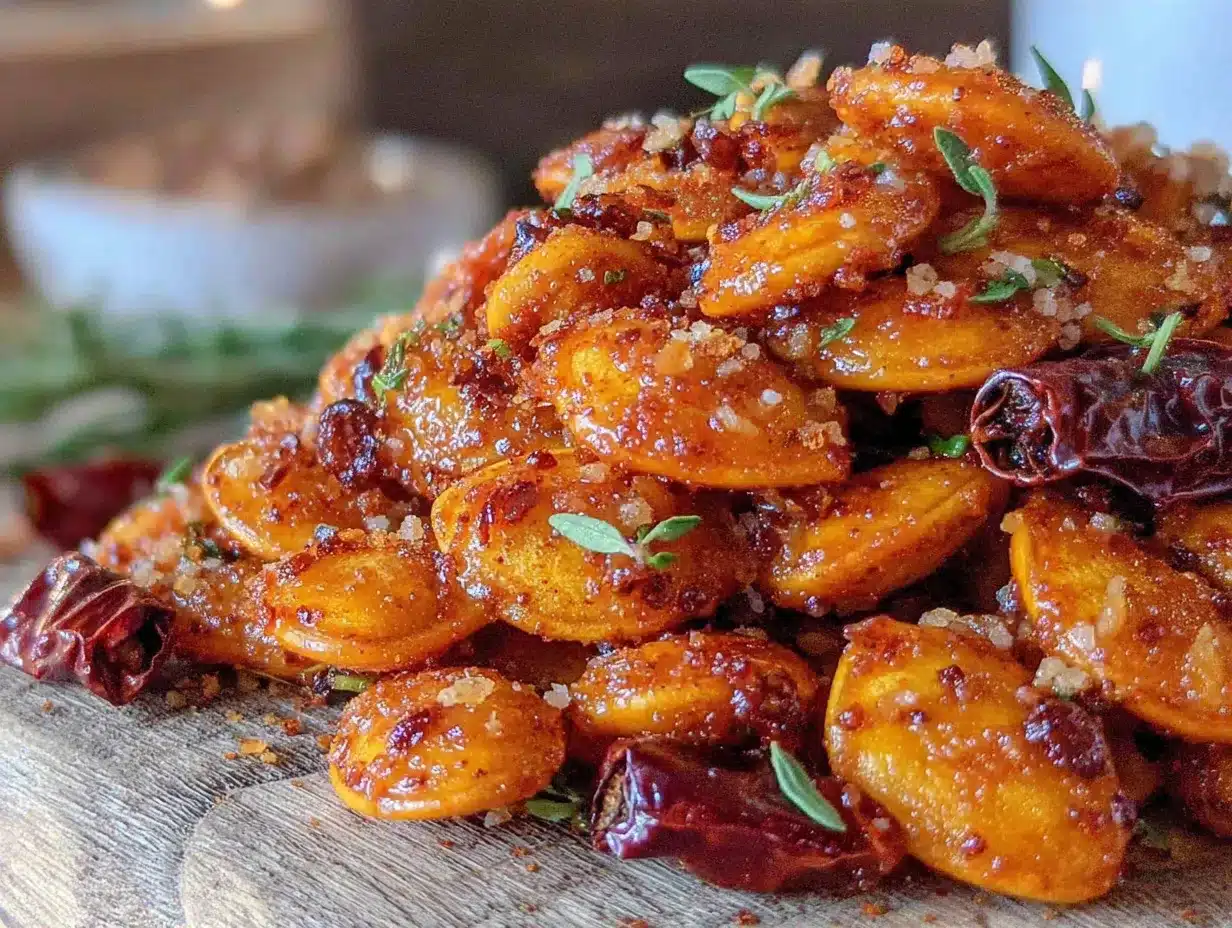
Making Crispy Homemade Roasted Pumpkin Seeds is straightforward if you follow these steps carefully. The key is patience during the cleaning and drying phases.
- Scoop the Seeds (5 minutes): Cut the pumpkin in half and use a spoon to scoop out the seeds and stringy pulp. Try to get as many seeds as possible. Don’t worry if a few bits of pulp stick around; we will clean them next.
- Clean the Seeds (10 minutes): Place the seeds in a large bowl filled with cold water. Swirl them around with your hands. The pulp will float to the top. Skim off the pulp and discard it. Repeat this process until the water is mostly clear and the seeds are clean. This step is crucial for preventing burnt bits.
- Drain and Dry (30 minutes): Pour the clean seeds into a colander and rinse them well. Spread them out on a clean kitchen towel or paper towels. Pat them dry gently. You want to remove as much surface moisture as possible. If you skip this, the seeds will steam instead of roast.
- Preheat the Oven (10 minutes): While the seeds are drying, preheat your oven to 325°F (160°C). A lower temperature ensures they roast evenly without burning on the outside while staying raw inside.
- Season the Seeds (5 minutes): In a small bowl, toss the dried seeds with oil until they are lightly coated. Sprinkle with salt, garlic powder, paprika, and pepper. Toss again to ensure every seed is seasoned.
- Spread on Baking Sheet: Spread the seasoned seeds in a single layer on your parchment-lined baking sheet. Do not overcrowd the pan. If they are piled on top of each other, they won’t get crispy.
- Roast (20-30 minutes): Place the tray in the oven. Roast for 20 to 30 minutes. Stir the seeds every 10 minutes to ensure even browning. They are done when they are golden brown and smell nutty. They will continue to crisp up as they cool.
- Cool Completely: Remove the tray from the oven and let the seeds cool completely on the pan. This is the final step to achieving that perfect crunch. They will soften if you eat them while hot.
Watch them closely during the last 5 minutes. They can go from golden to burnt very quickly. If you see them browning too fast, lower the temperature slightly.
Cooking Tips & Techniques
Getting that perfect crunch requires a few tricks. I’ve made plenty of mistakes along the way, so you don’t have to.
- Dry is Key: I cannot stress this enough. Wet seeds equal soggy seeds. Use paper towels and be thorough. If you are in a hurry, you can spread them on a rack for an hour, but patience pays off.
- Low and Slow: Roasting at a lower temperature (325°F) is better than high heat. High heat burns the oils in the seeds, making them bitter. Low and slow brings out the natural sweetness.
- Stir Frequently: Seeds are small and can burn easily. Stirring them every 10 minutes ensures they all get the same amount of heat. This prevents hot spots.
- Listen for the Sound: When you stir the seeds in the pan, they should make a light, dry sound. If they sound wet or squishy, they need more time.
- Cool Before Storing: Never store warm seeds. The steam will make them soft. Let them cool to room temperature before putting them in an airtight container.
I once tried to speed up the drying process by putting them in the oven on the warm setting. It worked, but I had to watch them like a hawk. The towel method is safer and less risky.
Also, don’t be afraid to taste one after they cool. Adjust the salt if needed. They will taste bland until they are fully cooled and crisp.
Variations & Adaptations
While the savory version is my go-to, there are many ways to customize these seeds. Here are a few ideas to try.
- Sweet & Spicy: Toss the seeds with maple syrup and cinnamon instead of oil and salt. Roast them at a slightly lower temperature (300°F) to prevent the sugar from burning. These are great for dessert or a sweet snack.
- Herb Garden: Use fresh chopped rosemary, thyme, and sage. Mix them with olive oil and sea salt. This is a sophisticated option for appetizers. The herbs add a fragrant, earthy note.
- Curry Style: Add curry powder, cumin, and a pinch of turmeric. This gives them a vibrant yellow color and a warm, aromatic flavor. Great with Indian dishes or as a salad topping.
- Gluten-Free & Vegan: This recipe is naturally gluten-free and vegan. Just ensure your spices are certified gluten-free if you have celiac disease.
- Low-Sodium: Skip the salt and use nutritional yeast instead. It adds a cheesy, savory flavor without the sodium. Perfect for those watching their salt intake.
I tried a honey-glazed version once. It was sticky and delicious, but harder to store. The seeds clumped together. Stick to dry spices for better shelf life.
You can also roast other seeds like sunflower or pumpkin pepitas using this same method. The technique is versatile.
Serving & Storage Suggestions
These seeds are versatile and can be served in many ways.
- Serving Ideas: Serve them in small bowls for movie night. Sprinkle them over salads for added crunch. They are also great on top of soups or avocado toast. Pair them with a cold beer or a crisp white wine.
- Storage: Once completely cool, store the seeds in an airtight container. They will keep at room temperature for up to one week. If your kitchen is humid, store them in the refrigerator to maintain crispness.
- Freezing: You can freeze roasted seeds for up to three months. Thaw them at room temperature before eating. They may lose a tiny bit of crunch but are still delicious.
- Reheating: If they go soft, spread them on a baking sheet and warm them in the oven at 300°F for 5 minutes. This will restore the crunch.
Flavors develop over time. The salt and spices meld together after a day or two. I find they taste even better on the second day.
Make sure the container is truly airtight. Exposure to air is the enemy of crunch.
Nutritional Information & Benefits
Pumpkin seeds are a nutritional powerhouse. They are rich in magnesium, zinc, and iron. These minerals are essential for heart health and immune function.
- High in Protein: A small handful provides a good amount of plant-based protein. Great for post-workout recovery.
- Healthy Fats: They contain healthy omega-3 and omega-6 fatty acids. These support brain health and reduce inflammation.
- Fiber: The fiber content aids in digestion and helps you feel full longer. A healthy snack for weight management.
- Allergens: These seeds are generally safe, but some people may have seed allergies. Always check labels if you have sensitivities.
I love that I can feel good about snacking on these. They are a clean energy boost. Unlike chips, they don’t leave you feeling sluggish.
Incorporating more seeds into your diet is a simple way to improve your overall health. Try adding them to your morning oatmeal or yogurt.
Conclusion
Making Crispy Homemade Roasted Pumpkin Seeds is a simple task with a huge reward. They are crunchy, flavorful, and incredibly satisfying. You save money and reduce waste in the process.
I hope you try this recipe. It’s a great way to use up pumpkins and create a snack that everyone will love. Don’t be afraid to experiment with different spices. Find your favorite combination.
If you make them, let me know how they turned out. Leave a comment below with your favorite flavor twist. Share your photos on social media and tag me. I love seeing your creations.
Enjoy the crunch! It’s worth the effort.
FAQs
Can I use seeds from a carving pumpkin?
Yes, but they are often smaller and flatter. They may take less time to roast. The flavor is still good, just slightly less nutty than sugar pumpkin seeds.
Why are my seeds soft?
They likely weren’t dried enough before roasting, or they weren’t cooked long enough. Ensure you pat them dry and roast until golden brown. Let them cool completely to crisp up.
How long do roasted pumpkin seeds last?
Stored in an airtight container at room temperature, they last about one week. In the refrigerator, they can last up to two weeks.
Can I roast them in an air fryer?
Yes, you can. Cook at 300°F for 10-12 minutes, shaking the basket every few minutes. Watch them closely as air fryers can vary in heat.
Are pumpkin seeds healthy?
Yes, they are packed with nutrients like magnesium, zinc, and healthy fats. They are a great source of protein and fiber.
Pin This Recipe!
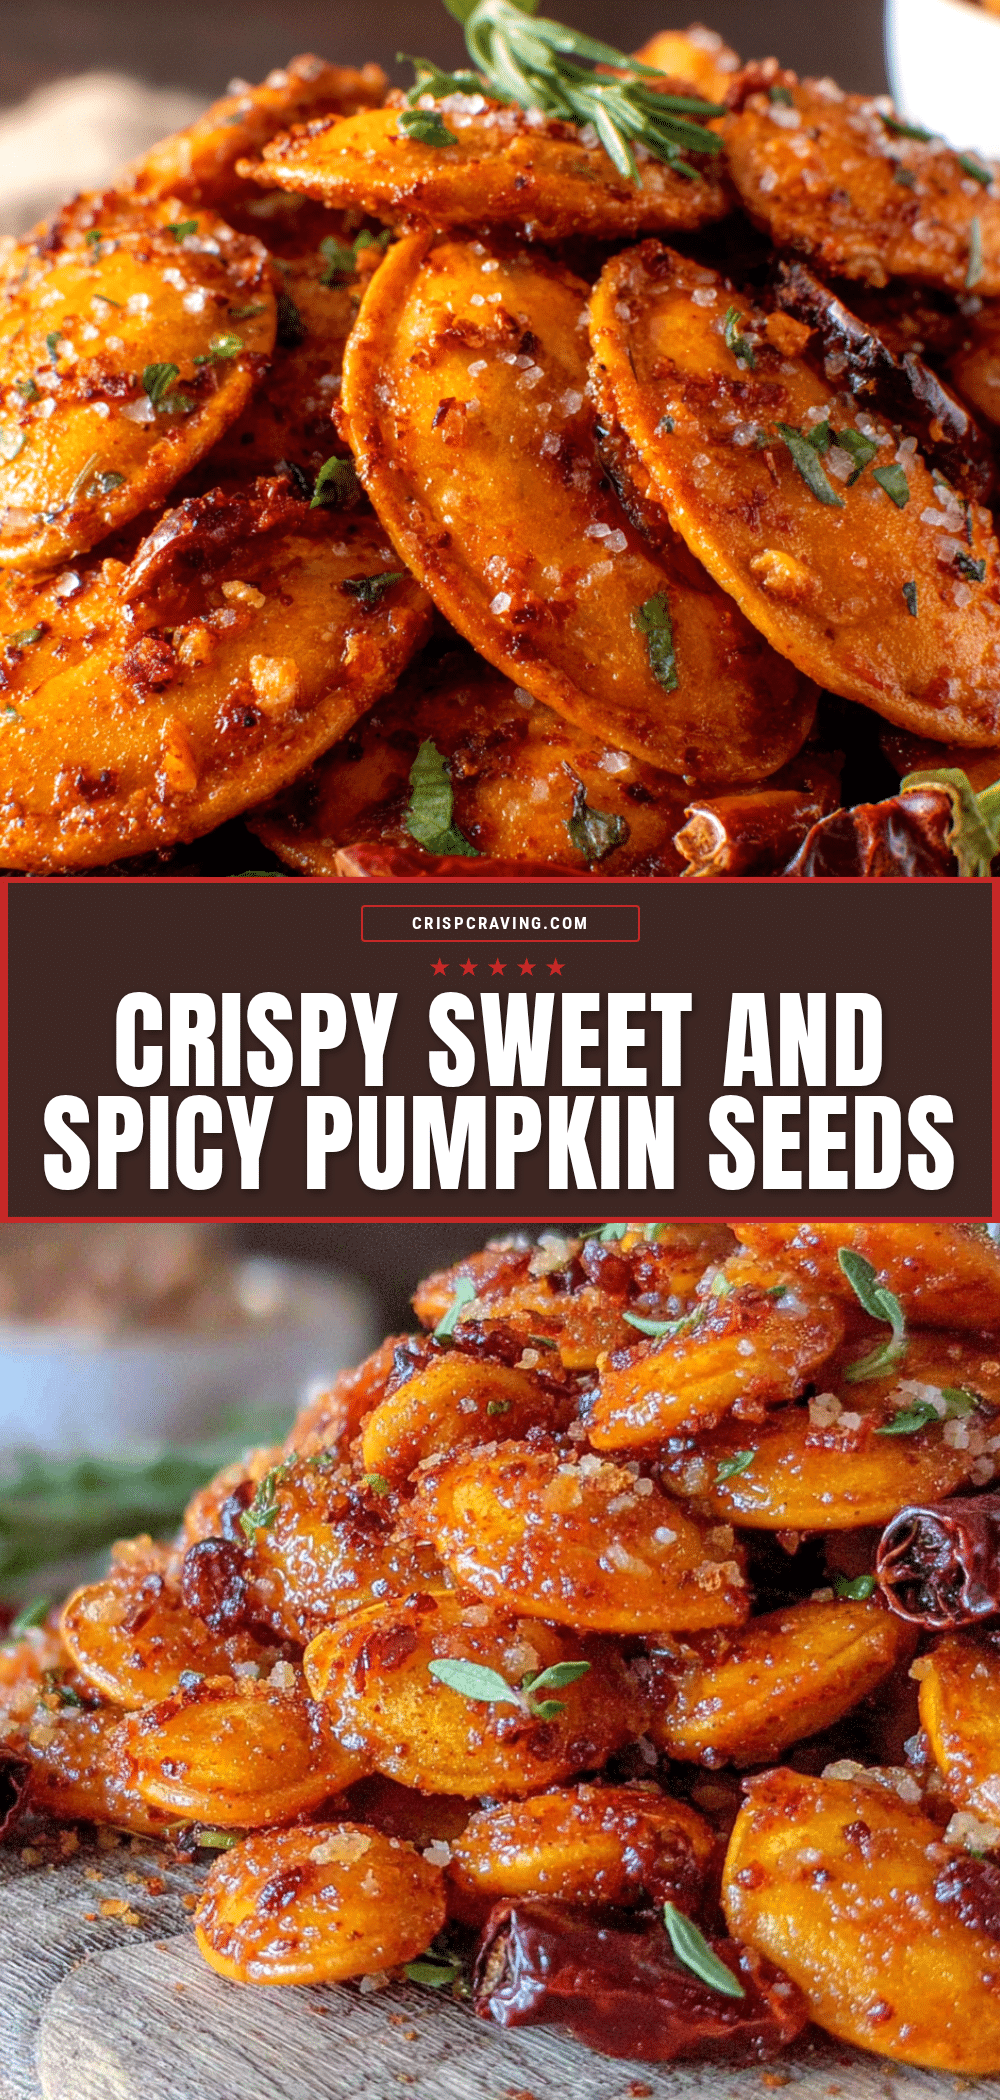
Crispy Homemade Roasted Pumpkin Seeds

Crispy, savory roasted pumpkin seeds seasoned with garlic, paprika, and spices. A quick, healthy, and zero-waste snack that is perfect for movie nights or parties.
- Prep Time: 15 minutes
- Cook Time: 30 minutes
- Total Time: 45 minutes
- Yield: 1 cup roasted seeds 1x
- Category: Snack
- Cuisine: American
Ingredients
- 1 cup fresh pumpkin seeds (from a sugar or pie pumpkin)
- 1–2 tablespoons neutral oil (avocado, light olive, or coconut)
- 1/2 teaspoon sea salt or kosher salt
- 1/2 teaspoon garlic powder
- 1/2 teaspoon smoked paprika
- 1/4 teaspoon freshly cracked black pepper
- Optional: 1/4 teaspoon cayenne pepper for heat
Instructions
- Scoop seeds and pulp from the pumpkin using a spoon.
- Place seeds in a large bowl of cold water and swirl to separate pulp from seeds. Skim off floating pulp and repeat until water is clear.
- Drain seeds in a colander and rinse well.
- Spread seeds on a clean kitchen towel or paper towels and pat dry thoroughly to remove surface moisture.
- Preheat oven to 325°F (160°C).
- In a small bowl, toss dried seeds with oil until lightly coated.
- Sprinkle with salt, garlic powder, paprika, and pepper. Toss to ensure even coating.
- Spread seeds in a single layer on a parchment-lined baking sheet.
- Roast for 20-30 minutes, stirring every 10 minutes, until golden brown and nutty.
- Remove from oven and let cool completely on the pan to achieve maximum crunch.
Notes
Ensure seeds are completely dry before roasting to prevent sogginess. Roast at a low temperature (325°F) to avoid burning. Let seeds cool completely before storing to maintain crunch. Store in an airtight container at room temperature for up to one week.
Nutrition
- Serving Size: 1/4 cup
- Calories: 150
- Sodium: 200
- Fat: 12
- Saturated Fat: 1.5
- Carbohydrates: 5
- Fiber: 2
- Protein: 7
Keywords: pumpkin seeds, roasted pumpkin seeds, healthy snack, zero waste, vegan snack, gluten-free snack, movie night snack, homemade chips