Love this? Save it for later!
Share the inspiration with your friends
My husband swore he hated dirt. He would say it with a straight face, usually while wiping chocolate off his chin after one of my earlier, less refined attempts at dessert. He claimed the concept was too childish, too messy, and frankly, a waste of good chocolate. For years, he stuck to plain brownies or simple cake slices, avoiding anything that looked like it had been played with in a sandbox.
Then I made this version “just for myself” and found him sneaking spoonfuls from the fridge at 11 PM.
It wasn’t that he liked the idea of eating dirt. It was that he couldn’t resist the specific, velvety richness of this particular pudding. The first time I served it, I expected him to make a joke about the gummy worms. Instead, he just stared at the glass, then at me, and took a slow, deliberate bite. He didn’t say a word for a full minute.
Let me tell you, that silence was louder than any compliment.
The crack in his armor wasn’t the novelty of the dessert. It was the texture. I had dialed in the ratio of crushed cookies to pudding until it was perfectly moist but not soggy. The gummy worms weren’t just decoration; they were the punchline to a joke only kids and stubborn adults get. You know that feeling when you finally prove someone wrong without actually trying to? That was this moment.
I’m not supposed to play favorites with recipes, but this one changed our Friday nights. We stopped arguing about what to eat for dessert and started looking forward to digging in. Honestly, it’s the kind of treat that feels like a hug from your childhood, but tastes like something you’d find in a high-end patisserie.
Maybe you’ve been there, trying to win over a picky eater or just looking for a dessert that looks impressive but takes ten minutes to assemble. This recipe stayed with me because it solved two problems at once: it was easy enough for a weeknight, and it was delicious enough to keep a grown man quiet.
Why You’ll Love This Recipe
This isn’t just another pudding cup. It’s a texture dream that balances the crunch of cookies with the smoothness of chocolate. I’ve tested this recipe dozens of times, tweaking the cookie crumb size and pudding thickness to get it just right. Here is why this version stands out from the rest:
- Quick & Easy: Comes together in under 20 minutes. No baking required, which means no oven heat and no waiting around. Perfect for busy weeknights or last-minute cravings when you need something sweet fast.
- Simple Ingredients: No fancy grocery trips needed. You likely already have chocolate pudding, cookies, and gummy worms in your pantry or freezer. It’s accessible comfort food at its finest.
- Perfect for Kids (and Adults): Great for birthday parties, sleepovers, or cozy dinners. The playful presentation makes it a hit with children, while the rich chocolate flavor satisfies adult sweet teeth.
- Crowd-Pleaser: Always gets rave reviews. I’ve served this at potlucks and office parties, and people always ask for the recipe. It’s a conversation starter that breaks the ice.
- Unbelievably Delicious: The texture and flavor combo is next-level comfort food. The contrast between the gritty cookie “dirt” and the silky pudding is scientifically satisfying.
What makes this recipe different from the rest is the attention to detail in the layering. Many recipes just dump everything in a bowl. Not this one. We take the time to create distinct layers, ensuring every spoonful has the right balance of crunch and cream. Whether it is the specific type of chocolate pudding mix used or the perfectly balanced seasoning profile of the cookie crumbs, this isn’t just another version—it’s your best version.
This recipe isn’t just good—it is the kind that makes you close your eyes after the first bite. It’s comfort food reimagined—healthier in the sense that it’s playful and not overly heavy, but with the same soul-soothing satisfaction as a warm brownie. It’s perfect for impressing guests without stress, or turning a simple meal into something memorable.
What Ingredients You Will Need
This recipe uses simple, wholesome ingredients to deliver bold flavor and satisfying texture without the fuss. The magic lies in the quality of the chocolate and the freshness of the cookies. Here is what you need to gather:
For the Pudding Layer
- Chocolate Pudding Mix: One 3.4 oz box. I recommend Jell-O or a similar brand for consistent results. For a richer taste, you can use a high-quality cocoa powder mixed with sugar, milk, and a thickener like cornstarch.
- Milk: 2 cups of cold whole milk. Whole milk provides the creamiest texture. If you need a dairy-free option, use a high-fat coconut milk or almond milk.
- Heavy Cream (Optional): 1/2 cup. Adding this makes the pudding extra lush and stable. It helps the layers hold their shape better in the glass.
For the “Dirt” Layer
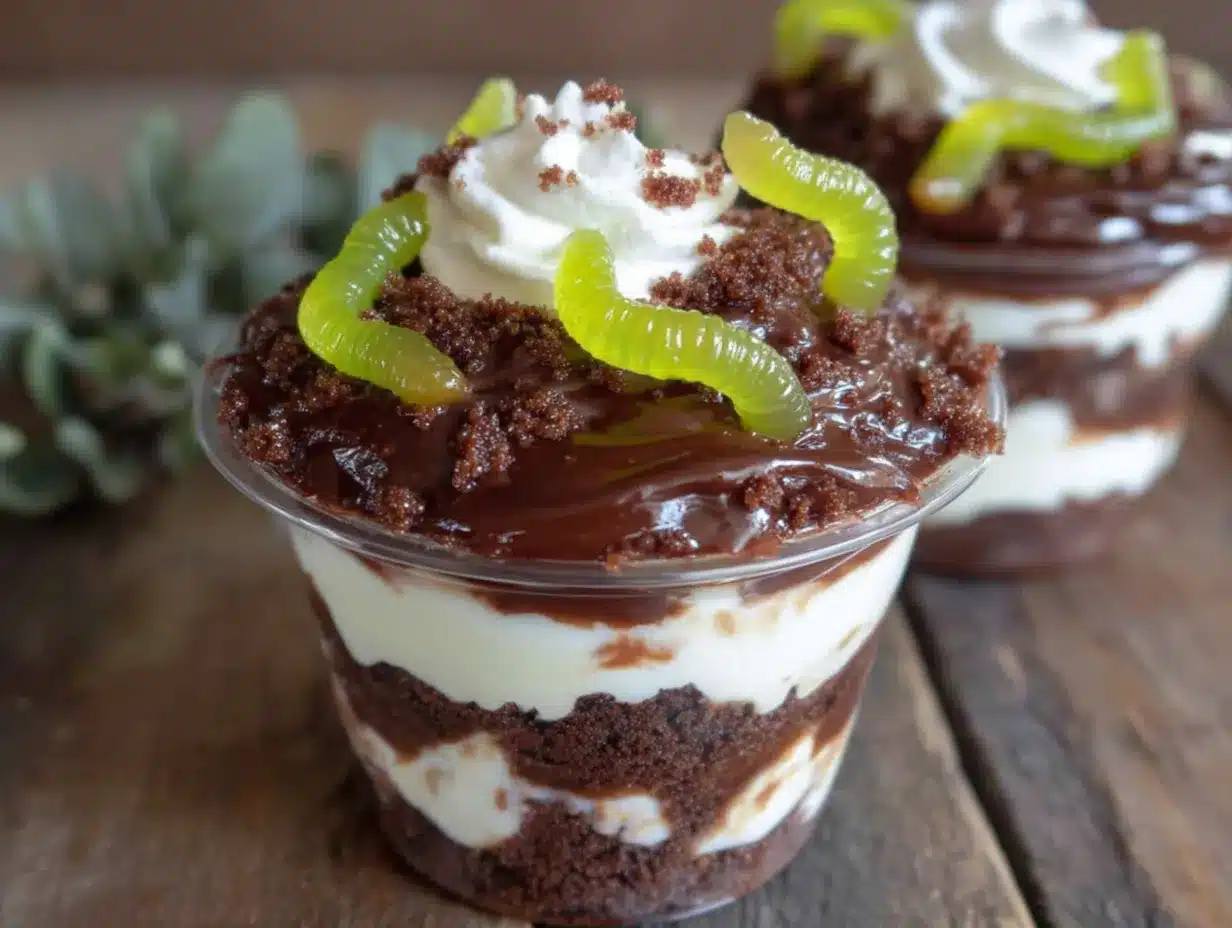
- Chocolate Sandwich Cookies: One package of Oreo-style cookies. These are the classic choice. For a chocolate-on-chocolate experience, use double-stuffed varieties. For a less sweet option, use dark chocolate cookies.
- Butter: 2 tablespoons, melted. This helps the crumbs clump together slightly, mimicking the look of real dirt. It also adds a subtle richness.
For the Garnish
- Gummy Worms: As many as you like. Use colorful ones for a fun look or chocolate-covered worms for an extra indulgent twist.
- Chocolate Shavings: Optional. A sprinkle of dark chocolate shavings on top adds a professional finish.
Pro tip: Look for cookies that are fresh and not stale. Stale cookies will turn to dust rather than providing that nice crunch. If you are making this ahead of time, store the cookie crumbs in an airtight container to keep them crisp.
Equipment Needed
You don’t need much to make these, but having the right tools makes the process smoother.
- Mixing Bowls: Two medium bowls. One for the pudding and one for the cookies. A large bowl is helpful if you are making a big batch.
- Whisk: A standard wire whisk works best for the pudding. It breaks up lumps effectively. An electric mixer is not necessary but can speed up the process if you are in a hurry.
- Food Processor or Ziplock Bag: To crush the cookies. A food processor gives you the most consistent crumb size. If you don’t have one, put the cookies in a heavy-duty ziplock bag and crush them with a rolling pin. It’s a bit of work, but it’s satisfying.
- Serving Glasses: Clear glasses, mason jars, or plastic cups. Clear glasses are essential for showing off the layers. Mason jars look rustic and cute. Plastic cups are great for kids’ parties because they are unbreakable.
- Spoon: A long, thin spoon is best for layering. It allows you to get to the bottom of the glass without disturbing the layers too much.
Budget-friendly tip: If you don’t want to buy a food processor, the ziplock bag method is completely fine. Just be careful not to tear the bag. And for serving, any clear glass will do—no need to buy special dessert cups.
Preparation Method
Let’s get into the nitty-gritty. This part is straightforward, but following the steps ensures the best result.
- Prepare the Cookies (10 minutes): Start by crushing the chocolate sandwich cookies. If using a food processor, pulse until you have fine crumbs. You want a texture that looks like coarse sand, not powder. If using a bag, crush them until they are small enough to eat comfortably. Transfer the crumbs to a bowl.
- Add Butter to Crumbs (2 minutes): Melt the 2 tablespoons of butter. Pour it over the cookie crumbs. Toss them together until the crumbs are evenly coated and look like damp soil. This step is crucial for the “dirt” effect. It also helps the crumbs stick together slightly when you layer them.
- Make the Pudding (5 minutes): In a mixing bowl, whisk the pudding mix with the cold milk. Whisk vigorously for about 2 minutes until the mixture thickens. If you are adding heavy cream, fold it in gently at this stage. The pudding should be thick enough to hold its shape but smooth enough to pour.
- Layer the First Pudding Layer (2 minutes): Take your serving glasses. Spoon a layer of pudding into the bottom of each glass. About 1/4 cup per glass is a good starting point. Use the back of the spoon to smooth it out. This creates a clean base.
- Add the Dirt Layer (2 minutes): Sprinkle a layer of the cookie crumb mixture over the pudding. Press it down gently with the back of a spoon. You want it to be about 1/4 inch thick. This layer adds the crunch and visual contrast.
- Repeat the Layers (5 minutes): Add another layer of pudding on top of the crumbs. Then, add another layer of crumbs. You can do two or three layers depending on the size of your glasses. The goal is to have a mix of smooth and crunchy in every bite.
- Add the Gummy Worms (1 minute): This is the fun part. Stick the gummy worms into the top layer of crumbs. Make them look like they are burrowing out of the dirt. You can also lay them across the top for a more dramatic effect.
- Chill (30 minutes): Place the glasses in the refrigerator for at least 30 minutes. This allows the pudding to set and the flavors to meld. It also helps the layers stay distinct.
Troubleshooting tip: If the pudding is too thin, it will soak into the crumbs too quickly. Make sure you whisk it well and let it thicken before layering. If the crumbs are too dry, they won’t stick together. The butter is your friend here.
Cooking Tips & Techniques
Professional chefs know that presentation is half the battle. Here are some tips to make your dirt cups look and taste amazing.
- Cookie Crumb Size: Don’t make the crumbs too fine. You want some texture. If they are too powdery, they will turn into a paste when mixed with the pudding. Aim for a coarse sand texture.
- Pudding Consistency: If you are making the pudding from scratch, let it cool completely before using. Warm pudding will melt the cookies too fast. Store-bought mix is easier, but still, make sure it’s thick.
- Layering Technique: Use a piping bag for the pudding if you want perfect layers. It’s not necessary, but it looks very professional. Otherwise, use a spoon and be gentle.
- Chilling Time: Don’t skip the chilling step. It’s not just for setting; it’s for flavor. Cold pudding tastes richer and more chocolatey.
- Worm Placement: Make the worms look natural. Stick them in at an angle, as if they are crawling out. Don’t just lay them flat on top.
Common mistake: Using too much butter on the crumbs. This can make them greasy and heavy. Just enough to coat them is perfect. Another mistake is using stale cookies. Always check the expiration date.
Variations & Adaptations
You can customize this recipe to fit your dietary needs or taste preferences. Here are some ideas:
- Gluten-Free: Use gluten-free chocolate sandwich cookies. Most major brands make a gluten-free version. The rest of the recipe remains the same.
- Dairy-Free: Use a dairy-free pudding mix and almond or coconut milk. For the crumbs, use dairy-free cookies. The texture will be slightly different, but still delicious.
- Low-Sugar: Use a sugar-free pudding mix and sugar-free cookies. You can also use dark chocolate chips for the crumbs to reduce sugar content.
- Flavor Twist: Try using mint chocolate chip cookies for a minty twist. Or use red velvet cookies for a festive look. The possibilities are endless.
- Adult Version: Add a splash of Kahlua or chocolate liqueur to the pudding for a grown-up treat. It pairs beautifully with the chocolate flavor.
I’ve tried the mint version with peppermint patties instead of gummy worms, and it was a huge hit. It’s a great way to use up leftover cookies.
Serving & Storage Suggestions
These dirt cups are best served chilled. They can be made up to 24 hours in advance. Store them in the refrigerator in an airtight container or covered with plastic wrap.
- Serving Temperature: Serve cold. The contrast between the cold pudding and the room-temperature cookies is ideal.
- Complementary Dishes: These pair well with fresh fruit, like strawberries or raspberries. The acidity of the fruit cuts through the richness of the chocolate.
- Beverages: Serve with cold milk, hot coffee, or a glass of red wine for an adult twist.
- Storage: They can be stored in the fridge for up to 3 days. The cookies will soften over time, so if you prefer crunch, add the crumbs just before serving.
- Freezing: You can freeze the pudding layer, but the cookies will become soggy when thawed. It’s best to freeze the pudding and add fresh crumbs when serving.
Flavors develop over time, so these taste even better the next day. The chocolate and cookie flavors meld together beautifully.
Nutritional Information & Benefits
These dirt cups are a treat, so enjoy them in moderation. Here is a rough estimate of the nutritional value per serving (one glass):
- Calories: Approximately 350-400 calories.
- Fat: 15-20 grams.
- Carbohydrates: 50-60 grams.
- Sugar: 35-45 grams.
- Protein: 5-7 grams.
The cookies provide calcium and iron. The chocolate offers antioxidants. While this is a high-sugar dessert, it’s a fun way to satisfy a sweet tooth without spending hours in the kitchen. It’s a balance of indulgence and convenience.
Conclusion
This Creamy Chocolate Pudding Dirt Cups with Gummy Worms recipe is a winner. It’s easy, delicious, and fun. It’s the perfect dessert for any occasion. I love this recipe because it brings back memories of childhood while tasting like something special.
I encourage you to try it and customize it to your liking. Add your favorite cookies or worms. Make it your own. And don’t forget to share it with someone who needs a little joy in their life.
If you make this recipe, I’d love to hear from you. Leave a comment below and let me know how it turned out. Share your photos on social media and tag me. I love seeing your creations.
Thanks for reading. Happy baking!
FAQs
Can I make these ahead of time?
Yes, you can make them up to 24 hours in advance. Store them in the refrigerator. The flavors will meld together, making them even tastier.
Can I use homemade pudding?
Absolutely. Homemade pudding works great. Just make sure it’s thick and cooled completely before layering.
What cookies work best?
Chocolate sandwich cookies like Oreos are the classic choice. You can also use dark chocolate cookies or even ginger snaps for a different flavor.
How do I keep the cookies crunchy?
Add the cookie crumbs just before serving if you want them to stay crunchy. If you layer them ahead of time, they will soften.
Can I freeze these?
You can freeze the pudding layer, but the cookies will become soggy when thawed. It’s best to freeze the pudding and add fresh crumbs when serving.
Pin This Recipe!
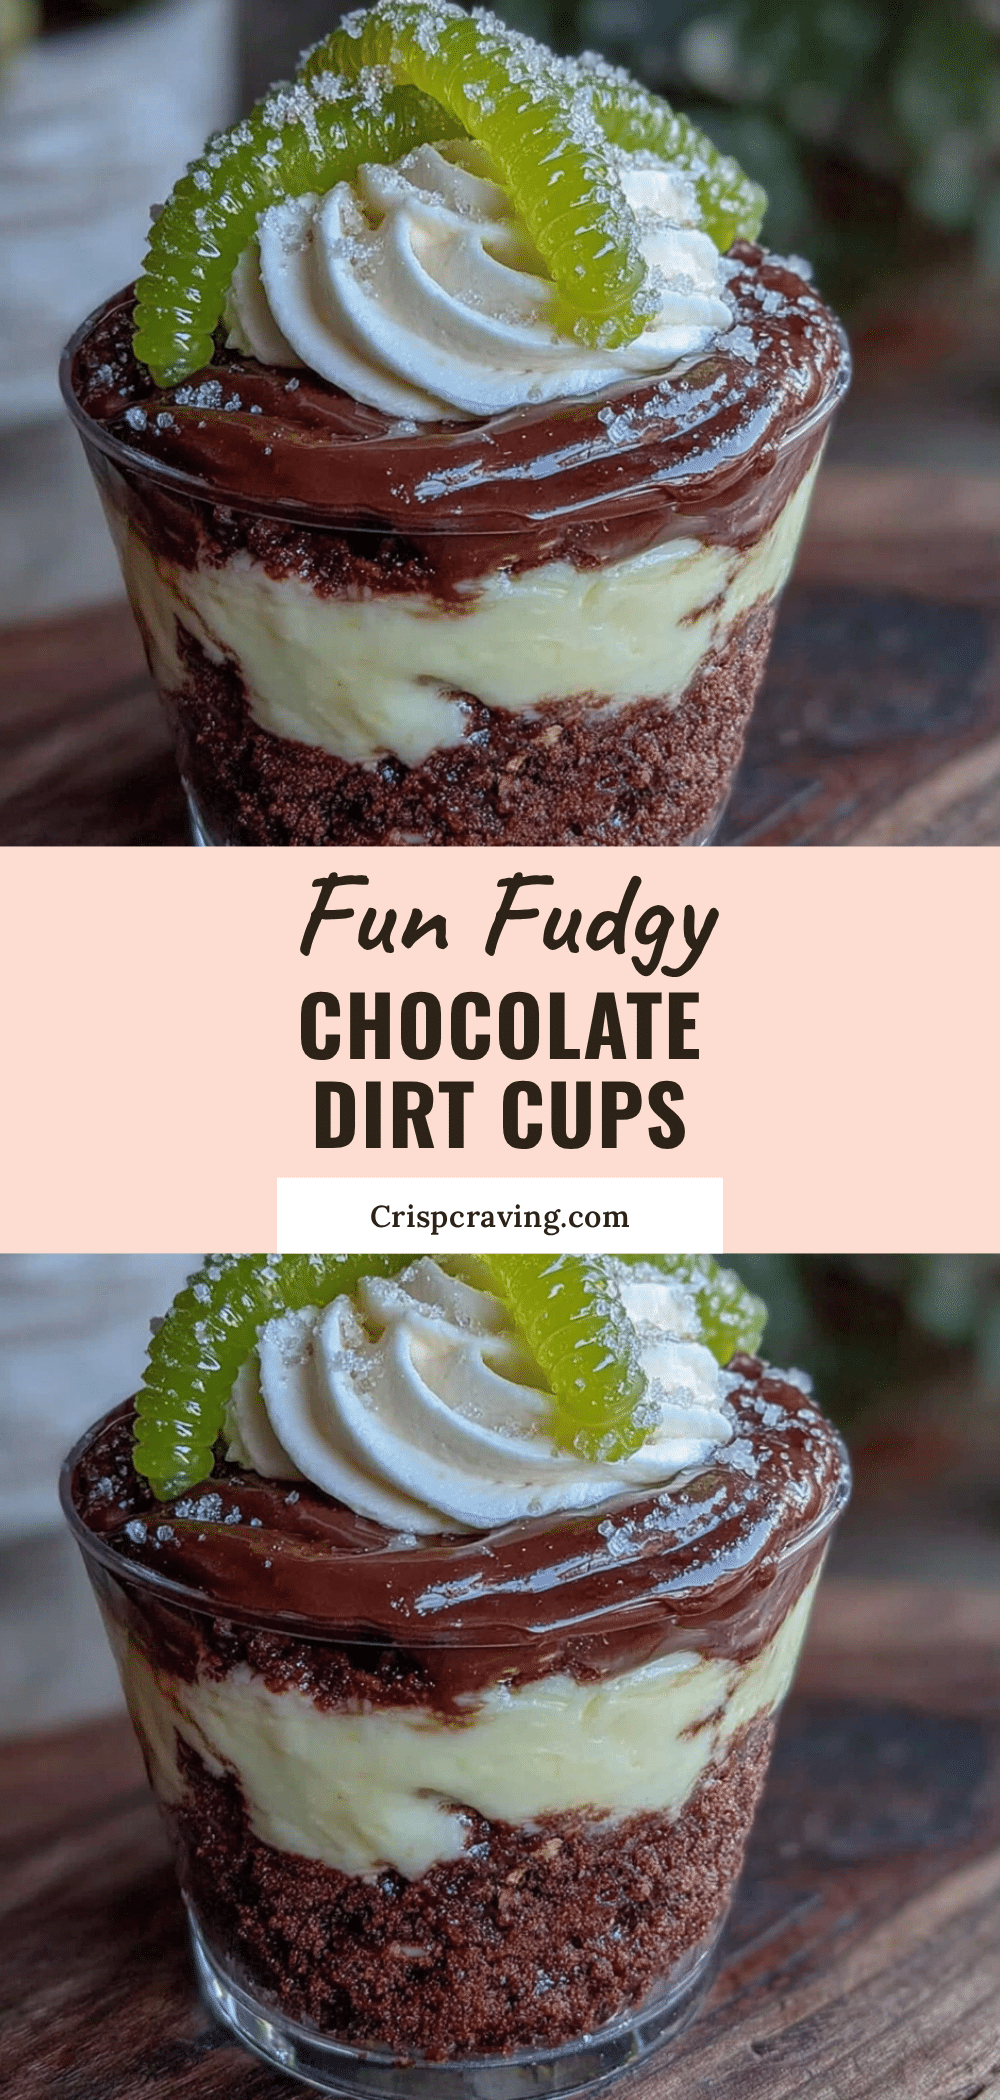
Easy Creamy Chocolate Pudding Dirt Cups with Gummy Worms
A quick, no-bake dessert featuring layers of rich chocolate pudding and crushed cookie ‘dirt’ topped with gummy worms. Perfect for kids and adults alike, this treat comes together in under 20 minutes.
- Prep Time: 15 minutes
- Cook Time: 0 minutes
- Total Time: 45 minutes
- Yield: 4 servings 1x
- Category: Dessert
- Cuisine: American
Ingredients
- 1 box (3.4 oz) chocolate pudding mix
- 2 cups cold whole milk
- 1/2 cup heavy cream (optional)
- 1 package chocolate sandwich cookies (Oreo-style)
- 2 tablespoons butter, melted
- Gummy worms, as needed
- Chocolate shavings, optional for garnish
Instructions
- Crush the chocolate sandwich cookies into fine crumbs using a food processor or a ziplock bag and rolling pin.
- Melt the butter and toss it with the cookie crumbs until evenly coated to mimic damp soil.
- In a mixing bowl, whisk the pudding mix with cold milk vigorously for 2 minutes until thickened. Fold in heavy cream if using.
- Spoon a layer of pudding (about 1/4 cup) into the bottom of serving glasses.
- Sprinkle a layer of cookie crumb mixture over the pudding, pressing down gently.
- Repeat the layers of pudding and crumbs two or three times, depending on glass size.
- Stick gummy worms into the top layer of crumbs to look like they are burrowing out.
- Chill in the refrigerator for at least 30 minutes before serving.
Notes
Ensure cookies are fresh for the best crunch. If making ahead, store crumbs separately to maintain texture. The dessert is best served chilled. For a gluten-free version, use gluten-free cookies and pudding mix. For dairy-free, use almond or coconut milk and dairy-free cookies.
Nutrition
- Serving Size: 1 glass
- Calories: 375
- Sugar: 40
- Sodium: 250
- Fat: 17.5
- Saturated Fat: 8
- Carbohydrates: 55
- Fiber: 2
- Protein: 6
Keywords: chocolate pudding, dirt cups, gummy worms, no bake dessert, kids dessert, easy pudding, chocolate dessert, party food