Love this? Save it for later!
Share the inspiration with your friends
My neighbor, a guy named Dave who once told me he “didn’t do baking,” had refused to make banana bread for as long as I’d known him. Years, honestly. He swore it was too fussy, too many bowls to wash, too much equipment he didn’t own. Then last Tuesday, I found him standing in my kitchen, holding a fork, staring at a cooling loaf I’d just pulled from the oven. “I’m just looking,” he said, crumbs on his chin. He’d already eaten two slices.
The thing is, I get it. Banana bread has this reputation for being a project. You know the feeling when a recipe calls for a stand mixer, three separate bowls, and that awkward moment where you have to sift flour into a separate dish? On a weeknight, after work, when the bananas are turning brown and you’re already tired? No thanks. I’ve been there, standing in my own kitchen, staring at a recipe, and just closing the laptop. It’s not worth the cleanup.
This version changed everything for me. And apparently for Dave, too. It happened by accident, honestly. I was out of counter space, my mixer was buried somewhere in the back of a cabinet, and I just thought, what if I didn’t? What if I just used one bowl and a fork? The result was so good, so simple, that I haven’t used my mixer for banana bread since. It’s the kind of recipe that makes you feel like you’ve stumbled onto a secret. The texture is perfect — moist, tender, with that crackly top that everyone fights over. And the best part? You use one bowl. That’s it. One bowl to mix, one bowl to wash. This recipe stayed with me because it proved that good things don’t have to be complicated. Maybe you’ve been there, too — wanting the comfort of homemade banana bread without the hassle. This is for you.
Why You’ll Love This Recipe
Let me tell you why this easy one-bowl banana bread has become my go-to, and why I think it’ll be yours too. I’ve tested this recipe more times than I can count, tweaking the flour ratio, the banana ripeness, even the type of bowl I used (yes, really). It’s been family-approved, neighbor-tested, and late-night-craving-vetted. Here’s what makes it special:
- Quick & Easy: This comes together in under 10 minutes of active time. No mixer, no sifting, no fuss. From bowl to oven in the time it takes to preheat.
- Simple Ingredients: You likely have everything in your kitchen right now. Butter, sugar, eggs, flour, baking soda, salt, and those sad, spotty bananas on your counter.
- Perfect for Weeknights: When you’re tired and want something comforting, this is your answer. It’s fast enough for a Tuesday night treat.
- Crowd-Pleaser: I’ve brought this to potlucks, book club, and even a work meeting. It disappears every single time. Kids and adults both go for seconds.
- Unbelievably Delicious: The texture is what gets me. It’s moist but not dense, with a tender crumb and that signature crackly top. The flavor is pure, simple banana goodness.
What makes this recipe different from the rest? It’s the technique. By mashing the bananas with the sugar first, you create a natural syrup that keeps the bread incredibly moist without needing extra oil or sour cream. It’s a little trick I learned after making a batch that came out too dry — I was rushing and skipped the mashing step. Never again. This version is foolproof. It’s comfort food reimagined — simpler, faster, but with the same soul-soothing satisfaction. Perfect for impressing guests without stress, or turning a simple weeknight into something memorable.
What Ingredients You Will Need
This recipe uses simple, wholesome ingredients to deliver bold flavor and satisfying texture without the fuss. Most of these are pantry staples, which is exactly what you want on a busy weeknight. Here’s what you’ll need:
For the Banana Bread
- 3 ripe bananas, mashed (the spottier, the better — they’re sweeter and easier to mash)
- 1/3 cup unsalted butter, melted (I use salted butter in a pinch and just reduce the added salt by a pinch)
- 3/4 cup granulated sugar (you can use brown sugar for a deeper flavor, but white works perfectly)
- 1 large egg, room temperature (cold eggs can seize the butter, so let it sit out for 15 minutes)
- 1 teaspoon vanilla extract (pure vanilla is best, but imitation works in a bind)
- 1 1/2 cups all-purpose flour (spoon and level it — don’t scoop directly from the bag or you’ll get too much)
- 1 teaspoon baking soda (check the expiration date — old baking soda won’t give you that rise)
- 1/2 teaspoon salt (fine sea salt or table salt is fine)
- Optional: 1/2 cup mix-ins (chocolate chips, walnuts, or blueberries — more on that later)
A quick note on the bananas: I recommend using bananas that are heavily spotted, almost black. They’re softer, sweeter, and mash into a near-liquid that blends beautifully into the batter. If your bananas aren’t ripe enough, you can speed things up by baking them at 300°F for 15 minutes until they’re soft and fragrant. I’ve done this many times when the craving hit early.
For the butter, I prefer unsalted so I can control the salt level. But honestly, if you only have salted, just skip the extra salt in the recipe and it’ll be fine. I’ve done it both ways and the result is always delicious.
As for the flour, I’ve tested this with whole wheat pastry flour and a 50/50 blend of all-purpose and spelt. Both work, but the texture changes slightly — whole wheat makes it denser, while spelt keeps it tender. If you’re gluten-free, use a good 1:1 gluten-free flour blend. I like King Arthur’s for this recipe.
Equipment Needed
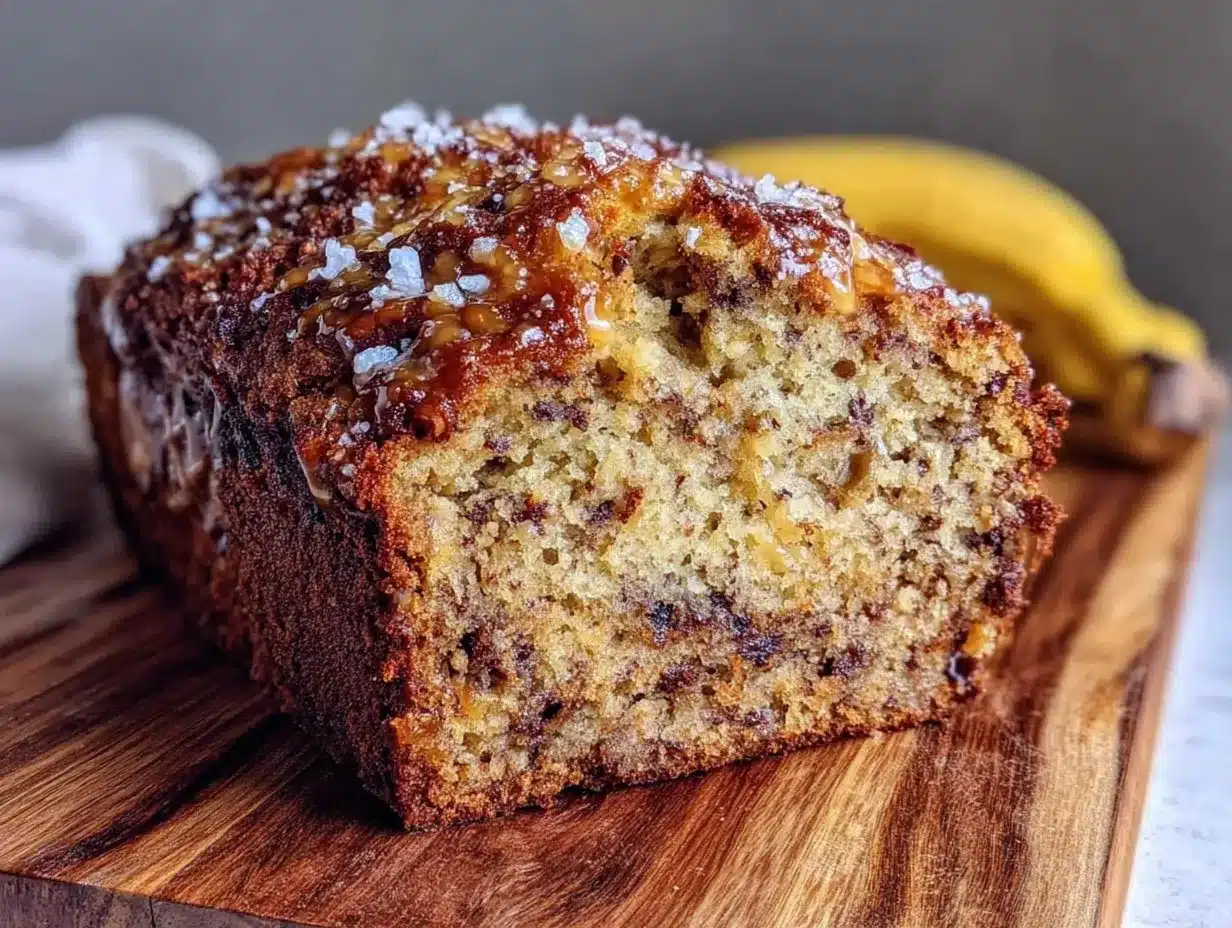
Here’s the beautiful part — you barely need anything. This is truly a one-bowl recipe, and I mean that literally.
- One large mixing bowl (any size works, but a 2-quart bowl is ideal)
- A fork or potato masher (for mashing the bananas — a fork works great, but a masher is faster)
- A wooden spoon or rubber spatula (for mixing the batter)
- A 9×5-inch loaf pan (if you don’t have one, an 8×4-inch pan works — just bake a little longer)
- Parchment paper or non-stick spray (parchment makes lifting the bread out so much easier)
- Cooling rack (optional but helpful — a wire rack lets the bread cool evenly)
I’ve made this with a whisk, a fork, and even a chopstick in a pinch. The key is to not overmix, so whatever tool you use, just stir gently. If you don’t have a loaf pan, you can bake this in an 8×8-inch square pan for about 30-35 minutes. It’ll be a little thinner, but just as delicious. My first attempt at this recipe was in a cast iron skillet because I’d lent my loaf pan to a friend. It worked surprisingly well — just keep an eye on the edges so they don’t burn.
Preparation Method
Alright, let’s get to it. This is the easy part. I’ll walk you through each step, including what to look for so you know you’re on the right track.
- Preheat your oven to 350°F (175°C). While it’s heating, grease your 9×5-inch loaf pan with butter or non-stick spray. I like to line it with a strip of parchment paper that hangs over the two long sides — it makes lifting the bread out so much easier. Trust me on this one.
- Mash the bananas in your large mixing bowl. Use a fork or potato masher. Mash them until they’re mostly smooth, with just a few small lumps. You want a texture similar to chunky applesauce. If you over-mash, don’t worry — it’ll still work. This should take about 30 seconds.
- Add the melted butter and sugar to the bananas. Stir everything together with your wooden spoon until it’s well combined. The mixture will look a little grainy from the sugar, and that’s totally fine. Stir for about 30 seconds — you want the sugar to start dissolving into the banana mixture.
- Crack in the egg and add the vanilla. Stir until the egg is fully incorporated. The batter will look smooth and glossy at this point. If you see any streaks of egg, keep stirring gently until they disappear. This takes about 20 seconds.
- Add the flour, baking soda, and salt directly on top of the wet ingredients. Don’t sift. Just dump them in. Stir gently, using a folding motion, until you see just a few streaks of flour left. Stop. Seriously, stop. Overmixing at this stage will make your bread tough. A few lumps are fine. The batter should be thick but scoopable.
- Fold in any mix-ins now, if using. Gently stir in chocolate chips, nuts, or whatever you’ve chosen. Use about 5-6 strokes, just until they’re evenly distributed. Don’t overdo it.
- Pour the batter into your prepared loaf pan. Use your spatula to spread it evenly. The batter will be thick, so take a moment to push it into the corners. Give the pan a gentle tap on the counter to release any air bubbles.
- Bake for 50-60 minutes. Start checking at 50 minutes. Your bread is done when a toothpick inserted into the center comes out clean or with just a few moist crumbs. The top should be golden brown and cracked. If the top is browning too quickly (around 40 minutes), tent it loosely with foil.
- Let it cool in the pan for 10 minutes. Then use the parchment paper to lift it out and transfer it to a wire rack. Let it cool completely before slicing — about 1 hour. I know it’s hard to wait, but slicing too early will make it crumble.
A quick note on timing: The total time from start to oven is about 8-10 minutes. The hardest part is waiting for it to cool. I’ve caved and sliced it warm before, and while it’s delicious, the texture is much better when it’s fully cooled. The crumb sets and the flavors meld together. Patience pays off here.
Cooking Tips & Techniques
Over the years, I’ve made this banana bread more times than I can count. I’ve had failures — dry loaves, sunken middles, burnt edges — and I’ve learned from every single one. Here are the tips I wish someone had told me from the start:
Don’t overmix the batter. This is the number one mistake I see. When you stir the flour into the wet ingredients, gluten develops. The more you stir, the tougher the bread gets. Stir just until the flour disappears. A few lumps are your friend. I once got distracted and stirred for a full minute, thinking “more is better.” The result was a dense, rubbery loaf that my kids politely declined.
Check your baking soda. Baking soda loses its potency over time. If yours has been sitting in the back of your pantry for a year, it might not give you that beautiful rise. To test it, drop a teaspoon into a small bowl of vinegar. If it fizzes vigorously, it’s good. If not, buy a new box. Trust me, a sunken banana bread is a sad thing.
Use room temperature ingredients. Cold eggs can cause the melted butter to seize up, creating lumps in your batter. Let your egg sit out for 15 minutes before you start. If you’re in a rush, place the egg in a bowl of warm water for 5 minutes. It makes a difference in how smoothly everything comes together.
Let it cool completely. I know I said this already, but it’s worth repeating. Slicing warm banana bread is tempting, but the crumb hasn’t set yet. You’ll end up with a gummy texture and a knife full of sticky crumbs. Give it the full hour. Use that time to clean your one bowl and sit down with a cup of tea.
Toast leftover slices. If you have any left after day one (which is rare in my house), toast the slices in a buttered skillet or toaster oven. The edges get crispy, the inside stays soft, and it’s like a whole new dessert. I like mine with a little extra butter and a sprinkle of cinnamon.
Variations & Adaptations
This recipe is wonderfully flexible. Here are some variations I’ve tried and loved:
Chocolate Chip Banana Bread: Fold in 1/2 cup of semi-sweet chocolate chips. I use dark chocolate because it balances the sweetness of the bananas. My kids prefer milk chocolate. Either way, it’s a crowd-pleaser. I once added a handful of mini chocolate chips on top before baking, and it created a beautiful, melty crust.
Nutty Banana Bread: Add 1/2 cup of chopped walnuts or pecans. Toast them first in a dry pan for 3-4 minutes to bring out their flavor. I prefer walnuts because they don’t overpower the banana. My husband, on the other hand, swears by pecans. We’ve learned to make two loaves.
Blueberry Banana Bread: Fold in 1 cup of fresh or frozen blueberries. If using frozen, toss them in a tablespoon of flour first to prevent them from sinking to the bottom. This variation is especially good in summer when blueberries are in season. The burst of tartness against the sweet banana is perfect.
Vegan Version: Replace the egg with a flax egg (1 tablespoon ground flaxseed mixed with 3 tablespoons water, let sit for 5 minutes). Use coconut oil or vegan butter instead of regular butter. The texture is slightly denser but still delicious. I’ve made this for a friend with dietary restrictions and she asked for the recipe twice.
Gluten-Free Version: Use a 1:1 gluten-free flour blend. I’ve had the best luck with King Arthur’s Measure for Measure. Add an extra tablespoon of milk or yogurt to help with moisture, as gluten-free flours can be drier. The crumb will be a little more delicate, so let it cool completely before slicing.
Serving & Storage Suggestions
This banana bread is best served at room temperature, sliced thick. I like mine with a pat of salted butter that melts into the warm crumb. For an extra treat, spread a little honey or maple syrup on top. It’s also wonderful with a dollop of Greek yogurt or a scoop of vanilla ice cream for dessert.
For storage, wrap the cooled loaf tightly in plastic wrap or aluminum foil. It will keep at room temperature for up to 3 days. I’ve found that the flavor actually improves on day two — the banana flavor becomes more pronounced and the texture softens slightly.
To freeze, wrap the cooled loaf in plastic wrap, then a layer of foil, and place it in a freezer-safe bag. It will keep for up to 3 months. When you’re ready to enjoy it, thaw it overnight in the refrigerator or on the counter for a few hours. You can also freeze individual slices — just wrap them separately and pop them in the toaster for a quick breakfast.
For reheating, I prefer the toaster oven or a skillet. A 10-second zap in the microwave works in a pinch, but it can make the bread a little rubbery. If you’re reheating a whole loaf, wrap it in foil and warm it in a 300°F oven for 10-15 minutes.
One thing I’ve noticed: this bread stays moist longer than other banana breads I’ve made. I think it’s the banana-sugar mashing technique. Even on day three, it’s still tender and delicious. That said, it rarely lasts that long in my house.
Nutritional Information & Benefits
Here’s the estimated nutritional breakdown for one slice (based on 10 slices per loaf, without mix-ins):
- Calories: 210
- Fat: 8g
- Carbohydrates: 33g
- Fiber: 1g
- Sugar: 18g
- Protein: 3g
Bananas are a great source of potassium, which supports heart health and muscle function. They also contain vitamin B6 and vitamin C. The butter provides a small amount of vitamin A, and the egg adds high-quality protein. This isn’t a health food, but it’s a wholesome treat made from real ingredients. I feel good about serving it to my family because I know exactly what’s in it.
If you’re watching your sugar intake, you can reduce the sugar to 1/2 cup. The bananas provide natural sweetness, so you won’t miss it as much as you’d think. I’ve made it with 1/2 cup of coconut sugar before, and the flavor was slightly caramel-like and delicious.
Potential allergens: This recipe contains wheat, dairy, and eggs. For a nut-free version, simply omit any nuts. For a dairy-free version, use coconut oil or vegan butter. For an egg-free version, use a flax egg as mentioned above.
Conclusion
This easy one-bowl banana bread is proof that you don’t need a mixer, a dozen bowls, or hours of time to make something truly delicious. It’s the kind of recipe that fits into your life — not the other way around. Whether you’re a seasoned baker or someone who claims they “don’t do baking” (looking at you, Dave), this recipe works. It’s forgiving, it’s fast, and it’s absolutely wonderful.
I love this recipe because it reminds me that good food doesn’t have to be complicated. Some of the best things come from simple ingredients and a little bit of patience. And honestly, the fact that I only have one bowl to wash at the end? That’s the real win.
I’d love to hear how yours turns out. Did you add chocolate chips? Walnuts? Did you sneak a slice before it cooled? (No judgment here.) Leave a comment below and let me know. And if you loved this recipe, share it with a friend who needs a little comfort on a busy weeknight. Happy baking!
Frequently Asked Questions
Can I use frozen bananas for this recipe?
Absolutely! Thaw them first, then drain off any excess liquid. The texture will be softer, but they mash beautifully. I actually prefer frozen bananas because they’re extra sweet and almost syrupy when thawed.
Why did my banana bread sink in the middle?
This usually happens for one of three reasons: your baking soda is old, you overmixed the batter, or you opened the oven door too early. Check your baking soda, stir gently, and resist the urge to peek until the 50-minute mark.
Can I make this into muffins instead?
Yes! This batter works perfectly for muffins. Divide it into a greased or lined 12-cup muffin tin and bake at 350°F for 18-22 minutes. Check with a toothpick — they’re done when it comes out clean. You’ll have perfect banana muffins in less time.
How do I know when the banana bread is done?
The top should be golden brown and cracked. Insert a toothpick or a thin knife into the center — if it comes out clean or with just a few moist crumbs, it’s done. If it’s wet with batter, give it another 5 minutes and check again.
Can I reduce the sugar in this recipe?
Yes, you can reduce it to 1/2 cup without major issues. The bananas provide natural sweetness, so the bread will still be delicious. I’ve also successfully used 1/2 cup of coconut sugar or maple syrup (reduce the butter slightly if using maple syrup). The texture will be a little denser with less sugar, but still good.
Pin This Recipe!
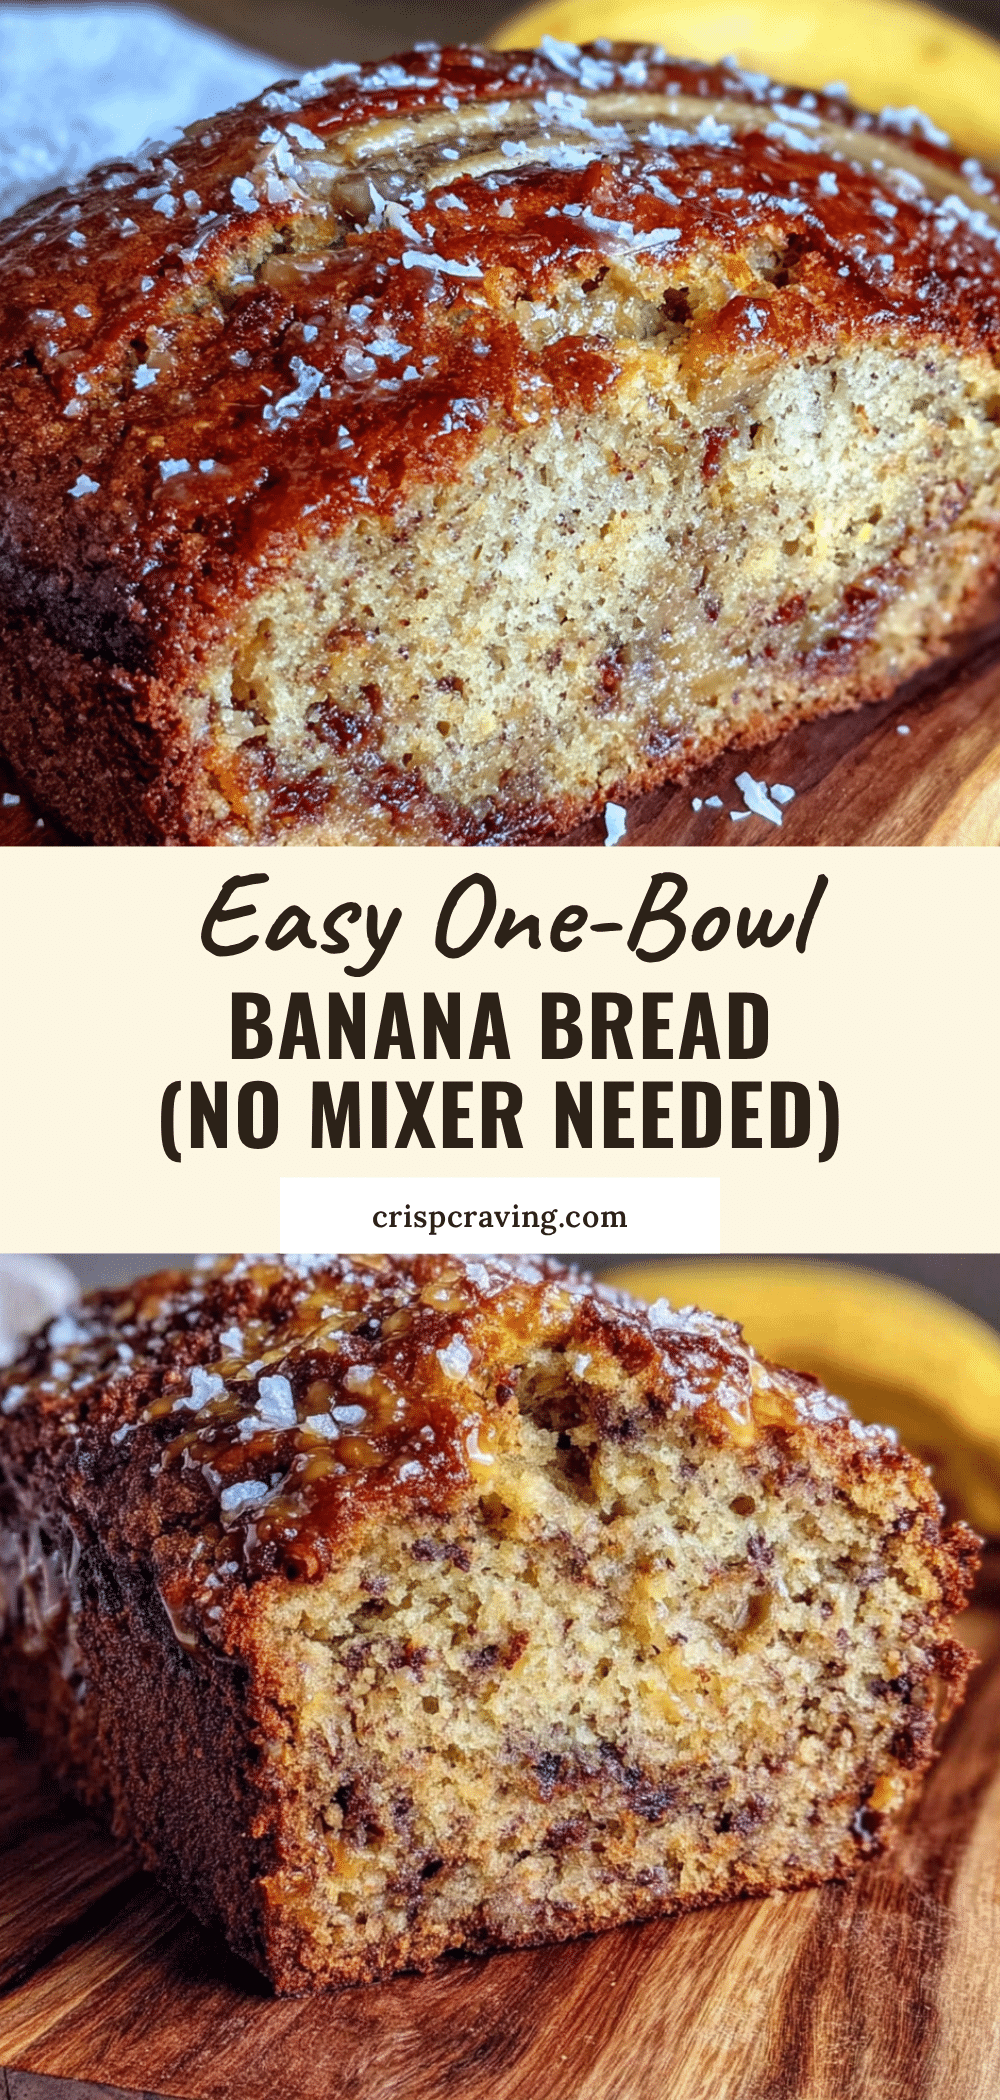
Easy One-Bowl Banana Bread Recipe – Best Homemade
This easy one-bowl banana bread is proof that you don’t need a mixer, a dozen bowls, or hours of time to make something truly delicious. It’s the kind of recipe that fits into your life — not the other way around.
- Prep Time: 10 minutes
- Cook Time: 55 minutes
- Total Time: 1 hour 5 minutes
- Yield: 10 servings 1x
- Category: Dessert
- Cuisine: American
Ingredients
- 3 ripe bananas, mashed
- 1/3 cup unsalted butter, melted
- 3/4 cup granulated sugar
- 1 large egg, room temperature
- 1 teaspoon vanilla extract
- 1 1/2 cups all-purpose flour
- 1 teaspoon baking soda
- 1/2 teaspoon salt
- Optional: 1/2 cup mix-ins (chocolate chips, walnuts, or blueberries)
Instructions
- Preheat your oven to 350°F (175°C). Grease your 9×5-inch loaf pan with butter or non-stick spray. Line with parchment paper for easy removal.
- Mash the bananas in your large mixing bowl with a fork or potato masher until mostly smooth with a few small lumps.
- Add the melted butter and sugar to the bananas. Stir until well combined and the sugar starts to dissolve.
- Crack in the egg and add the vanilla. Stir until the egg is fully incorporated and the batter is smooth and glossy.
- Add the flour, baking soda, and salt directly on top of the wet ingredients. Stir gently with a folding motion until just a few streaks of flour remain. Do not overmix.
- Fold in any mix-ins (chocolate chips, nuts, etc.) if using, using about 5-6 strokes.
- Pour the batter into the prepared loaf pan. Spread evenly and tap the pan gently on the counter to release air bubbles.
- Bake for 50-60 minutes, until a toothpick inserted into the center comes out clean or with a few moist crumbs. If the top browns too quickly, tent with foil.
- Let the bread cool in the pan for 10 minutes, then lift it out using the parchment paper and transfer to a wire rack. Cool completely before slicing (about 1 hour).
Notes
For best results, use heavily spotted bananas. Do not overmix the batter. Let the bread cool completely before slicing to avoid a gummy texture. Leftover slices can be toasted in a buttered skillet or toaster oven.
Nutrition
- Serving Size: 1 slice
- Calories: 210
- Sugar: 18
- Sodium: 200
- Fat: 8
- Saturated Fat: 4.5
- Carbohydrates: 33
- Fiber: 1
- Protein: 3
Keywords: banana bread, easy banana bread, one-bowl banana bread, homemade banana bread, quick banana bread



