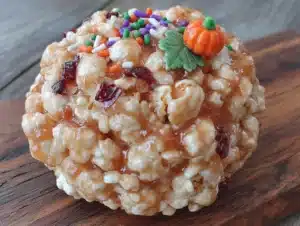
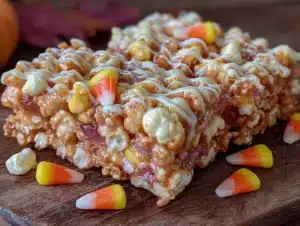
Love this? Save it for later!
Share the inspiration with your friends
I had sworn off Halloween treats entirely. For years. Every October, I watched other parents post those gorgeous photos of themed snacks—mummy hot dogs, witch-hat cookies, graveyard dirt cups—and I felt a mix of admiration and exhaustion. Because the stuff I attempted always ended up the same way: too much sugar, too much food coloring, too much effort for a two-minute devour before the kids ran off to the next sugar hit. I told myself we were a “minimal-candy household” and that homemade caramel corn was just asking for a sticky disaster. Then last Halloween, my neighbor Karen knocked on my door at 4 p.m. holding a wax-paper-lined baking sheet. “I made too many,” she said, which was a lie—she always made exactly the right amount. She was just being Karen. I took one polite bite of her spooky salted caramel popcorn balls, and honestly? I felt my whole stance crumble. The caramel was chewy but not jaw-locking, the salt hit right behind the sweetness, and the little candy eyes she’d pressed into the top gave them this ridiculous, charming personality. I stood there in my doorway, eating a second one, then a third, while Karen smiled like she’d just won a bet she never told me about. That was the moment I realized I’d been wrong about Halloween treats all along. Maybe you’ve been there too—stubborn about something in the kitchen until the right version proves you wrong. This is that version.
Why You’ll Love This Recipe
I’ve tested this recipe six times over three Halloweens, and let me tell you—it’s the one that finally made my kids ask to help in the kitchen without me bribing them. These spooky salted caramel popcorn balls hit every note a family-friendly Halloween treat should.
- Quick & Easy: From stovetop to table in under 30 minutes. No candy thermometer, no fussy steps. Perfect for that last-minute classroom party or the night before trick-or-treating.
- Simple Ingredients: You likely have everything in your pantry right now—popcorn kernels, butter, brown sugar, corn syrup, salt. The spooky decorations are just candy eyes and orange sprinkles from the baking aisle.
- Perfect for Halloween: These are portable, non-melting, and kid-friendly in every way. No chocolate smears on costumes, no sticky fingers on doorframes.
- Crowd-Pleaser: My neighbor’s kids ate four each at our block party. My own children fought over who got to press the candy eyes in. Even adults who “don’t do sweets” grabbed one.
- Unbelievably Delicious: The salted caramel is the real star here—buttery, deep, with that flaky sea salt that makes you close your eyes after the first bite. The popcorn stays crispy on the outside, tender inside.
What makes this recipe different from the dozens of caramel popcorn recipes online? It’s the balance. Most versions are either too hard (candy-like, dangerous for little teeth) or too sticky (a napkin nightmare). This one hits that Goldilocks zone—chewy but not gluey, sweet but not cloying, with the salt cutting through just enough to keep you reaching for another. Plus, the spooky factor is entirely customizable. You can make them look like monsters, ghosts, or pumpkins with minimal effort. Honestly, it’s comfort food reimagined for the spooky season—faster, cleaner, but with the same soul-soothing satisfaction.
What Ingredients You Will Need
This recipe uses simple, wholesome ingredients to deliver bold flavor and satisfying texture without the fuss. Most of these are pantry staples, which is exactly what you want when Halloween sneaks up on you.
- For the popcorn base:
- 10 cups popped popcorn (about 1/3 cup unpopped kernels, or one 3-ounce bag of microwave popcorn, plain unsalted)
- 1 tablespoon unsalted butter, melted (for drizzling over popcorn before coating)
- 1/4 teaspoon fine sea salt (to season the popcorn lightly)
- For the salted caramel coating:
- 1/2 cup unsalted butter (1 stick, cut into cubes for even melting)
- 1 cup packed light brown sugar (dark brown works too, but light gives a milder caramel flavor)
- 1/2 cup light corn syrup (or honey in a pinch—though corn syrup yields the best chew)
- 1/2 teaspoon fine sea salt (plus more for finishing)
- 1 teaspoon vanilla extract (pure, not imitation, for depth)
- 1/2 teaspoon baking soda (this is the secret to the chewy-not-hard texture—don’t skip it)
- For the spooky decorations:
- 1/4 cup candy eyes (the little white-and-black ones from the baking aisle)
- 2 tablespoons orange sprinkles or jimmies
- 1 tablespoon black sprinkles (or use black sanding sugar)
- Optional: 1/4 cup mini chocolate chips (for “warts” or “eyebrows”)
- For finishing:
- 1 teaspoon flaky sea salt (like Maldon—this is non-negotiable for that professional salted caramel hit)
Ingredient notes from my kitchen: I recommend using a good-quality butter like Kerrygold for the richest caramel flavor—it makes a difference you can taste. For the popcorn, I prefer air-popped because it stays crisper, but microwave plain popcorn works fine as long as you avoid the butter-flavored varieties (they add artificial taste). If you’re using honey instead of corn syrup, expect a slightly softer, more delicate caramel—still delicious, but handle gently. And please, please use flaky sea salt for the finish. Table salt just dissolves and you lose that beautiful salty crunch that makes these popcorn balls so addictive.
Equipment Needed
You don’t need any fancy gear for these spooky salted caramel popcorn balls, which is exactly how Halloween should be. Here’s what you’ll need:
- Large pot with lid (for popping popcorn, or use an air popper if you have one)
- Large mixing bowl (metal or glass—plastic can hold odors and affect the caramel)
- Medium saucepan (heavy-bottomed is best for even caramel heating)
- Wooden spoon or silicone spatula (heat-resistant, for stirring caramel)
- Baking sheet (lined with parchment paper or a silicone baking mat)
- Wax paper (for shaping the balls—trust me, it’s a lifesaver)
- Measuring cups and spoons
- Kitchen timer (the caramel goes from perfect to burnt fast)
If you don’t have an air popper, no worries—I’ve made these using stovetop popcorn for years. Just use a heavy-bottomed pot with a tight lid. My first batch ever was made with a $12 pot from a discount store, and they turned out fantastic. The one thing I recommend not skimping on is the silicone baking mat—it makes cleanup so much easier than parchment paper, which can sometimes stick if the caramel seeps through.
Preparation Method
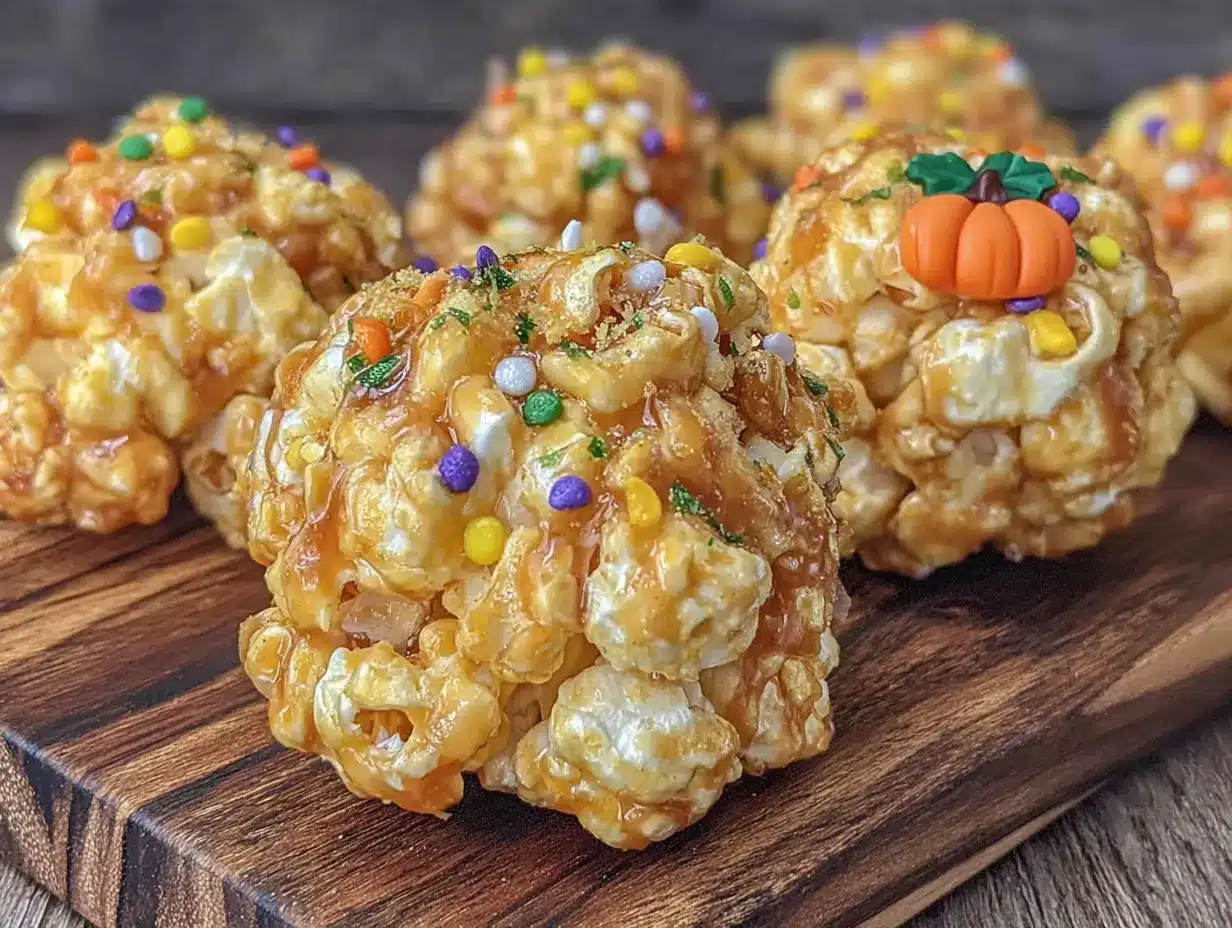
- Pop the popcorn. If using stovetop method, heat 2 tablespoons of coconut or vegetable oil in a large pot over medium-high heat. Add 3 popcorn kernels and wait for them to pop. Once they do, add the remaining 1/3 cup kernels, cover, and shake the pot occasionally. When the popping slows to 2-3 seconds between pops, remove from heat. Pour into a large bowl and pick out any unpopped kernels (trust me, nobody wants a broken tooth on Halloween). If using microwave popcorn, follow package directions for plain unsalted. You should have about 10 cups.
- Prepare the popcorn base. Drizzle the 1 tablespoon melted butter over the warm popcorn and toss gently. Sprinkle with 1/4 teaspoon fine sea salt and toss again. This step ensures the caramel has something to grip onto. Spread the popcorn on the prepared baking sheet in an even layer and set aside.
- Make the caramel. In a medium saucepan over medium heat, combine the 1/2 cup butter, 1 cup brown sugar, 1/2 cup corn syrup, and 1/2 teaspoon fine sea salt. Stir constantly with your wooden spoon until the butter is melted and the mixture is smooth—about 2 minutes. Stop stirring once it’s combined, and let it come to a gentle boil. Let it boil without stirring for exactly 4 minutes. Set a timer! The first time I made these, I walked away for “just a second” and came back to a burnt, bitter mess that smelled like a sugar factory fire.
- Finish the caramel. After 4 minutes, remove the saucepan from heat. Stir in the 1 teaspoon vanilla extract and 1/2 teaspoon baking soda. The mixture will bubble up and foam—this is normal and good. The baking soda creates air pockets that keep the caramel chewy instead of rock-hard. Stir until the foam subsides, about 10 seconds.
- Coat the popcorn. Immediately pour the hot caramel over the popcorn on the baking sheet. Use your wooden spoon or spatula to gently fold and toss until every kernel is coated. Work quickly but carefully—the caramel sets fast. You’ll know it’s ready when the popcorn looks glossy and slightly clumpy.
- Shape the balls. Let the caramel-coated popcorn cool for exactly 2-3 minutes—long enough that it won’t burn your hands, but still warm and pliable. Lightly grease your hands with butter or cooking spray. Take a handful of the mixture (about 1/2 cup) and gently press it into a ball shape. Don’t squeeze too hard or you’ll crush the popcorn—just enough to hold it together. Place each ball on a fresh piece of wax paper. You should get about 12 medium-sized balls.
- Decorate immediately. While the caramel is still tacky (within 1-2 minutes of shaping), press in the candy eyes, sprinkles, and chocolate chips to create your spooky faces. My kids love making “monster” faces with two eyes and a sprinkle mouth. You can also make ghost faces with just eyes, or pumpkin faces with orange sprinkles around the edges. Work fast—once the caramel sets, nothing sticks.
- Finish with salt. Sprinkle the flaky sea salt over the tops of each popcorn ball. This is the moment that transforms them from “good” to “I can’t stop eating these.” The salt crystals should be visible and slightly uneven—that’s the look you want.
- Let them set. Allow the popcorn balls to cool completely at room temperature, about 20 minutes. The caramel will firm up but stay chewy. Don’t refrigerate them—condensation will make the popcorn soggy.
Cooking Tips & Techniques
I’ve made more batches of these spooky salted caramel popcorn balls than I care to admit, and I’ve learned a few things the hard way. Here’s what I wish someone had told me:
The caramel timing is everything. That 4-minute boil? I set a timer on my phone every single time. The difference between 3 minutes and 5 minutes is the difference between a soft, chewy caramel and a tooth-cracking hard candy. If you live at high altitude, reduce the boil time by 30 seconds—I learned this after a disastrous batch at my sister’s mountain cabin.
Don’t skip the baking soda. I know it seems weird to add baking soda to caramel, but it’s the secret to that perfect chewy texture. Without it, the caramel sets too hard and you end up with popcorn that crunches more than it should. The baking soda creates tiny air bubbles that keep the caramel tender.
Work in small batches when shaping. If you try to shape all 12 balls at once, the caramel will cool and become unworkable halfway through. I shape 4 balls at a time, then go back and decorate them before moving on. It keeps the caramel at the perfect temperature.
Humidity is your enemy. These popcorn balls are best made on a dry day. If it’s rainy or humid outside, the caramel can absorb moisture and become sticky. I learned this the hard way when I made a batch for a Halloween party during an unexpected rainstorm—they were still delicious, but they didn’t hold their shape as well.
Keep your hands lightly greased. Reapply butter or cooking spray between each ball. The caramel will stick to dry hands and make a mess. I keep a small bowl of melted butter nearby and just dip my fingers in before shaping each ball.
Variations & Adaptations
One of the best things about these spooky salted caramel popcorn balls is how easy they are to adapt. Here are a few versions I’ve tried over the years:
- Gluten-Free Version: This recipe is naturally gluten-free as written—just make sure your corn syrup and sprinkles are certified gluten-free if you’re serving someone with celiac. I’ve used this version for my niece who has gluten sensitivity, and she couldn’t tell the difference.
- Vegan Adaptation: Substitute the butter with vegan butter (I like Miyoko’s) and use coconut sugar instead of brown sugar. The texture is slightly different—a bit more crumbly—but the flavor is still fantastic. My vegan neighbor requested these for her Halloween party last year.
- Peanut Butter Caramel: Stir in 2 tablespoons of creamy peanut butter into the caramel after removing from heat. The peanut butter adds a savory depth that pairs beautifully with the salt. My kids call these “Reese’s popcorn balls” and they disappear fastest at parties.
- Spicy-Sweet Version: Add 1/4 teaspoon of cayenne pepper to the caramel along with the vanilla. The heat sneaks up on you after the sweetness—perfect for adult Halloween gatherings. I brought these to a grown-up costume party and they were the first thing to go.
- Chocolate Drizzle: After the popcorn balls have set, melt 1/2 cup of dark chocolate chips with 1 teaspoon of coconut oil and drizzle over the tops. Let the chocolate set before serving. It adds a professional bakery look that’s surprisingly easy to achieve.
Serving & Storage Suggestions
These spooky salted caramel popcorn balls are best served at room temperature, right after the caramel has set. The texture is perfect—chewy caramel with crispy popcorn and that flaky salt finish. I like to arrange them on a large platter lined with black or orange tissue paper for maximum Halloween effect.
For parties: Place each popcorn ball in a mini cupcake liner for easy grabbing. They’re perfect for classroom parties, trunk-or-treat events, or Halloween movie nights. My kids love taking them to their friends’ houses as a homemade Halloween treat.
Storage: Store any leftovers in an airtight container at room temperature for up to 3 days. Place wax paper between layers to prevent sticking. Do not refrigerate—the moisture will make the popcorn soggy and the caramel can become grainy. If you live in a humid climate, add a food-safe silica gel packet to the container to absorb excess moisture.
Freezing: You can freeze these popcorn balls for up to 2 months. Wrap each one individually in plastic wrap, then place in a freezer-safe bag. Thaw at room temperature for about 30 minutes before serving. The texture won’t be quite as perfect as fresh, but they’re still delicious—I’ve done this for pre-Halloween prep many times.
Flavor development: Honestly, these are best the day they’re made. The caramel is at its peak chewiness, and the popcorn is still perfectly crisp. By day two, the popcorn starts to soften slightly from the caramel’s moisture. They’re still good, just not as texturally perfect.
Nutritional Information & Benefits
Let’s be real—these are a treat, not a health food. But compared to store-bought Halloween candy, they’re actually a better option. Here’s the estimated nutritional breakdown per popcorn ball (based on 12 servings):
- Calories: 215
- Total Fat: 11g
- Saturated Fat: 7g
- Cholesterol: 30mg
- Sodium: 310mg (mostly from the flaky salt)
- Total Carbohydrates: 30g
- Dietary Fiber: 1g
- Sugars: 20g
- Protein: 2g
Health benefits to note: Popcorn is a whole grain, which means it contains fiber that helps with digestion and keeps you feeling full longer. The butter and salt provide some fat-soluble vitamins, though in small amounts. And honestly? The biggest benefit is that you know exactly what’s in these—no artificial preservatives, no high-fructose corn syrup beyond what’s in the corn syrup itself, no mystery ingredients. Compared to a bag of processed Halloween candy, these are a win for parents who want to control what their kids are eating.
Allergen considerations: This recipe contains dairy (butter) and corn (popcorn, corn syrup). For nut-free versions, skip the peanut butter variation and check your candy eyes for nut-based coloring. For those with corn allergies, substitute the popcorn with puffed rice cereal and use brown rice syrup instead of corn syrup—the texture will be different but still delicious.
Conclusion
These spooky salted caramel popcorn balls have become our family’s Halloween tradition, and I honestly can’t imagine October without them anymore. They’re the treat that proves you don’t need complicated techniques or expensive ingredients to create something memorable. The kids love making their own spooky faces, the adults love the salted caramel flavor, and everyone loves that they’re not another chocolate bar or lollipop.
I hope you give these a try—whether you’re a Halloween enthusiast or a reluctant convert like me. Customize them however you like, make them your own, and don’t forget to share photos. There’s something magical about watching a child’s face light up when they see a popcorn ball with googly eyes staring back at them.
If you make these, I’d love to hear about it. Leave a comment below with your favorite spooky decoration combo, or tag me in your photos. And if you’re looking for more easy Halloween treats, check out our spiderweb dip recipe or these pumpkin-shaped cookies that use the same basic caramel technique. Happy Halloween, and happy snacking!
Frequently Asked Questions
Can I use pre-popped bagged popcorn?
Yes, you can use plain, unbuttered bagged popcorn. Just make sure it’s not the butter-flavored kind, which can make the caramel slide off. If you only have buttered popcorn, you can rinse it quickly in a colander and pat it dry—though honestly, it’s easier to just pop fresh.
Why did my caramel turn out too hard?
You likely boiled the caramel too long. That 4-minute timer is crucial—any longer and the sugar reaches a higher temperature, creating a harder candy. Next time, set your timer and don’t walk away. Also, make sure you added the baking soda—it’s the secret to keeping the caramel chewy.
Can I make these popcorn balls ahead of time?
You can make them up to 2 days ahead, but they’re best within 24 hours. Store them in an airtight container at room temperature with wax paper between layers. If you need to make them further ahead, freeze them for up to 2 months and thaw at room temperature.
How do I keep the popcorn balls from falling apart?
Make sure your caramel is hot enough when you coat the popcorn, and press the balls firmly but gently while the caramel is still warm. If they’re still falling apart, your caramel might be too thin—try boiling it for an extra 30 seconds next time. Also, don’t skip the melted butter drizzle on the popcorn—it helps the caramel adhere.
Can I use microwave popcorn?
Absolutely. Just use plain unsalted microwave popcorn. Avoid the butter-flavored or kettle corn varieties, as the added flavors can clash with the caramel. Pop it according to package directions, then pick out any unpopped kernels before proceeding with the recipe.
Pin This Recipe!
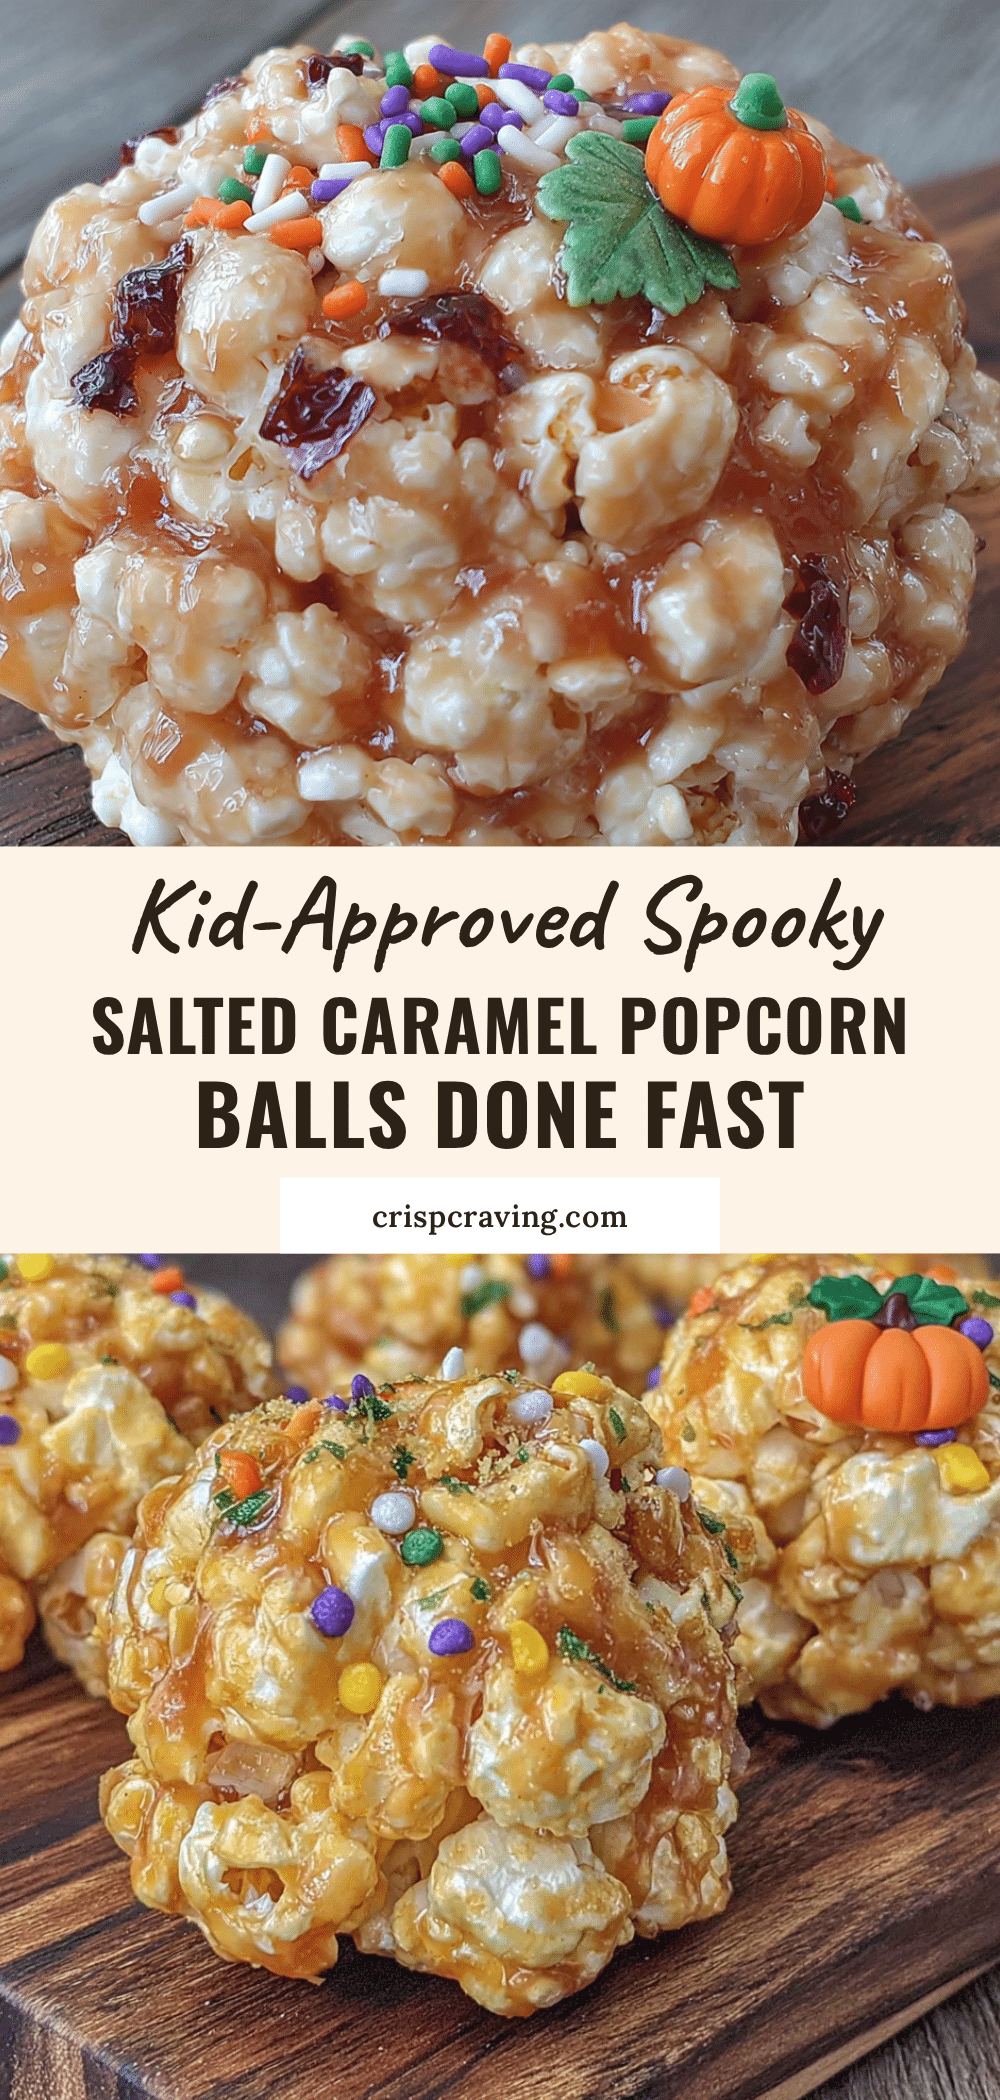
Kid-Approved Spooky Salted Caramel Popcorn Balls: Easy Halloween Treat
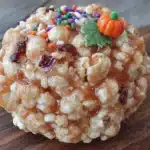
These spooky salted caramel popcorn balls are a quick and easy Halloween treat that kids love. Made with simple pantry ingredients, they feature a perfectly chewy caramel coating, a touch of flaky sea salt, and fun candy eyes for a spooky, kid-friendly snack.
- Prep Time: 10 minutes
- Cook Time: 15 minutes
- Total Time: 25 minutes
- Yield: 12 servings 1x
- Category: Dessert
- Cuisine: American
Ingredients
- 10 cups popped popcorn (about 1/3 cup unpopped kernels, or one 3-ounce bag of microwave popcorn, plain unsalted)
- 1 tablespoon unsalted butter, melted
- 1/4 teaspoon fine sea salt
- 1/2 cup unsalted butter (1 stick, cut into cubes)
- 1 cup packed light brown sugar
- 1/2 cup light corn syrup
- 1/2 teaspoon fine sea salt
- 1 teaspoon vanilla extract
- 1/2 teaspoon baking soda
- 1/4 cup candy eyes
- 2 tablespoons orange sprinkles or jimmies
- 1 tablespoon black sprinkles (or black sanding sugar)
- 1/4 cup mini chocolate chips (optional)
- 1 teaspoon flaky sea salt (like Maldon)
Instructions
- Pop the popcorn. If using stovetop method, heat 2 tablespoons of coconut or vegetable oil in a large pot over medium-high heat. Add 3 popcorn kernels and wait for them to pop. Once they do, add the remaining 1/3 cup kernels, cover, and shake the pot occasionally. When the popping slows to 2-3 seconds between pops, remove from heat. Pour into a large bowl and pick out any unpopped kernels. If using microwave popcorn, follow package directions for plain unsalted. You should have about 10 cups.
- Prepare the popcorn base. Drizzle the 1 tablespoon melted butter over the warm popcorn and toss gently. Sprinkle with 1/4 teaspoon fine sea salt and toss again. Spread the popcorn on the prepared baking sheet in an even layer and set aside.
- Make the caramel. In a medium saucepan over medium heat, combine the 1/2 cup butter, 1 cup brown sugar, 1/2 cup corn syrup, and 1/2 teaspoon fine sea salt. Stir constantly with your wooden spoon until the butter is melted and the mixture is smooth—about 2 minutes. Stop stirring once it’s combined, and let it come to a gentle boil. Let it boil without stirring for exactly 4 minutes. Set a timer!
- Finish the caramel. After 4 minutes, remove the saucepan from heat. Stir in the 1 teaspoon vanilla extract and 1/2 teaspoon baking soda. The mixture will bubble up and foam—this is normal and good. Stir until the foam subsides, about 10 seconds.
- Coat the popcorn. Immediately pour the hot caramel over the popcorn on the baking sheet. Use your wooden spoon or spatula to gently fold and toss until every kernel is coated. Work quickly but carefully—the caramel sets fast.
- Shape the balls. Let the caramel-coated popcorn cool for exactly 2-3 minutes—long enough that it won’t burn your hands, but still warm and pliable. Lightly grease your hands with butter or cooking spray. Take a handful of the mixture (about 1/2 cup) and gently press it into a ball shape. Don’t squeeze too hard or you’ll crush the popcorn—just enough to hold it together. Place each ball on a fresh piece of wax paper. You should get about 12 medium-sized balls.
- Decorate immediately. While the caramel is still tacky (within 1-2 minutes of shaping), press in the candy eyes, sprinkles, and chocolate chips to create your spooky faces. Work fast—once the caramel sets, nothing sticks.
- Finish with salt. Sprinkle the flaky sea salt over the tops of each popcorn ball.
- Let them set. Allow the popcorn balls to cool completely at room temperature, about 20 minutes. The caramel will firm up but stay chewy. Don’t refrigerate them—condensation will make the popcorn soggy.
Notes
The caramel timing is crucial—boil for exactly 4 minutes. Don’t skip the baking soda; it keeps the caramel chewy. Work in small batches when shaping to keep the caramel pliable. Humidity can make the popcorn balls sticky, so make them on a dry day. Keep hands lightly greased with butter or cooking spray to prevent sticking.
Nutrition
- Serving Size: 1 popcorn ball
- Calories: 215
- Sugar: 20
- Sodium: 310
- Fat: 11
- Saturated Fat: 7
- Carbohydrates: 30
- Fiber: 1
- Protein: 2
Keywords: Halloween treats, popcorn balls, salted caramel, kid-friendly, easy Halloween recipe, spooky snacks, caramel popcorn