Love this? Save it for later!
Share the inspiration with your friends
It was 10:47 PM on a random Tuesday in October, and I had a specific, almost desperate craving for something crunchy and sweet. The kids were finally asleep, the living room was a minefield of Lego bricks, and I was wandering the kitchen in a daze. I didn’t have the energy for a full baking project, but I had a bowl of leftover pumpkin seeds from our weekend carving session and a wild idea that just sort of arrived: what if I treated them like a cookie? I mean, honestly, the thought felt a little unhinged at first. Pumpkin seeds are for roasting with salt, right? But something about the late-night quiet made me brave. I grabbed the cinnamon, the sugar, and a bit of melted butter, and I just went for it. Let me tell you, the smell that filled the kitchen was pure magic. I nearly burned my tongue on the first batch because I couldn’t wait for them to cool. That night, a new family favorite was born, and it all started because I couldn’t sleep and had a hunch.
Why You’ll Love This Recipe
This isn’t just another way to use up pumpkin seeds. This is the recipe that turns “gross, what’s that?” into “can I have more?” at my house. I’ve tested this more times than I can count, tweaking the sugar-to-cinnamon ratio and the baking time to get it just right. It’s the kind of snack that makes you feel like a kitchen genius with almost zero effort.
- Quick & Easy: From bowl to crunchy perfection in under 25 minutes. Perfect for when the kids are getting hangry or a sweet craving strikes out of nowhere.
- Simple Ingredients: You probably have everything in your pantry right now. No weird health food store trips required. It’s just pumpkin seeds, butter, sugar, and cinnamon.
- Perfect for After-School Snacks: This is a total lifesaver for those chaotic 3 PM hours. It’s satisfying, a little sweet, and way better than a bag of chips.
- Crowd-Pleaser: I’ve served these at playdates, Halloween parties, and even just for a quiet movie night. Kids and adults alike inhale them. They have that perfect “can’t stop at one” quality.
- Unbelievably Delicious: The secret is in the caramelization. The sugar and butter create a light, crispy coating that clings to every seed. It’s like a tiny, crunchy cinnamon toast, and it’s honestly addictive.
What makes this different from the usual roasted seed? The technique. Instead of just tossing them in oil and salt, we’re creating a light glaze that bakes into a sweet, crunchy shell. It’s a small twist that makes a massive difference. This recipe isn’t just good—it’s the kind of snack that makes you close your eyes after the first bite. It’s comfort food reimagined: faster, simpler, but with the same soul-soothing satisfaction. Perfect for turning a simple Tuesday into something a little bit special.
What Ingredients You Will Need
This recipe uses simple, honest ingredients to deliver big flavor. You likely have most of these in your kitchen already, which is part of the beauty of it.
- 1 cup pumpkin seeds, cleaned and patted dry (fresh from a pumpkin or store-bought raw seeds work great. If using fresh, make sure you’ve rinsed off all the pumpkin guts and let them dry a bit on a towel)
- 2 tablespoons unsalted butter, melted (I use Kerrygold for a richer flavor, but any unsalted butter is fine. The butter is what helps the sugar and cinnamon stick and creates that lovely toasty flavor)
- 3 tablespoons granulated sugar (regular white sugar works best for that classic sweet coating. You could experiment with coconut sugar, but the texture will be a bit grittier)
- 1 ½ teaspoons ground cinnamon (I prefer Saigon cinnamon for its stronger, sweeter flavor, but any cinnamon you have on hand will work perfectly)
- ¼ teaspoon salt (a tiny pinch of salt is crucial! It balances the sweetness and makes the flavors pop. Don’t skip it)
Ingredient Selection Tips: If you’re using fresh pumpkin seeds, the bigger, the better. They tend to be crunchier. For store-bought, look for “raw” or “green” pumpkin seeds (also called pepitas). They are usually already hulled and perfect for baking. If you only have salted roasted seeds, reduce or skip the added salt.
Equipment Needed
You don’t need any fancy gadgets for this recipe, which is another reason I love it. Here’s what you’ll need:
- Baking Sheet: A standard half-sheet pan is perfect. I’ve used old, warped ones and shiny new ones, and they all work. Just make sure it has a rim to prevent seeds from rolling off.
- Parchment Paper: This is a game-changer. It makes cleanup a breeze and prevents the seeds from sticking. I’ve forgotten it before, and trust me, the scrubbing is not worth it.
- Mixing Bowl: Any medium-sized bowl will do. I usually grab my favorite ceramic one.
- Spatula or Spoon: For mixing the seeds with the butter and sugar. A silicone spatula is great for scraping every last bit of that sweet butter mixture.
- Measuring Cups and Spoons: For accuracy. Eyeballing it can lead to a sugar bomb or a bland batch.
Budget-Friendly Options: If you don’t have parchment paper, you can lightly grease your baking sheet with butter or cooking spray. Just watch them closely as they can stick a little more. A rimmed baking sheet is a must, but any oven-safe pan in a pinch can work.
Preparation Method
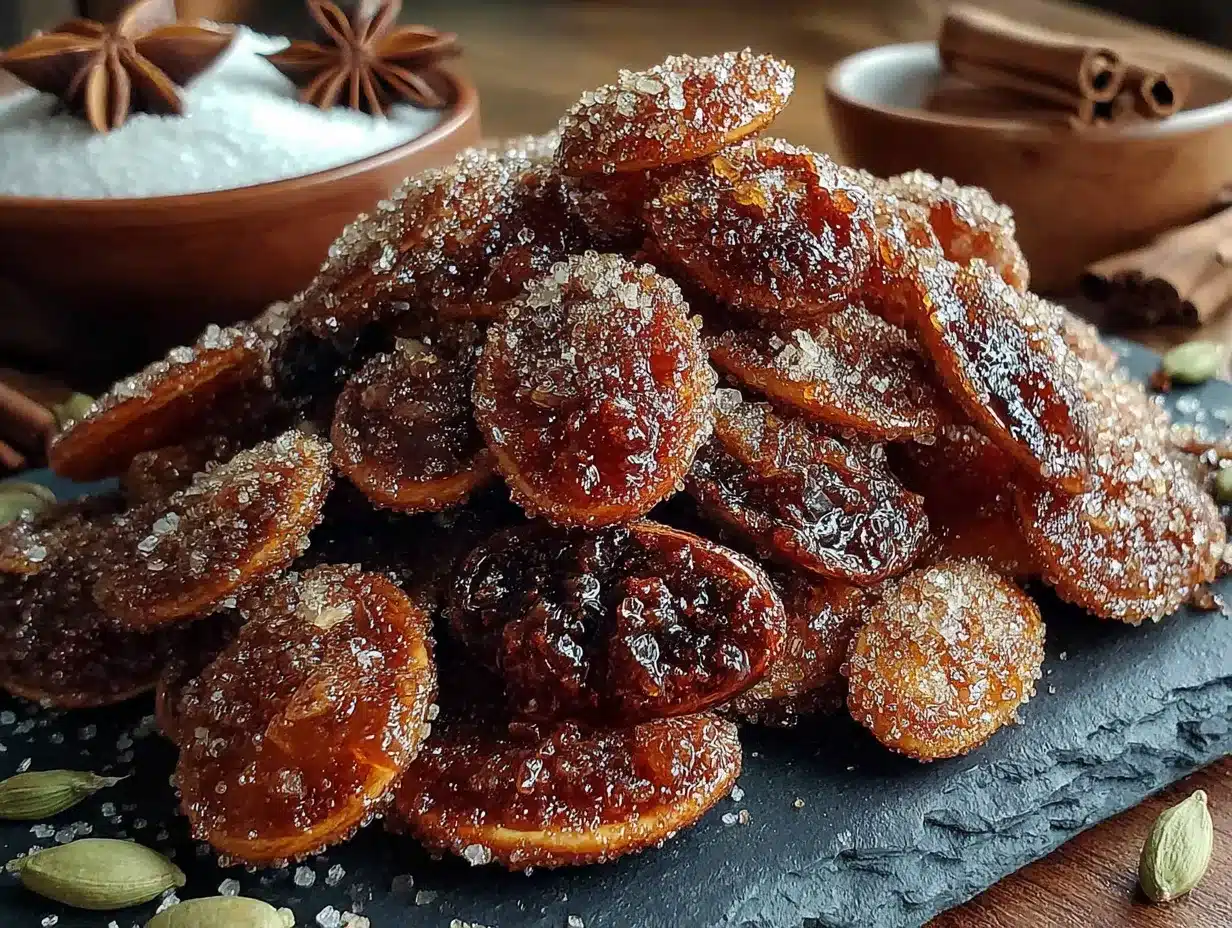
Follow these steps, and you’ll have a perfect batch of crunchy, sweet pumpkin seeds. I’ve made every mistake in the book so you don’t have to.
- Preheat and Prep: Preheat your oven to 300°F (150°C). Line your baking sheet with parchment paper. This is a crucial first step – getting the oven to the right temp ensures even baking.
- Clean Your Seeds: If you’re using fresh pumpkin seeds, place them in a colander and rinse them under cold water. Pick out any big pieces of pumpkin string or pulp. Spread them out on a clean kitchen towel and pat them as dry as you can. Pro-tip: The drier they are, the crunchier they’ll get. I usually let them sit on the towel for about 10 minutes while I get the other ingredients ready.
- Mix the Coating: In your mixing bowl, combine the melted butter, granulated sugar, ground cinnamon, and the pinch of salt. Whisk it together until it forms a sort of gritty paste. It won’t be smooth, and that’s exactly what we want.
- Coat the Seeds: Add the cleaned and dried pumpkin seeds to the bowl with the butter-sugar mixture. Use your spatula or a spoon to stir and toss until every single seed is well coated. You want to see that sugary mixture clinging to all of them. It might look a little clumpy, but that’s perfect.
- Spread on Baking Sheet: Pour the coated seeds onto your prepared baking sheet. Use the back of your spatula to spread them out into a single, even layer. Try not to let them pile up on top of each other, or they’ll steam instead of getting crunchy. A little separation is good.
- Bake to Perfection: Place the baking sheet in the preheated oven and bake for 20-25 minutes. This is where you need to watch them! At the 10-minute mark, take the pan out and give the seeds a good stir with your spatula. This helps them cook evenly. Put them back in. At the 20-minute mark, start checking them. They are done when they are golden brown and the kitchen smells like a cinnamon-sugar dream. They will still feel a tiny bit soft when you take them out, but they will crisp up as they cool.
- Cool Completely: This is the hardest part! Remove the baking sheet from the oven and let the seeds cool completely on the pan. Do not touch them! As they cool, the sugar hardens, creating that amazing crunchy shell. It takes about 15-20 minutes. If you try to eat them warm, the coating will be a bit sticky. Patience, my friend.
Cooking Tips & Techniques
I’ve had my fair share of kitchen failures, and these tips come straight from those mistakes. I once made a batch that was basically a sugar brick because I didn’t spread them out enough.
- The Stir is Non-Negotiable: Don’t skip the stir at the 10-minute mark. The edges of the pan get hotter, and if you don’t stir, half your seeds will be burnt and the other half will be pale. A quick mix ensures even toasting and caramelization.
- Oven Hot Spots: Every oven is a liar. They all have hot spots. If you notice one side of your pan is browning faster than the other, rotate the pan when you stir. Your future self will thank you.
- Don’t Overcrowd: I know it’s tempting to dump all the seeds on one pan, but overcrowding traps steam. This leads to soggy, chewy seeds instead of crunchy ones. If you have a lot of seeds, use two baking sheets or bake them in batches.
- Cooling is Crucial: I cannot stress this enough. Let them cool completely on the baking sheet. I made the mistake of transferring them to a bowl while they were still warm once, and they all stuck together in one giant, sugary clump. It was a delicious clump, but not a snackable one.
- Check for Doneness: The seeds will continue to cook a little from the residual heat of the pan after you pull them out. So, take them out when they are a shade lighter than you think they should be. A light golden brown is the goal.
Variations & Adaptations
This recipe is a fantastic base for experimentation. Here are a few ways I’ve changed it up depending on what I’m in the mood for.
- Spicy-Sweet Kick: Add a pinch of cayenne pepper or a ¼ teaspoon of chili powder along with the cinnamon. The heat cuts through the sweetness beautifully. I tried this on a whim one night, and my husband, who hates spicy food, actually loved it.
- Pumpkin Spice Version: Swap the cinnamon for 2 teaspoons of pumpkin pie spice. It gives the seeds that classic fall flavor and is perfect for a Halloween party or Thanksgiving snack.
- Maple Brown Sugar: Replace the granulated sugar with 2 tablespoons of packed brown sugar and add 1 tablespoon of maple syrup. This creates a deeper, more complex caramel flavor. Just keep an eye on them as the maple syrup can burn a little faster.
- Dietary Adaptation (Vegan): Use melted coconut oil or a vegan butter stick instead of regular butter. It works perfectly and adds a very subtle coconut flavor that pairs nicely with the cinnamon.
Serving & Storage Suggestions
These little guys are so versatile. I love them straight off the baking sheet, but they are also amazing in other ways.
Serving: Serve them at room temperature in a small bowl. They are perfect for munching on their own. I also love sprinkling them over a bowl of vanilla ice cream for a crunchy topping, or over a simple yogurt parfait. They add an incredible texture to salads, too – try them on a spinach salad with dried cranberries and a balsamic vinaigrette. The sweet and salty thing is just perfect.
Storage: If they last that long, store the completely cooled seeds in an airtight container at room temperature. A glass jar or a zip-top bag works great. They will stay crunchy for up to a week. Do not store them in the refrigerator, as the moisture will make them soft.
Reheating: If they lose their crunch after a few days (it happens!), spread them back out on a baking sheet and pop them in a 300°F (150°C) oven for 3-5 minutes. Let them cool again, and they’ll be just as crispy as day one. I’ve done this many times, and it works like a charm.
Nutritional Information & Benefits
While these are a sweet treat, they do come with some surprising benefits thanks to the main ingredient.
Estimated per serving (¼ cup): Calories: 180, Fat: 12g, Carbohydrates: 15g, Protein: 7g, Fiber: 2g, Sugar: 12g.
Health Benefits: Pumpkin seeds are a fantastic source of magnesium, zinc, and healthy fats. They are great for energy and are a good source of plant-based protein. The cinnamon is also known for its anti-inflammatory properties. So, while they are sweet, you are getting a little nutritional boost with every crunchy bite.
Dietary Considerations: This recipe is naturally gluten-free and vegetarian. To make it vegan, simply swap the butter for coconut oil. The main allergen to be aware of is dairy (from the butter).
Conclusion
This recipe is more than just a snack; it’s a little moment of joy. It’s the proof that the best things often come from a late-night hunch and a willingness to try something a little different. These cinnamon sugar baked pumpkin seeds have become a staple in our house, requested for movie nights, school lunches, and just because. They are so easy that you can whip them up without a second thought, and the payoff is huge. I really hope you give them a try and make them your own. Maybe add a little extra cinnamon, or a pinch of nutmeg. The kitchen is your playground. I’d love to hear how they turn out for you! Drop a comment below and let me know if your kids gave them the thumbs up (or if you ate the whole batch yourself – no judgment here). Happy snacking!
Frequently Asked Questions
Can I use salted butter instead of unsalted?
Yes, you can! Just reduce or omit the ¼ teaspoon of salt in the recipe to keep it from becoming too salty.
My pumpkin seeds are still a little chewy. What went wrong?
This usually happens if the seeds weren’t dried well before coating, or if they were overcrowded on the baking sheet. Make sure they are in a single layer and pat them very dry next time.
Can I make these in an air fryer?
Absolutely! Air fry at 300°F (150°C) for about 10-12 minutes, shaking the basket halfway through. Keep a close eye on them as air fryers can be more powerful.
How do I get the sugar to stick better?
The melted butter is the key. Make sure your seeds are dry, as any moisture will repel the butter. Toss them thoroughly until every seed is coated in the butter-sugar mixture before baking.
Can I double this recipe?
Yes, you can easily double it. Just be sure to use two baking sheets so you don’t overcrowd the pan. You may need to add a minute or two to the baking time.
Pin This Recipe!
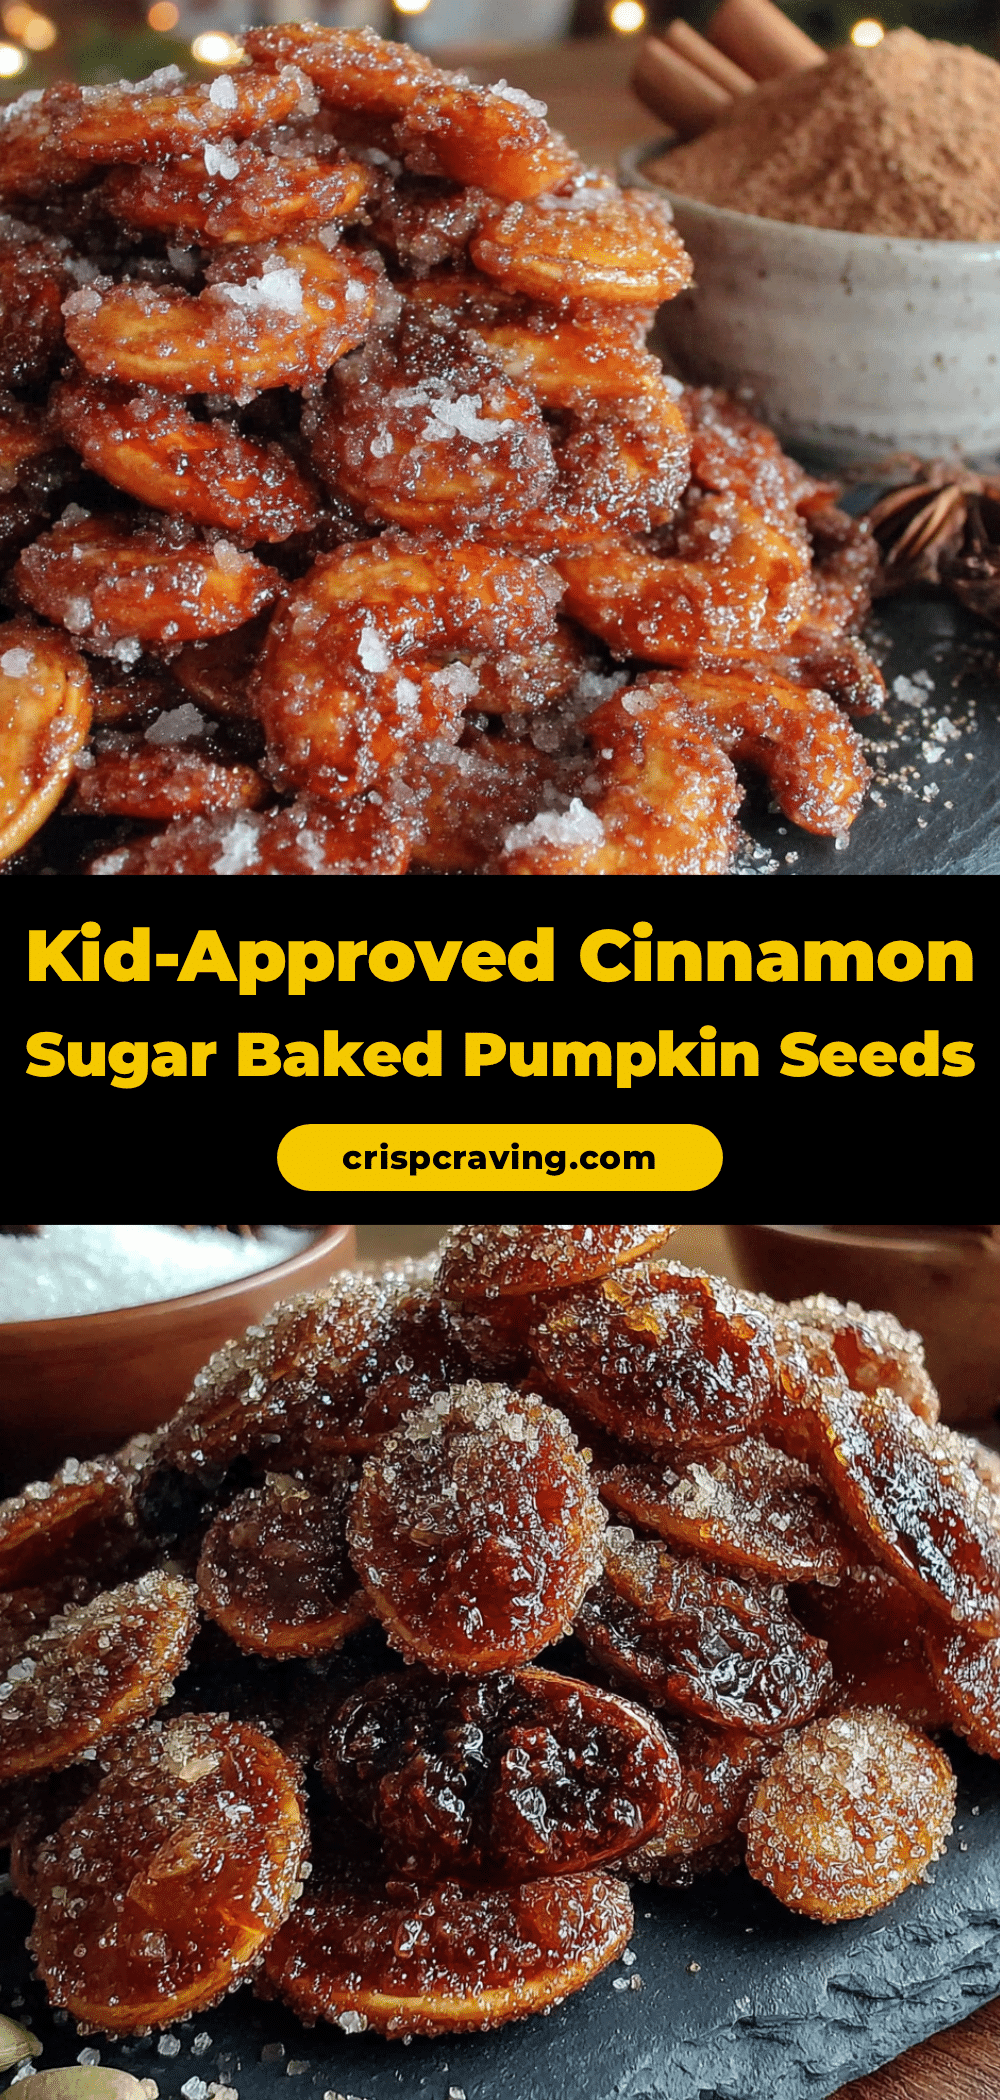
Best Easy Cinnamon Sugar Baked Pumpkin Seeds Recipe
This recipe turns leftover pumpkin seeds into a crunchy, sweet snack with a cinnamon-sugar coating. Quick and easy, it’s perfect for after-school snacks or a late-night craving.
- Prep Time: 10 minutes
- Cook Time: 25 minutes
- Total Time: 35 minutes
- Yield: 4 servings 1x
- Category: Snack
- Cuisine: American
Ingredients
- 1 cup pumpkin seeds, cleaned and patted dry
- 2 tablespoons unsalted butter, melted
- 3 tablespoons granulated sugar
- 1 ½ teaspoons ground cinnamon
- ¼ teaspoon salt
Instructions
- Preheat your oven to 300°F (150°C). Line your baking sheet with parchment paper.
- If using fresh pumpkin seeds, rinse them in a colander under cold water, remove any pulp, and pat dry with a towel. Let them sit for about 10 minutes.
- In a mixing bowl, combine the melted butter, granulated sugar, ground cinnamon, and salt. Whisk until it forms a gritty paste.
- Add the cleaned and dried pumpkin seeds to the bowl and stir until every seed is well coated.
- Spread the coated seeds in a single, even layer on the prepared baking sheet.
- Bake for 20-25 minutes. At the 10-minute mark, stir the seeds. At 20 minutes, start checking for doneness. They are done when golden brown and fragrant.
- Remove from the oven and let the seeds cool completely on the baking sheet (about 15-20 minutes). Do not touch them while warm.
Notes
For best results, ensure seeds are very dry before coating. Do not skip stirring at the 10-minute mark. Let seeds cool completely to achieve crunchiness. If seeds lose crunch, reheat at 300°F for 3-5 minutes.
Nutrition
- Serving Size: ¼ cup
- Calories: 180
- Sugar: 12
- Sodium: 150
- Fat: 12
- Saturated Fat: 4
- Carbohydrates: 15
- Fiber: 2
- Protein: 7
Keywords: cinnamon sugar pumpkin seeds, baked pumpkin seeds, sweet pumpkin seeds, easy snack, fall recipe



