Love this? Save it for later!
Share the inspiration with your friends
My roommate asked why I couldn’t just throw everything in one pan. I was halfway through explaining why searing chicken separately was non-negotiable for proper browning when I stopped. I mean, she had a point.
It was a Tuesday night, and I had a cracked ceramic skillet I was too stubborn to replace. The chicken thighs were defrosted, the butter was softening on the counter, and I was already exhausted from a day of recipe testing that had gone sideways. Honestly, the thought of washing multiple pans felt like a personal insult.
So I did it. I tossed the chicken in, let it get golden on one side, then added the garlic and butter right there in the same pan. No transferring. No extra dishes. And you know what? It worked better than my usual method. The butter browned with those little bits of chicken stuck to the pan, creating this sauce that was almost too good to be real.
I stood there, fork in hand, eating straight from the skillet like some kind of kitchen gremlin. Maybe you’ve been there—that moment when a shortcut turns out to be the actual best way. This chicken recipe is exactly that. It’s the one I keep coming back to, the one that makes me wonder why I ever made things harder than they needed to be.
Why You’ll Love This Recipe
Let me tell you, after testing this recipe about seven times (my neighbors were very happy), I can say with confidence this is the one-pan chicken you’ve been looking for. It’s not just another recipe—it’s the result of figuring out exactly what works and what doesn’t.
- One Pan, Minimal Mess : Everything happens in a single skillet. No juggling multiple pots, no sink full of greasy pans. Just dinner and a quick cleanup.
- Simple Pantry Ingredients : You probably have butter, garlic, and chicken in your kitchen right now. No fancy trips to specialty stores or weird ingredients you’ll never use again.
- Ready in 30 Minutes : From fridge to table in half an hour. Perfect for those nights when you’re starving and patience is running thin.
- Incredibly Juicy Chicken : The butter basting technique keeps the meat tender and moist, even the breast pieces. No dry chicken here.
- Restaurant-Quality Sauce : That garlic butter sauce is something else. It coats every piece of chicken and begs to be sopped up with bread or spooned over rice.
What makes this different from every other garlic butter chicken recipe out there? It’s the timing. Most recipes tell you to cook everything at once, which leads to burnt garlic and raw chicken. I figured out the exact moment to add each ingredient so nothing gets ruined. The garlic goes in late, the butter gets a chance to brown, and the chicken stays perfectly cooked.
This is the kind of meal that makes you close your eyes after the first bite. It’s comfort food that comes together without stress, perfect for impressing someone special or just treating yourself on a regular Tuesday.
What Ingredients You Will Need
This recipe uses simple, wholesome ingredients that work together to create something genuinely delicious. You don’t need much, but what you use matters.
For the Chicken
- 4 boneless, skinless chicken breasts (about 1.5 pounds total) – Look for pieces that are similar in thickness so they cook evenly. If they’re huge, slice them in half horizontally.
- Salt and black pepper – Use kosher salt if you have it. It seasons more evenly than table salt.
- 1 teaspoon garlic powder – This adds a subtle garlic flavor that complements the fresh garlic later. I use McCormick or Simply Organic.
- 1 teaspoon paprika – Regular or smoked, both work. Smoked paprika adds a lovely depth.
- 2 tablespoons olive oil – For searing. It has a higher smoke point than butter, so the chicken browns without burning.
For the Garlic Butter Sauce
- 4 tablespoons unsalted butter – Cut into pieces. Unsalted lets you control the salt level.
- 6 cloves garlic, minced – Fresh garlic is non-negotiable here. The jarred stuff won’t give you the same flavor.
- 1/2 cup chicken broth – Use low-sodium so the sauce doesn’t get too salty. Swanson or Kitchen Basics are my go-tos.
- 1 tablespoon fresh lemon juice – About half a lemon. This brightens up the richness of the butter.
- 1 teaspoon dried thyme – Or 1 tablespoon fresh thyme leaves. Thyme and chicken are a classic combo.
- 1/4 teaspoon red pepper flakes – Optional, but I love the little kick. Skip it if you’re sensitive to heat.
- 2 tablespoons fresh parsley, chopped – For garnish. It makes the dish look finished and adds freshness.
Ingredient Tips : If you’re using chicken thighs instead of breasts, go for it. They’re more forgiving and stay juicy even if you cook them a minute too long. For a dairy-free version, use vegan butter or ghee if you can tolerate it. The lemon juice is important—don’t skip it. It balances the butter so the sauce doesn’t feel heavy.
Equipment Needed
You don’t need a professional kitchen for this recipe. Here’s what you’ll actually use:
- A large skillet or frying pan – 12-inch is ideal. Cast iron works beautifully, but a non-stick or stainless steel pan is fine too. Just make sure it’s oven-safe if you plan to finish the chicken in the oven.
- Tongs – For flipping the chicken without piercing it. Piercing releases juices and dries out the meat.
- A sharp knife and cutting board – For mincing garlic and chopping parsley.
- A small bowl – For mixing the seasonings.
- A meat thermometer – This is a game-changer. Chicken is done at 165°F, and a thermometer takes the guesswork out.
- Aluminum foil – For tenting the chicken while it rests.
If you don’t have a meat thermometer, you can check doneness by cutting into the thickest part. The juices should run clear, and there should be no pink. But honestly, a thermometer costs like ten bucks and saves you from serving dry chicken. Worth it.
Preparation Method
Let me walk you through this step by step. I’ve made this recipe enough times to know where things can go wrong, so I’ll point out the tricky parts.
- Prep the chicken – Pat the chicken breasts dry with paper towels. This is important. Wet chicken won’t brown properly. Season both sides generously with salt, pepper, garlic powder, and paprika. Let them sit at room temperature for 10 minutes while you get everything else ready.
- Heat the pan – Place your skillet over medium-high heat and add the olive oil. Wait until the oil is shimmering but not smoking. You want that nice sizzle when the chicken hits the pan.
- Sear the chicken – Carefully place the chicken in the hot pan. Don’t overcrowd—if your pan is small, cook in batches. Let the chicken cook undisturbed for 5-6 minutes. You’ll know it’s ready to flip when it releases easily from the pan. If it sticks, it needs more time. Flip and cook for another 4-5 minutes. The chicken should be golden brown on both sides.
- Remove and rest – Transfer the chicken to a plate and tent loosely with foil. Don’t skip this rest. It keeps the juices inside.
- Make the sauce – Reduce the heat to medium-low. Add the butter to the same pan. Once it melts, add the minced garlic. Stir constantly for about 30 seconds until fragrant. Don’t walk away—burnt garlic tastes bitter and will ruin your sauce.
- Deglaze the pan – Pour in the chicken broth and scrape up any browned bits from the bottom of the pan. That’s where all the flavor is. Let it simmer for 2-3 minutes until it reduces slightly.
- Add the lemon and herbs – Stir in the lemon juice, dried thyme, and red pepper flakes if using. Let the sauce bubble for another minute.
- Return the chicken – Place the chicken back in the pan, spooning some of the sauce over the top. Let it cook for 2-3 minutes, just to warm through and let the flavors meld.
- Garnish and serve – Sprinkle with fresh parsley and serve immediately. Spoon any remaining sauce from the pan over the chicken.
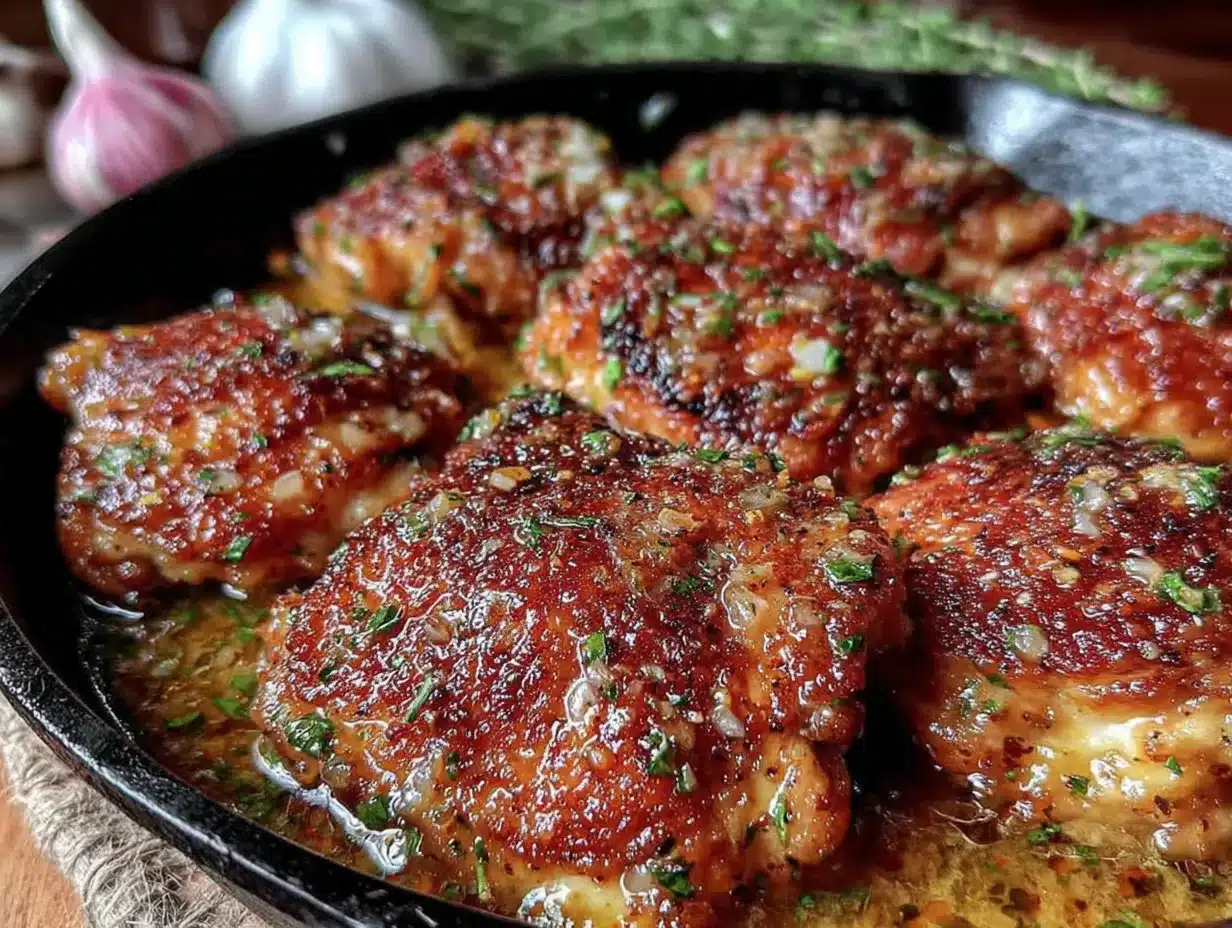
Visual Cue : The sauce should be glossy and slightly thickened, coating the back of a spoon. The chicken should be deep golden brown with visible bits of parsley and garlic clinging to it.
Cooking Tips & Techniques
I’ve made every mistake you can imagine with this recipe. Here’s what I learned the hard way.
Don’t crowd the pan. If you put too much chicken in at once, the temperature drops and the chicken steams instead of searing. You’ll end up with pale, rubbery meat. Cook in batches if you need to.
Let the chicken come to room temperature. Cold chicken straight from the fridge will cook unevenly. The outside will be done before the inside. Let it sit out for 15 minutes before cooking.
Use a meat thermometer. I know I said this already, but it’s worth repeating. Chicken breasts are done at 165°F. Take them off the heat at 160°F because they’ll continue cooking from residual heat. Overcooked chicken is dry chicken.
Don’t skip the rest. After searing, let the chicken rest for at least 5 minutes. This allows the juices to redistribute. If you cut into it right away, all those delicious juices will run out onto the plate instead of staying in the meat.
Timing is everything with garlic. Garlic burns fast. Add it to the pan after the butter has melted, not before. And keep stirring. The second it starts to smell nutty and toasty, add the broth to stop the cooking.
One more thing : I once used salted butter and added extra salt to the sauce. It was inedible. Stick with unsalted butter and adjust salt at the end.
Variations & Adaptations
This recipe is flexible. Here are some ways to make it your own.
Creamy Garlic Butter Chicken : After deglazing the pan, stir in 1/4 cup heavy cream or half-and-half. Let it simmer for 2 minutes until thickened. The sauce becomes rich and velvety. I did this once when I had leftover cream from another recipe, and it was incredible.
Lemon Herb Version : Add 1 tablespoon fresh rosemary and 1 tablespoon fresh oregano along with the thyme. Increase the lemon juice to 2 tablespoons. This version is bright and herby, perfect for spring.
Spicy Kick : Double the red pepper flakes and add 1/2 teaspoon cayenne pepper to the seasoning mix. For extra heat, drizzle with sriracha or chili oil before serving.
Dairy-Free Adaptation : Use olive oil or vegan butter in place of regular butter. The sauce will be slightly thinner but still delicious. Coconut oil works too, though it adds a subtle coconut flavor.
Baked Version : Sear the chicken as directed, then transfer the pan to a 375°F oven for 10-12 minutes instead of returning it to the stovetop. This is great if you’re cooking for a crowd and want everything to finish at the same time.
Vegetable Add-Ins : Add sliced mushrooms, zucchini, or asparagus to the pan after removing the chicken. Sauté for 3-4 minutes before adding the butter and garlic. The vegetables soak up all that garlic butter goodness.
Serving & Storage Suggestions
This chicken is best served hot, straight from the pan. The sauce is at its peak when it’s warm and glossy.
Serving Ideas : Spoon the chicken and sauce over rice, mashed potatoes, or pasta. I love it with crusty bread to soak up every drop of that garlic butter sauce. For a lighter meal, serve with a simple green salad or steamed broccoli.
What to Drink : A crisp white wine like Sauvignon Blanc or Pinot Grigio pairs beautifully with the garlic butter. For a non-alcoholic option, sparkling water with lemon is refreshing.
Storage : Store leftover chicken in an airtight container in the refrigerator for up to 4 days. The flavors actually deepen overnight, so leftovers might taste even better.
Reheating : The best way to reheat is in a skillet over medium-low heat with a splash of chicken broth or water. Cover the pan to trap steam and prevent the chicken from drying out. Microwave works in a pinch, but the chicken won’t be as juicy.
Freezing : You can freeze the cooked chicken and sauce for up to 3 months. Thaw overnight in the refrigerator and reheat gently. The sauce might separate slightly, but a quick whisk will bring it back together.
Nutritional Information & Benefits
Here’s an approximate breakdown per serving (one chicken breast with sauce):
- Calories : 380
- Protein : 42g
- Fat : 22g
- Carbohydrates : 4g
- Fiber : 0g
- Sugar : 1g
Health Benefits : Chicken is an excellent source of lean protein, which supports muscle growth and keeps you feeling full. Garlic has anti-inflammatory properties and may support immune health. Butter provides fat-soluble vitamins like A and D, though it should be enjoyed in moderation.
Dietary Notes : This recipe is naturally low-carb and gluten-free. For a lower-fat version, reduce the butter to 2 tablespoons and use cooking spray for searing. The calorie count will drop to around 300 per serving.
Allergens : Contains dairy (butter). For a dairy-free version, use olive oil or vegan butter as mentioned in the variations section.
I’m not a nutritionist, but I do pay attention to what goes into my body. This recipe hits the sweet spot between indulgent and nutritious. It feels like comfort food but keeps you on track.
Conclusion
This one-pan garlic butter chicken is proof that simple food can be genuinely amazing. It’s the recipe I turn to when I want something delicious without the fuss. One pan, 30 minutes, and dinner is done.
I hope you give it a try and make it your own. Maybe you’ll add extra garlic like I do, or throw in some mushrooms, or serve it over creamy polenta. The beauty of this recipe is how adaptable it is.
If you make this, I’d love to hear how it turned out. Drop a comment below and let me know if you made any changes or if it became a regular in your dinner rotation. And if you loved it, share it with a friend who needs an easy weeknight win.
Happy cooking, and don’t forget the bread for that sauce. Trust me, you’ll want it.
Frequently Asked Questions
Can I use chicken thighs instead of breasts?
Absolutely! Chicken thighs are more forgiving and stay juicy. Cook them for the same amount of time, but check that they reach 165°F at the thickest part.
Can I make this recipe dairy-free?
Yes. Use olive oil or vegan butter in place of regular butter. The sauce will be slightly thinner but still delicious.
How do I prevent the garlic from burning?
Add the garlic after the butter melts and keep stirring constantly. It only needs about 30 seconds. As soon as it smells fragrant, add the broth to stop the cooking.
Can I use frozen chicken?
I don’t recommend it. Frozen chicken releases too much water and won’t brown properly. Thaw the chicken completely in the refrigerator first, then pat it dry.
How do I store and reheat leftovers?
Store in an airtight container in the fridge for up to 4 days. Reheat in a skillet over medium-low heat with a splash of broth to keep it moist. The microwave works too, but the texture won’t be as good.
Pin This Recipe!
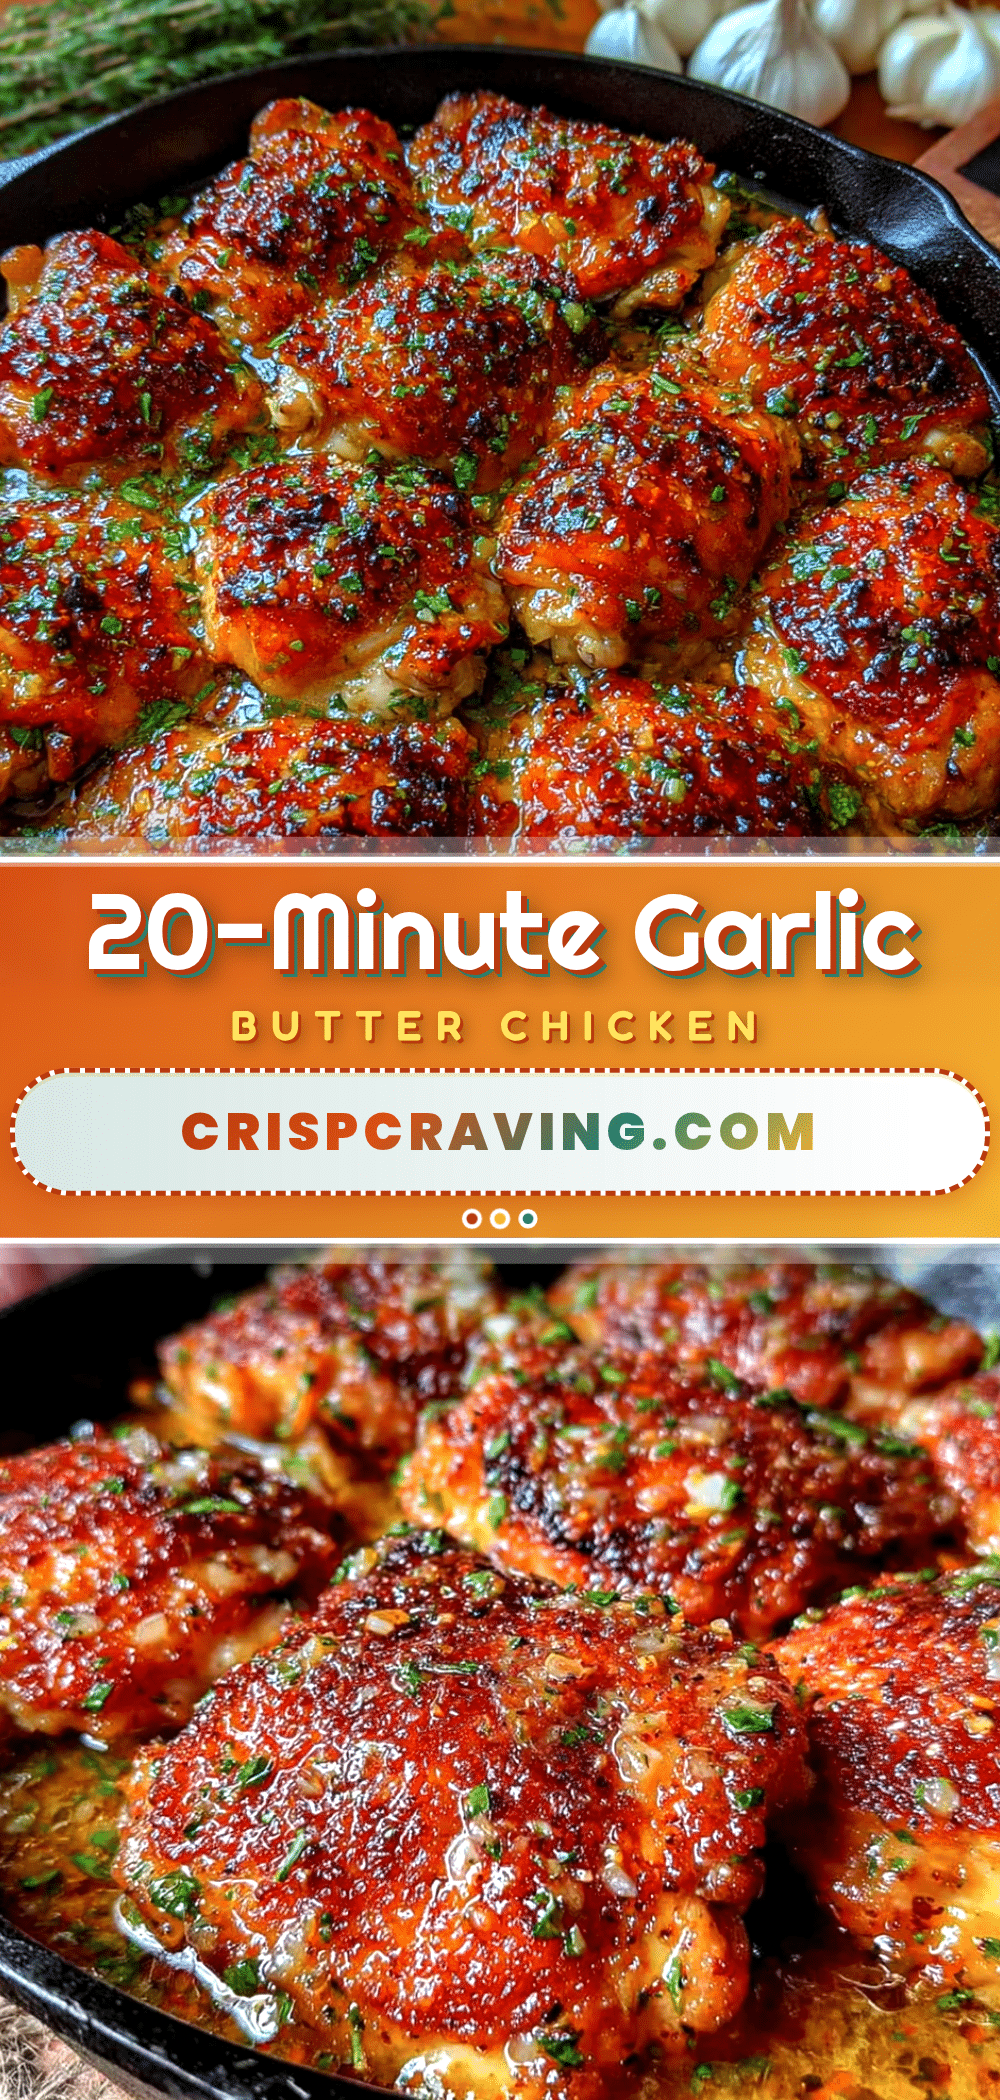
Best Easy One-Pan Garlic Butter Chicken Recipe
This one-pan garlic butter chicken is proof that simple food can be genuinely amazing. It’s the recipe I turn to when I want something delicious without the fuss. One pan, 30 minutes, and dinner is done.
- Prep Time: 10 minutes
- Cook Time: 20 minutes
- Total Time: 30 minutes
- Yield: 4 servings 1x
- Category: Main Course
- Cuisine: American
Ingredients
- 4 boneless, skinless chicken breasts (about 1.5 pounds total)
- Salt and black pepper to taste
- 1 teaspoon garlic powder
- 1 teaspoon paprika (regular or smoked)
- 2 tablespoons olive oil
- 4 tablespoons unsalted butter, cut into pieces
- 6 cloves garlic, minced
- 1/2 cup low-sodium chicken broth
- 1 tablespoon fresh lemon juice (about half a lemon)
- 1 teaspoon dried thyme (or 1 tablespoon fresh thyme leaves)
- 1/4 teaspoon red pepper flakes (optional)
- 2 tablespoons fresh parsley, chopped
Instructions
- Pat the chicken breasts dry with paper towels. Season both sides generously with salt, pepper, garlic powder, and paprika. Let them sit at room temperature for 10 minutes.
- Place a large skillet over medium-high heat and add the olive oil. Wait until the oil is shimmering but not smoking.
- Carefully place the chicken in the hot pan. Do not overcrowd; cook in batches if needed. Cook undisturbed for 5-6 minutes until golden brown and easily releases from the pan. Flip and cook for another 4-5 minutes.
- Transfer the chicken to a plate and tent loosely with foil. Let rest for at least 5 minutes.
- Reduce the heat to medium-low. Add the butter to the same pan. Once melted, add the minced garlic and stir constantly for about 30 seconds until fragrant.
- Pour in the chicken broth and scrape up any browned bits from the bottom of the pan. Let simmer for 2-3 minutes until slightly reduced.
- Stir in the lemon juice, dried thyme, and red pepper flakes (if using). Let the sauce bubble for another minute.
- Return the chicken to the pan, spooning some sauce over the top. Cook for 2-3 minutes to warm through and meld flavors.
- Sprinkle with fresh parsley and serve immediately. Spoon any remaining sauce over the chicken.
Notes
For best results, let chicken come to room temperature before cooking. Use a meat thermometer to ensure chicken reaches 165°F. Do not crowd the pan. Let chicken rest after searing. Add garlic after butter melts to prevent burning. Use unsalted butter to control salt level.
Nutrition
- Serving Size: 1 chicken breast wit
- Calories: 380
- Sugar: 1
- Sodium: 450
- Fat: 22
- Saturated Fat: 10
- Carbohydrates: 4
- Protein: 42
Keywords: one-pan chicken, garlic butter chicken, easy chicken recipe, 30-minute meal, skillet chicken



