Love this? Save it for later!
Share the inspiration with your friends
This was supposed to be a pie. A beautiful, lattice-topped apple pie for a friend’s birthday dinner. I had the butter, the flour, and a very specific vision. But somewhere between the third phone call and a missing rolling pin (I swear it was in the drawer), the pie crust turned into a crumbly, sticky mess. I was already running late, the apples were sliced, and my kitchen looked like a flour bomb had gone off. Honestly, I almost just dumped the whole thing in the trash.
Instead, I did what any reasonable, slightly panicked person would do. I tossed the butter-flour disaster into a bowl with some oats and brown sugar, crumbled it over the waiting apples, and shoved it in the oven. I figured I’d serve it with ice cream and hope nobody noticed it wasn’t a pie. The smell that filled my apartment was ridiculous—warm cinnamon, caramelizing sugar, and soft, jammy apples. When I pulled it out, the topping was this gorgeous, golden-brown, crunchy blanket. I was shocked.
My friend took one bite and asked for the recipe before I could even apologize for the “failed” pie. That night, I realized I had stumbled onto something better than my original plan. The oat crumble topping was way easier, and honestly, it tasted more like pure comfort than a fussy pie crust ever could. This classic apple crisp is now my go-to dessert. It’s the one I make when I want something that feels special but doesn’t require a pastry degree. You know that feeling when you’re craving a warm, homey dessert but don’t want to wrestle with dough? Yeah, this is for you. It’s been my favorite happy accident ever since.
Why You’ll Love This Recipe
This isn’t just another apple crisp. I’ve tested this particular version more times than I can count, tweaking the oat-to-apple ratio until it was just right. It’s the kind of dessert that makes people close their eyes after the first bite. Here’s why it stands out:
- Incredibly Easy: No rolling pins, no chilling dough, no fancy techniques. Just mix, layer, and bake. It’s perfect for a Tuesday night or a holiday table.
- Simple Pantry Ingredients: You probably have most of this in your kitchen right now. Apples, oats, flour, butter, sugar, and cinnamon. No weird ingredients required.
- Perfect for Fall Gatherings: Whether it’s Thanksgiving, a cozy dinner party, or just a rainy Sunday, this crisp is always a hit. It feels special without any stress.
- Crowd-Pleaser Guaranteed: I’ve served this to kids, picky eaters, and serious foodies. The crunchy oat topping and soft, sweet apples get everyone. It disappears fast.
- Unbelievably Delicious Texture: The secret is in the crumble. It stays perfectly crisp on top, but melts into the apple juices underneath. It’s like a crunchy, buttery hug.
What makes my version different? I use a mix of tart and sweet apples for a more complex flavor, and I add a tiny pinch of salt to the topping. It sounds simple, but it makes the sweetness pop. Plus, I don’t peel all the apples—leaving some skin on adds a little texture and saves you time. This isn’t just another recipe; it’s the one you’ll keep coming back to.
What Ingredients You Will Need
This recipe uses simple, wholesome ingredients to deliver bold flavor and satisfying texture without the fuss. Most of these are probably already in your baking stash.
For the Apple Filling
- 6 cups apples, peeled, cored, and sliced (about 6 medium apples—I like using a mix of Granny Smith and Honeycrisp for balance)
- 1/3 cup granulated sugar (adds sweetness and helps the apples soften)
- 1 tablespoon all-purpose flour (helps thicken the juices so it’s not runny)
- 1 teaspoon ground cinnamon (the classic warming spice)
- 1/4 teaspoon ground nutmeg (optional, but adds a lovely depth)
- 1 tablespoon lemon juice (brightens the flavor and prevents browning)
For the Oat Crumble Topping
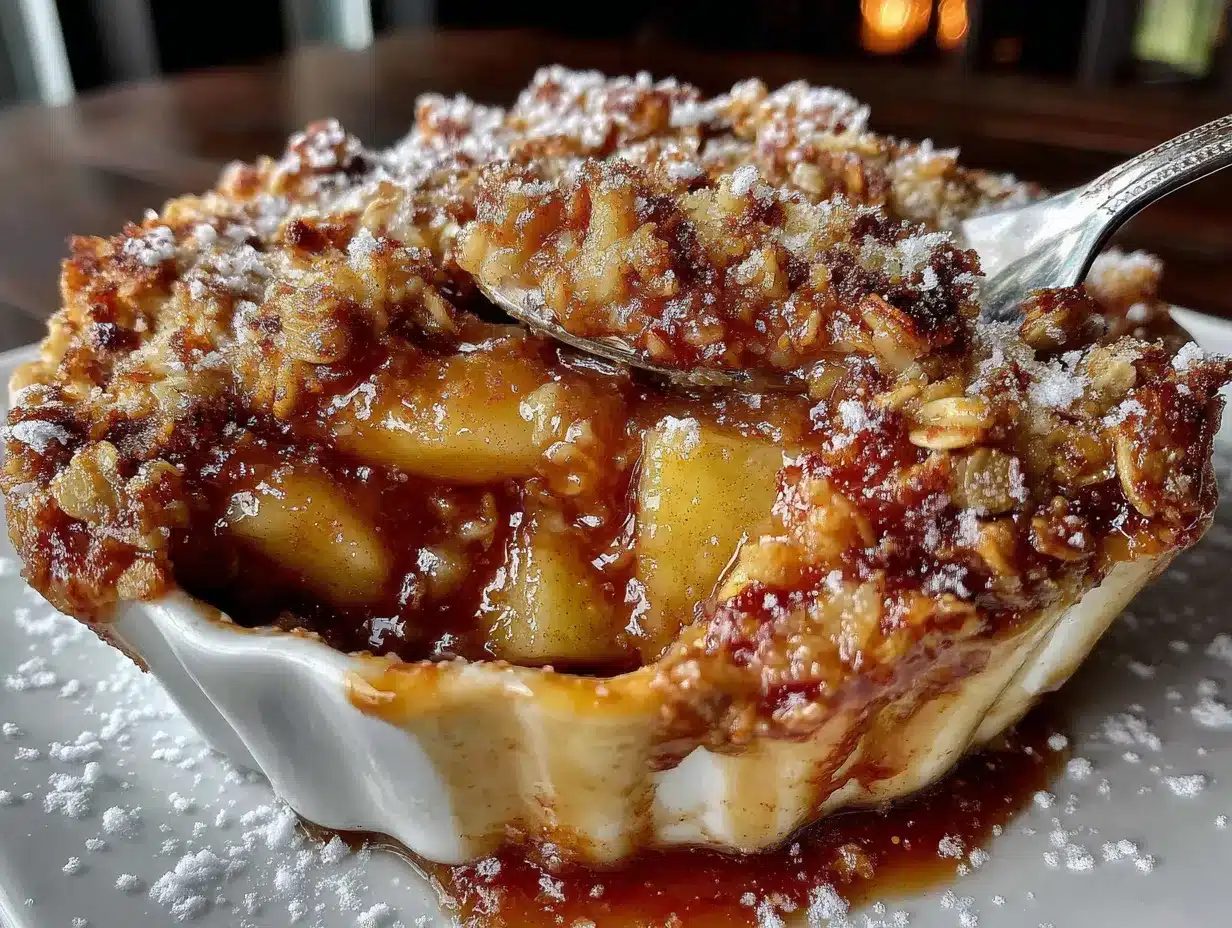
- 3/4 cup old-fashioned rolled oats (don’t use quick oats—they get mushy. I prefer Quaker or Bob’s Red Mill for texture)
- 3/4 cup all-purpose flour (or use a gluten-free 1:1 blend if needed)
- 1/2 cup packed brown sugar (light or dark works; dark gives a richer, molasses flavor)
- 1/2 cup unsalted butter, cold and cut into small cubes (this is key for a crumbly texture—I use Kerrygold for its rich flavor)
- 1/2 teaspoon ground cinnamon (for the topping)
- 1/4 teaspoon salt (don’t skip this—it balances the sweetness beautifully)
Ingredient Selection Tips: For the best texture, use firm apples that hold their shape during baking. Granny Smith apples are my go-to because they’re tart and sturdy. If you only have sweet apples like Fuji or Gala, reduce the sugar by a tablespoon or two. For a nutty twist, you can swap out 1/4 cup of the flour in the topping for chopped pecans or walnuts.
Equipment Needed
- 8×8-inch or 9×9-inch baking dish (a 9-inch pie plate also works great)
- Large mixing bowl (for the apples and the topping)
- Small mixing bowl (for mixing dry topping ingredients)
- Pastry cutter or two forks (for cutting butter into the flour mixture—a food processor works too, just pulse a few times)
- Sharp knife and cutting board (for prepping the apples)
- Measuring cups and spoons
- Rubber spatula or wooden spoon
I’ve made this crisp in a cast-iron skillet before, and it was amazing—the edges got extra crispy. If you don’t have a pastry cutter, just use your fingertips to rub the butter into the flour mixture. It’s a little messy, but it works perfectly. I actually prefer it because I can feel when the texture is right.
Preparation Method
Preheat your oven to 350°F (175°C). Lightly grease your baking dish with butter or non-stick spray. This prevents sticking and makes cleanup a breeze.
- Prepare the apples: Peel, core, and slice your apples into roughly 1/4-inch thick slices. I don’t stress about them being perfect, but try to keep them even so they cook at the same rate. Toss the apple slices with the granulated sugar, 1 tablespoon flour, cinnamon, nutmeg, and lemon juice in a large bowl. Let them sit for 5-10 minutes while you make the topping. This helps the apples release some juice, which creates that amazing saucy layer.
- Make the oat crumble topping: In a separate medium bowl, whisk together the rolled oats, 3/4 cup flour, brown sugar, 1/2 teaspoon cinnamon, and salt. Add the cold, cubed butter. Use a pastry cutter or your fingertips to work the butter into the dry ingredients until the mixture looks like coarse crumbs with some pea-sized butter pieces remaining. Don’t overmix—those little butter chunks are what make the topping crunchy. If the mixture feels too dry, you can add a tablespoon of cold water, but you usually don’t need it.
- Assemble the crisp: Spread the apple mixture evenly into your prepared baking dish. Sprinkle the oat crumble topping evenly over the apples. Don’t press it down—just let it sit on top. It will spread as it bakes.
- Bake: Place the dish on a baking sheet (to catch any bubbly overflow) and bake for 40-45 minutes, or until the topping is golden brown and the apple juices are bubbling up around the edges. Your kitchen will smell incredible at this point. If the topping is browning too quickly after 30 minutes, loosely tent it with aluminum foil for the remaining time.
- Cool and serve: Let the crisp cool on a wire rack for at least 15-20 minutes. This is important—it allows the juices to thicken up. Serve warm, preferably with a scoop of vanilla ice cream or a dollop of whipped cream. The contrast between the hot, soft apples and cold, creamy ice cream is pure magic.
Prep Note: If you’re short on time, you can slice the apples a day ahead and toss them with the lemon juice and sugar. Store them in the fridge. The topping can also be made ahead and kept in the fridge for up to 2 days.
Cooking Tips & Techniques
I’ve made this apple crisp more times than I can remember, and I’ve definitely learned a few things the hard way. Here are my best tips for perfect results every time.
Don’t overmix the topping. This was my biggest mistake early on. I’d keep mixing until the butter was completely incorporated, and the topping would turn out dense and sandy. You want visible bits of butter—it creates steam pockets in the oven, which gives you that light, crunchy texture. Think of it like making a good biscuit.
Use a mix of apple varieties. I learned this from a friend who’s a pastry chef. Tart apples like Granny Smith hold their shape and add tang, while sweeter apples like Honeycrisp or Braeburn break down a little more and create a natural, jammy sauce. A 50/50 mix is my sweet spot. Using just one type can result in a filling that’s either too firm or too mushy.
Let it rest before serving. I know it’s tempting to dig in right away, but I promise it’s worth the wait. The crisp needs time to set so the juices thicken. If you serve it too soon, it’ll be soupy. I usually set a timer for 20 minutes and use that time to scoop the ice cream and make coffee.
Watch the topping. Ovens can be unpredictable. If your topping is getting dark before the apples are done, just cover it loosely with foil. I had one batch where I walked away, and the topping went from golden to burnt in about two minutes. Keep an eye on it after the 30-minute mark.
Variations & Adaptations
This recipe is wonderfully flexible. Here are a few ways I’ve adapted it over the years.
Gluten-Free Version: This is super easy. Just swap the all-purpose flour in both the filling and the topping for a good gluten-free 1:1 baking blend. I’ve used King Arthur Measure for Measure with great results. The texture is slightly different, but still deliciously crunchy.
Vegan Version: Replace the butter with a high-quality vegan butter stick (like Miyoko’s or Earth Balance). It works surprisingly well—just make sure it’s cold. The rest of the recipe is naturally dairy-free if you use a plant-based butter.
Seasonal Fruit Swap: In the summer, I swap the apples for a mix of sliced peaches and blueberries. In the winter, sliced pears with a little ginger are amazing. The base recipe stays the same—just adjust the sugar based on the sweetness of your fruit. For pears, I sometimes add a tablespoon of bourbon to the filling. Don’t judge until you try it.
Spiced Crumble: Add 1/2 teaspoon of cardamom or ginger to the topping for a more complex flavor profile. I tried this last fall when I ran out of cinnamon, and it was a happy accident. It gives the crisp a slightly chai-like warmth.
Serving & Storage Suggestions
This apple crisp is best served warm, straight from the oven, with a generous scoop of vanilla ice cream. The hot-cold contrast is the whole point. For a slightly less decadent option, a dollop of Greek yogurt or lightly sweetened whipped cream works beautifully. I’ve also drizzled it with a little salted caramel sauce, and that was next-level.
For a cozy brunch, serve it alongside a simple frittata or some scrambled eggs. It’s sweet enough to be a dessert, but not so rich that it can’t pass for a special breakfast. A cup of black coffee or a mug of hot cider is the perfect drink pairing.
Storage: Leftover crisp can be covered and stored in the refrigerator for up to 4 days. The topping will lose some of its crunch, but it’s still delicious. To reheat, place individual portions in a 350°F oven for about 10 minutes, or microwave for 30-60 seconds. The oven method helps the topping crisp back up a little. I don’t recommend freezing this one—the texture of the apples and topping changes too much.
The flavors actually get better after a day in the fridge. The apples and juices meld together, making it even more saucy and rich. I often make it a day ahead for Thanksgiving, just to save time.
Nutritional Information & Benefits
While this is definitely a treat, it does have some redeeming qualities. Apples are a great source of fiber and vitamin C, especially if you leave some of the skin on. Oats are packed with soluble fiber, which is good for heart health. Plus, you’re controlling the sugar and butter, which is way better than any store-bought dessert.
Estimated per serving (based on 8 servings):
- Calories: 320
- Fat: 14g
- Carbohydrates: 50g
- Fiber: 4g
- Sugar: 32g
- Protein: 3g
Dietary Considerations: This recipe can easily be made gluten-free and vegan (see variations above). It contains wheat and dairy in its standard form. I love that it feels indulgent but uses whole-food ingredients. For me, it’s the kind of dessert that satisfies a sweet tooth without making me feel heavy.
Conclusion
This classic apple crisp with oat crumble topping is more than just a recipe—it’s a reminder that sometimes the best things come from happy accidents. It’s simple enough for a weeknight, but impressive enough for company. The crunchy, buttery topping and the soft, spiced apples are a combination that never gets old.
I really hope you give this a try. Don’t be afraid to make it your own—swap in your favorite apples, add a pinch of cardamom, or pile on the ice cream. That’s the beauty of a recipe like this. It’s forgiving, it’s flexible, and it always delivers. I’d love to hear how it turns out for you! Leave a comment below and let me know what variations you tried. Happy baking, friends.
Frequently Asked Questions
Can I use quick oats instead of rolled oats?
I wouldn’t recommend it. Quick oats are more processed and will break down during baking, resulting in a denser, less crunchy topping. Rolled oats give you that classic, hearty texture. It’s worth keeping a canister on hand for this recipe.
Do I have to peel the apples?
Not at all! I actually leave the skin on about half the apples for extra texture and fiber. Just make sure to wash them well. If you prefer a smoother, more traditional filling, go ahead and peel them all. It’s entirely up to you.
Why is my apple crisp runny?
This usually happens for two reasons: either you didn’t let it rest long enough after baking, or the apples released a lot of water. Make sure you let it cool for at least 15-20 minutes. Next time, you can add an extra tablespoon of flour to the apple mixture to help thicken the juices.
Can I make this in advance?
Absolutely. You can assemble the entire crisp (without baking) and store it in the fridge for up to 24 hours. When you’re ready to bake, just add about 10 minutes to the baking time since you’re starting from cold. It’s a great make-ahead dessert for holidays.
What’s the best apple for baking?
For this recipe, I love a mix of Granny Smith and Honeycrisp. Granny Smith holds its shape well and provides a tart contrast to the sweet topping. Honeycrisp adds a lovely sweetness and tenderness. Braeburn and Pink Lady are also excellent choices. Avoid Red Delicious—they turn into mush.
Pin This Recipe!
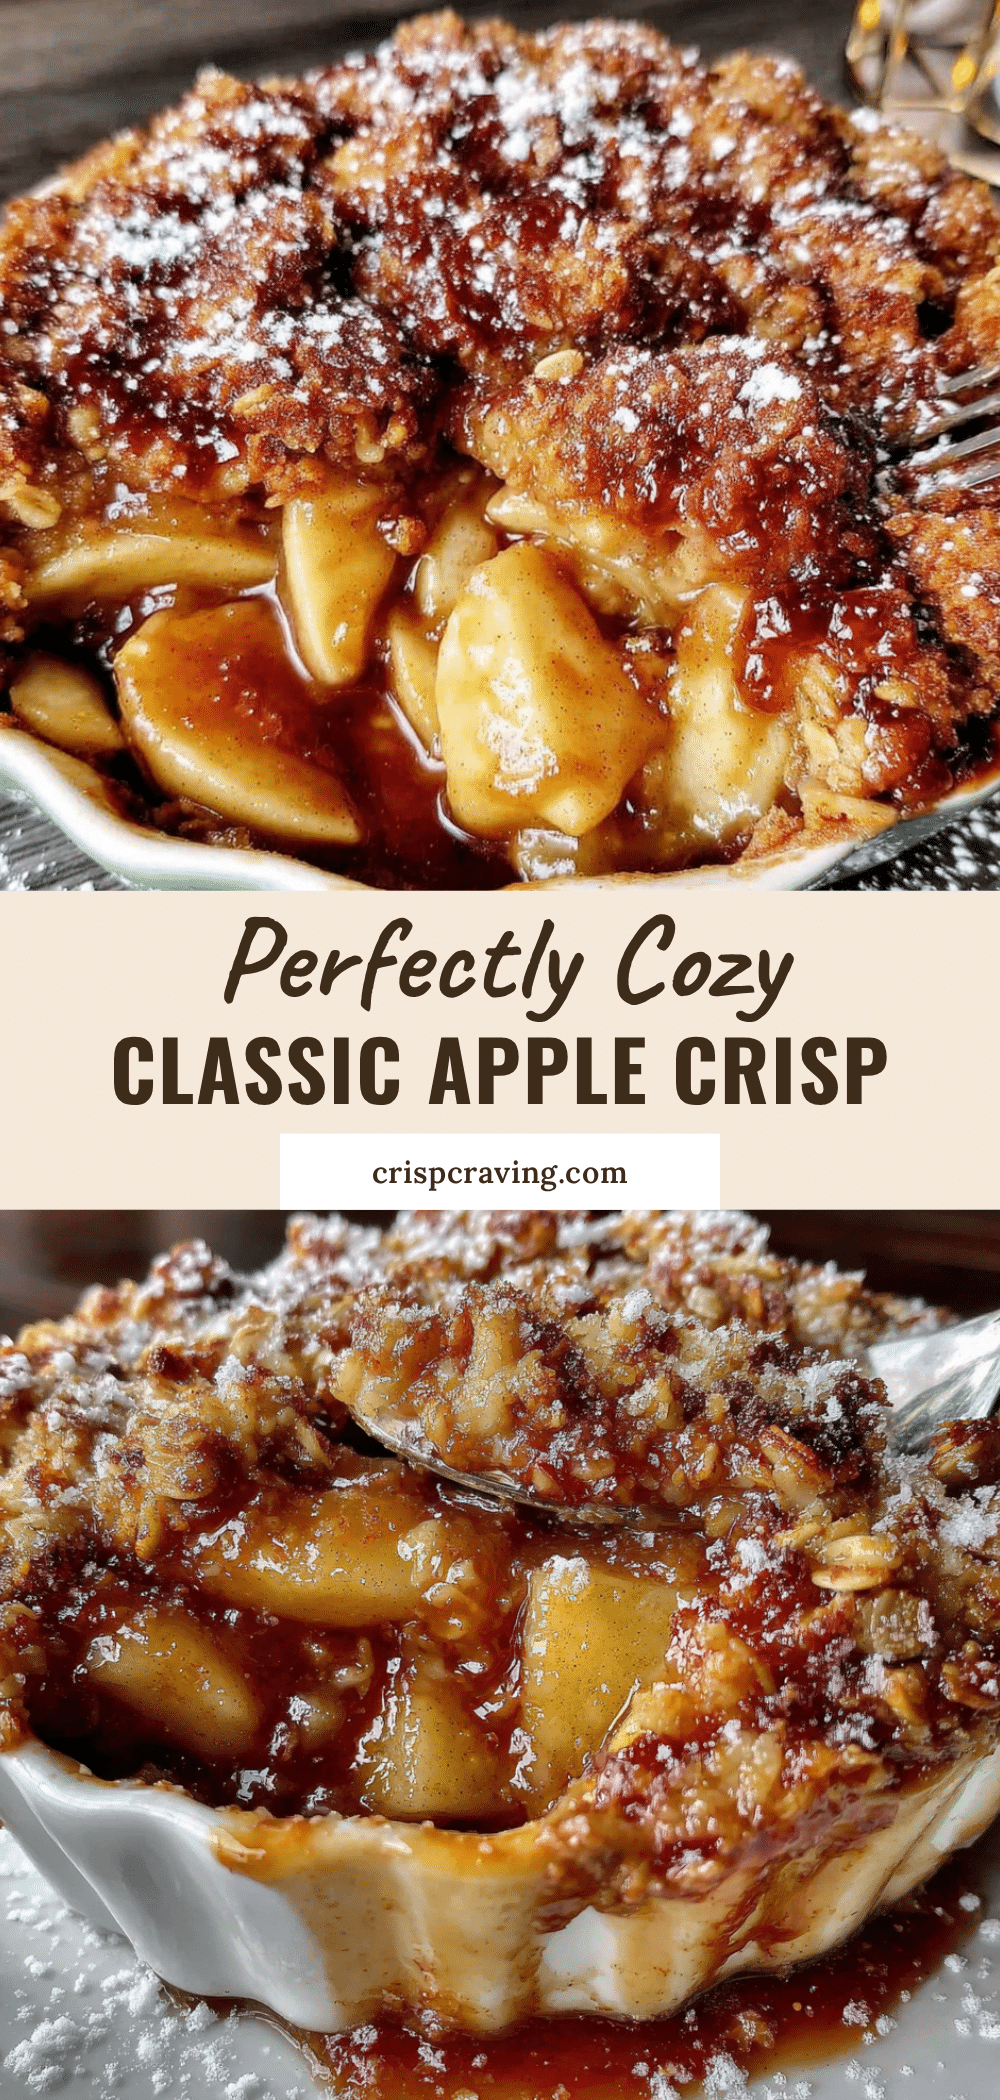
Best Homemade Apple Crisp with Oat Crumble Topping

This classic apple crisp features a crunchy oat crumble topping over soft, spiced apples. It’s an incredibly easy, crowd-pleasing dessert that’s perfect for fall gatherings or any cozy occasion.
- Prep Time: 15 minutes
- Cook Time: 45 minutes
- Total Time: 1 hour
- Yield: 8 servings 1x
- Category: Dessert
- Cuisine: American
Ingredients
- 6 cups apples, peeled, cored, and sliced (about 6 medium apples, mix of Granny Smith and Honeycrisp)
- 1/3 cup granulated sugar
- 1 tablespoon all-purpose flour
- 1 teaspoon ground cinnamon
- 1/4 teaspoon ground nutmeg (optional)
- 1 tablespoon lemon juice
- 3/4 cup old-fashioned rolled oats
- 3/4 cup all-purpose flour
- 1/2 cup packed brown sugar (light or dark)
- 1/2 cup unsalted butter, cold and cut into small cubes
- 1/2 teaspoon ground cinnamon
- 1/4 teaspoon salt
Instructions
- Preheat oven to 350°F (175°C). Lightly grease an 8×8-inch or 9×9-inch baking dish with butter or non-stick spray.
- Prepare the apples: Peel, core, and slice apples into 1/4-inch thick slices. Toss with granulated sugar, 1 tablespoon flour, cinnamon, nutmeg, and lemon juice in a large bowl. Let sit for 5-10 minutes.
- Make the oat crumble topping: In a separate medium bowl, whisk together rolled oats, 3/4 cup flour, brown sugar, 1/2 teaspoon cinnamon, and salt. Add cold, cubed butter. Use a pastry cutter or fingertips to work butter into dry ingredients until mixture resembles coarse crumbs with some pea-sized butter pieces. Do not overmix.
- Assemble the crisp: Spread apple mixture evenly into prepared baking dish. Sprinkle oat crumble topping evenly over apples. Do not press down.
- Bake: Place dish on a baking sheet and bake for 40-45 minutes, or until topping is golden brown and apple juices are bubbling around edges. If topping browns too quickly after 30 minutes, loosely tent with aluminum foil.
- Cool and serve: Let crisp cool on a wire rack for at least 15-20 minutes. Serve warm with vanilla ice cream or whipped cream.
Notes
For best texture, use a mix of tart and sweet apples. Let the crisp rest before serving to allow juices to thicken. The topping can be made ahead and stored in the fridge for up to 2 days. For a gluten-free version, use a 1:1 gluten-free baking blend. For a vegan version, use cold vegan butter.
Nutrition
- Serving Size: 1 serving
- Calories: 320
- Sugar: 32
- Sodium: 150
- Fat: 14
- Saturated Fat: 8
- Carbohydrates: 50
- Fiber: 4
- Protein: 3
Keywords: apple crisp, oat crumble, easy dessert, fall dessert, apple recipe, comfort food