Love this? Save it for later!
Share the inspiration with your friends
I had a long-held position on chicken and dumplings. For about fifteen years, I claimed I didn’t like them. It wasn’t the chicken or the broth that bothered me—it was the dumplings. Those soggy, doughy blobs that felt like wet socks floating in soup? No, thank you. I’d politely pass the bowl at every family gathering, making some excuse about being full from the rolls. Honestly, I thought I was being sophisticated. Let me tell you, I was very, very wrong.
Then, two winters ago, my neighbor Carol showed up at my door with a Dutch oven. Her son had just moved out, and she’d made “way too much” chicken and dumplings. She thrust the pot into my hands with a look that said, just try it. I took it inside, planning to eat a few spoonfuls out of politeness. But the first bite? The dumplings weren’t dense and gluey. They were light, almost pillowy, with these little nooks that had soaked up the savory broth. I stood at my kitchen counter, alone, and ate an entire bowl standing up. I mean, I didn’t even bother with a plate—I just hovered over the pot like a cartoon character. It was a deeply embarrassing and delicious moment.
That pot of soup changed everything. I had to figure out how Carol did it. She confessed her secret over coffee the next day: she uses a drop biscuit method for the dumplings, not a rolled dough. The batter is soft and almost wet, and you just drop it into the simmering broth. No kneading, no rolling, no chance to overwork the gluten. That was the crack in my long-held refusal. This is that recipe—the one that turned me from a dumpling skeptic into someone who now makes them on purpose. Maybe you’ve been there, convinced a certain dish just wasn’t for you. I get it. But keep reading, because this one might surprise you.
Why You’ll Love This Recipe
This isn’t just another chicken soup recipe. This is the kind of meal that makes you close your eyes after the first bite. It’s comfort food reimagined—richer, heartier, and deeply satisfying without being complicated. After testing this recipe seven times (yes, seven—my family started complaining about the leftovers), I can confidently say these are the best dumplings I’ve ever made.
- One Pot Wonder: Everything comes together in a single Dutch oven or large pot. Less cleanup means more time to actually enjoy your meal.
- Simple, Real Ingredients: No canned soup, no baking mix, no shortcuts. You probably have most of these in your pantry right now.
- Perfect for a Cozy Night In: This is the ultimate cold-weather comfort food. It’s what you want after a long day, a rainy afternoon, or a snowy evening.
- Family-Approved: I’ve served this to picky kids, skeptical in-laws, and hungry neighbors. It gets rave reviews every single time.
- Unbelievably Tender Dumplings: The drop biscuit method creates dumplings that are fluffy on the inside with a slight chew on the outside. They soak up the broth without turning into paste.
What makes this recipe different from the rest? It’s the technique. Most recipes either use a heavy rolled dough or a boxed mix. This one uses a simple, from-scratch drop biscuit batter that’s mixed in under two minutes. The key is not overmixing—you want lumps. Those lumps are what create the light, tender texture. Plus, the broth is built from scratch using bone-in chicken, which gives it a deep, savory flavor that store-bought broth just can’t match. It’s the kind of meal that feels like a hug in a bowl, and honestly, who doesn’t need that right now?
What Ingredients You Will Need
This recipe uses simple, wholesome ingredients to deliver bold flavor and satisfying texture without the fuss. Most of these are pantry staples, but a few key choices make all the difference. Here’s what you’ll need, broken down by component.
For the Chicken & Broth
- 2 pounds bone-in, skin-on chicken thighs (about 4-5 thighs) – The bones and skin add incredible flavor to the broth. You can use breasts, but the broth won’t be as rich. I prefer thighs for their tenderness.
- 1 tablespoon olive oil – For browning the chicken. Avocado oil works too.
- 1 large yellow onion, diced (about 1 ½ cups) – The base of our flavor. Don’t skip it.
- 3 medium carrots, peeled and diced (about 1 cup) – Adds sweetness and color.
- 3 celery stalks, diced (about 1 cup) – Essential for that classic soup flavor.
- 3 cloves garlic, minced – Fresh is best, but jarred works in a pinch.
- 6 cups low-sodium chicken broth – I recommend Swanson or Kitchen Basics for consistent flavor. Homemade is even better if you have it.
- 1 cup water – Helps adjust the consistency without making it too salty.
- 1 teaspoon dried thyme – Earthy and warming. Fresh thyme works too—use 1 tablespoon.
- ½ teaspoon dried rosemary – Crush it between your fingers to release the oils.
- 2 bay leaves – Removed before serving. They add a subtle depth.
- 1 teaspoon salt – Start here, adjust later. Different broths have varying salt levels.
- ½ teaspoon black pepper – Freshly ground is best.
For the Dumplings
- 1 ½ cups all-purpose flour – Spoon and level it. Don’t scoop directly from the bag or you’ll pack it down.
- 2 teaspoons baking powder – This is what makes them light. Check the expiration date—old baking powder won’t work.
- ½ teaspoon salt – Enhances the flavor of the dough.
- ¼ teaspoon garlic powder – Optional, but I love the subtle savory note.
- 3 tablespoons cold unsalted butter, cut into small cubes – The butter creates steam pockets as it melts, making the dumplings tender. Keep it cold until you’re ready.
- ¾ cup whole milk – Whole milk gives the richest texture. 2% works, but avoid skim. For a dairy-free option, use unsweetened oat milk.
- 2 tablespoons fresh parsley, chopped – For garnish. Optional, but it adds a fresh pop of color.
Ingredient Tip: For the best dumpling texture, use cold butter and cold milk. The contrast between the cold fat and the hot broth is what creates those steam pockets. I learned this the hard way after making a batch of hockey pucks. Also, if you’re using a gluten-free flour blend, choose one that contains xanthan gum—it helps mimic the structure of gluten.
Equipment Needed
You don’t need a lot of fancy tools for this recipe, which is part of its charm. Here’s what you’ll need:
- Large Dutch Oven or Heavy-Bottomed Pot (6-8 quart): This is your workhorse. A Dutch oven distributes heat evenly and is perfect for browning, simmering, and holding all that goodness. If you don’t have one, a large stockpot will work, but keep an eye on the heat to prevent scorching.
- Wooden Spoon or Silicone Spatula: For stirring and scraping up the browned bits from the bottom of the pot—that’s where the flavor lives.
- Measuring Cups and Spoons: Accuracy matters, especially for the dumpling batter. I use a set of stainless steel ones that have lasted for years.
- Chef’s Knife and Cutting Board: For dicing the vegetables. A sharp knife makes the prep go faster and safer.
- 2 Medium Mixing Bowls: One for the dry dumpling ingredients, one for the wet. I use glass bowls because they don’t hold onto odors.
- Pastry Cutter or Two Forks: For cutting the butter into the flour. A pastry cutter is faster, but two forks work in a pinch. You can even use your fingertips—just work quickly so the butter doesn’t warm up.
- Large Spoon or Cookie Scoop: For dropping the dumpling batter into the pot. A #40 cookie scoop (about 1.5 tablespoons) makes perfectly uniform dumplings.
- Tongs: For flipping the chicken thighs while browning and removing them from the pot later.
Budget-Friendly Tip: If you don’t own a Dutch oven, check thrift stores or garage sales. I found my favorite one for $8. It’s a little chipped, but it works perfectly. A heavy-bottomed stainless steel pot is a good alternative if you’re patient about stirring.
Preparation Method
This recipe comes together in about 1 hour and 15 minutes. The active prep time is only 20 minutes—the rest is hands-off simmering. Let’s get started.
Step 1: Brown the Chicken
Pat the chicken thighs dry with paper towels. This step is crucial—wet chicken won’t brown properly. Season them generously with salt and pepper on both sides. Heat the olive oil in your Dutch oven over medium-high heat. Once the oil is shimmering (about 2 minutes), carefully place the chicken thighs skin-side down. Don’t crowd the pot—work in two batches if needed. Let them cook undisturbed for 5-6 minutes, until the skin is deep golden brown and crispy. Flip and cook for another 3-4 minutes. Transfer the chicken to a plate. Don’t worry if it’s not cooked through—it will finish in the broth.
Step 2: Sauté the Vegetables
Reduce the heat to medium. There should be about 2 tablespoons of rendered chicken fat left in the pot. If there’s more, spoon some out. If there’s less, add a splash of olive oil. Add the diced onion, carrots, and celery. Cook, stirring occasionally, for 6-8 minutes, until the vegetables have softened and the onions are translucent. The bottom of the pot will have browned bits—that’s flavor. Scrape them up with your wooden spoon as you stir.
Step 3: Build the Broth
Add the minced garlic and cook for 30 seconds until fragrant. Pour in the chicken broth and water, then add the thyme, rosemary, bay leaves, salt, and pepper. Stir everything together. Return the chicken thighs to the pot, nestling them into the liquid. The broth should just cover the chicken—if it doesn’t, add a little more water. Bring the pot to a gentle boil, then reduce the heat to low, cover, and let it simmer for 30 minutes. The chicken should be very tender and easily pull away from the bone.
Step 4: Shred the Chicken
After 30 minutes, use tongs to carefully transfer the chicken thighs to a cutting board. Let them cool for a few minutes until you can handle them. Remove and discard the skin and bones. Shred the meat into bite-sized pieces using two forks. Don’t shred it too fine—you want nice, chunky pieces. Set the shredded chicken aside.
Step 5: Prepare the Dumpling Batter
While the chicken cools, make the dumplings. In a medium bowl, whisk together the flour, baking powder, salt, and garlic powder. Add the cold butter cubes. Use a pastry cutter or two forks to cut the butter into the flour until the mixture looks like coarse crumbs with some pea-sized butter pieces remaining. Make a well in the center and pour in the milk. Stir with a fork just until combined—about 10-12 strokes. The batter will be thick, shaggy, and lumpy. Do not overmix. Overmixing develops gluten, which makes tough dumplings. Lumps are your friend here.
Step 6: Cook the Dumplings
Bring the broth back to a gentle simmer over medium heat. Return the shredded chicken to the pot. Using a large spoon or a cookie scoop, drop rounded spoonfuls of the dumpling batter into the simmering broth. You should get about 12-14 dumplings. Don’t overcrowd them—they’ll puff up as they cook. Cover the pot immediately with a tight-fitting lid. Reduce the heat to low and let them cook undisturbed for 15 minutes. Do not lift the lid during this time. The steam is what cooks the dumplings, and lifting the lid releases it. After 15 minutes, the dumplings should be puffed up and cooked through. To test, insert a toothpick into the center of one—it should come out clean.
Step 7: Finish and Serve
Turn off the heat. Remove the bay leaves and discard them. Taste the broth and adjust the salt and pepper if needed. Sprinkle the fresh parsley over the top. Let the pot sit for 5 minutes before serving—this allows the dumplings to set slightly. Ladle into bowls, making sure each serving gets a few dumplings and plenty of broth. Serve hot with crusty bread or a simple green salad on the side.
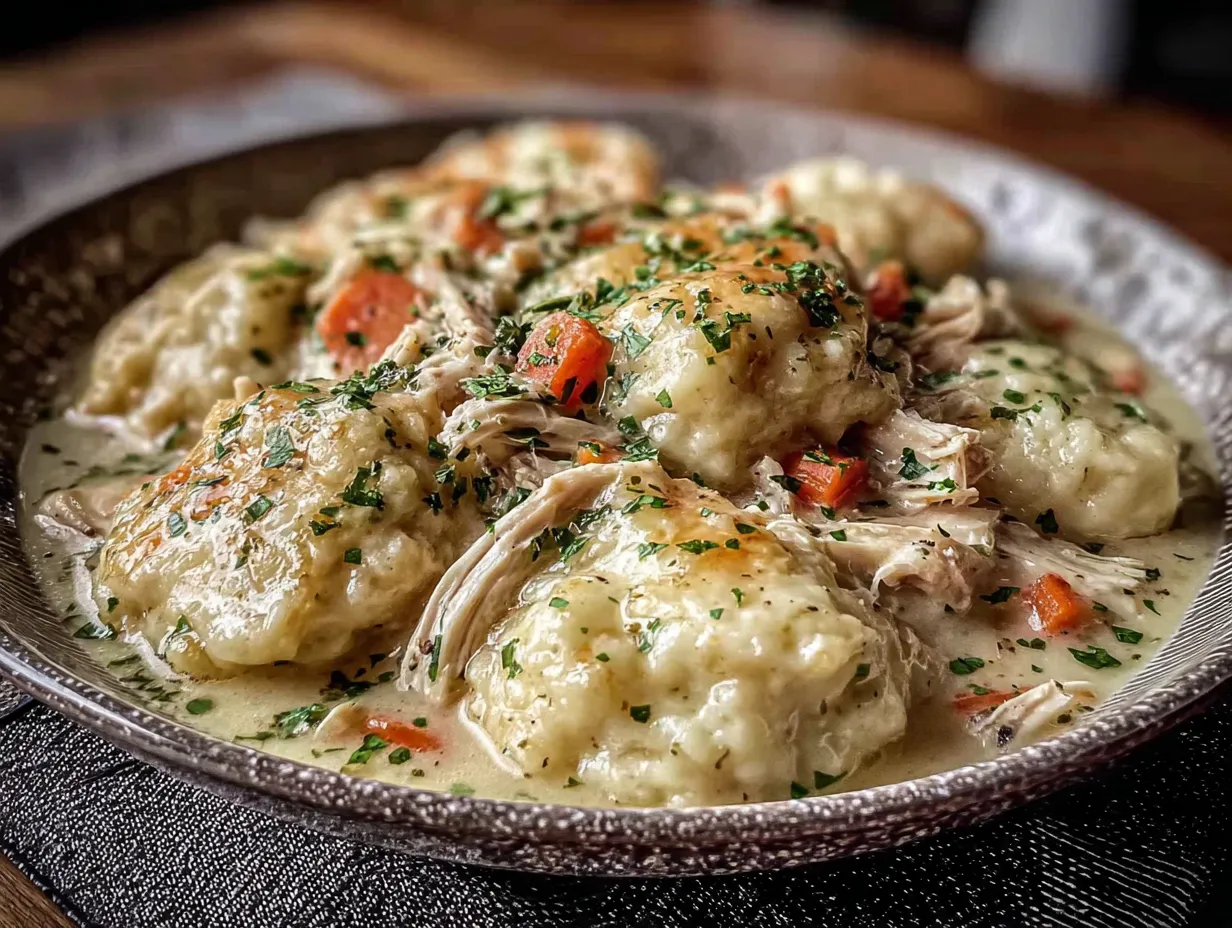
Sensory Cue: When the dumplings are done, the broth will have thickened slightly, and the dumplings will look like fluffy, golden clouds floating on the surface. The aroma is pure comfort—earthy thyme, savory chicken, and the faint sweetness of carrots.
Cooking Tips & Techniques
After making this recipe more times than I care to admit (and ruining a few batches along the way), I’ve learned a few things. Here are my best tips for success:
- Don’t skip browning the chicken. I know it’s an extra step, but it’s non-negotiable. The browned bits on the bottom of the pot create a deep, savory foundation that you just can’t get from broth alone. It’s called the fond, and it’s liquid gold.
- Keep the dumpling batter cold. Pop the mixing bowl in the fridge for 5 minutes while the chicken is shredding. Cold butter creates steam pockets as it melts, making the dumplings light and tender. Warm butter melts into the flour, creating a dense, greasy dough.
- Resist the urge to peek. I know it’s tempting. I ruined my first batch of dumplings by lifting the lid after 8 minutes because I was “just checking.” The steam escaped, the dumplings deflated, and I ended up with sad, dense lumps. Set a timer and walk away.
- Use a cookie scoop for even dumplings. A #40 scoop (1.5 tablespoons) gives you perfectly uniform dumplings that cook at the same rate. If you don’t have one, use two spoons to shape the batter into rough balls before dropping them in.
- Adjust the broth consistency. If you prefer a thicker, stew-like broth, mash a few of the cooked carrots against the side of the pot with your spoon before adding the dumplings. The starch will thicken the liquid naturally. If you prefer a thinner soup, add an extra ½ cup of water or broth.
- Season as you go. Don’t wait until the end to add all the salt. Season the chicken before browning, season the vegetables as they cook, and taste the broth before adding the dumplings. Layered seasoning creates a more complex flavor.
Variations & Adaptations
This recipe is wonderfully adaptable. Here are a few ways to make it your own:
- Herb & Lemon Version: Add the zest of one lemon and 2 tablespoons of fresh dill to the broth along with the chicken. Stir another tablespoon of lemon juice in right before serving. The brightness cuts through the richness beautifully. I tried this on a whim last spring, and now it’s my go-to version.
- Vegetarian / Vegan Adaptation: Swap the chicken for 3 cups of diced mushrooms (cremini or portobello) and 1 can of chickpeas. Use vegetable broth instead of chicken broth. For the dumplings, use cold vegan butter and unsweetened oat milk. The mushrooms provide that savory, umami depth that mimics the chicken broth.
- Gluten-Free Dumplings: Use a 1:1 gluten-free flour blend that contains xanthan gum (I recommend King Arthur Measure for Measure). Add an extra tablespoon of milk to the batter, as gluten-free flours tend to absorb more liquid. The texture will be slightly more delicate, but still delicious.
- Spicy Cajun Twist: Add 1 teaspoon of smoked paprika, ½ teaspoon of cayenne pepper, and ½ teaspoon of dried oregano to the broth. Swap the thyme for 1 teaspoon of Cajun seasoning. This version is bold, smoky, and perfect for when you want a little heat.
- Herb and Cheese Dumplings: Add ¼ cup of finely grated Parmesan cheese and 1 tablespoon of fresh chives to the dumpling batter. The cheese adds a savory, nutty note that pairs wonderfully with the chicken broth. I made this for a dinner party, and people couldn’t stop talking about the dumplings.
Serving & Storage Suggestions
This dish is best served immediately, while the dumplings are still fluffy and the broth is piping hot. Ladle it into wide, shallow bowls so you get a good ratio of broth to dumplings. I like to serve it with a side of crusty sourdough bread for dipping—the broth is too good to waste. A simple green salad with a lemon vinaigrette makes a nice contrast to the richness of the soup.
Storage: Leftovers keep well in an airtight container in the refrigerator for up to 3 days. However, the dumplings will continue to absorb the broth and become softer over time. If you’re planning to have leftovers, I recommend storing the dumplings separately from the broth. Reheat the broth on the stovetop, add the dumplings back in, and warm them through for a few minutes. The texture won’t be quite as good as fresh, but it’s still delicious.
Freezing: You can freeze the soup base (without the dumplings) for up to 3 months. Cool it completely, then transfer it to a freezer-safe container. To serve, thaw overnight in the refrigerator, reheat on the stovetop, and make a fresh batch of dumplings. This is my favorite meal-prep trick—I always have a container of the base in my freezer for busy nights.
Reheating: The best way to reheat is on the stovetop over medium-low heat, stirring gently. The microwave works in a pinch, but it tends to make the dumplings rubbery. If reheating from frozen, add a splash of water or broth to thin it out, as the soup will thicken as it sits.
Flavor Development: Like many soups and stews, this one tastes even better the next day. The flavors meld together overnight, creating a deeper, more harmonious broth. If you can resist eating it all in one sitting, you’re in for a treat.
Nutritional Information & Benefits
This recipe is comfort food at its finest, but it also brings some nutritional benefits to the table. Here’s an approximate breakdown per serving (based on 6 servings):
| Nutrient | Amount Per Serving |
|---|---|
| Calories | 485 |
| Protein | 32g |
| Fat | 22g |
| Saturated Fat | 9g |
| Carbohydrates | 38g |
| Fiber | 3g |
| Sugar | 6g |
| Sodium | 890mg |
Health Highlights: Chicken thighs provide a good source of protein and B vitamins, which support energy metabolism. Carrots are rich in beta-carotene (vitamin A), which is great for eye health and immune function. Celery adds a dose of vitamin K and antioxidants. The broth itself is hydrating and can help soothe a sore throat or cold symptoms. If you’re watching your sodium intake, use low-sodium broth and reduce the added salt—you can always adjust at the table.
Dietary Considerations: This recipe is nut-free and egg-free. For a gluten-free version, see the variation above. For a lower-carb option, serve the soup without the dumplings and add extra vegetables like zucchini or green beans. The recipe is naturally high in protein and provides a satisfying balance of macronutrients.
Personal Note: I love that this dish feels indulgent but is actually quite balanced. It’s the kind of meal that fills you up without weighing you down. After a bowl of this, I feel warm, satisfied, and ready to take on the evening—or just curl up on the couch.
Conclusion
This Cozy Chicken and Dumplings from Scratch is more than just a recipe—it’s a bowl of warmth, patience, and the satisfaction of making something truly good from simple ingredients. It’s the dish that changed my mind about dumplings, and I have a feeling it might change yours too. Whether you’re making it for a quiet weeknight dinner, a sick friend, or just to fill your kitchen with that incredible aroma, this one-pot meal delivers every time.
Don’t be afraid to make it your own. Swap in different herbs, try the Cajun version, or double the batch for a crowd. The beauty of this recipe is that it’s forgiving and adaptable. And honestly, even a “messy” version is still leagues better than anything from a can or a box. I’d love to hear how it turns out for you—drop a comment below and let me know your favorite twist. Did you add a secret ingredient? Did your family fight over the last dumpling? Share it all. Happy cooking, friends. Make sure you save this recipe for the next time you need a little comfort.
Frequently Asked Questions
Can I use boneless, skinless chicken thighs or breasts?
Yes, you can. However, the broth won’t be as rich because you’re missing the flavor from the bones and skin. If you use boneless chicken, I recommend adding an extra ½ teaspoon of chicken bouillon paste (like Better Than Bouillon) to boost the flavor. Boneless chicken will also cook faster—about 20 minutes of simmering instead of 30.
Why did my dumplings turn out dense and heavy?
This is almost always due to overmixing the batter or lifting the lid while they cook. Mix the dumpling batter until it’s just combined—lumps are okay. And resist the urge to peek! The steam needs to stay trapped inside the pot to cook the dumplings properly. Also, make sure your baking powder is fresh. Test it by dropping a teaspoon into hot water—it should bubble vigorously.
Can I make this recipe in a slow cooker or Instant Pot?
Absolutely. For a slow cooker, brown the chicken and sauté the vegetables on the stovetop first, then transfer everything (except the dumplings) to the slow cooker. Cook on low for 6-8 hours or high for 3-4 hours. Shred the chicken, then drop the dumpling batter on top. Cook on high, covered, for 30-40 minutes without lifting the lid. For an Instant Pot, use the sauté function for browning and simmering, then pressure cook on high for 15 minutes. Do a natural release, shred the chicken, then use the sauté function to simmer the dumplings for 15 minutes with the lid on.
How do I prevent the dumplings from falling apart?
Make sure your broth is at a gentle simmer—not a rolling boil—when you drop the dumplings in. A vigorous boil can break them apart. Also, don’t stir the pot after adding the dumplings. The batter needs time to set. Finally, ensure your dumpling batter has the right consistency. It should be thick and scoopable, not runny. If it’s too thin, add an extra tablespoon of flour.
Can I add other vegetables to this recipe?
Yes! This recipe is very flexible. Frozen peas (added in the last 5 minutes of cooking) are a classic addition. You can also add diced potatoes, parsnips, or turnips along with the carrots and celery. For a pop of green, stir in a handful of chopped spinach or kale right before serving. Just keep in mind that adding more vegetables will dilute the broth slightly, so you may want to add an extra ½ cup of broth to compensate.
Pin This Recipe!
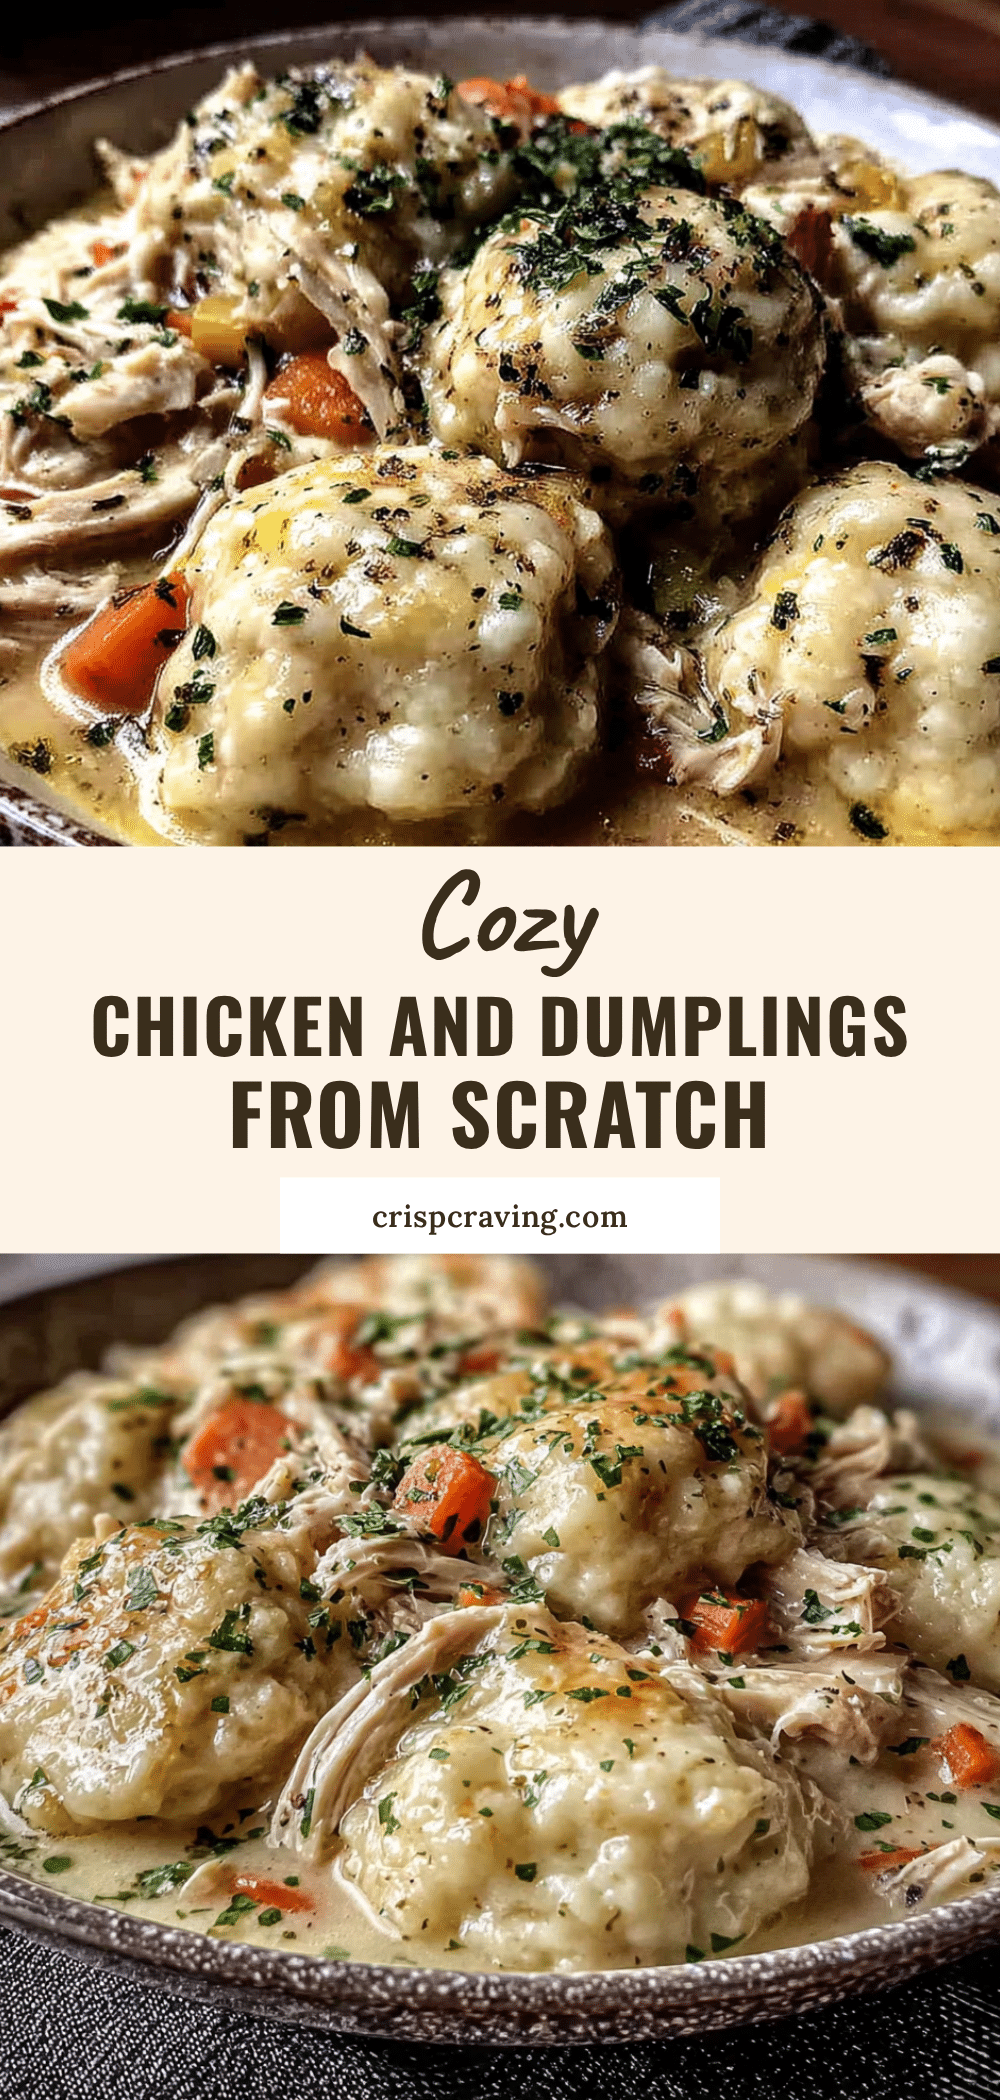
Cozy Chicken and Dumplings from Scratch – Easy One Pot Dinner
This one-pot chicken and dumplings recipe features tender, pillowy drop biscuit dumplings in a rich, savory broth made from scratch. It’s the ultimate comfort food for a cozy night in.
- Prep Time: 20 minutes
- Cook Time: 55 minutes
- Total Time: 1 hour 15 minutes
- Yield: 6 servings 1x
- Category: Main Course
- Cuisine: American
Ingredients
- 2 pounds bone-in, skin-on chicken thighs (about 4–5 thighs)
- 1 tablespoon olive oil
- 1 large yellow onion, diced (about 1 ½ cups)
- 3 medium carrots, peeled and diced (about 1 cup)
- 3 celery stalks, diced (about 1 cup)
- 3 cloves garlic, minced
- 6 cups low-sodium chicken broth
- 1 cup water
- 1 teaspoon dried thyme
- ½ teaspoon dried rosemary
- 2 bay leaves
- 1 teaspoon salt
- ½ teaspoon black pepper
- 1 ½ cups all-purpose flour
- 2 teaspoons baking powder
- ½ teaspoon salt
- ¼ teaspoon garlic powder
- 3 tablespoons cold unsalted butter, cut into small cubes
- ¾ cup whole milk
- 2 tablespoons fresh parsley, chopped
Instructions
- Pat the chicken thighs dry with paper towels. Season generously with salt and pepper on both sides. Heat olive oil in a Dutch oven over medium-high heat. Once shimmering, place chicken skin-side down. Cook undisturbed for 5-6 minutes until deep golden brown. Flip and cook for another 3-4 minutes. Transfer chicken to a plate.
- Reduce heat to medium. Add diced onion, carrots, and celery to the pot. Cook, stirring occasionally, for 6-8 minutes until softened and onions are translucent. Scrape up browned bits from the bottom.
- Add minced garlic and cook for 30 seconds until fragrant. Pour in chicken broth and water. Add thyme, rosemary, bay leaves, salt, and pepper. Stir. Return chicken to the pot, nestling into the liquid. Bring to a gentle boil, then reduce heat to low, cover, and simmer for 30 minutes until chicken is tender.
- Transfer chicken to a cutting board. Let cool slightly, then remove and discard skin and bones. Shred meat into bite-sized pieces with two forks. Set aside.
- In a medium bowl, whisk together flour, baking powder, salt, and garlic powder. Add cold butter cubes. Use a pastry cutter or two forks to cut butter into flour until mixture resembles coarse crumbs with some pea-sized butter pieces. Make a well and pour in milk. Stir with a fork just until combined (10-12 strokes). Batter will be thick, shaggy, and lumpy. Do not overmix.
- Bring broth back to a gentle simmer over medium heat. Return shredded chicken to the pot. Drop rounded spoonfuls of dumpling batter into the simmering broth (about 12-14 dumplings). Cover immediately with a tight-fitting lid. Reduce heat to low and cook undisturbed for 15 minutes. Do not lift the lid. Dumplings should be puffed and cooked through; a toothpick inserted in the center should come out clean.
- Turn off heat. Remove bay leaves. Taste broth and adjust salt and pepper if needed. Sprinkle with fresh parsley. Let sit for 5 minutes before serving. Ladle into bowls, ensuring each serving gets dumplings and broth. Serve hot.
Notes
For the best dumpling texture, use cold butter and cold milk. Do not overmix the dumpling batter; lumps are okay. Resist the urge to lift the lid while dumplings cook. Store leftovers in an airtight container in the refrigerator for up to 3 days; for best results, store dumplings separately from broth. Freeze the soup base (without dumplings) for up to 3 months.
Nutrition
- Serving Size: 1 serving (about 1/6
- Calories: 485
- Sugar: 6
- Sodium: 890
- Fat: 22
- Saturated Fat: 9
- Carbohydrates: 38
- Fiber: 3
- Protein: 32
Keywords: chicken and dumplings, one pot dinner, comfort food, chicken soup, drop dumplings, easy dinner, cozy meal



