Love this? Save it for later!
Share the inspiration with your friends
The neighborhood “Friendsgiving” potluck was in twelve hours and I’d completely forgotten. I mean, I’d remembered to RSVP with an enthusiastic “yes!” and even offered to bring baked goods. But somewhere between work deadlines and the chaos of Tuesday, the actual baking part had slipped my mind completely. Everyone else would be bringing their signature dishes—the kind that take two days and a trip to a specialty market. My neighbor Karen was famous for her grandmother’s stuffing recipe that she guarded like a state secret. I had a half-empty container of pumpkin puree in the fridge, some maple syrup that was about to expire, and a growing sense of panic.
Let me tell you, there’s something about time pressure that either breaks you or makes you a kitchen hero. That evening, standing in my flour-dusted kitchen with a whisk in one hand and my phone in the other, I decided I was going to make something that looked like it took all day. The secret? These cozy maple pumpkin scones with cinnamon glaze. They came together in about forty minutes flat, and honestly, I was just hoping they’d be edible.
The funny thing is, I walked into that potluck feeling like a fraud. My scones were cooling in a basket lined with a dish towel, and I was mentally preparing my apology speech. But then people started trying them. Someone asked for the recipe. Then someone else. By the end of the night, Karen herself had asked if I’d trade her a dozen scones for a container of her famous stuffing. That was the moment I knew this recipe was something special. Maybe you’ve been there—the accidental success that makes you feel like you’ve stumbled onto gold. That’s exactly what these scones are. They’re the recipe that makes you look like you’ve got it all together, even when you absolutely don’t.
Why You’ll Love This Recipe
I’ve tested this recipe more times than I care to admit, and here’s what I’ve learned: these scones hit that perfect sweet spot between “I want something fancy” and “I have zero time.” After about a dozen trial batches (and one memorable incident where I confused salt with sugar), I can confidently say this version is the one you’ll come back to again and again.
- Quick & Easy: From start to finish, you’re looking at about 40 minutes. That’s less time than it takes to watch a single episode of your favorite show.
- Simple Ingredients: No fancy pastry flour or obscure extracts here. You probably have most of these things in your pantry right now.
- Perfect for Fall Gatherings: Whether it’s a Friendsgiving, a cozy brunch, or just a Tuesday that needs some warming up, these scones fit right in.
- Crowd-Pleaser: I’ve served these to kids, grandparents, and that one friend who claims they don’t like pumpkin. They all disappeared.
- Unbelievably Delicious: The texture is tender and flaky, the maple flavor is warm without being overwhelming, and that cinnamon glaze? It’s the kind of thing you’ll want to put on everything.
What makes these scones different from the dozens of pumpkin scone recipes floating around the internet? It’s the technique. I learned the hard way that overworking the dough turns scones into hockey pucks. This method keeps everything cold, handles the dough gently, and uses a trick with frozen butter that gives you those beautiful flaky layers without any special equipment. Plus, the maple syrup isn’t just for sweetness—it adds a depth that plain sugar just can’t match. These aren’t just another pumpkin scone. They’re the ones you’ll actually want to make on a regular basis.
What Ingredients You Will Need
This recipe uses simple, wholesome ingredients that come together to create something genuinely special. Most of these are pantry staples, especially if you’re a fall baking enthusiast like me. Here’s what you’ll need and why each ingredient matters.
For the Scones
- All-purpose flour, 2 cups (240g) – The backbone of the scone. I’ve tested this with a 50/50 blend of whole wheat pastry flour, and it works in a pinch, but all-purpose gives the most tender crumb.
- Granulated sugar, 1/3 cup (65g) – Just enough sweetness to balance the pumpkin and maple.
- Baking powder, 1 tablespoon – Make sure it’s fresh! Old baking powder is the number one reason scones don’t rise properly.
- Pumpkin pie spice, 1 1/2 teaspoons – You can use store-bought or make your own blend with cinnamon, nutmeg, ginger, and cloves. I actually prefer the store-bought for consistency.
- Salt, 1/2 teaspoon – Don’t skip this. Salt makes everything taste more like itself.
- Unsalted butter, 1/2 cup (113g), frozen – This is the secret to flaky scones. Frozen butter creates steam pockets as it melts in the oven, giving you those beautiful layers. I recommend using a good quality butter like Kerrygold for the best flavor.
- Pumpkin puree, 1/2 cup (120g) – Not pumpkin pie filling! Make sure you’re getting 100% pure pumpkin. Libby’s is my go-to brand because it’s consistently thick and not watery.
- Maple syrup, 1/4 cup (60ml) – Use real maple syrup, not pancake syrup. The flavor is completely different. Grade A dark amber works beautifully here.
- Heavy cream, 3 tablespoons (45ml) – Adds richness and helps bind the dough without making it tough.
- Vanilla extract, 1 teaspoon – Pure vanilla extract makes a difference. Imitation works, but the real stuff adds a warmth that’s worth the splurge.
For the Cinnamon Glaze
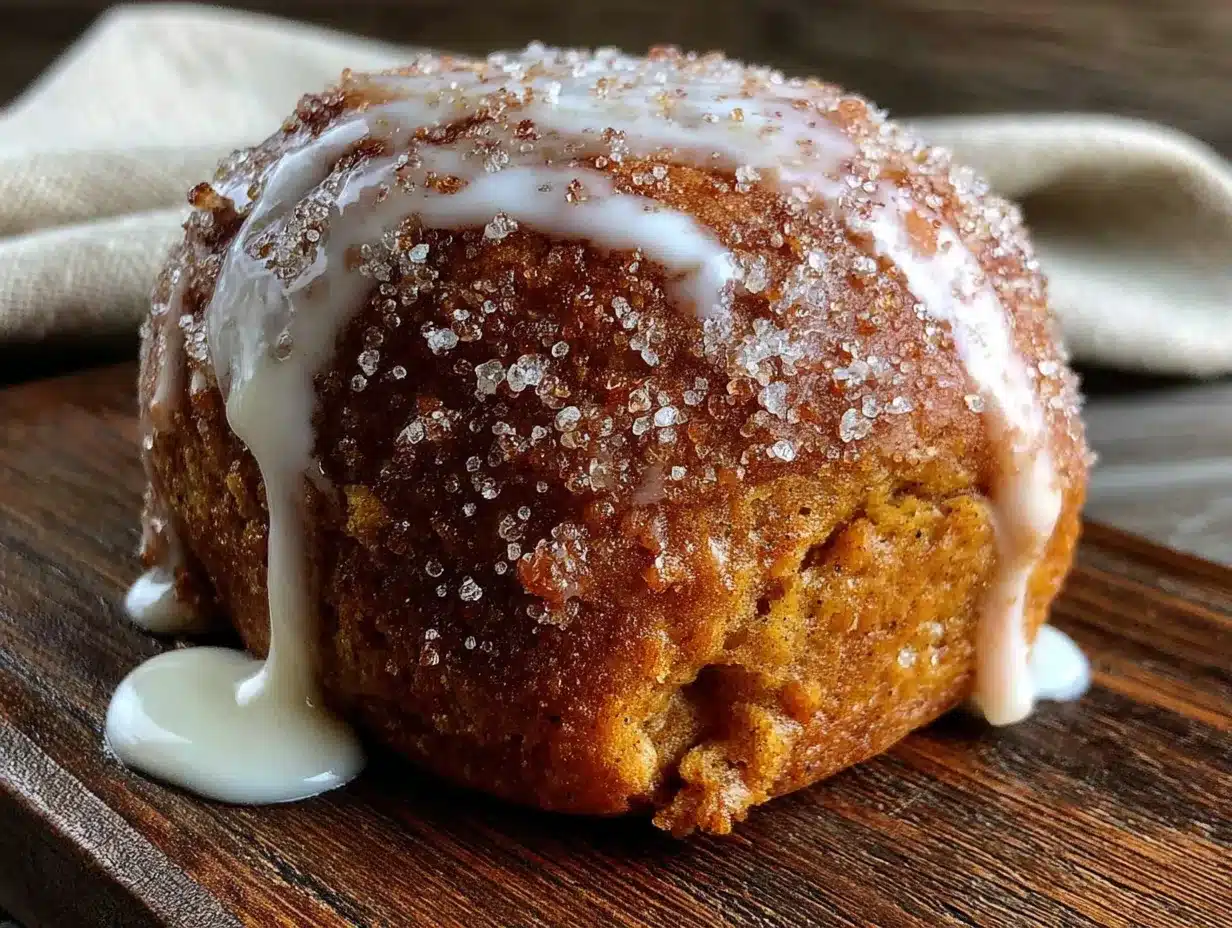
- Powdered sugar, 1 cup (120g) – Sift it if you want a perfectly smooth glaze. I’m usually too impatient, but I’ll admit it makes a difference.
- Ground cinnamon, 1 teaspoon – I like Saigon cinnamon for its stronger, sweeter flavor, but regular cinnamon works great too.
- Maple syrup, 1 tablespoon – A little extra maple flavor in the glaze ties everything together.
- Milk or heavy cream, 2-3 tablespoons – Start with 2 tablespoons and add more until you reach your desired consistency. Heavy cream gives a richer glaze.
Equipment Needed
You don’t need a professional bakery setup for these scones. Here’s what I use and what you can substitute if you’re in a pinch.
- Large mixing bowl – Any bowl will do, but I prefer a wide one for easier mixing.
- Pastry cutter or two forks – A pastry cutter makes cutting butter into flour much faster, but two forks work just fine. I actually used forks for my first dozen batches before upgrading.
- Box grater – This is for grating the frozen butter. It sounds weird, I know, but trust me on this one. A food processor with a grating disc works too, but a box grater is easier to clean.
- Baking sheet – A light-colored metal baking sheet gives the most even browning. Dark sheets can make the bottoms burn before the tops are done.
- Parchment paper – Non-negotiable for easy cleanup and preventing stuck scones. Silicone baking mats also work well.
- Bench scraper or sharp knife – For cutting the scones into triangles. A bench scraper is ideal because it cuts cleanly without dragging through the dough.
- Pastry brush (optional) – For brushing the tops with cream before baking. You can use a spoon if you don’t have one.
- Wire cooling rack – Essential for letting the glaze set properly. If you don’t have one, you can use the parchment paper on the counter.
Preparation Method
I’ve broken this down step by step so you can follow along without any surprises. Take your time, and remember—gentle hands make tender scones!
- Preheat your oven to 400°F (200°C) and line a baking sheet with parchment paper. Trust me, you want the oven fully hot before the scones go in. While it’s heating, pop your stick of butter in the freezer for at least 15 minutes if it isn’t already frozen.
- Whisk together the dry ingredients in a large bowl: flour, sugar, baking powder, pumpkin pie spice, and salt. Make sure the baking powder is evenly distributed—nobody wants a pocket of baking powder in their scone.
- Grate the frozen butter using the large holes of a box grater. This is the part that feels a little crazy, but it works. The grated butter distributes evenly through the flour without you having to cut it in. If the butter starts to get soft, pop the bowl in the fridge for a few minutes.
- Toss the grated butter into the flour mixture and gently work it in with your fingertips or a pastry cutter until the mixture looks like coarse meal with some pea-sized butter pieces remaining. Don’t overdo it—those little butter chunks are what create flaky layers.
- In a separate small bowl, whisk together the pumpkin puree, maple syrup, heavy cream, and vanilla extract until smooth. Make sure there are no lumps of pumpkin hiding at the bottom.
- Pour the wet ingredients into the dry ingredients and stir with a fork just until the dough comes together. It will look shaggy and a little dry—that’s exactly what you want. If it’s truly not coming together, add another tablespoon of cream, but go easy.
- Turn the dough out onto a lightly floured surface and gently bring it together with your hands. Pat it into a rectangle about 3/4 inch thick. Don’t knead it! Just press it together. If the dough cracks at the edges, that’s fine. Just press them back together gently.
- Cut the rectangle in half lengthwise, then cut each half into 3 triangles (you’ll get 6 scones total). A bench scraper works best here—it cuts cleanly without squishing the edges. Transfer the scones to your prepared baking sheet, spacing them about 2 inches apart.
- Brush the tops with a little extra cream (this helps them brown beautifully) and bake for 14-16 minutes, until the scones are golden brown on the bottom and just slightly firm to the touch. The tops should be light golden. Mine usually take exactly 15 minutes, but ovens vary.
- Let the scones cool on the baking sheet for 5 minutes, then transfer them to a wire rack to cool completely before glazing. I know it’s tempting, but warm glaze will just slide right off and make a mess.
- While the scones cool, make the glaze: whisk together the powdered sugar, cinnamon, maple syrup, and 2 tablespoons of milk or cream. Add more liquid a teaspoon at a time until the glaze is thick but pourable—it should slowly drizzle off your whisk.
- Drizzle the glaze over the cooled scones using a spoon or a piping bag with the tip snipped off. Let the glaze set for about 15 minutes before serving. Or, you know, eat one immediately with a napkin under your chin. I won’t judge.
Cooking Tips & Techniques
After making these scones more times than I can count, I’ve picked up a few tricks that make the process smoother and the results better. Here are the things I wish someone had told me when I first started.
Keep everything cold. I cannot stress this enough. Cold butter is the single most important factor in flaky scones. If your kitchen is warm, pop the formed scones in the fridge for 15 minutes before baking. I once skipped this step on a hot summer day and ended up with flat, greasy discs instead of fluffy scones. Lesson learned.
Don’t overwork the dough. The more you handle it, the tougher the scones get. I mix just until the flour is incorporated, and I pat the dough into shape rather than rolling it. A little imperfection in the shape is charming—it makes them look homemade in the best way.
Check your pumpkin puree. Some brands are more watery than others. If your pumpkin puree looks loose, you can blot it with a paper towel before measuring. Too much moisture in the dough will make the scones dense and gummy instead of light and flaky.
Bake on the middle rack. The top rack can brown the tops too quickly while the insides stay underdone. The middle rack gives you even heat distribution and that perfect golden color all around.
Test for doneness with a toothpick. Insert one into the center of a scone—it should come out clean or with just a few moist crumbs. If it’s wet with dough, give them another 2 minutes and check again.
Variations & Adaptations
One of the best things about this recipe is how adaptable it is. I’ve played around with different versions, and here are some of my favorites.
Gluten-Free Version: Substitute the all-purpose flour with a good quality 1:1 gluten-free baking flour blend. I’ve had the best results with King Arthur Measure for Measure. Add an extra tablespoon of cream since gluten-free flours tend to absorb more liquid. The texture won’t be exactly the same, but they’re still delicious.
Vegan Option: Use cold vegan butter (I like Miyoko’s) in place of regular butter, and substitute the heavy cream with full-fat coconut cream or oat milk. For the glaze, use a plant-based milk. The scones will be a bit less flaky, but the flavor is still spot-on.
Spiced Apple Variation: Replace the pumpkin puree with unsweetened applesauce and add 1/2 cup of finely diced apple. Reduce the pumpkin pie spice to 1 teaspoon and add an extra 1/2 teaspoon of cinnamon. This version is perfect for early fall when apples are at their peak.
Chocolate Chip Pumpkin Scones: Fold in 1/2 cup of mini chocolate chips after the dough comes together. The chocolate pairs surprisingly well with the pumpkin and maple. I made this version for a neighbor who claimed she didn’t like pumpkin desserts, and she asked for the recipe twice.
Savory Twist: Reduce the sugar to 2 tablespoons, omit the pumpkin pie spice, and add 1 teaspoon of sage, 1/2 teaspoon of black pepper, and 1/2 cup of shredded sharp cheddar cheese. Brush with melted butter instead of cream before baking. These are incredible alongside a bowl of soup.
Serving & Storage Suggestions
These scones are at their absolute best on the day they’re made, but they’re still pretty fantastic for a few days after. Here’s how to handle them.
Serving: I like to serve these slightly warm, with the glaze just set. They’re perfect alongside a cup of coffee or tea, and they make an impressive addition to any brunch spread. For a truly indulgent experience, split one in half and toast it lightly, then add a pat of butter. The warmth makes the cinnamon glaze get all melty and wonderful.
Complementary Dishes: These scones pair beautifully with a pumpkin spice latte, chai tea, or even a glass of cold milk. For a brunch spread, serve them alongside a frittata or scrambled eggs for a sweet-savory balance.
Storage: Store unglazed scones in an airtight container at room temperature for up to 3 days. If you’ve already glazed them, layer them between sheets of parchment paper so the glaze doesn’t stick. I’ve found that glazed scones are best eaten within 2 days—the glaze can get a bit sticky after that.
Freezing: You can freeze the unbaked scones! Cut them into triangles, place them on a baking sheet, and freeze until solid. Then transfer to a freezer bag. When you’re ready to bake, add 2-3 minutes to the baking time—no need to thaw. I do this all the time for last-minute gatherings. You can also freeze baked, unglazed scones for up to 3 months. Thaw at room temperature and glaze before serving.
Reheating: Pop a scone in a 300°F (150°C) oven for 5-7 minutes to bring back that just-baked warmth. The microwave works in a pinch, but it can make the scone a bit rubbery. Toaster ovens are actually perfect for this—they crisp up the outside while warming the inside.
Nutritional Information & Benefits
Let’s be real—these scones are a treat, not a health food. But there are a few bright spots worth mentioning.
Per scone (with glaze): approximately 320 calories, 14g fat, 45g carbohydrates, 4g protein, 2g fiber, 22g sugar. These numbers will vary based on your specific ingredients and how generously you glaze.
The pumpkin puree is a nice bonus—it’s packed with vitamin A and fiber, and it adds moisture without requiring a ton of butter. Maple syrup contains some antioxidants and minerals like zinc and manganese, though let’s be honest, we’re not eating these for the nutritional profile. The cinnamon in the glaze has anti-inflammatory properties and may help with blood sugar regulation.
If you’re watching your sugar intake, you can reduce the sugar in the scones to 1/4 cup and use a lighter hand with the glaze. The scones will be slightly less sweet but still plenty flavorful. For a lower-carb option, I’d recommend looking for a specific low-carb scone recipe rather than trying to adapt this one—the texture really depends on the flour and sugar.
As always, if you have specific dietary needs or allergies, please check your ingredient labels carefully. This recipe contains gluten, dairy, and potentially tree nuts depending on your milk choice.
Conclusion
These cozy maple pumpkin scones with cinnamon glaze have become my go-to recipe for fall gatherings, lazy Sunday mornings, and any time I need a little comfort. They’re the kind of baked good that makes you feel like you’ve accomplished something wonderful, even on days when you’re just trying to survive. The first time I made them, I was stressed and rushed and convinced they’d be a disaster. Now, they’re the recipe I turn to when I want to impress without the stress.
I hope you’ll give them a try, and I hope they become that recipe for you too. Maybe you’ll make them for a potluck and end up trading recipes with your neighbor. Maybe you’ll make them just because it’s Wednesday and you deserve something warm and sweet. Either way, I’d love to hear how they turn out. Did you try one of the variations? Did you come up with your own twist? Drop a comment below and let me know—I read every single one, and your feedback helps me create better recipes for this community.
Happy baking, friends. Here’s to scones that taste like a warm hug on a crisp autumn day.
Frequently Asked Questions
Can I use canned pumpkin pie filling instead of pumpkin puree?
No, please don’t! Pumpkin pie filling has added sugar and spices that will throw off the balance of this recipe. Stick with 100% pure pumpkin puree for the best results.
Why did my scones turn out dry?
This usually happens from overmixing the dough or using too much flour. Measure your flour by spooning it into the measuring cup and leveling it off, rather than scooping directly. Also, make sure you’re not overbaking—pull them out when they’re just golden on the bottom.
Can I make the dough ahead of time?
Absolutely! You can prepare the dough, cut it into triangles, and refrigerate them on a baking sheet for up to 24 hours. Bake them straight from the fridge, adding an extra minute or two to the baking time.
Can I skip the glaze?
You can, but I wouldn’t recommend it. The glaze adds sweetness and that beautiful cinnamon flavor that ties everything together. If you want a lighter option, just use a very thin drizzle or dust the scones with powdered sugar and cinnamon instead.
How do I get my scones to rise higher?
Make sure your baking powder is fresh (less than 6 months old), keep your butter cold, and don’t twist the cutter or knife when cutting the scones. Twisting seals the edges and prevents them from rising properly. A clean, straight cut is key to tall, flaky scones.
Pin This Recipe!
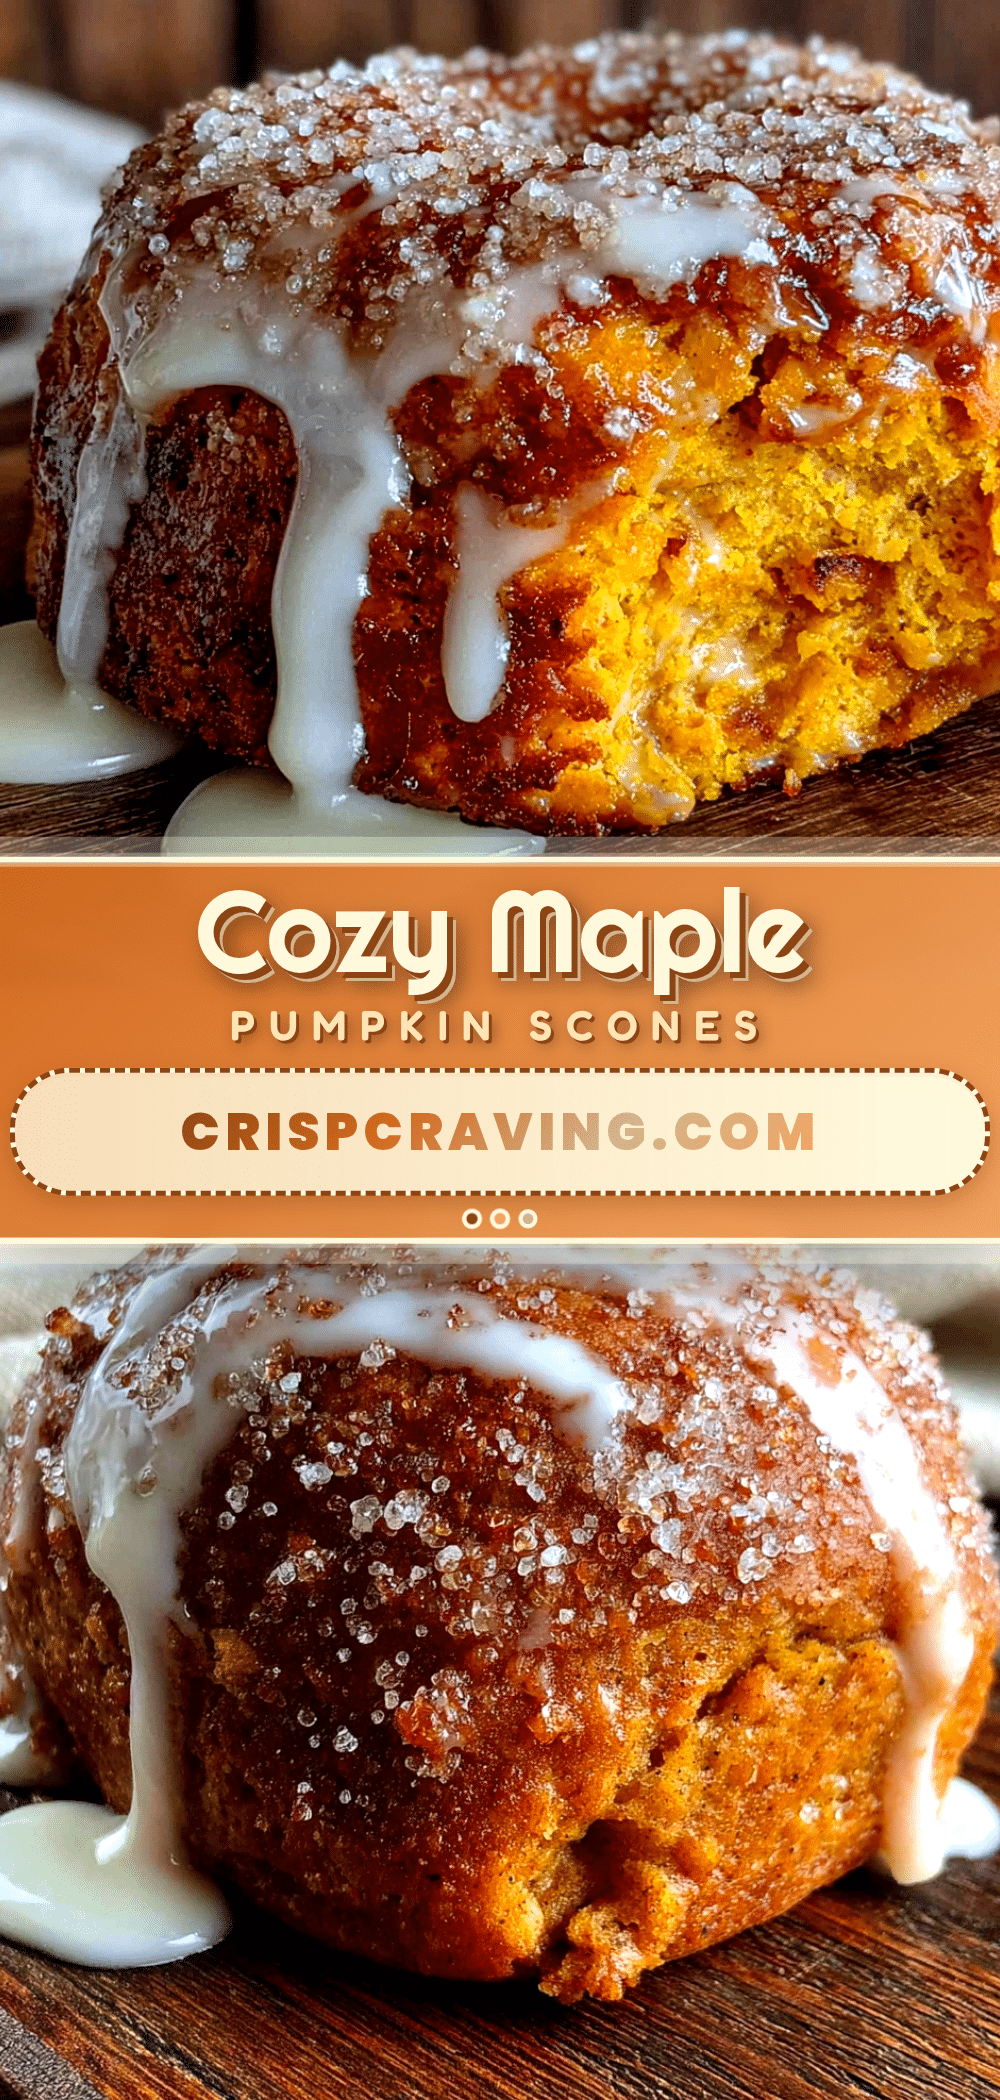
Cozy Maple Pumpkin Scones with Easy Cinnamon Glaze
These tender, flaky maple pumpkin scones with a cinnamon glaze come together in about 40 minutes and are perfect for fall gatherings, brunch, or a cozy treat. Made with simple ingredients and a clever frozen butter technique, they’re a crowd-pleaser that looks like it took all day.
- Prep Time: 20 minutes
- Cook Time: 16 minutes
- Total Time: 40 minutes
- Yield: 6 servings 1x
- Category: Dessert
- Cuisine: American
Ingredients
- 2 cups (240g) all-purpose flour
- 1/3 cup (65g) granulated sugar
- 1 tablespoon baking powder
- 1 1/2 teaspoons pumpkin pie spice
- 1/2 teaspoon salt
- 1/2 cup (113g) unsalted butter, frozen
- 1/2 cup (120g) pumpkin puree (not pumpkin pie filling)
- 1/4 cup (60ml) real maple syrup
- 3 tablespoons (45ml) heavy cream
- 1 teaspoon vanilla extract
- 1 cup (120g) powdered sugar
- 1 teaspoon ground cinnamon
- 1 tablespoon maple syrup
- 2–3 tablespoons milk or heavy cream
Instructions
- Preheat oven to 400°F (200°C) and line a baking sheet with parchment paper. Place butter in freezer for at least 15 minutes if not already frozen.
- In a large bowl, whisk together flour, sugar, baking powder, pumpkin pie spice, and salt.
- Grate the frozen butter using the large holes of a box grater. Toss into flour mixture and work in with fingertips or pastry cutter until mixture resembles coarse meal with some pea-sized butter pieces.
- In a separate small bowl, whisk together pumpkin puree, 1/4 cup maple syrup, 3 tablespoons heavy cream, and vanilla extract until smooth.
- Pour wet ingredients into dry ingredients and stir with a fork just until dough comes together. It will look shaggy and slightly dry.
- Turn dough out onto a lightly floured surface and gently bring together with hands. Pat into a rectangle about 3/4 inch thick. Do not knead.
- Cut rectangle in half lengthwise, then cut each half into 3 triangles (6 scones total). Transfer to prepared baking sheet, spacing 2 inches apart.
- Brush tops with extra cream and bake for 14-16 minutes, until golden brown on bottom and slightly firm to the touch.
- Let scones cool on baking sheet for 5 minutes, then transfer to a wire rack to cool completely.
- While scones cool, make glaze: whisk together powdered sugar, cinnamon, 1 tablespoon maple syrup, and 2 tablespoons milk or cream. Add more liquid a teaspoon at a time until thick but pourable.
- Drizzle glaze over cooled scones. Let set for about 15 minutes before serving.
Notes
Keep all ingredients cold for flaky scones. Do not overwork the dough. If pumpkin puree is watery, blot with a paper towel before measuring. Bake on middle rack for even browning. Scones are best on the day they’re made but can be stored in an airtight container for up to 3 days. Unbaked scones can be frozen for up to 3 months.
Nutrition
- Serving Size: 1 scone
- Calories: 320
- Sugar: 22
- Sodium: 280
- Fat: 14
- Saturated Fat: 8
- Carbohydrates: 45
- Fiber: 2
- Protein: 4
Keywords: pumpkin scones, maple scones, cinnamon glaze, fall baking, easy scone recipe, Friendsgiving dessert, pumpkin recipes



