Love this? Save it for later!
Share the inspiration with your friends
My sister had refused to eat anything called “cheesecake” for over a decade. She swore it off after a bad experience with a rubbery, store-bought version at a work party—too dense, too sweet, and frankly, a little sad. Then, last October, I caught her standing in front of my open refrigerator, fork in hand, staring down at a pan of these no-bake caramel apple cheesecake bars I had made “just for myself.” She didn’t even say anything. She just took another bite. Honestly, I pretended not to notice and walked back into the living room, but I was grinning like I’d just won a bet I never made.
The thing is, I get it. I used to be skeptical of no-bake desserts too. They can feel like a shortcut that sacrifices texture, you know? But this one? It’s different. It started on a rainy Tuesday when I had a bag of apples threatening to go soft and a serious craving for something that felt like autumn in a dish. I wanted the warmth of apple pie and the creamy tang of cheesecake, but I absolutely did not want to turn on my oven. My kitchen was a mess, the power flickered once, and I just started mixing things together out of pure stubbornness.
That first bite had this unexpected crunch from the buttery graham cracker crust, followed by a silky, cool cheesecake layer that wasn’t too heavy. Then the apples—soft, spiced, and swimming in a homemade caramel sauce that was way easier than I thought it would be. Maybe you’ve been there, standing in your kitchen, just wanting something that feels like a hug without all the work. These bars are that hug. They’re the reason I keep making them, even when no one is watching.
Why You’ll Love This Recipe
Let me tell you why these bars have become my go-to for every fall gathering and lazy Sunday afternoon. I’ve tested this recipe about six times to get the texture just right—the crust needs to hold together without getting soggy, the cheesecake filling needs to be firm but luscious, and the apple topping needs to taste like it’s been simmering on the stove for hours.
- No Oven Required: Seriously, this is a game-changer for warm days or when you just don’t want to deal with preheating. It comes together in about 30 minutes of active time, then the fridge does the rest.
- Simple Ingredients: You probably have most of this in your pantry right now. Graham crackers, cream cheese, butter, sugar, apples, and a few spices. No fancy grocery trips needed.
- Perfect for Cozy Evenings: These bars are made for cold weather, a rough day, or a slow night in. They’re comfort food in bar form—sweet, creamy, and just a little bit indulgent.
- Crowd-Pleaser: Every single time I bring these to a potluck or family dinner, they disappear first. Kids love the sweetness, and adults appreciate the sophisticated caramel-apple combo.
- Unbelievably Delicious: The texture combo is next-level. You get the crunch of the crust, the smoothness of the cheesecake, the tender apples, and that rich, sticky caramel on top. It’s a party in every bite.
What makes this version different from the rest? It’s the caramel, honestly. Most recipes use a store-bought sauce, but I developed a quick stovetop caramel that only uses four ingredients and takes five minutes. It’s not grainy, it’s not too sweet, and it coats the apples perfectly. This isn’t just another no-bake dessert—it’s your best version of fall on a plate.
What Ingredients You Will Need
This recipe uses simple, wholesome ingredients to deliver that cozy, indulgent flavor without any fuss. Most of these are pantry staples, but I’ve included a few notes on what to look for to get the best results.
For the Crust
- 2 cups graham cracker crumbs (about 16 full sheets, crushed finely—I use a food processor for even texture)
- 1/2 cup unsalted butter, melted (use salted butter if that’s all you have, just skip the added salt later)
- 1/4 cup granulated sugar (this helps the crust hold together and adds a little sweetness)
- Pinch of salt (balances the sweetness of the caramel)
For the No-Bake Cheesecake Layer
- 16 oz cream cheese, softened to room temperature (I recommend Philadelphia for the creamiest texture—don’t use low-fat here, it won’t set right)
- 1/2 cup granulated sugar
- 1 teaspoon vanilla extract (pure vanilla makes a difference, but imitation works in a pinch)
- 1 cup heavy cream, cold (you’ll whip this separately for that light, mousse-like texture)
For the Spiced Apple Layer
- 3 medium apples, peeled, cored, and diced into 1/2-inch cubes (I love Honeycrisp or Granny Smith—one is sweet, the other tart, and they balance beautifully)
- 2 tablespoons unsalted butter
- 2 tablespoons brown sugar, packed
- 1 teaspoon ground cinnamon
- 1/4 teaspoon ground nutmeg (freshly grated if you have it, but pre-ground is fine)
- 1 tablespoon lemon juice (keeps the apples from browning and adds a little brightness)
For the Quick Homemade Caramel
- 1/2 cup unsalted butter, cut into cubes
- 1 cup brown sugar, packed
- 1/2 cup heavy cream
- 1 teaspoon vanilla extract
- Pinch of salt (flaky sea salt on top is optional but highly recommended)
Substitution Tip: For a gluten-free version, use gluten-free graham crackers or crushed shortbread cookies. For a dairy-free option, use vegan cream cheese, coconut cream instead of heavy cream, and a plant-based butter—just note the texture will be slightly softer.
Equipment Needed
You don’t need a lot of fancy gear for this recipe, which is part of the charm. Here’s what I use every time I make these bars.
- 9×9-inch square baking pan (an 8×8 works too, but the bars will be a little thicker—just increase chill time by 30 minutes)
- Parchment paper (for easy lifting—don’t skip this, or you’ll be scraping bars out of the pan)
- Food processor or rolling pin (for crushing graham crackers. I’ve used both, and honestly, a zip-top bag and a rolling pin work just fine if you want to vent some frustration)
- Electric hand mixer or stand mixer (for whipping the cream and beating the cream cheese. A whisk and some elbow grease will work, but you’ll be there a while)
- Medium saucepan (for the apples and the caramel)
- Rubber spatula (for folding and spreading—get a good one, it makes a difference)
- Measuring cups and spoons
- Sharp knife and cutting board (for dicing the apples)
If you don’t have a food processor, just place the graham crackers in a sturdy zip-top bag and crush them with a rolling pin or even a heavy can. It’s a little messy, but it works. And for the caramel, a heavy-bottomed saucepan is key—it distributes heat evenly and prevents burning.
Preparation Method
Alright, let’s get into it. The whole process takes about 30 minutes of hands-on time, plus at least 4 hours of chilling. Plan ahead, and you’ll be rewarded with the creamiest, most satisfying dessert.
- Prepare the pan. Line your 9×9-inch baking pan with two sheets of parchment paper, leaving an overhang on two opposite sides. This creates “handles” for lifting the bars out later. Set aside.
- Make the crust. In a medium bowl, combine 2 cups graham cracker crumbs, 1/4 cup sugar, and a pinch of salt. Pour in 1/2 cup melted butter and stir with a fork until the mixture looks like wet sand and holds together when pressed. Transfer to your prepared pan and press firmly into an even layer. I use the bottom of a measuring cup to really pack it down—this prevents a crumbly mess later. Place the pan in the refrigerator to set while you work on the filling.
- Whip the cream. In a large bowl, pour 1 cup cold heavy cream. Using an electric hand mixer on medium-high speed, whip until stiff peaks form—about 3-4 minutes. You want the cream to hold its shape when you lift the beaters. Set aside in the refrigerator.
- Make the cheesecake filling. In another large bowl, beat 16 oz softened cream cheese with 1/2 cup sugar and 1 teaspoon vanilla extract until smooth and creamy—about 2 minutes. Scrape down the sides of the bowl with a rubber spatula. There should be no lumps. Gently fold in the whipped cream using a spatula, being careful not to deflate the mixture. Fold until just combined—a few streaks are fine. Spread this mixture evenly over the chilled crust. Smooth the top and return to the refrigerator.
- Cook the apples. In a medium saucepan over medium heat, melt 2 tablespoons butter. Add the diced apples, 2 tablespoons brown sugar, 1 teaspoon cinnamon, 1/4 teaspoon nutmeg, and 1 tablespoon lemon juice. Stir to coat. Cook for 5-7 minutes, stirring occasionally, until the apples are tender but still hold their shape—they should not be mushy. Remove from heat and let cool completely to room temperature. Spread the cooled apples evenly over the cheesecake layer.
- Make the caramel sauce. In the same saucepan (wipe it clean first), melt 1/2 cup butter over medium heat. Add 1 cup packed brown sugar and stir until combined—it will look grainy at first. Slowly pour in 1/2 cup heavy cream while stirring constantly. Bring the mixture to a gentle boil, then reduce heat to low and let it simmer for 2-3 minutes, stirring occasionally, until it thickens slightly. Remove from heat and stir in 1 teaspoon vanilla and a pinch of salt. Let it cool for 5 minutes—it will thicken more as it cools.
- Assemble the final layer. Pour the warm caramel sauce evenly over the apple layer. Use a spatula to spread it gently if needed. Reserve about 1/4 cup of caramel for drizzling later if you want a prettier presentation.
- Chill. Cover the pan with plastic wrap or aluminum foil and refrigerate for at least 4 hours, but preferably overnight. The longer it chills, the cleaner your slices will be. I know it’s hard to wait, but trust me—overnight is magic.
- Slice and serve. When ready to serve, lift the bars out of the pan using the parchment overhang. Place on a cutting board and use a sharp knife to cut into 9 or 16 squares. Wipe the knife clean between cuts for neat edges. Drizzle with reserved caramel and a sprinkle of flaky sea salt if desired.
Cooking Tips & Techniques
I’ve made this recipe enough times to have a few hard-won lessons. Here’s what I wish someone had told me before my first attempt.
Don’t skip softening the cream cheese. I once tried to speed things up by using cold cream cheese straight from the fridge. Big mistake. The filling turned out lumpy, and I spent ten minutes trying to beat out the clumps. Leave it on the counter for at least 30 minutes, or cut it into cubes and microwave it in 10-second bursts until soft.
Whip the cream to stiff peaks. This is crucial for the texture. If you under-whip, the cheesecake layer will be runny and won’t set properly. If you over-whip, you’ll end up with butter. Stop when the cream holds its shape and looks billowy—about the consistency of shaving cream.
Let the apples cool completely. I learned this the hard way when I spread warm apples over the cheesecake layer and watched it start to melt. The cheesecake layer needs to stay cold to set. Patience is key here.
Use a heavy-bottomed pan for the caramel. Thin pans can cause hot spots that burn the sugar. Stir constantly once the butter melts, and don’t walk away—caramel goes from perfect to burnt in about 30 seconds.
Timing strategy: Make the crust and cheesecake layer the night before. The next day, cook the apples, make the caramel, and assemble. This breaks up the work and gives the cheesecake plenty of time to set.
Variations & Adaptations
One of the best things about this recipe is how flexible it is. Here are a few ways I’ve tweaked it depending on my mood or what’s in my kitchen.
- Gluten-Free Version: Swap the graham crackers for gluten-free graham crackers or crushed gluten-free shortbread cookies. Everything else is naturally gluten-free, so this is an easy fix.
- Vegan Adaptation: Use vegan cream cheese (I like Miyoko’s or Kite Hill), coconut cream instead of heavy cream (chill the can and scoop the solid part), and plant-based butter. The texture will be a little softer, so chill for at least 6 hours.
- Seasonal Twist: In the summer, swap the apples for fresh peaches or nectarines. Cook them the same way with a little brown sugar and cinnamon, and you have a totally different dessert.
- Flavor Boost: Add 1/2 teaspoon of apple pie spice to the cheesecake filling for extra warmth. Or stir a tablespoon of bourbon into the caramel sauce for a grown-up version—just add it after you remove the pan from heat.
- Nutty Crunch: Sprinkle 1/2 cup of toasted pecans or walnuts over the caramel layer before chilling. The crunch is incredible against the creamy filling.
I once made a version with pears and a touch of ginger instead of cinnamon, and it was a total hit at a fall brunch. Don’t be afraid to experiment—this recipe is forgiving.
Serving & Storage Suggestions
These bars are best served cold, straight from the refrigerator. The texture is firm but creamy, and the caramel gets a little chewy in the best way. I like to let them sit at room temperature for about 5 minutes before serving—just enough to take the chill off without losing the structure.
For presentation, drizzle a little extra caramel on top and sprinkle with flaky sea salt. A dollop of whipped cream or a scoop of vanilla ice cream on the side takes it over the top. These pair beautifully with a hot cup of coffee, a spiced chai latte, or even a glass of cold milk.
Storage: Keep the bars in an airtight container in the refrigerator for up to 5 days. The crust will soften slightly over time, but the flavor only gets better. To freeze, wrap individual bars tightly in plastic wrap, then place them in a freezer-safe bag. They’ll keep for up to 2 months. Thaw in the refrigerator overnight before serving.
Honestly, the flavors meld together after a day or two, so I actually prefer these on day two. The apple and caramel really soak into the cheesecake layer, and every bite is perfectly balanced.
Nutritional Information & Benefits
Let’s be real—this is a dessert, and it’s meant to be indulgent. But that doesn’t mean it can’t have a few redeeming qualities. Here’s the approximate nutritional breakdown for one bar (based on 9 servings).
- Calories: ~420
- Fat: 28g
- Carbohydrates: 42g
- Protein: 5g
- Sugar: 32g
The apples provide a small dose of fiber and vitamin C, and the cinnamon is known for its anti-inflammatory properties. The cream cheese and heavy cream add calcium and protein, though obviously not in huge amounts. If you’re watching your sugar, you can reduce the sugar in the cheesecake layer to 1/3 cup without affecting the texture too much.
For a lighter version, use reduced-fat cream cheese and swap half the heavy cream for Greek yogurt. The texture will be a bit tangier and less rich, but still delicious. This recipe is not suitable for those with dairy allergies unless you use the vegan adaptations listed above.
Conclusion
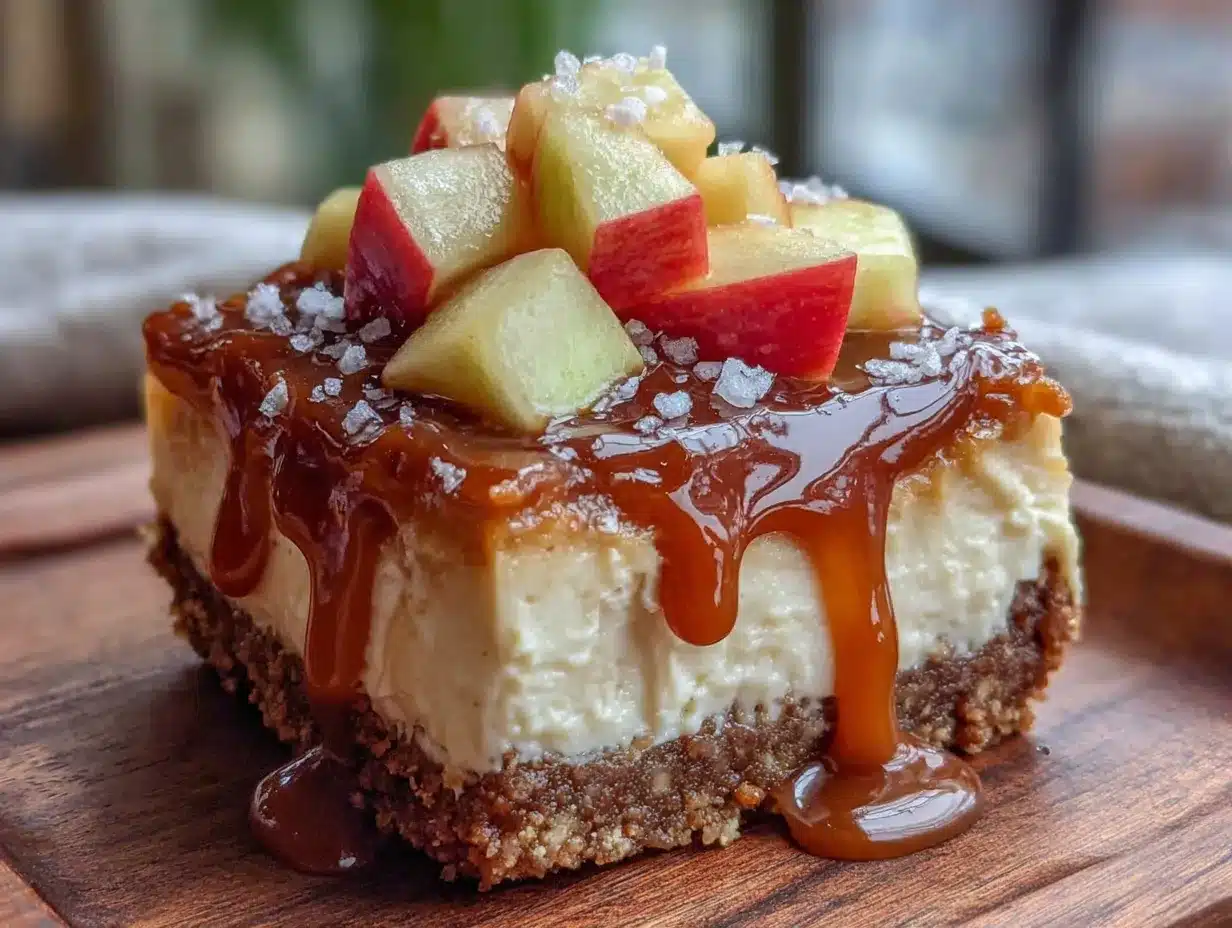
These cozy no-bake caramel apple cheesecake bars are everything I want in a fall dessert—easy, comforting, and completely irresistible. They take almost no effort to put together, but they taste like you spent hours in the kitchen. The combination of buttery crust, silky cheesecake, spiced apples, and rich caramel is pure magic.
I love that this recipe feels special enough for a holiday table but simple enough for a random Tuesday night. It’s the kind of dessert that makes you slow down and savor the moment. Whether you’re making them for a crowd or just for yourself (no judgment here), I hope they bring you as much joy as they’ve brought me.
Have you tried these bars? I’d love to hear how they turned out! Drop a comment below with your favorite variation, or share a photo of your creation. Don’t forget to pin this recipe for later and share it with someone who needs a little cozy comfort in their life. Happy baking—or rather, happy no-baking!
Frequently Asked Questions
Can I use a different fruit instead of apples?
Absolutely! Pears, peaches, or even sliced bananas work beautifully. Just adjust the cooking time based on the fruit’s firmness—softer fruits need less time on the stove.
Why is my cheesecake layer not setting?
This usually happens if the cream cheese wasn’t softened properly or the whipped cream wasn’t stiff enough. Make sure your cream cheese is at room temperature and your heavy cream is very cold before whipping. Also, give it the full 4 hours to chill—overnight is best.
Can I make this recipe vegan?
Yes! Use vegan cream cheese, coconut cream (the solid part from a chilled can), and plant-based butter. The texture will be a bit softer, so chill for at least 6 hours. The caramel can be made with coconut cream and vegan butter as well.
How do I prevent the crust from getting soggy?
Make sure you press the crust firmly into the pan and chill it for at least 15 minutes before adding the cheesecake layer. Also, let the apples cool completely before spreading them on top—warm apples release steam that can soften the crust.
Can I freeze these bars?
Yes! Wrap individual bars tightly in plastic wrap, then place them in a freezer-safe bag or container. They’ll keep for up to 2 months. Thaw in the refrigerator overnight before serving. The texture will be slightly softer but still delicious.
Pin This Recipe!
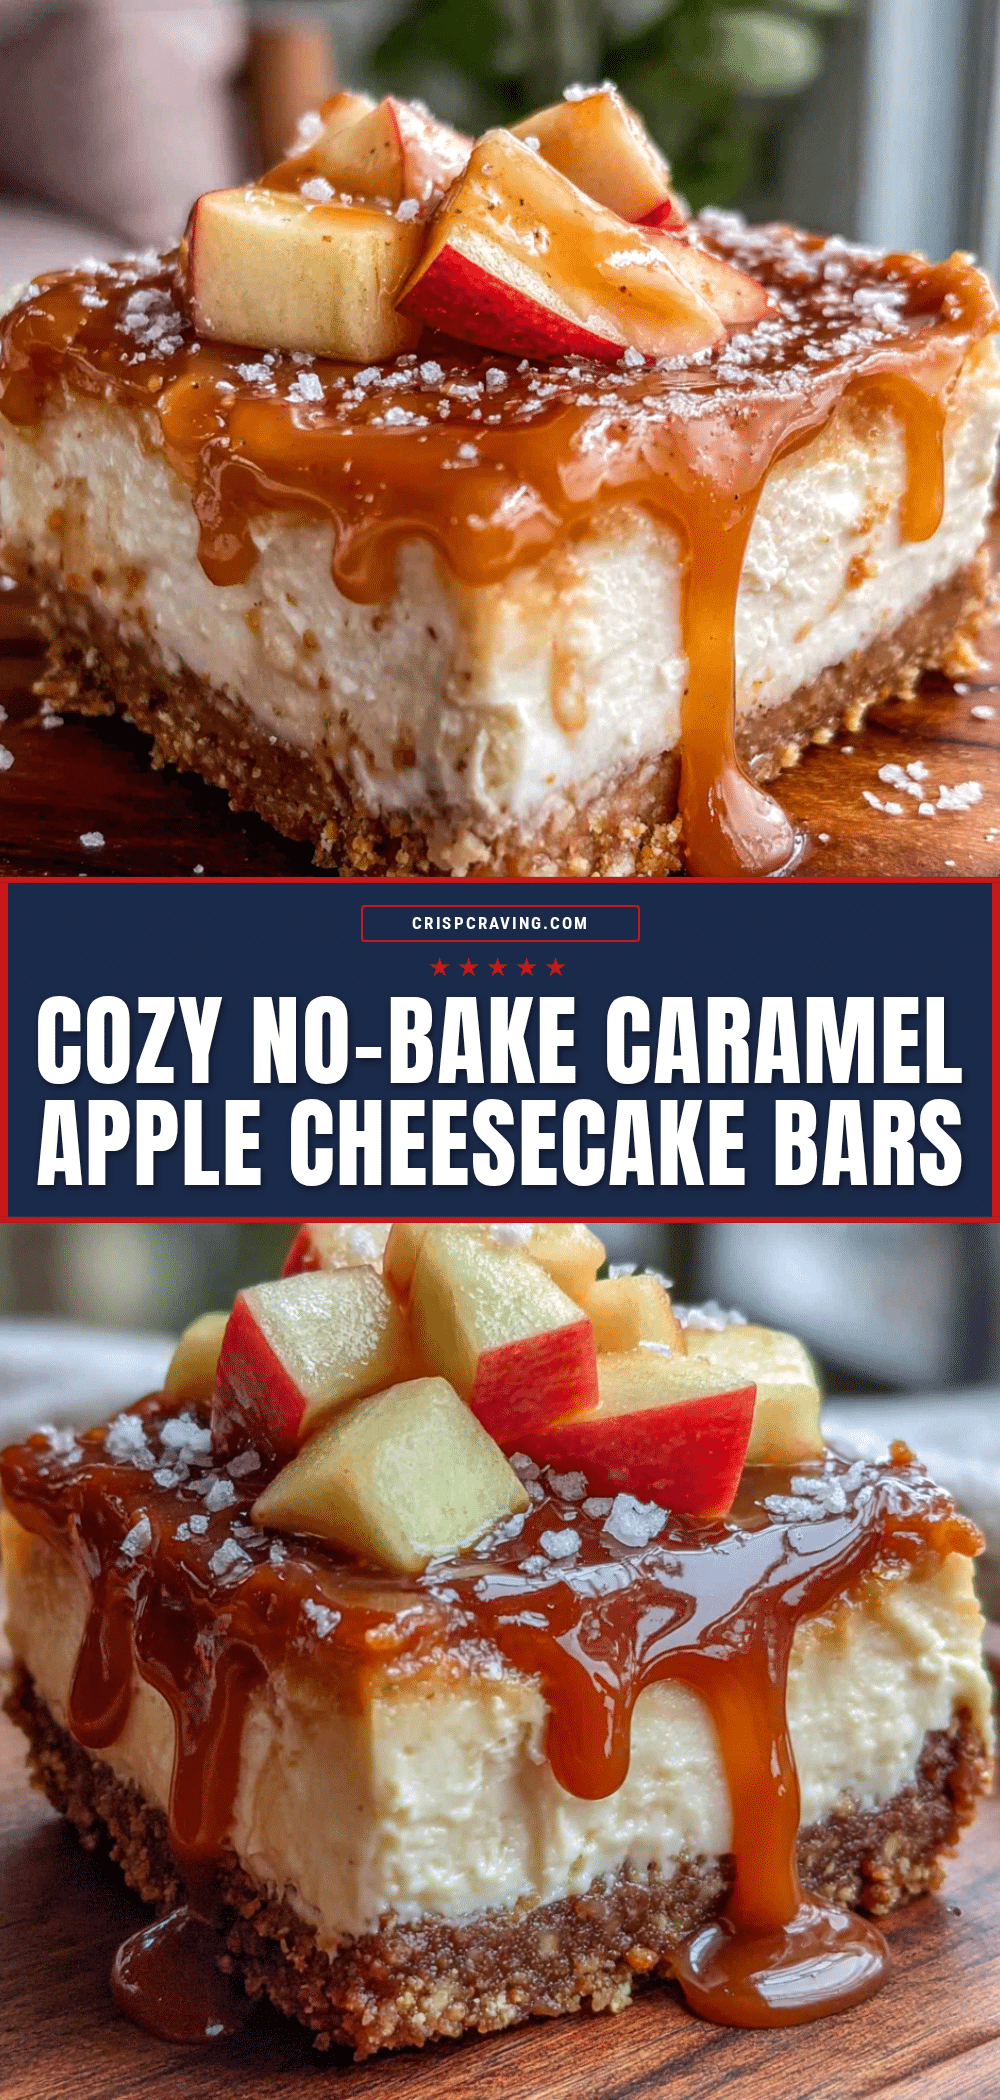
Cozy No-Bake Caramel Apple Cheesecake Bars
These no-bake caramel apple cheesecake bars feature a buttery graham cracker crust, a silky no-bake cheesecake layer, spiced apples, and a quick homemade caramel sauce. They’re the perfect easy fall dessert that requires no oven time.
- Prep Time: 30 minutes
- Cook Time: 15 minutes
- Total Time: 4 hours 45 minutes (includes chilling)
- Yield: 9 servings 1x
- Category: Dessert
- Cuisine: American
Ingredients
- 2 cups graham cracker crumbs (about 16 full sheets, crushed finely)
- 1/2 cup unsalted butter, melted
- 1/4 cup granulated sugar
- Pinch of salt
- 16 oz cream cheese, softened to room temperature
- 1/2 cup granulated sugar
- 1 teaspoon vanilla extract
- 1 cup heavy cream, cold
- 3 medium apples, peeled, cored, and diced into 1/2-inch cubes (Honeycrisp or Granny Smith)
- 2 tablespoons unsalted butter
- 2 tablespoons brown sugar, packed
- 1 teaspoon ground cinnamon
- 1/4 teaspoon ground nutmeg
- 1 tablespoon lemon juice
- 1/2 cup unsalted butter, cut into cubes
- 1 cup brown sugar, packed
- 1/2 cup heavy cream
- 1 teaspoon vanilla extract
- Pinch of salt
- Flaky sea salt for garnish (optional)
Instructions
- Line a 9×9-inch baking pan with parchment paper, leaving overhang on two opposite sides.
- In a medium bowl, combine graham cracker crumbs, 1/4 cup sugar, and a pinch of salt. Pour in melted butter and stir until mixture resembles wet sand. Press firmly into the prepared pan. Refrigerate while making the filling.
- In a large bowl, whip cold heavy cream with an electric mixer until stiff peaks form, about 3-4 minutes. Refrigerate.
- In another large bowl, beat cream cheese, 1/2 cup sugar, and 1 teaspoon vanilla until smooth and creamy. Gently fold in the whipped cream until just combined. Spread over the chilled crust. Return to refrigerator.
- In a medium saucepan over medium heat, melt 2 tablespoons butter. Add diced apples, 2 tablespoons brown sugar, cinnamon, nutmeg, and lemon juice. Cook for 5-7 minutes until tender but not mushy. Let cool completely.
- Spread cooled apples evenly over the cheesecake layer.
- In the same saucepan, melt 1/2 cup butter over medium heat. Add 1 cup brown sugar and stir. Slowly pour in 1/2 cup heavy cream while stirring. Bring to a gentle boil, then simmer for 2-3 minutes until slightly thickened. Remove from heat and stir in 1 teaspoon vanilla and a pinch of salt. Let cool for 5 minutes.
- Pour warm caramel sauce over the apple layer. Reserve about 1/4 cup for drizzling if desired.
- Cover and refrigerate for at least 4 hours, preferably overnight.
- Lift bars out using parchment overhang. Cut into 9 or 16 squares. Drizzle with reserved caramel and sprinkle with flaky sea salt if desired.
Notes
For best results, chill overnight. Let bars sit at room temperature for 5 minutes before serving. Store in an airtight container in the refrigerator for up to 5 days. Freeze individual bars wrapped in plastic wrap for up to 2 months.
Nutrition
- Serving Size: 1 bar (based on 9 se
- Calories: 420
- Sugar: 32
- Sodium: 280
- Fat: 28
- Saturated Fat: 17
- Carbohydrates: 42
- Fiber: 2
- Protein: 5
Keywords: no-bake cheesecake, caramel apple, fall dessert, easy dessert, no-bake dessert, apple cheesecake bars



