Love this? Save it for later!
Share the inspiration with your friends
My roommate asked why I couldn’t just brown the butter in the same bowl I was going to mix the dough in. I started to explain why that wouldn’t work — something about the residual heat and the eggs curdling, the butter needing to cool completely, the whole meticulous process I had read about in a dozen baking books. Then I stopped. Honestly? I had no real reason except that’s how the recipes always said to do it.
It was a Tuesday night, and we were both sprawled on the couch, half-watching a movie neither of us was invested in. She had that look — the one that says “I need a cookie, and I need it in the next thirty minutes.” I had a block of butter softening on the counter, but my hand mixer was buried somewhere in the back of the cabinet under a pile of odds and ends. The thought of digging it out felt like too much work. So I just looked at her and said, “Fine. We’re doing it your way.”
I melted the butter in a medium saucepan, watching it foam and then turn that gorgeous amber color that smells like toasted nuts and pure magic. And instead of pouring it into a separate bowl to cool, I just set the whole pan aside for ten minutes. When it was warm but not hot — you know, that Goldilocks temperature where it’s still liquid but won’t scramble an egg — I whisked in the sugars right there in the pan. It was messy. A bit of brown sugar clung to the side of the pan, and I had to scrape it down with a spatula. But the dough came together in one single vessel. No extra bowls. No mixer. Just a whisk, a spatula, and my own two hands.
I will never go back. These cozy no-mixer brown butter chocolate chip cookies are now my go-to. They are the kind of cookie that makes you close your eyes for that first bite — all crispy edges and soft, chewy centers, with that deep, nutty flavor from the brown butter running through every single crumb. Maybe you’ve been there, staring at a recipe and wondering if you really need all that equipment. Trust me on this one.
Why You’ll Love This Recipe
Let me tell you why these cookies have become my most-requested recipe. I have tested this method at least a dozen times, tweaking the butter temperature and the resting time until I got it just right. This isn’t just another chocolate chip cookie recipe — it’s the one that proves you don’t need fancy tools to make something extraordinary.
- No Mixer Required : You can throw away the stand mixer and the hand mixer. A whisk and a sturdy spatula are all you need. This is perfect for small kitchens, dorm rooms, or those days when you just don’t want to wash extra equipment.
- Simple Ingredients : Butter, sugar, eggs, flour, chocolate chips — all pantry staples. No weird extracts or specialty flours. You probably have everything right now.
- Perfect for Cozy Nights : These cookies were made for cold evenings, rainy afternoons, or any time you need a little warmth. The brown butter adds a toasty, comforting flavor that feels like a hug.
- Unbelievably Delicious : The texture is next-level. The edges get perfectly golden and crispy, while the center stays soft and almost gooey. The brown butter gives them a depth that regular chocolate chip cookies just can’t match.
- Crowd-Pleaser : I have brought these to potlucks, holiday parties, and casual hangouts. They disappear every single time. Kids love them, adults love them, and everyone asks for the recipe.
What makes this recipe different from the rest? It’s the technique. By browning the butter directly in the pan and mixing the dough in the same vessel, you get all that rich, nutty flavor without any extra steps. The dough comes together in under fifteen minutes, and the results are bakery-quality. These are the cookies you make when you want something truly special but don’t want to spend all evening in the kitchen.
What Ingredients You Will Need
This recipe uses simple, wholesome ingredients that work together to create that perfect cookie texture and flavor. Most of these are probably already in your pantry, which makes these cookies perfect for spontaneous baking.
- 1 cup (226g) unsalted butter : This is the star of the show. I recommend using a good quality butter like Kerrygold or Plugrà for the best flavor. The browning process concentrates the milk solids and gives that nutty, caramelized taste.
- 3/4 cup (150g) granulated sugar : White sugar helps create those crispy edges. It caramelizes beautifully during baking.
- 3/4 cup (160g) packed light brown sugar : Brown sugar adds moisture and that deep, molasses-like flavor. Make sure it’s packed firmly into the measuring cup. Dark brown sugar works too if you want an even richer flavor.
- 2 large eggs : Use room temperature eggs for the best texture. If you forget to take them out ahead of time, place them in a bowl of warm water for five minutes.
- 2 teaspoons vanilla extract : Pure vanilla extract makes a difference. I use Nielsen-Massey, but any good quality brand works. Avoid imitation vanilla if possible.
- 2 1/4 cups (280g) all-purpose flour : Spoon and level your flour — don’t scoop directly from the bag. Packed flour will make your cookies dry and dense.
- 1 teaspoon baking soda : This helps the cookies spread and gives them that slightly chewy texture.
- 1/2 teaspoon salt : Salt balances the sweetness and enhances the brown butter flavor. I use fine sea salt. (adds depth)
- 2 cups (340g) semi-sweet chocolate chips : I prefer Ghirardelli or Guittard for their rich flavor and good melt. You can also chop up a high-quality chocolate bar for those big pools of melted chocolate. (use dairy-free chocolate chips if needed)
- Flaky sea salt for topping (optional but highly recommended) : A sprinkle of Maldon salt on top right after baking takes these cookies to another level. It adds that sweet-salty contrast that is absolutely addictive.
Equipment Needed
The beauty of this recipe is how little equipment you need. Here is everything you will need:
- Medium saucepan : For browning the butter. A light-colored saucepan is best so you can see the butter change color. I use a stainless steel one from Cuisinart.
- Whisk : For mixing the sugars and eggs into the warm butter. A standard balloon whisk works perfectly.
- Rubber spatula : For folding in the flour and chocolate chips. Get a good heat-resistant one.
- Large mixing bowl : Actually, you don’t even need this — you can mix everything in the saucepan. But I like to transfer the butter to a bowl for cooling if I’m in a rush.
- Baking sheets : Two standard half-sheet pans work well. I have had good results with Nordic Ware aluminum sheets.
- Parchment paper or silicone baking mat : Parchment is cheaper and disposable. Silicone mats are reusable and give consistent results.
- Cookie scoop (optional) : A #40 scoop (about 1.5 tablespoons) gives you uniform cookies. But two spoons work just fine.
- Cooling rack : For letting the cookies cool properly. A simple wire rack from any kitchen store works.
If you don’t have a cookie scoop, just use two spoons to portion the dough. Your cookies might not be perfectly round, but they will taste exactly the same.
Preparation Method
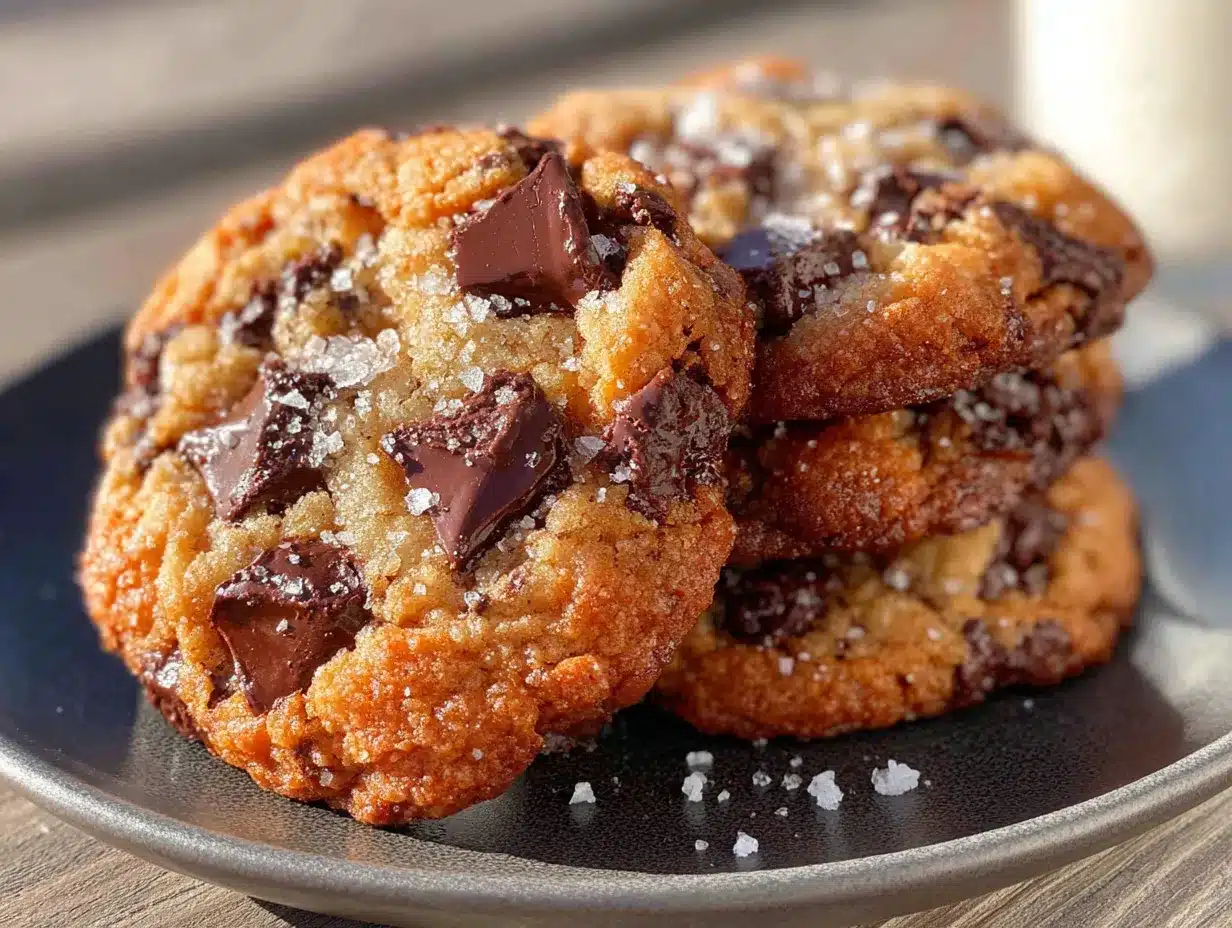
Follow these steps carefully, and you will have perfect cookies every time. The key is paying attention to the butter — don’t walk away from it while it’s browning.
- Brown the butter : Place the 1 cup of unsalted butter in a medium saucepan over medium heat. Let it melt completely, then continue cooking. Swirl the pan occasionally. After about 5-7 minutes, the butter will start to foam. Watch closely — the milk solids at the bottom will turn golden brown and smell nutty. This happens fast. Remove the pan from heat immediately when you see amber-colored specks. Pour the butter into a large heatproof bowl, making sure to scrape all those brown bits from the bottom. Let it cool for 10-15 minutes until it’s warm but not hot. (about 10 minutes active, 15 minutes cooling)
- Mix the sugars : Add the 3/4 cup granulated sugar and 3/4 cup packed brown sugar to the warm butter. Whisk vigorously until the mixture is smooth and well combined. It should look like a thick paste. The warm butter helps dissolve the sugar slightly, which gives you that chewy texture.
- Add the eggs and vanilla : Crack both eggs into the butter-sugar mixture and add the 2 teaspoons of vanilla extract. Whisk until everything is fully combined and the mixture looks glossy. Don’t overmix — just until the eggs are incorporated. If the mixture looks slightly separated, that’s okay. It will come together when you add the flour.
- Combine the dry ingredients : In a separate small bowl, whisk together the 2 1/4 cups all-purpose flour, 1 teaspoon baking soda, and 1/2 teaspoon salt. This ensures the baking soda and salt are evenly distributed. (about 1 minute)
- Fold in the flour mixture : Add the dry ingredients to the wet ingredients. Use your rubber spatula to fold gently. Stir just until you no longer see streaks of flour. A few streaks are fine — overmixing develops gluten and makes tough cookies.
- Add the chocolate chips : Pour in the 2 cups of semi-sweet chocolate chips. Fold them in with your spatula until they are evenly distributed throughout the dough. The dough will be thick and slightly sticky. That’s exactly what you want.
- Chill the dough (optional but recommended) : Cover the bowl with plastic wrap and refrigerate for at least 30 minutes. This step is optional but highly recommended. Chilling solidifies the butter, which prevents the cookies from spreading too much and gives you a thicker, chewier texture. If you’re in a rush, you can skip this, but the cookies will spread more. (30 minutes to 24 hours)
- Preheat the oven : About 15 minutes before you’re ready to bake, preheat your oven to 350°F (175°C). Line two baking sheets with parchment paper or silicone mats.
- Portion the dough : Use a cookie scoop or two spoons to portion the dough into balls about 1.5 tablespoons each (about 30g). Place them on the prepared baking sheets, spacing them about 2 inches apart. You should get about 24 cookies.
- Bake : Bake one sheet at a time for 10-12 minutes. The cookies should look golden around the edges but still slightly soft and puffy in the center. They will continue to set as they cool. Don’t overbake — that’s the biggest mistake people make. (10-12 minutes)
- Add flaky salt : As soon as you remove the cookies from the oven, sprinkle a pinch of flaky sea salt on top of each one. This step is optional, but trust me — it makes a huge difference.
- Cool : Let the cookies cool on the baking sheet for 5 minutes. This allows them to set properly. Then transfer them to a wire rack to cool completely. Or, you know, eat one warm. I won’t judge. (5 minutes on sheet, then cool completely)
Cooking Tips & Techniques
I have made these cookies more times than I can count, and I have learned a few things along the way. Here are my best tips for perfect results every time.
Don’t rush the butter. The first time I tried browning butter, I cranked the heat too high and ended up with burnt butter that tasted bitter. Keep the heat at medium and be patient. Swirl the pan often and watch for that amber color. The moment you see it, pull it off the heat. The residual heat will continue the browning process slightly.
Temperature matters. If your butter is too hot when you add the eggs, you’ll end up with scrambled eggs in your cookie dough. Let the butter cool for at least 10 minutes. It should be warm to the touch but not hot. I learned this the hard way — my first batch had tiny bits of cooked egg in it. Still tasted okay, but the texture was off.
Use a kitchen scale. I know it seems fussy, but measuring flour by weight is the most accurate way to get consistent results. A cup of flour can vary by 20-30 grams depending on how you scoop it. I use a simple digital scale from OXO, and it has saved me from countless baking disasters.
Chill the dough if you have time. This is the single biggest factor in getting thick, chewy cookies. The cold butter takes longer to melt in the oven, which means less spreading. I usually chill mine for at least an hour, but overnight is even better. The flavors also meld together more during that time.
Bake one sheet at a time. I know it takes longer, but baking two sheets at once leads to uneven baking. The top sheet will brown faster than the bottom one. Just be patient and do them one at a time. Use the time between batches to portion the next batch.
Variations & Adaptations
This recipe is incredibly versatile. Here are some of my favorite variations to keep things interesting.
Gluten-Free Option : Substitute the all-purpose flour with a 1:1 gluten-free baking flour blend. I have had great results with Bob’s Red Mill Gluten-Free 1-to-1 Baking Flour. The texture will be slightly more delicate, but they are still delicious. Add an extra tablespoon of flour if the dough feels too wet.
Double Chocolate : Reduce the flour to 2 cups and add 1/4 cup of unsweetened cocoa powder. Use white chocolate chips or milk chocolate chips instead of semi-sweet. The brown butter and chocolate combination is absolutely decadent — like a brownie in cookie form.
Nutty Addition : Add 1 cup of toasted chopped pecans or walnuts along with the chocolate chips. Toast the nuts in a dry skillet for 3-4 minutes until fragrant before adding them. The crunch adds a wonderful texture contrast, and the nuts complement the brown butter flavor perfectly.
Spiced Version : Add 1 teaspoon of cinnamon, 1/2 teaspoon of nutmeg, and 1/4 teaspoon of cloves to the flour mixture. This turns them into cozy fall cookies that pair beautifully with a hot cup of apple cider. I made these for a Thanksgiving gathering, and they were gone in minutes.
Vegan Adaptation : Use vegan butter (I like Miyoko’s or Earth Balance) and substitute the eggs with 2 tablespoons of ground flaxseed mixed with 6 tablespoons of water. Let the flax mixture sit for 5 minutes to thicken before adding. The texture won’t be exactly the same — slightly more cakey — but they are still very good.
Serving & Storage Suggestions
These cookies are best served warm, when the chocolate is still slightly melted and the edges are crisp. Let them cool for about 5 minutes on the baking sheet, then transfer to a plate and serve immediately. They are perfect with a cold glass of milk, a hot cup of coffee, or a mug of tea. For an extra indulgent treat, sandwich two cookies with a scoop of vanilla ice cream.
The cookies will keep in an airtight container at room temperature for up to 5 days. Place a slice of bread in the container — it will absorb excess moisture and keep the cookies soft. Replace the bread every other day if you’re storing them for longer.
For longer storage, freeze the baked cookies in a single layer on a baking sheet, then transfer to a freezer-safe bag. They will keep for up to 3 months. Thaw at room temperature for about 15 minutes, or warm them in a 300°F oven for 5 minutes to revive that fresh-baked texture.
You can also freeze the raw dough. Portion it into balls, place them on a baking sheet, and freeze until solid. Transfer to a freezer bag and bake directly from frozen, adding 2-3 minutes to the baking time. This is perfect for when you need a single cookie at a moment’s notice.
The flavors actually develop over time. I find that day-old cookies taste even better — the brown butter flavor becomes more pronounced, and the texture evens out. If you can resist eating them all on day one, you’re in for a treat.
Nutritional Information & Benefits
Here is the estimated nutritional information for one cookie (based on 24 cookies):
| Nutrient | Amount Per Cookie |
|---|---|
| Calories | 195 |
| Total Fat | 11g |
| Saturated Fat | 7g |
| Cholesterol | 35mg |
| Sodium | 115mg |
| Total Carbohydrates | 24g |
| Dietary Fiber | 1g |
| Sugars | 16g |
| Protein | 2g |
While these are definitely a treat, there are some benefits to the ingredients. Dark chocolate contains antioxidants and can help improve heart health. The brown butter adds a rich flavor that allows you to use less sugar than some other recipes. And let’s be honest — sometimes the mental health benefits of a warm, homemade cookie are worth more than any nutritional calculation.
This recipe is vegetarian and can be made gluten-free and vegan with the substitutions mentioned above. It contains dairy, eggs, and gluten in its standard form. If you have allergies, please check your chocolate chip labels — some brands process them on equipment shared with nuts.
Conclusion
These cozy no-mixer brown butter chocolate chip cookies have become a staple in my kitchen for a reason. They are simple enough for a Tuesday night craving but special enough for holiday baking. The brown butter adds a depth of flavor that makes them taste like you spent hours in the kitchen, when really, the whole process takes less than 30 minutes of active time.
I love that this recipe proves you don’t need fancy equipment or complicated techniques to make something truly delicious. Just a saucepan, a whisk, and a little bit of patience. The next time you’re craving a warm, gooey cookie, skip the mixer and try this method. I promise you won’t miss it.
Have you tried these cookies? I would love to hear how they turned out! Leave a comment below and tell me about your experience. Did you try any of the variations? Did you add your own twist? Share your photos on Pinterest and tag me — I love seeing your baking adventures. Happy baking, friends!
Frequently Asked Questions
Can I use salted butter instead of unsalted?
Yes, you can. Just reduce the added salt in the recipe to 1/4 teaspoon instead of 1/2 teaspoon. The salted butter will add enough salt to balance the sweetness.
Why did my cookies spread too much?
This usually happens for one of three reasons: your butter was too warm when you mixed the dough, you didn’t chill the dough long enough, or you measured the flour incorrectly. Make sure to spoon and level your flour, and chill the dough for at least 30 minutes.
Can I make these cookies without browning the butter?
You can, but you’ll miss out on that amazing nutty flavor. If you don’t want to brown the butter, just melt it gently and let it cool slightly before mixing. The cookies will still be good, just not as flavorful.
How do I know when the cookies are done baking?
Look for golden brown edges with a center that still looks slightly soft and puffy. The cookies will continue to set as they cool on the baking sheet. If you wait until the center looks fully set, they will be overbaked.
Can I double this recipe?
Absolutely. Double all the ingredients and use a larger pot for browning the butter. You might need to brown the butter in two batches to avoid overcrowding the pan. The baking time stays the same.
Pin This Recipe!
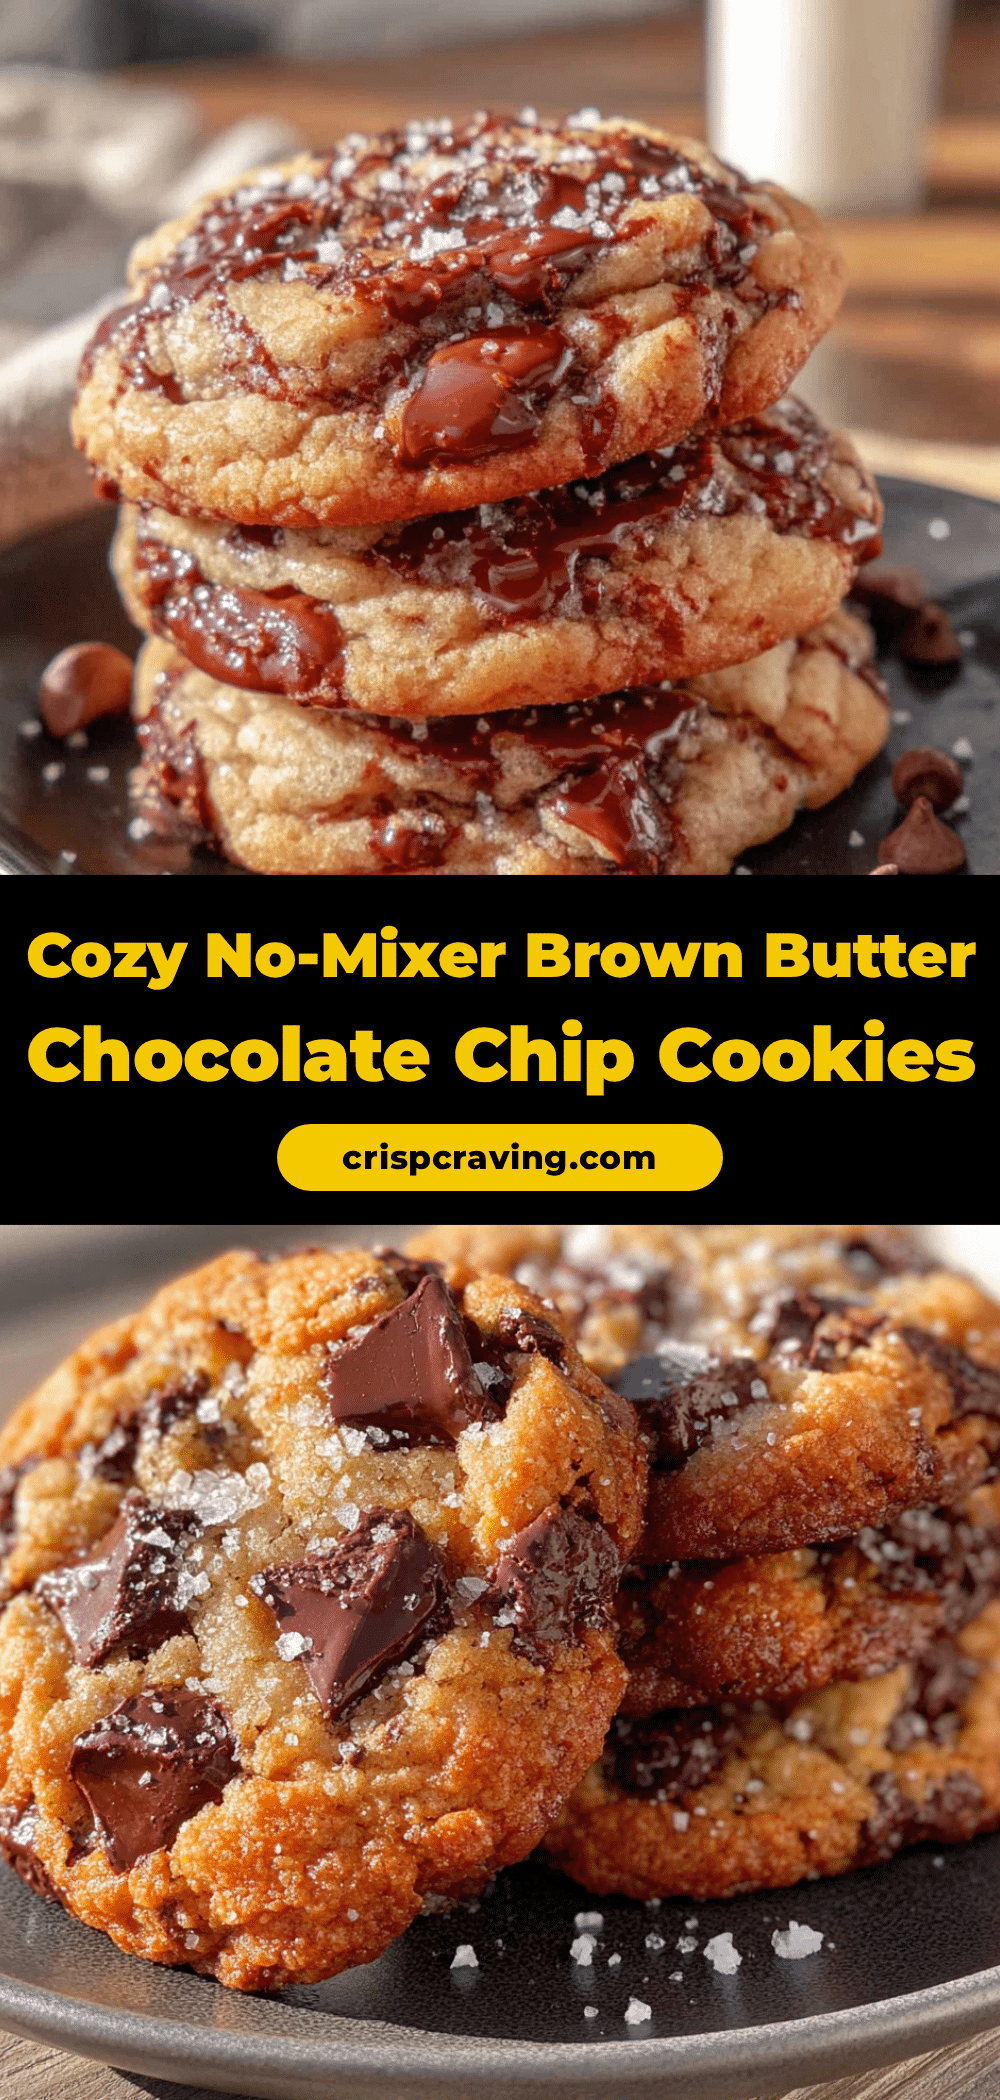
Cozy No-Mixer Brown Butter Chocolate Chip Cookies
These cozy no-mixer brown butter chocolate chip cookies are the perfect treat for any occasion. With crispy edges, soft chewy centers, and a deep nutty flavor from brown butter, they come together in one pot with no mixer needed.
- Prep Time: 15 minutes
- Cook Time: 12 minutes
- Total Time: 45 minutes
- Yield: 24 cookies 1x
- Category: Dessert
- Cuisine: American
Ingredients
- 1 cup (226g) unsalted butter
- 3/4 cup (150g) granulated sugar
- 3/4 cup (160g) packed light brown sugar
- 2 large eggs, room temperature
- 2 teaspoons vanilla extract
- 2 1/4 cups (280g) all-purpose flour
- 1 teaspoon baking soda
- 1/2 teaspoon salt
- 2 cups (340g) semi-sweet chocolate chips
- Flaky sea salt for topping (optional)
Instructions
- Brown the butter: Place 1 cup unsalted butter in a medium saucepan over medium heat. Melt completely, then continue cooking, swirling occasionally, until it foams and turns amber with brown specks (about 5-7 minutes). Remove from heat immediately and pour into a large heatproof bowl, scraping all brown bits. Let cool 10-15 minutes until warm but not hot.
- Mix the sugars: Add 3/4 cup granulated sugar and 3/4 cup packed brown sugar to the warm butter. Whisk vigorously until smooth and well combined, forming a thick paste.
- Add the eggs and vanilla: Crack both eggs into the butter-sugar mixture and add 2 teaspoons vanilla extract. Whisk until fully combined and glossy, but do not overmix.
- Combine dry ingredients: In a separate small bowl, whisk together 2 1/4 cups all-purpose flour, 1 teaspoon baking soda, and 1/2 teaspoon salt.
- Fold in flour mixture: Add dry ingredients to wet ingredients. Use a rubber spatula to fold gently until just combined (a few streaks of flour are fine).
- Add chocolate chips: Fold in 2 cups semi-sweet chocolate chips until evenly distributed. Dough will be thick and slightly sticky.
- Chill dough (optional but recommended): Cover bowl with plastic wrap and refrigerate for at least 30 minutes (up to 24 hours).
- Preheat oven: About 15 minutes before baking, preheat oven to 350°F (175°C). Line two baking sheets with parchment paper or silicone mats.
- Portion dough: Use a cookie scoop or two spoons to form balls about 1.5 tablespoons each (about 30g). Place on prepared sheets, spacing 2 inches apart. Makes about 24 cookies.
- Bake: Bake one sheet at a time for 10-12 minutes, until edges are golden and centers are still slightly soft and puffy.
- Add flaky salt: Immediately after removing from oven, sprinkle a pinch of flaky sea salt on each cookie (optional).
- Cool: Let cookies cool on baking sheet for 5 minutes, then transfer to a wire rack to cool completely.
Notes
For best results, chill the dough for at least 30 minutes to prevent spreading. Use a kitchen scale for accurate flour measurement. Brown butter can burn quickly, so watch closely. Cookies keep in an airtight container at room temperature for up to 5 days. Freeze baked cookies for up to 3 months or freeze raw dough balls for baking later.
Nutrition
- Serving Size: 1 cookie
- Calories: 195
- Sugar: 16
- Sodium: 115
- Fat: 11
- Saturated Fat: 7
- Carbohydrates: 24
- Fiber: 1
- Protein: 2
Keywords: brown butter chocolate chip cookies, no mixer cookies, easy chocolate chip cookies, one pot cookies, chewy chocolate chip cookies



