Love this? Save it for later!
Share the inspiration with your friends
I was standing in the middle of a hardware store last October—looking for a specific kind of paintbrush, honestly—when this smell hit me. It wasn’t the hardware store smell, you know, that mix of sawdust and metal and cardboard. No, it was coming from somewhere else entirely. A woman walked past me carrying one of those big fall-scented candles, and the pumpkin and clove and something sweet just punched me right in the gut. And suddenly I was seven years old, sitting on a wobbly stool in my neighbor Mrs. Kowalski’s kitchen, watching her pull a baking sheet of misshapen, golden-brown scones out of her ancient oven.
I can still see the way she’d tap the edge of the pan with her knuckle, listening for some sound I never understood. She’d always say “almost there, almost there” under her breath, like a little prayer. She wasn’t my grandmother or my aunt—just the lady next door who took pity on a kid whose parents worked late. She let me stir things and lick the spatula, and she never once told me I was doing it wrong. That kitchen, with its yellow linoleum countertops and the crack in the ceiling shaped like Florida, was my favorite place in the world.
Mrs. Kowalski moved to Arizona years ago. I haven’t seen her in maybe twenty years. But every fall, when the air gets that certain chill and the pumpkin patches start popping up, I find myself trying to recreate that exact feeling—the warmth spreading through that tiny kitchen, the way the maple glaze would drip down the sides of the scone and pool on the plate. I’ve burned a lot of batches getting it right. I’ve used too much nutmeg, not enough ginger, and once I forgot the butter entirely (don’t ask). But this version right here? This is the one. This is the one that tastes like that October afternoon.
Maybe you’ve got a memory like that too. A taste you’re chasing. A person you’re trying to remember through food. That’s what these cozy pumpkin scones with maple glaze are for. They’re not just breakfast—they’re a time machine.
Why You’ll Love This Recipe
Let me tell you, I’ve tested a lot of pumpkin scone recipes over the years. Some were too dry, some were too dense, and some just tasted like a spice cabinet exploded. This one is different. I mean it. After about twelve test batches (and a very patient family who ate pumpkin scones for two weeks straight), I landed on something special.
- Quick & Easy: These come together in under 35 minutes. No stand mixer required, no complicated folding techniques. Just a bowl, a pastry cutter, and ten minutes of your time before they hit the oven.
- Simple Ingredients: You probably have most of this stuff in your pantry right now. Canned pumpkin, basic baking staples, and maple syrup. No weird specialty items that you’ll use once and forget about.
- Perfect for Fall Mornings: These are made for those crisp October and November mornings when you want something warm and spiced with your coffee. They’re also fantastic for Thanksgiving brunch or a cozy weekend treat.
- Crowd-Pleaser: I brought these to a neighborhood potluck last month, and three different people asked for the recipe before I’d even finished my coffee. Kids love them, adults love them, and everyone appreciates that they’re not overly sweet.
- Unbelievably Delicious: The texture is what gets me every time—tender and flaky on the outside, soft and almost creamy on the inside. And that maple glaze? It seeps into the cracks and makes everything better.
What makes these scones different from the coffee shop versions is the technique. Instead of just mixing everything together, I use a method where you freeze the butter and grate it into the flour. Sounds fussy, I know, but it creates these little pockets of butter that steam as the scones bake, giving you that flaky, layered texture without any actual laminating. Plus, the maple glaze isn’t just a drizzle—it’s thick and glossy and soaks into the warm scone like a dream.
This recipe isn’t just good. It’s the kind that makes you close your eyes after the first bite. It’s comfort food reimagined—faster than you’d expect, but with the same soul-soothing satisfaction. Perfect for impressing houseguests without stress, or turning a quiet Saturday morning into something memorable.
What Ingredients You Will Need
This recipe uses simple, wholesome ingredients to deliver that cozy pumpkin spice flavor and tender texture without any fuss. Most of these are pantry staples, especially if you’re already in full fall baking mode.
For the Scones:
- 2 cups (250g) all-purpose flour — I use King Arthur Flour for consistent results, but any brand works fine. Spoon and level your flour for the most accurate measurement.
- 1/3 cup (65g) granulated sugar — Just regular white sugar. You could use coconut sugar, but the scones will be darker and slightly less sweet.
- 1 tablespoon baking powder — Make sure it’s fresh! Expired baking powder is the number one reason scones don’t rise properly.
- 1 teaspoon pumpkin pie spice — Store-bought is fine, or make your own with 1/2 teaspoon cinnamon, 1/4 teaspoon ginger, 1/4 teaspoon nutmeg, and a pinch of cloves.
- 1/2 teaspoon salt — Fine sea salt or table salt works best here.
- 6 tablespoons (85g) cold unsalted butter — This is crucial. The butter needs to be very cold. I actually pop mine in the freezer for 15 minutes before grating it.
- 1/2 cup (120ml) canned pumpkin puree — Not pumpkin pie filling! Make sure you’re getting 100% pure pumpkin. Libby’s is my go-to brand.
- 1/4 cup (60ml) heavy cream — Plus a little extra for brushing the tops. Half-and-half works in a pinch, but heavy cream gives the best texture.
- 1 large egg — Room temperature is ideal. If you forgot to take it out of the fridge, place it in a bowl of warm water for 5 minutes.
- 1 teaspoon vanilla extract — Pure vanilla extract adds a warmth that imitation just can’t match.
For the Maple Glaze:
- 1 cup (120g) powdered sugar — Sift it if it’s lumpy. Nobody wants lumpy glaze.
- 3 tablespoons pure maple syrup — Please use the real stuff, not pancake syrup. Grade A dark amber has the strongest maple flavor and works beautifully here.
- 1-2 tablespoons milk or heavy cream — Start with one tablespoon and add more until you reach your desired consistency. Heavy cream makes a richer glaze.
- Pinch of salt — Just a tiny one. It balances the sweetness perfectly.
Equipment Needed
You don’t need a fancy bakery setup for these scones. Here’s what you’ll actually use:
- Large mixing bowl — Big enough to get your hands in there.
- Pastry cutter or two forks — A pastry cutter makes quick work of cutting in the butter. If you don’t have one, two forks crossed against each other work surprisingly well.
- Box grater — For grating that frozen butter. This is my favorite trick, and it makes a real difference in texture.
- Baking sheet — Line it with parchment paper for easy cleanup. I’ve used silicone baking mats too, and they work great.
- Bench scraper or sharp knife — For cutting the scone dough into wedges. A bench scraper is ideal because it cuts cleanly without squishing the dough.
- Pastry brush — For brushing the tops with cream before baking. A silicone brush is easiest to clean.
- Wire cooling rack — Essential for letting the glaze set properly. If you don’t have one, just use a clean cutting board.
Preparation Method
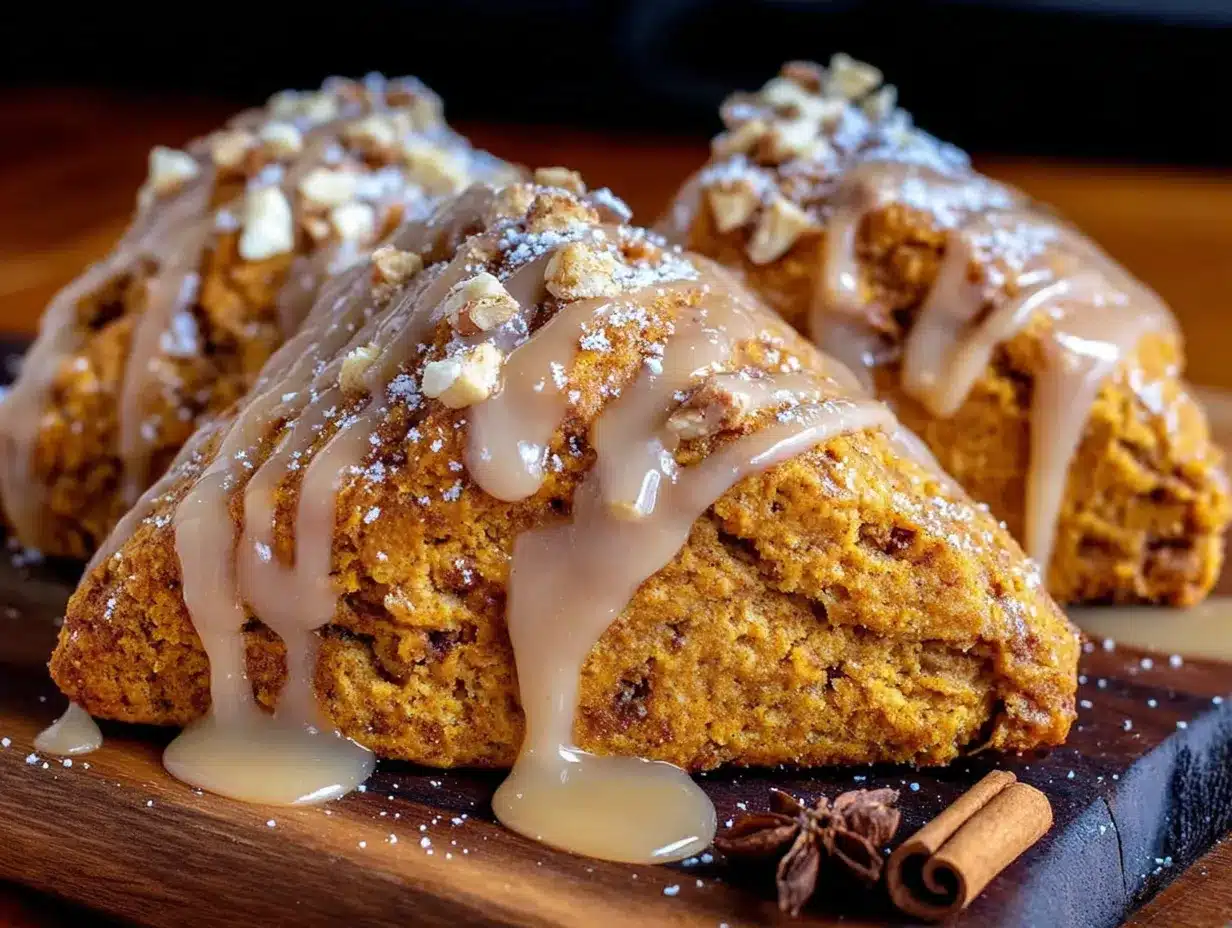
Alright, let’s make some scones. Here’s the step-by-step process that I’ve refined through many, many batches.
- Preheat your oven to 400°F (200°C) and line a baking sheet with parchment paper. I always do this first so the oven is fully hot when the scones are ready to go in.
- Freeze your butter. Cut the 6 tablespoons of butter into small cubes and pop them in the freezer for at least 15 minutes. While that’s happening, measure out your dry ingredients. This step makes all the difference—cold butter creates steam pockets as it bakes, giving you those flaky layers.
- Whisk together the dry ingredients. In your large mixing bowl, combine the flour, sugar, baking powder, pumpkin pie spice, and salt. Whisk them together until everything is evenly distributed. I sometimes use my fingers to break up any clumps of baking powder.
- Grate the frozen butter. This is my secret weapon. Take the frozen butter cubes and grate them on the large holes of a box grater directly into the flour mixture. Toss the grated butter with a fork to coat each piece in flour. The mixture should look like coarse crumbs with some bigger pieces of butter still visible. That’s exactly what you want.
- Mix the wet ingredients. In a separate small bowl, whisk together the pumpkin puree, heavy cream, egg, and vanilla extract until smooth. Make sure the pumpkin is fully incorporated—sometimes it clumps up.
- Combine wet and dry. Pour the wet ingredients into the flour-butter mixture. Use a fork or spatula to stir until just combined. Stop when you can’t see any more dry flour. The dough will look shaggy and a little messy—that’s perfect. Overmixing leads to tough scones.
- Shape the dough. Turn the dough out onto a lightly floured surface. Gently bring it together with your hands, being careful not to overwork it. Pat it into a circle about 3/4-inch thick and 8 inches across. Don’t use a rolling pin—your hands give you better control and keep the butter cold.
- Cut the scones. Use a bench scraper or sharp knife to cut the circle into 8 wedges, like you’re cutting a pizza. Transfer the wedges to your prepared baking sheet, spacing them about 2 inches apart. They’ll spread a little, but not much.
- Brush with cream. Brush the tops of each scone with a little extra heavy cream. This helps them develop that beautiful golden-brown crust. If you want extra sparkle, sprinkle a little coarse sugar on top now.
- Bake for 15-18 minutes. The scones are done when they’re golden brown on the bottom and lightly golden on top. A toothpick inserted into the center should come out clean. Let them cool on the baking sheet for 5 minutes, then transfer to a wire rack.
- Make the glaze. While the scones are cooling, whisk together the powdered sugar, maple syrup, and 1 tablespoon of milk or cream. Add more liquid a teaspoon at a time until the glaze is thick but pourable. It should fall off the whisk in a ribbon.
- Glaze the scones. Drizzle the maple glaze over the warm scones. I like to use a spoon and let it drip naturally. The warmth of the scones will help the glaze soak in slightly. Let the glaze set for about 10 minutes before serving.
Cooking Tips & Techniques
I’ve learned a few things the hard way so you don’t have to. Here are my best tips for perfect pumpkin scones every time.
Keep everything cold. I cannot stress this enough. Warm butter melts into the flour instead of creating those flaky layers. If your kitchen is warm, pop the shaped scones in the freezer for 10 minutes before baking. I’ve done this many times, and it works like a charm.
Don’t overmix the dough. I know it’s tempting to keep working it until it looks smooth, but stop as soon as it comes together. Overmixing develops the gluten, which makes scones tough and dense. You want them tender, not like hockey pucks. Trust me, I’ve made hockey puck scones before. They’re not good.
Use the right pumpkin. This is a mistake I made in my early baking days. Pumpkin pie filling has added sugar and spices that will throw off the entire recipe. Always grab 100% pure pumpkin puree. If you open a can and only need half, the rest freezes beautifully in a zip-top bag for up to three months.
Grate, don’t cut. I used to cut my butter into tiny cubes and try to work them into the flour with a pastry cutter. It took forever and never got consistent results. Grating frozen butter takes about 30 seconds and gives you perfectly distributed pieces. It’s a game changer.
Watch the bake time. Every oven runs differently. My friend’s oven runs hot, and her scones are done at 14 minutes. Mine takes the full 18. Start checking at 15 minutes, and look for golden-brown edges and a firm top. The bottoms should be lightly browned when you lift one up.
Glaze while warm. The best texture happens when you glaze the scones while they’re still slightly warm—not hot, but warm enough that the glaze melts into the surface slightly. If you wait until they’re completely cool, the glaze just sits on top. If they’re too hot, the glaze runs right off. Aim for that sweet spot about 10 minutes out of the oven.
Variations & Adaptations
This recipe is pretty forgiving, and I’ve tried quite a few variations over the years. Here are some of my favorites.
Gluten-Free Version: Substitute the all-purpose flour with a 1:1 gluten-free baking flour blend that contains xanthan gum. I’ve had great results with Bob’s Red Mill 1:1 Baking Flour. The texture will be slightly more tender and a little less flaky, but still delicious. Add an extra tablespoon of cream if the dough seems too dry.
Vegan Adaptation: Use cold vegan butter (I like Miyoko’s) in place of regular butter. Replace the heavy cream with full-fat coconut cream or a good quality oat creamer. Use a flax egg (1 tablespoon ground flaxseed mixed with 3 tablespoons water, let sit for 5 minutes) instead of the regular egg. The scones will be a bit denser but still very tasty.
Chocolate Chip Pumpkin Scones: This is my personal favorite variation. Add 1/2 cup of mini chocolate chips to the dry ingredients before adding the wet ingredients. The chocolate pairs beautifully with the pumpkin and maple. Use dark chocolate chips for a less sweet option.
Spiced Maple Glaze: Add 1/4 teaspoon of cinnamon and a pinch of nutmeg to the glaze ingredients. It gives the glaze a warm, spiced flavor that complements the scones perfectly. I did this for a Thanksgiving brunch, and everyone went crazy for it.
Cranberry Orange Version: Replace the pumpkin pie spice with 1 teaspoon of cinnamon only. Add 1/2 cup dried cranberries and 1 tablespoon of orange zest to the dough. For the glaze, use orange juice instead of milk and add a splash of vanilla. The tart cranberries and bright orange are a lovely contrast to the sweet maple.
Savory Pumpkin Scones: Reduce the sugar to 2 tablespoons. Omit the pumpkin pie spice and add 1 teaspoon of dried rosemary, 1/2 teaspoon of black pepper, and 1/2 cup of shredded sharp cheddar cheese. Skip the maple glaze and brush with melted butter and a sprinkle of flaky salt after baking. These are amazing with soup or chili.
Serving & Storage Suggestions
These scones are best served warm, ideally within an hour of baking. The maple glaze is soft and slightly gooey when fresh, and the scone itself is tender and almost melt-in-your-mouth.
For serving, I like to arrange them on a wooden board or a pretty plate with a small dish of extra maple syrup on the side for dipping. They’re perfect with a hot cup of coffee, chai tea, or even a glass of cold milk. If you’re serving them for brunch, pair them with scrambled eggs and fresh fruit for a complete meal. They also make a lovely addition to a Thanksgiving dessert table alongside pumpkin pie and apple crisp.
Storage Instructions: Store leftover scones in an airtight container at room temperature for up to 2 days. The glaze will soften and become more like a coating than a drizzle, which honestly isn’t a bad thing. If you need to store them longer, pop them in the refrigerator for up to 5 days.
Freezing Instructions: These scones freeze beautifully. Freeze them unglazed on a baking sheet until solid, then transfer to a freezer-safe bag or container. They’ll keep for up to 3 months. When you’re ready to enjoy them, thaw at room temperature and reheat in a 300°F oven for 5-7 minutes. Then make the glaze fresh and drizzle over the warm scones. I always keep a batch in the freezer for unexpected guests.
Reheating Tips: The microwave works in a pinch, but it makes the scones a bit rubbery. For best results, reheat in a 350°F oven for 5-8 minutes. If the scones are glazed, the glaze will melt and become glossy again. Toaster ovens also work great—just keep an eye on them so they don’t burn.
One thing I’ve noticed is that the flavors actually deepen overnight. Day-old scones have a more pronounced pumpkin spice flavor, and the maple glaze has soaked in more thoroughly. They’re still delicious, just different from the fresh-baked experience.
Nutritional Information & Benefits
Here’s the nutritional breakdown for one scone with glaze, based on 8 servings:
- Calories: Approximately 320
- Total Fat: 12g
- Saturated Fat: 7g
- Carbohydrates: 50g
- Fiber: 2g
- Sugar: 28g
- Protein: 5g
- Vitamin A: 85% of Daily Value (from the pumpkin)
These scones are a treat, no doubt about it. But there are some redeeming qualities worth mentioning. Pumpkin is packed with vitamin A, which supports eye health and immune function. It’s also a good source of fiber and antioxidants. The maple syrup provides manganese and zinc, though it’s still sugar, so moderation is key.
If you’re watching your sugar intake, you can reduce the glaze by half or skip it entirely. The scones are still delicious on their own, especially with a pat of butter. You can also reduce the granulated sugar to 1/4 cup without affecting the texture too much.
For those with dietary concerns, this recipe contains gluten, dairy, and eggs. I’ve included gluten-free and vegan variations above for those who need them. The scones are nut-free as written, which makes them great for school events or parties where allergies might be a concern.
Conclusion
Look, I’m not saying these cozy pumpkin scones with maple glaze will change your life. But they might change your Saturday morning. They might become the thing you make when the leaves start turning and you need something warm and sweet and familiar. They might even become a memory for someone else someday—a smell that takes them back to a happy place.
That’s what food does, right? It connects us. To seasons, to people, to moments we thought we’d forgotten. Every time I make these scones, I think of Mrs. Kowalski and her yellow linoleum countertops and the way she’d say “almost there, almost there.” And I hope that somewhere, she’s making scones too.
This recipe is forgiving enough for beginners and rewarding enough for experienced bakers. It’s simple without being boring, special without being fussy. That’s the sweet spot, honestly. That’s where the best recipes live.
So go ahead. Preheat that oven. Grate that butter. Make a mess in your kitchen. And when you take that first bite of a warm, maple-glazed scone with your morning coffee, let me know how it goes. I’d love to hear about your version—whether you add chocolate chips or cranberries or skip the glaze entirely. Drop a comment below and tell me about your pumpkin scone adventure. And if you share a photo on Pinterest, tag me so I can see your beautiful creation.
Happy baking, friends. Here’s to cozy mornings and the people who make them special.
Frequently Asked Questions
Can I use fresh pumpkin instead of canned?
Yes, you can use fresh pumpkin puree. Just make sure to roast the pumpkin until tender, then blend or mash it until smooth. The main difference is that fresh pumpkin has more water content, so you’ll want to strain it through a cheesecloth or fine-mesh sieve for about 30 minutes to remove excess moisture. Otherwise, your scone dough will be too sticky.
Why did my scones turn out dry?
Dry scones usually happen for one of three reasons: too much flour, overmixing the dough, or baking them too long. Make sure you’re measuring your flour correctly by spooning it into the measuring cup and leveling it off. Also, check your oven temperature with an oven thermometer—many ovens run hotter than they say they do.
Can I make the dough ahead of time?
Absolutely. You can prepare the scone dough, shape it into wedges, and refrigerate them on the baking sheet for up to 24 hours. Just cover them with plastic wrap. You can even freeze the unbaked scones for up to 3 months. Bake from frozen, adding 2-3 minutes to the baking time.
What if I don’t have pumpkin pie spice?
No problem at all. Mix together 1/2 teaspoon cinnamon, 1/4 teaspoon ginger, 1/4 teaspoon nutmeg, and a pinch of ground cloves. That’s exactly what’s in pumpkin pie spice. If you’re missing one of those, just use what you have—the scones will still be delicious.
How do I get a thicker glaze?
If your glaze is too thin, add more powdered sugar, one tablespoon at a time, until it reaches your desired consistency. If it’s too thick, add more milk or maple syrup, a teaspoon at a time. The perfect glaze should fall off the spoon in a thick ribbon and hold its shape slightly before melting into the scone.
Pin This Recipe!
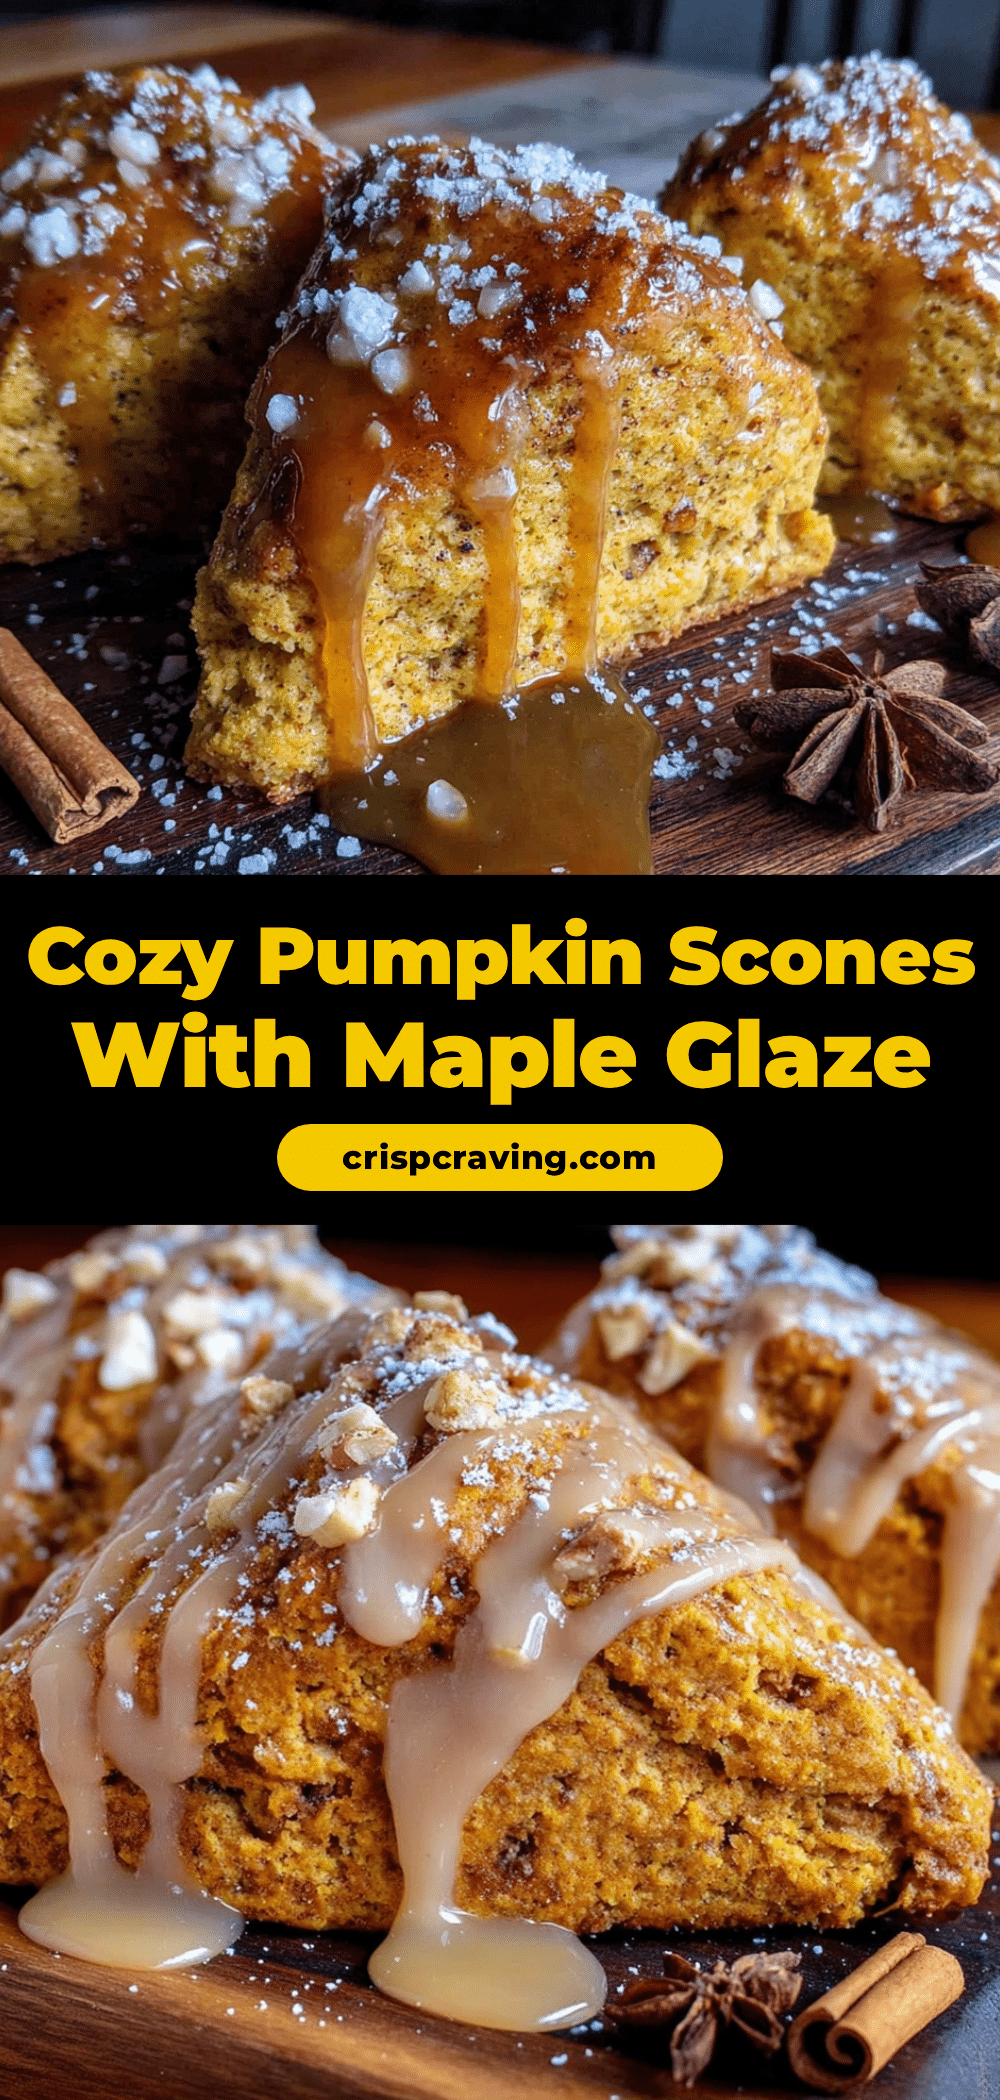
Cozy Pumpkin Scones with Maple Glaze
Tender, flaky pumpkin scones with a thick maple glaze that soaks into every bite. Perfect for fall mornings, Thanksgiving brunch, or a cozy weekend treat.
- Prep Time: 10 minutes
- Cook Time: 18 minutes
- Total Time: 28 minutes
- Yield: 8 servings 1x
- Category: Breakfast
- Cuisine: American
Ingredients
- 2 cups (250g) all-purpose flour
- 1/3 cup (65g) granulated sugar
- 1 tablespoon baking powder
- 1 teaspoon pumpkin pie spice
- 1/2 teaspoon salt
- 6 tablespoons (85g) cold unsalted butter
- 1/2 cup (120ml) canned pumpkin puree
- 1/4 cup (60ml) heavy cream
- 1 large egg
- 1 teaspoon vanilla extract
- 1 cup (120g) powdered sugar
- 3 tablespoons pure maple syrup
- 1–2 tablespoons milk or heavy cream
- Pinch of salt
Instructions
- Preheat your oven to 400°F (200°C) and line a baking sheet with parchment paper.
- Cut the 6 tablespoons of butter into small cubes and freeze for at least 15 minutes.
- In a large mixing bowl, whisk together the flour, sugar, baking powder, pumpkin pie spice, and salt.
- Grate the frozen butter on the large holes of a box grater directly into the flour mixture. Toss with a fork to coat each piece in flour.
- In a separate small bowl, whisk together the pumpkin puree, heavy cream, egg, and vanilla extract until smooth.
- Pour the wet ingredients into the flour-butter mixture. Stir with a fork or spatula until just combined. The dough will look shaggy.
- Turn the dough out onto a lightly floured surface. Gently bring it together with your hands and pat into a circle about 3/4-inch thick and 8 inches across.
- Use a bench scraper or sharp knife to cut the circle into 8 wedges. Transfer to the prepared baking sheet, spacing them about 2 inches apart.
- Brush the tops of each scone with a little extra heavy cream.
- Bake for 15-18 minutes, until golden brown on the bottom and lightly golden on top. Let cool on the baking sheet for 5 minutes, then transfer to a wire rack.
- While the scones are cooling, whisk together the powdered sugar, maple syrup, and 1 tablespoon of milk or cream. Add more liquid a teaspoon at a time until the glaze is thick but pourable.
- Drizzle the maple glaze over the warm scones. Let the glaze set for about 10 minutes before serving.
Notes
Keep everything cold for flaky layers. Don’t overmix the dough. Use 100% pure pumpkin puree, not pumpkin pie filling. Glaze while scones are still warm for best texture. Store in an airtight container at room temperature for up to 2 days, or freeze unglazed for up to 3 months.
Nutrition
- Serving Size: 1 scone
- Calories: 320
- Sugar: 28
- Sodium: 320
- Fat: 12
- Saturated Fat: 7
- Carbohydrates: 50
- Fiber: 2
- Protein: 5
Keywords: pumpkin scones, maple glaze, fall breakfast, easy scone recipe, pumpkin spice



