Love this? Save it for later!
Share the inspiration with your friends
My neighbor, a lovely woman named Carol who gardens like a force of nature and knits sweaters for her grandkids by the dozen, had claimed for years that she hated apple crisp. “Too mushy,” she’d say with a little shudder every time someone brought it to a potluck. “The topping gets soft, the apples get soupy—it’s just sad.” I’d nod politely and keep my mouth shut, because honestly? I kind of agreed with her. Most apple crisps are exactly that: a soggy, sweet mess that tastes more like apple sauce than a proper dessert.
Then last October, on a Tuesday that felt more like November, I found myself with a bushel of Honeycrisp apples from the farmer’s market that were starting to look a little desperate. I’d been tinkering with a salted caramel sauce for weeks—you know, one of those projects that starts as a “I’ll just whip this up” and turns into a three-day obsession involving burnt sugar and a lot of swearing. I’d finally gotten it right: deeply amber, thick enough to coat a spoon, with just enough flaky sea salt to make you close your eyes. And I thought, well, what if I just made a crisp for myself? A small one. No one has to know.
The thing is, I got caught. Not by Carol, but by my own impatience. I pulled the ramekin out of the oven a little too early—the topping was golden but the filling was still bubbling furiously—and I set it on the counter to cool. I turned around to wash a spatula, and when I turned back, there was Carol, standing in my kitchen doorway (I’d left the back door open for the cat), holding a spoon she’d apparently grabbed from my drawer, mid-bite. She had that look. You know the one. The look of someone who is trying very hard not to admit they were wrong, but the spoon is already going back in for another scoop.
“This isn’t apple crisp,” she said, finally, wiping a bit of caramel from her chin. “This is something else entirely.” And that’s how this recipe was born—out of stubbornness, a little bit of caramel obsession, and the quiet satisfaction of proving a point without ever having to say a word.
Why You’ll Love This Recipe
This isn’t your average apple crisp. Let me tell you why this version is the one that finally converted Carol—and has been converting skeptics ever since.
- Perfectly Balanced Sweetness : The salted caramel cuts through the natural tartness of the apples, creating a flavor that’s complex without being cloying. You get that deep, almost-burnt caramel note that plays off the fruit in a way plain sugar just can’t manage.
- Crunchy Oat Crumble That Stays Crunchy : I’ve tested this topping more times than I care to admit. The secret is toasting the oats and pecans before mixing them in, and using cold butter cut into small cubes. It creates a crumble that stays crisp even after a day in the fridge—no sad, soggy topping here.
- Simple, Pantry-Friendly Ingredients : You probably already have most of this in your kitchen right now. Apples, oats, butter, brown sugar, a little flour. The only “special” ingredient is heavy cream for the caramel, and honestly, you can sub in half-and-half if you’re in a pinch.
- Perfect for Fall Gatherings : This is the dessert that shows up at Thanksgiving and disappears before the pie. It’s cozy enough for a Tuesday night and impressive enough for company. I’ve brought it to potlucks, Friendsgivings, and one very memorable camping trip where we baked it in a Dutch oven over coals.
- Forgiving and Adaptable : You can use any apple variety you have on hand—Granny Smith for extra tartness, Fuji for sweetness, or a mix like I usually do. The caramel sauce is also forgiving; if you undercook it a little, it’s still delicious. If you overcook it? Well, you’ve got apple toffee, which is also pretty great.
This recipe isn’t just good—it’s the kind that makes you close your eyes after the first bite. It’s comfort food reimagined: richer, crunchier, and with that little hit of salt that makes everything taste more like itself.
What Ingredients You Will Need
This cozy salted caramel apple crisp uses simple, wholesome ingredients to deliver bold flavor and satisfying texture without the fuss. Most of these are pantry staples, but a few key choices make all the difference.
For the Salted Caramel Sauce
- 1 cup (200g) granulated sugar – Regular white sugar works best for caramel. Don’t substitute brown sugar here; it burns too quickly.
- 6 tablespoons (85g) unsalted butter, cut into pieces – Use good quality butter. I like Kerrygold for its richness, but any unsalted butter will do.
- 1/2 cup (120ml) heavy cream, room temperature – This is important! Cold cream will seize the caramel and make it grainy. Let it sit out for 20 minutes before you start.
- 1 teaspoon flaky sea salt – Maldon is my go-to. The delicate flakes dissolve beautifully and give you those little bursts of salt.
- 1 teaspoon vanilla extract – Pure vanilla, not imitation. It adds a warmth that balances the caramel.
For the Apple Filling
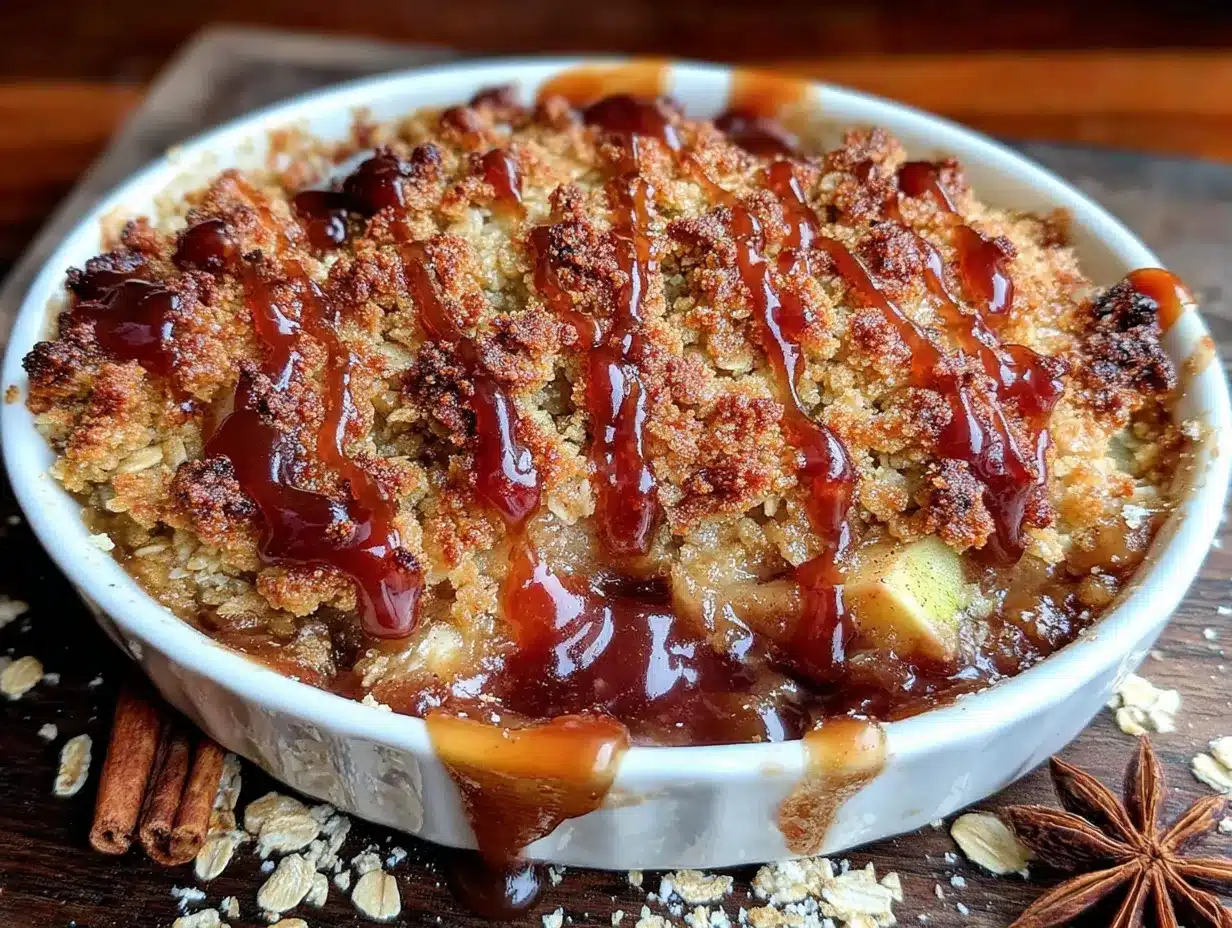
- 6 cups (about 6-7 medium) apples, peeled, cored, and sliced 1/4-inch thick – I recommend a mix of tart and sweet varieties. Honeycrisp and Granny Smith is my favorite combo. (If you want a firmer bite, use only Granny Smith.)
- 1/4 cup (50g) granulated sugar – Just enough to coax out the juices without making it syrupy.
- 2 tablespoons (15g) all-purpose flour – This thickens the juices as they bake, preventing that soupy mess Carol hates.
- 1 tablespoon lemon juice – Freshly squeezed, please. It keeps the apples from browning and brightens the flavor.
- 1 teaspoon ground cinnamon – The backbone of any good apple dessert. I prefer Vietnamese cinnamon for its intensity.
- 1/4 teaspoon ground nutmeg – Freshly grated if you have it. It makes a noticeable difference.
- Pinch of ground cloves – Just a whisper. Too much and it tastes like pumpkin spice gone wrong.
For the Oat Crumble Topping
- 1 cup (90g) old-fashioned rolled oats – Not quick oats! They turn to mush. Old-fashioned oats give you that chewy, crunchy texture.
- 1/2 cup (60g) all-purpose flour – Or substitute 1:1 gluten-free flour blend if needed.
- 1/2 cup (100g) packed light brown sugar – Dark brown sugar works too, but light gives a more delicate caramel flavor.
- 1/2 cup (60g) chopped pecans – Walnuts are fine, but pecans have a buttery sweetness that pairs perfectly with caramel. Toast them first for extra depth.
- 1/2 teaspoon ground cinnamon – A little extra warmth in the topping.
- 1/4 teaspoon salt – Balances the sweetness.
- 6 tablespoons (85g) cold unsalted butter, cut into small cubes – This is the key to a crunchy topping. The butter must be cold, straight from the fridge.
Equipment Needed
You don’t need a fancy kitchen to make this recipe, but a few specific tools will make your life easier.
- 9×13-inch baking dish – A 2-quart dish works too. Glass or ceramic is best because it heats evenly and lets you see the bubbling filling.
- Medium saucepan – For the caramel sauce. A heavy-bottomed one prevents hot spots that can burn the sugar.
- Large mixing bowls – One for the apples, one for the topping.
- Sharp chef’s knife and cutting board – For peeling and slicing apples. A good peeler saves time, but a paring knife works fine.
- Pastry cutter or two forks – For cutting butter into the oat mixture. You can also use your fingertips, but work quickly so the butter stays cold.
- Wooden spoon or silicone spatula – For stirring the caramel. Avoid metal; it can scratch your pan and conduct heat oddly.
- Candy thermometer (optional but helpful) – For hitting the perfect caramel temperature (350°F / 177°C). But honestly, I use the color test: a deep amber, like a new penny.
I’ve made this in a cast-iron skillet before too, and it works beautifully—just reduce the baking time by 5 minutes since cast iron holds heat so well.
Preparation Method
Let’s get baking. This recipe comes together in about an hour, with 15 minutes of active prep. The caramel can be made ahead, which I highly recommend if you’re entertaining.
Step 1: Make the Salted Caramel Sauce
In a medium saucepan over medium heat, spread the 1 cup of sugar in an even layer. Watch it like a hawk—don’t stir it yet. As the edges start to melt, gently swirl the pan (don’t stir) to encourage even melting. This takes about 5-7 minutes. You’re looking for a deep amber color, like the color of a maple leaf in October. As soon as it hits that color, add the butter pieces and whisk vigorously. The mixture will bubble up furiously—that’s normal. Keep whisking until the butter is fully melted and incorporated, about 1 minute.
Remove the pan from heat and slowly pour in the heavy cream while whisking constantly. Again, it will bubble up. Keep whisking until smooth. Stir in the flaky sea salt and vanilla. Let it cool for 10 minutes, then transfer to a heatproof jar. You’ll have about 1 1/4 cups of caramel—more than enough for this recipe. Store leftovers in the fridge for up to two weeks (if it lasts that long).
Step 2: Prep the Apples
Preheat your oven to 375°F (190°C). Peel, core, and slice your apples into 1/4-inch thick slices. I like to keep them uniform so they cook evenly. In a large bowl, toss the apple slices with 1/4 cup granulated sugar, 2 tablespoons flour, 1 tablespoon lemon juice, 1 teaspoon cinnamon, 1/4 teaspoon nutmeg, and a pinch of cloves. Let them sit for 5 minutes while you make the topping. This resting time lets the sugar draw out some juice, which will create that lovely syrupy filling.
Step 3: Make the Oat Crumble
In a separate bowl, whisk together 1 cup oats, 1/2 cup flour, 1/2 cup brown sugar, 1/2 cup chopped pecans, 1/2 teaspoon cinnamon, and 1/4 teaspoon salt. Add the cold butter cubes and use a pastry cutter or your fingertips to work the butter into the dry ingredients until the mixture looks like coarse meal with some pea-sized butter pieces remaining. Don’t overwork it—those little butter chunks are what create flaky, crunchy clusters. If the butter starts to feel warm, pop the bowl in the fridge for 5 minutes.
Step 4: Assemble the Crisp
Spread the apple mixture evenly in your 9×13-inch baking dish. Drizzle about 1/3 cup of the salted caramel sauce over the apples—you want to coat them, not drown them. Reserve the rest for serving. Sprinkle the oat crumble evenly over the top, covering all the apples. Don’t press it down; let it sit loosely for maximum crunch.
Step 5: Bake
Bake for 35-40 minutes, until the topping is golden brown and the filling is bubbling up around the edges. If the topping is browning too quickly (around 25 minutes), tent the dish loosely with foil for the remaining time. Let it cool on a wire rack for at least 15 minutes before serving. This rest is crucial—the filling needs time to set, or it will be runny.
Cooking Tips & Techniques
I’ve made this recipe at least two dozen times, and I’ve learned a few things the hard way. Here’s what I wish someone had told me.
Don’t skip the lemon juice. I did once because I was out of lemons, and the apples turned brown and the whole thing tasted flat. The acidity brightens the fruit and balances the sweetness of the caramel. It’s non-negotiable.
Toast your oats and pecans. This is the single biggest game-changer for a crunchy topping. Spread the oats and pecans on a baking sheet and toast at 350°F for 5-7 minutes, until fragrant. Let them cool completely before mixing into the crumble. It adds a nutty depth that you can’t get any other way.
Watch your caramel like a toddler near a pool. Caramel can go from perfect to burnt in about 30 seconds. I learned this the hard way when I answered my phone mid-caramel and ended up with a pan of bitter, blackened sugar that I had to soak for three days. Set a timer, and don’t walk away.
Room temperature cream is not optional. The first time I made caramel, I used cream straight from the fridge. It seized into a grainy, lumpy mess. Let your cream sit out for 20 minutes before you start. If you forget, microwave it for 15 seconds—just don’t boil it.
Multitask wisely. While the caramel is cooling, prep the apples. While the apples are macerating, make the crumble. While the crisp is baking, clean up your kitchen. This recipe flows beautifully if you plan ahead.
Variations & Adaptations
This recipe is wonderfully flexible. Here are a few ways I’ve adapted it over the years.
Gluten-Free Version: Substitute the all-purpose flour in both the filling and the topping with a 1:1 gluten-free baking flour blend. I’ve used Bob’s Red Mill with great results. The texture is slightly more crumbly, but the flavor is identical.
Dairy-Free Version: Use vegan butter (like Miyoko’s) in both the caramel and the crumble. For the caramel, substitute the heavy cream with full-fat coconut cream. The coconut flavor is subtle and actually pairs beautifully with the apples and caramel.
Seasonal Fruit Swap: In summer, swap the apples for an equal amount of sliced peaches or nectarines. Reduce the sugar in the filling to 2 tablespoons since stone fruits are sweeter. In winter, try pears—Bosc or Anjou work beautifully. Add an extra tablespoon of flour to the filling since pears release more juice.
Extra Crunchy Topping: Add 1/4 cup of chopped almonds or pumpkin seeds to the crumble. I once added crushed ginger snaps (about 1/2 cup) to the topping, and it was a revelation—spicy, crunchy, and perfect with the caramel.
Individual Servings: Divide the filling and topping among 6-8 ramekins. Bake for 20-25 minutes instead of 35-40. These are perfect for dinner parties—everyone gets their own little dish of warm, bubbly crisp.
Serving & Storage Suggestions
This crisp is best served warm, about 15 minutes after it comes out of the oven. The filling should be bubbling but not runny, and the topping should be golden and crunchy.
How to Serve: Spoon into bowls and top with a scoop of vanilla ice cream (homemade or store-bought—no judgment). Drizzle extra salted caramel sauce over the top and sprinkle with a tiny pinch of flaky sea salt. The contrast of hot crisp, cold ice cream, and salty caramel is pure magic. For a dairy-free option, try coconut milk ice cream or a dollop of whipped coconut cream.
What to Pair It With: A cup of strong black coffee or a glass of bourbon on the rocks. The bitterness cuts through the sweetness beautifully. For a non-alcoholic option, try a hot apple cider or a chai latte.
Storage: Cover the baking dish tightly with foil or plastic wrap and refrigerate for up to 4 days. The topping will soften over time, but it’s still delicious. To reheat, scoop individual portions into a microwave-safe bowl and microwave for 30-45 seconds. For a crisper topping, reheat in a 350°F oven for 10 minutes.
Freezing: Assemble the crisp completely but don’t bake it. Wrap the dish tightly in plastic wrap, then foil, and freeze for up to 3 months. To bake from frozen, add 15-20 minutes to the baking time. You can also freeze the baked crisp for up to 2 months—just thaw overnight in the fridge and reheat as directed.
Flavor Development: Here’s a secret: this crisp is actually better the next day. The flavors meld together, the caramel soaks into the apples, and the topping softens just enough to become chewy. I’ve been known to make it a day ahead on purpose.
Nutritional Information & Benefits
While this is definitely a treat, it’s not without its redeeming qualities. Here’s a rough estimate per serving (based on 8 servings, with ice cream and extra caramel):
- Calories: ~420
- Fat: 22g (13g saturated)
- Carbohydrates: 55g (38g sugar)
- Fiber: 5g
- Protein: 4g
- Sodium: 280mg
Health Highlights: Apples are packed with fiber and vitamin C, and the pectin in the skin (if you leave it on) supports gut health. Oats are a great source of soluble fiber, which can help lower cholesterol. Pecans provide healthy fats and magnesium. And yes, there’s sugar and butter—but this is a dessert meant to be enjoyed in moderation, not a health food. I believe in balance: eat your vegetables, and then enjoy a bowl of this crisp without guilt.
Dietary Considerations: This recipe can be made gluten-free and dairy-free with the substitutions listed above. It contains nuts (pecans) and gluten (wheat flour). For a nut-free version, substitute the pecans with an equal amount of additional oats or pumpkin seeds.
Conclusion
This cozy salted caramel apple crisp has become my go-to dessert for fall gatherings, lazy Sunday afternoons, and those evenings when you just need something warm and sweet. It’s the recipe that turned Carol from a skeptic into a believer—and it’s been converting people ever since.
What I love most about it is how forgiving it is. You can use whatever apples you have, adjust the caramel to your taste, and it always turns out delicious. It’s the kind of recipe that feels special without being fussy, impressive without being complicated.
I hope you give it a try, and I hope it becomes a staple in your kitchen too. Maybe you’ll even have a Carol moment of your own—catching someone mid-bite, spoon in hand, trying to pretend they weren’t just proven wrong. There’s nothing quite like it.
If you make this recipe, I’d love to hear about it. Leave a comment below, share your photos on Pinterest, or tag me in your creations. And if you have your own twist on apple crisp—a secret ingredient, a different topping, a family tradition—please share it. That’s how recipes become heirlooms.
Until next time, happy baking. And don’t forget the extra caramel.
Frequently Asked Questions
Can I use pre-made caramel sauce instead of making my own?
You can, but honestly, homemade is worth the extra 10 minutes. Store-bought caramel is often thinner and sweeter, and it lacks that deep, almost-burnt flavor that makes this recipe special. If you’re in a pinch, look for a high-quality jarred caramel (like Stonewall Kitchen) and add a pinch of flaky sea salt to mimic the salted caramel flavor.
Why did my topping turn out soggy?
This usually happens for one of three reasons: the butter was too warm when you mixed it into the crumble, you pressed the topping down into the apples, or the crisp wasn’t baked long enough. Make sure your butter is cold straight from the fridge, sprinkle the topping loosely over the filling, and bake until the juices are bubbling and the topping is deep golden brown. Letting it rest for 15 minutes after baking also helps the topping stay crunchy.
Can I make this in advance for a party?
Absolutely. You have two options: assemble the crisp completely (without baking) up to 24 hours in advance and refrigerate, then bake just before serving. Or bake it fully, let it cool, and reheat in a 350°F oven for 10-15 minutes before serving. The latter option is great for potlucks—just transport it in the baking dish and reheat when you arrive.
What’s the best apple for this recipe?
I recommend a mix of tart and sweet apples for the most complex flavor. Honeycrisp and Granny Smith is my go-to combination. Fuji and Braeburn also work well. Avoid Red Delicious—they turn into mush and have very little flavor. If you only have one type, go with Granny Smith for a firmer texture and tarter taste.
How do I know when the caramel is done without a thermometer?
Use the color test. As the sugar melts, it will go from clear to pale yellow to deep amber. You’re looking for the color of a new penny or maple syrup. If you see wisps of smoke, you’ve gone too far—remove it from the heat immediately. The caramel will continue to darken as you add the butter and cream, so it’s better to pull it off the heat a shade lighter than you think you want.
Pin This Recipe!
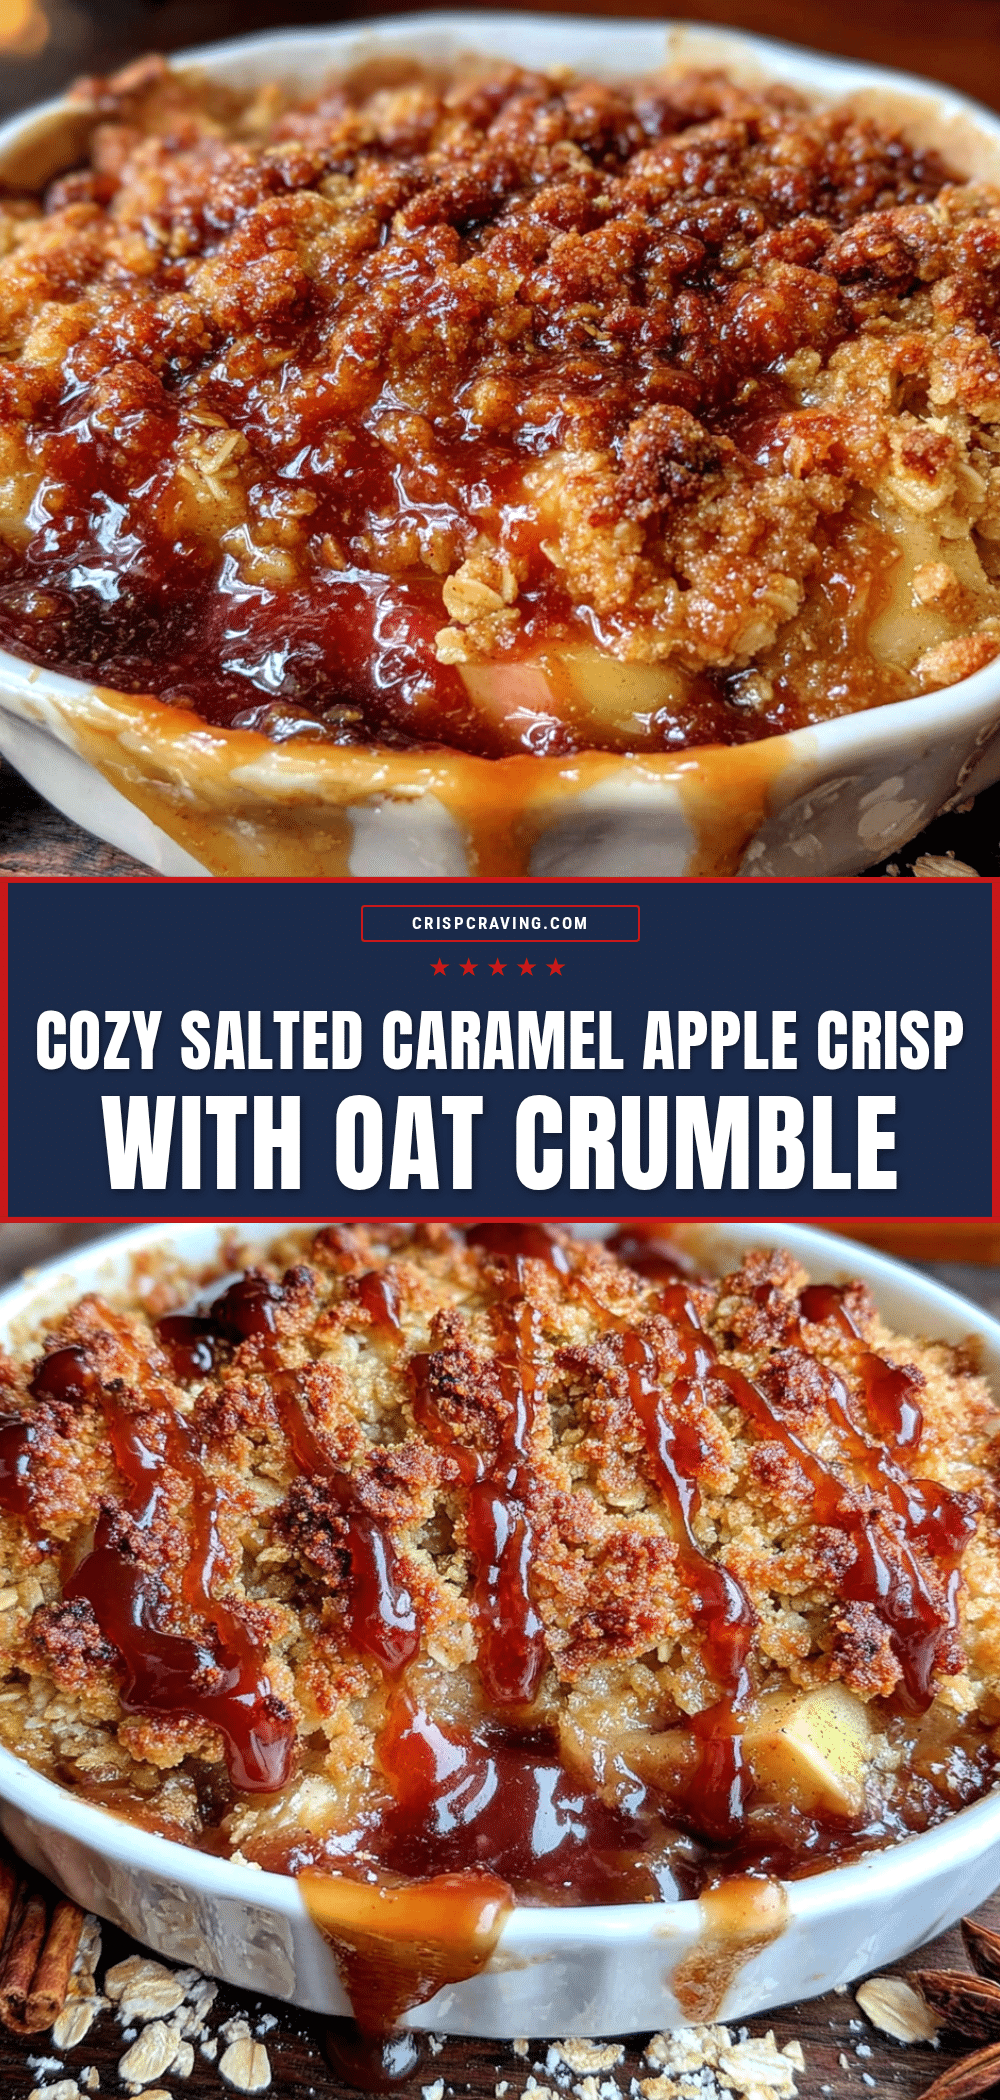
Cozy Salted Caramel Apple Crisp with Oat Crumble

This isn’t your average apple crisp. A deeply amber salted caramel sauce, a crunchy oat and pecan crumble, and perfectly balanced apples come together for a dessert that’s cozy enough for a Tuesday night and impressive enough for company.
- Prep Time: 15 minutes
- Cook Time: 35-40 minutes
- Total Time: 50-55 minutes
- Yield: 8 servings 1x
- Category: Dessert
- Cuisine: American
Ingredients
- 1 cup (200g) granulated sugar
- 6 tablespoons (85g) unsalted butter, cut into pieces
- 1/2 cup (120ml) heavy cream, room temperature
- 1 teaspoon flaky sea salt
- 1 teaspoon vanilla extract
- 6 cups (about 6–7 medium) apples, peeled, cored, and sliced 1/4-inch thick
- 1/4 cup (50g) granulated sugar
- 2 tablespoons (15g) all-purpose flour
- 1 tablespoon lemon juice
- 1 teaspoon ground cinnamon
- 1/4 teaspoon ground nutmeg
- Pinch of ground cloves
- 1 cup (90g) old-fashioned rolled oats
- 1/2 cup (60g) all-purpose flour
- 1/2 cup (100g) packed light brown sugar
- 1/2 cup (60g) chopped pecans
- 1/2 teaspoon ground cinnamon
- 1/4 teaspoon salt
- 6 tablespoons (85g) cold unsalted butter, cut into small cubes
Instructions
- Make the Salted Caramel Sauce: In a medium saucepan over medium heat, spread the 1 cup of sugar in an even layer. Watch it like a hawk—don’t stir it yet. As the edges start to melt, gently swirl the pan (don’t stir) to encourage even melting. This takes about 5-7 minutes. You’re looking for a deep amber color, like the color of a maple leaf in October. As soon as it hits that color, add the butter pieces and whisk vigorously. The mixture will bubble up furiously—that’s normal. Keep whisking unti…
- Prep the Apples: Preheat your oven to 375°F (190°C). Peel, core, and slice your apples into 1/4-inch thick slices. In a large bowl, toss the apple slices with 1/4 cup granulated sugar, 2 tablespoons flour, 1 tablespoon lemon juice, 1 teaspoon cinnamon, 1/4 teaspoon nutmeg, and a pinch of cloves. Let them sit for 5 minutes while you make the topping.
- Make the Oat Crumble: In a separate bowl, whisk together 1 cup oats, 1/2 cup flour, 1/2 cup brown sugar, 1/2 cup chopped pecans, 1/2 teaspoon cinnamon, and 1/4 teaspoon salt. Add the cold butter cubes and use a pastry cutter or your fingertips to work the butter into the dry ingredients until the mixture looks like coarse meal with some pea-sized butter pieces remaining. Don’t overwork it—those little butter chunks are what create flaky, crunchy clusters. If the butter starts to feel warm, pop t…
- Assemble the Crisp: Spread the apple mixture evenly in your 9×13-inch baking dish. Drizzle about 1/3 cup of the salted caramel sauce over the apples—you want to coat them, not drown them. Reserve the rest for serving. Sprinkle the oat crumble evenly over the top, covering all the apples. Don’t press it down; let it sit loosely for maximum crunch.
- Bake: Bake for 35-40 minutes, until the topping is golden brown and the filling is bubbling up around the edges. If the topping is browning too quickly (around 25 minutes), tent the dish loosely with foil for the remaining time. Let it cool on a wire rack for at least 15 minutes before serving.
Notes
Don’t skip the lemon juice—it brightens the fruit and balances the sweetness. Toast your oats and pecans for extra crunch. Watch the caramel carefully; it can go from perfect to burnt in about 30 seconds. Room temperature cream is essential for smooth caramel. Let the crisp rest for 15 minutes after baking to allow the filling to set.
Nutrition
- Serving Size: 1 serving (about 1/8
- Calories: 420
- Sugar: 38
- Sodium: 280
- Fat: 22
- Saturated Fat: 13
- Carbohydrates: 55
- Fiber: 5
- Protein: 4
Keywords: apple crisp, salted caramel, oat crumble, fall dessert, apple dessert, caramel apple crisp, easy apple crisp



