Love this? Save it for later!
Share the inspiration with your friends
The old woman at the community garden didn’t say much most days. She’d just nod at me from across the tomato beds, her hands always buried in the soil. But one chilly October afternoon, I was wrestling with a batch of pretzel dough that refused to cooperate—too sticky, then too dry, then sticky again. She watched me for a good minute, a small smile playing on her lips. Then she shuffled over, reached into her apron pocket, and pulled out a crumpled index card. “For your little ones,” she said, her accent thick and warm. “We called them witch fingers when I was a girl in the old country.”
The card had no measurements, just a list of ingredients and a few scribbled notes. I thanked her, tucked it into my own pocket, and honestly forgot about it for a few weeks. Then Halloween crept up on me—as it always does—and I found myself staring at that card while scrambling for a treat that wasn’t just another bag of candy. I gave her recipe a try, making a few adjustments along the way, and let me tell you, the result was nothing short of magical. These Cozy Witch Finger Pretzel Bites with Almond Nails are now my go-to for spooky season, and they have a way of making even the busiest evening feel a little more special.
The dough comes together like a soft, forgiving hug, and shaping each little finger feels almost meditative. There’s something about rolling out those knobby knuckles and pressing in an almond nail that turns a simple snack into a tiny work of art. Maybe you’ve been there—standing in your kitchen, flour dusting your counter, feeling the quiet satisfaction of creating something both silly and delicious. That’s the energy these pretzel bites bring. They’re not just a snack; they’re a little moment of connection, a nod to a stranger’s kindness, and a reminder that the best recipes often come wrapped in a story.
Why You’ll Love This Recipe
These aren’t your average Halloween pretzels. I’ve tested this recipe more times than I care to admit, tweaking the dough hydration, the baking soda bath timing, and the salt distribution until everything clicked. Here’s why these little guys have earned a permanent spot in my fall rotation:
- Quick & Easy: From mixing bowl to oven in under an hour. Perfect for that last-minute Halloween party invite or a cozy night in when you want to make something fun without a huge time commitment.
- Simple Ingredients: You probably have most of these in your pantry right now. Flour, yeast, salt, baking soda, and an egg. The only special addition is a handful of whole almonds—and those are easy to find.
- Perfect for Spooky Gatherings: These are the life of any Halloween party, movie night, or even a low-key October dinner. Kids love them, adults secretly love them more, and they spark so many conversations.
- Crowd-Pleaser: I’ve brought these to potlucks and watched them disappear within minutes. There’s something about their playful shape that makes everyone smile—and the soft, chewy pretzel interior keeps them coming back for more.
- Unbelievably Delicious: The texture is spot-on: a golden, slightly crisp exterior with a soft, pillowy center. The almond adds a subtle nutty crunch that balances the salty pretzel flavor perfectly. It’s comfort food with a creepy twist.
What makes this version different from other Halloween pretzel recipes? It’s the attention to detail in the shaping. I spent a good hour one evening figuring out how to get those knuckle indentations just right without the dough puffing up and losing them in the oven. The trick is a slightly drier dough than standard pretzels and a quick chill before baking. Plus, the almond nails stay put during the baking soda bath—no sliding off or sinking in. It’s a small victory, but honestly, it makes all the difference.
This recipe isn’t just good—it’s the kind that makes you close your eyes after the first bite. The warm, salty pretzel gives way to that unexpected crunch of almond, and for a second, you forget you’re eating something shaped like a witch’s finger. It’s comfort food reimagined: spooky, silly, but with the same soul-soothing satisfaction as a soft pretzel from a fair. Perfect for impressing guests without stress, or turning a simple October evening into something memorable.
What Ingredients You Will Need
This recipe uses simple, wholesome ingredients to deliver that classic soft pretzel texture and flavor. Most of these are pantry staples, which makes these bites perfect for a spontaneous baking session.
- All-purpose flour (3 cups / 360g): The backbone of our dough. I’ve tested this with bread flour too, and while it gives a chewier result, all-purpose keeps these bites tender and soft—perfect for little fingers. I usually use Gold Medal or King Arthur, but any brand works fine.
- Warm water (1 cup / 240ml, about 110°F): Not too hot, not too cold. If it’s hotter than 115°F, it can kill the yeast. I always test a drop on my wrist—it should feel like a warm bath.
- Active dry yeast (1 packet / 2 ¼ teaspoons): This is what gives our pretzels that lovely rise and airy interior. If you’re using instant yeast, you can skip the proofing step and mix it directly with the flour. I prefer Red Star or Fleischmann’s for consistent results.
- Brown sugar (1 tablespoon): A little sweetness to balance the salt and feed the yeast. Light or dark brown sugar works—dark will add a slightly deeper molasses note, which I personally love.
- Salt (1 teaspoon): For the dough. Don’t skip it—it controls yeast activity and adds flavor. I use fine sea salt.
- Unsalted butter (2 tablespoons, melted): Adds richness and tenderness to the dough. You can use salted butter if that’s all you have, just reduce the added salt by ¼ teaspoon.
- Baking soda (⅓ cup / 80g): For the boiling bath. This is the secret to that deep golden brown, chewy pretzel crust. Don’t substitute baking powder—it won’t work the same way.
- Water for bath (6 cups / 1.4 liters): Plain tap water is fine. The baking soda will raise the pH, which is what creates that signature pretzel flavor and color.
- Egg (1 large): For the wash. Beaten with a tablespoon of water, it gives the pretzels a beautiful glossy finish. If you’re vegan, a splash of plant milk works too, though the shine won’t be as intense.
- Coarse sea salt (for sprinkling): Pretzel salt or flaky sea salt is ideal. I use Maldon—it sticks well and gives a nice pop of saltiness. Regular table salt is too fine and will dissolve.
- Whole almonds (24-30, depending on how many fingers you make): These become the “nails.” Look for raw or roasted, unsalted almonds. I prefer roasted for a deeper flavor, but raw works perfectly fine. Make sure they’re whole, not slivered or chopped.
A quick note on substitutions: if you’re gluten-sensitive, I’ve had decent luck with a 1:1 gluten-free baking flour blend, though the dough is a bit stickier and the texture is slightly more cake-like. For a dairy-free version, use a plant-based butter alternative—just make sure it’s unsalted. And if you don’t have brown sugar, white sugar with a teaspoon of molasses mixed in works as a quick substitute.
Equipment Needed
You don’t need a fancy kitchen to pull these off. Here’s what I use, along with a few alternatives if you’re working with limited tools:
- Large mixing bowl: Any bowl will do, but a wide one makes kneading easier. I use a ceramic bowl because it doesn’t conduct heat, but glass or stainless steel are fine.
- Wooden spoon or dough whisk: For mixing the dough initially. A sturdy spatula works too.
- Measuring cups and spoons: For accuracy. I prefer metal measuring cups for dry ingredients—they’re more precise than plastic ones that can warp.
- Kitchen scale (optional but helpful): Weighing flour gives the most consistent results. If you don’t have one, fluff your flour with a spoon before scooping to avoid packing it down.
- Clean kitchen towel or plastic wrap: For covering the dough while it rises. A damp towel works best—it keeps the dough from drying out.
- Large pot (at least 4 quarts): For the baking soda bath. Don’t use aluminum—the baking soda can react with it and discolor the pot. Stainless steel or enameled cast iron is ideal.
- Slotted spoon or spider strainer: For lifting the pretzels out of the boiling water. A slotted spoon works, but a spider strainer gives you more control.
- Baking sheet (2): Lined with parchment paper or a silicone baking mat. Parchment is easier for cleanup—the baking soda residue can be stubborn.
- Pastry brush: For the egg wash. A silicone brush is easiest to clean, but a natural bristle brush works too.
- Sharp knife or bench scraper: For cutting the dough into pieces. A bench scraper is my favorite—it cuts cleanly without dragging the dough.
I bought my spider strainer for five dollars at a local kitchen supply store, and it’s been a workhorse for years. If you’re on a budget, a slotted spoon will do the job—just be gentle when lifting the pretzels so they don’t lose their shape.
Preparation Method
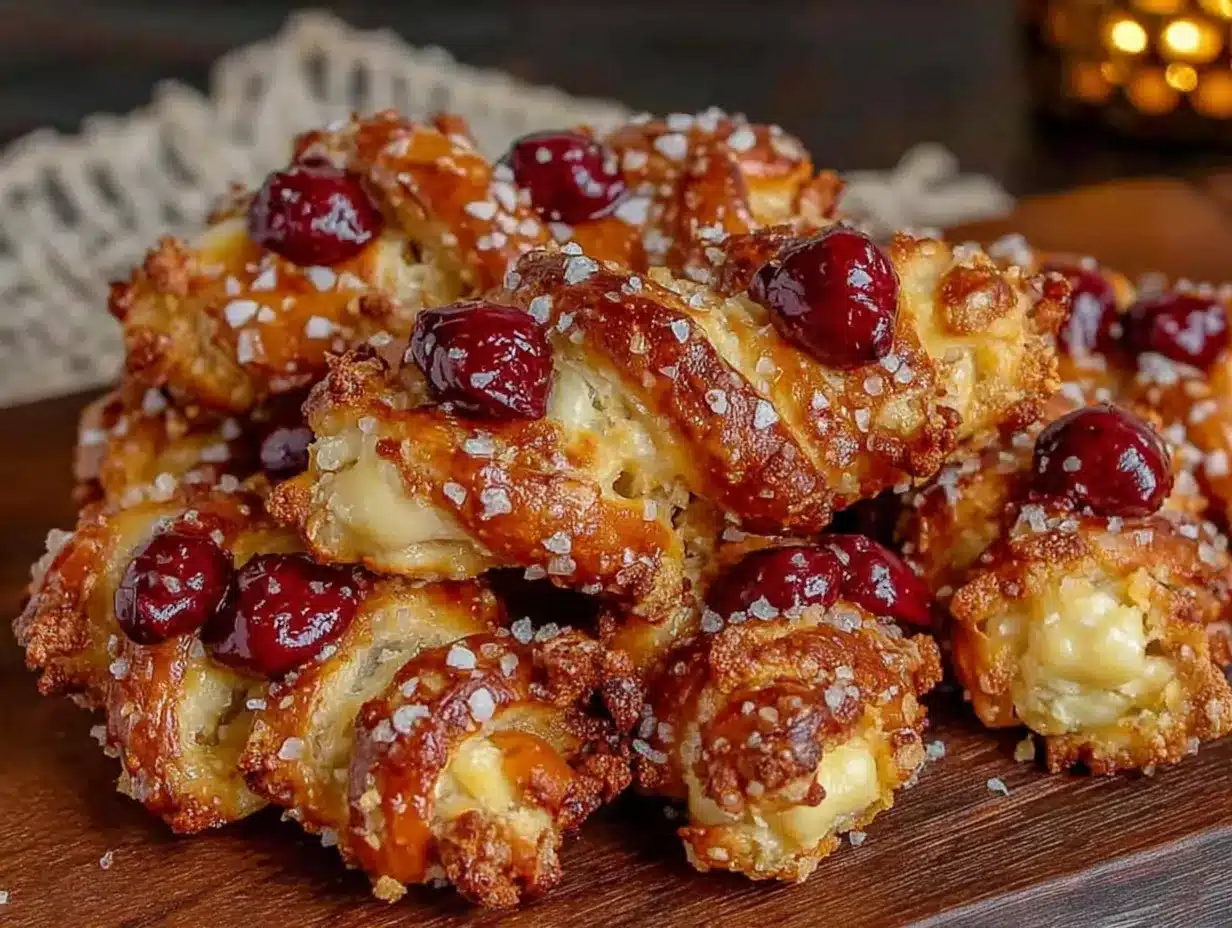
Let’s get our hands dirty. This process is more fun than fussy, I promise.
- Proof the yeast (5 minutes): In your large mixing bowl, combine the warm water (110°F) and brown sugar. Sprinkle the yeast on top and give it a gentle stir. Let it sit for about 5 minutes until it becomes foamy and smells like bread. If it doesn’t foam, your yeast might be dead—start over with fresh yeast.
- Make the dough (5 minutes): Add the melted butter, salt, and 2 ½ cups of the flour to the yeast mixture. Stir with a wooden spoon until a shaggy dough forms. Gradually add the remaining ½ cup of flour, a little at a time, until the dough pulls away from the sides of the bowl. You might not need all of it—humidity affects flour absorption.
- Knead the dough (8 minutes): Turn the dough out onto a lightly floured surface. Knead for about 8 minutes, until the dough is smooth and elastic. It should feel soft and slightly tacky, but not sticky. If it sticks to your hands, dust with a tiny bit more flour. I like to set a timer and put on a podcast for this part—it’s meditative.
- First rise (30 minutes): Shape the dough into a ball and place it in a lightly oiled bowl. Cover with a clean kitchen towel and let it rise in a warm spot for about 30 minutes, until it’s doubled in size. I usually set it near a sunny window or on top of the fridge—anywhere that’s draft-free.
- Preheat and prepare (10 minutes): While the dough rises, preheat your oven to 425°F (220°C). Line two baking sheets with parchment paper. Fill your large pot with 6 cups of water and bring it to a boil. Once boiling, carefully add the baking soda—it will fizz up, so don’t lean too close. Reduce the heat to a simmer.
- Shape the fingers (15 minutes): Punch down the risen dough and turn it out onto a clean surface. Divide it into 24-30 equal pieces—I use a bench scraper and cut the dough like a pizza. Roll each piece into a rope about 4 inches long, tapering one end slightly to look like a fingertip. Place the ropes on your prepared baking sheets, leaving a little space between them.
- Create the knuckles (5 minutes): Using the back of a butter knife or a chopstick, gently press 2-3 indentations into each rope to create knuckle lines. Don’t press too hard—you want them visible but not cutting through the dough. Then, press one whole almond firmly onto the tapered end of each finger to create the nail. Make sure it’s secure—it will stay put during the bath.
- Chill the shaped pretzels (10 minutes): Pop the baking sheets into the refrigerator for 10 minutes. This step is crucial—it firms up the dough so the knuckle indentations and almond nails don’t disappear during the boiling bath. I learned this the hard way after my first batch came out looking like sad, smooth worms.
- Boil the pretzels (2 minutes per batch): Working in batches of 4-5, gently lower the chilled pretzel fingers into the simmering baking soda water. Let them boil for 20-30 seconds on each side. Use your slotted spoon or spider strainer to flip them carefully. They’ll puff up slightly. Remove them and place them back on the parchment-lined baking sheets, spacing them about an inch apart.
- Egg wash and salt (2 minutes): In a small bowl, beat the egg with 1 tablespoon of water. Brush each boiled pretzel finger with the egg wash—be generous, it’s what gives them that gorgeous golden sheen. Sprinkle coarse sea salt over the top, avoiding the almond nails (the salt doesn’t stick well to them anyway).
- Bake (12-15 minutes): Bake in your preheated oven for 12-15 minutes, until the pretzels are deep golden brown. Keep an eye on them after 12 minutes—ovens vary, and you want them browned but not burnt. The almond nails will darken slightly, which actually makes them look more realistic.
- Cool (5 minutes): Let the pretzel fingers cool on the baking sheets for about 5 minutes. They’re best served warm, when the interior is still soft and pillowy. Transfer them to a wire rack if you’re not serving them immediately—otherwise, the bottoms can get soggy.
A quick sensory check: when you lift a boiled pretzel out of the water, it should feel slightly firm and look a little puffy. After baking, the surface should be glossy and crackled, and the almond should feel secure—give one a gentle tap to test. The smell, by the way, is incredible—like a soft pretzel stand at a fair.
Cooking Tips & Techniques
I’ve made these more times than I can count, and I’ve collected a few tricks along the way. Some came from happy accidents, others from outright failures.
Don’t skip the chilling step. I know it adds an extra 10 minutes, but it’s the difference between defined knuckles and sad, smooth fingers. The cold dough resists puffing during the boil, so those little indentations stay put. One time I was in a rush and skipped it—the knuckles vanished, and my “witch fingers” looked more like “witch sausages.” Still tasty, but not nearly as fun.
Watch your boiling time. 20-30 seconds per side is the sweet spot. Too short, and the pretzels won’t develop that deep brown crust. Too long, and they can become tough and chewy. I set a timer for 25 seconds and flip—it’s consistent every time.
Use a light hand with the flour. When kneading, only add flour if the dough is truly sticky. A slightly tacky dough produces the softest pretzels. Over-flouring leads to dense, dry bites. If you’re unsure, it’s better to have a slightly sticky dough that you can manage with oiled hands than a dry one.
Batch management is key. While one batch is boiling, keep the other shaped fingers in the fridge. This prevents them from warming up and losing their definition. I usually boil 4-5 at a time, which gives me enough room to maneuver without crowding the pot.
Multitasking made easy. While the dough is rising, I set up my boiling station and line my baking sheets. Then, while the shaped fingers are chilling, I bring the water to a boil. This way, everything flows smoothly without a frantic rush at the end.
My biggest failure? I once used salted butter and forgot to adjust the added salt. The pretzels were borderline inedible—so salty they made my lips pucker. Now I always taste the dough before adding the final salt. A tiny pinch tells you everything you need to know.
Variations & Adaptations
These pretzel bites are surprisingly versatile. Here are a few ways I’ve adapted them over the years:
- Gluten-Free Version: Substitute the all-purpose flour with a 1:1 gluten-free baking blend that contains xanthan gum. The dough will be stickier, so wet your hands slightly when shaping. The texture is a bit more cake-like, but the flavor is still spot-on. I’ve used Bob’s Red Mill 1:1 with good results.
- Spooky Color Twist: Add a few drops of black or purple food coloring to the dough during the mixing stage. It turns the pretzels a delightfully eerie shade without affecting the taste. Natural options like activated charcoal powder (for black) or purple sweet potato powder work too, though the colors are more muted.
- Cheese-Stuffed Fingers: Press a small cube of cheddar or mozzarella into the center of each piece of dough before shaping. Seal the dough around it completely. The cheese melts into a gooey surprise center. Just be careful—they’re hot! I learned this one from a friend who stuffs everything with cheese.
- Savory Herb Variation: Mix 1 teaspoon of garlic powder, ½ teaspoon of dried rosemary, and ½ teaspoon of dried thyme into the flour before adding the wet ingredients. It gives the pretzels a savory, almost focaccia-like flavor that pairs beautifully with the salt.
- Sweet Cinnamon Sugar Finish: Skip the coarse salt and brush the baked pretzels with melted butter, then toss them in a mixture of cinnamon and sugar. The almond nails add a lovely nutty crunch to the sweet coating. This version is a huge hit with kids.
I tried the cheese-stuffed version last Halloween, and let me tell you, it was a game-changer. The gooey interior paired with the salty exterior was pure comfort. Just make sure the cheese is fully enclosed—one of mine leaked during the boil and made a mess in the pot.
Serving & Storage Suggestions
These pretzel bites are best served warm, straight from the oven. The interior is soft and pillowy, and the exterior has that perfect crackly crunch. I like to arrange them on a wooden board or a dark plate to make the golden color pop—it adds to the spooky vibe.
What to serve with them: A warm cheese dip is my go-to. A simple beer cheese or queso pairs beautifully with the salty pretzel flavor. For a lighter option, honey mustard or a spicy sriracha mayo works too. If you’re serving them at a Halloween party, a bowl of warm marinara sauce with a “bloody” look (just add a drop of red food coloring) is always a hit.
Complementary dishes: These are great alongside a bowl of hearty soup—think tomato basil or butternut squash. They also work as a fun side for a cozy fall dinner of roasted chicken or a big salad. Honestly, they’re so good I’ve eaten them as a meal on their own.
Storage: Store leftover pretzel bites in an airtight container at room temperature for up to 2 days. Don’t refrigerate them—the fridge dries them out and makes them tough. If you need to keep them longer, freeze them.
Freezing instructions: Let the baked pretzels cool completely. Place them in a single layer on a baking sheet and freeze for 1 hour, then transfer them to a freezer-safe bag or container. They’ll keep for up to 3 months. To reheat, pop them in a 350°F oven for 5-7 minutes, or until warmed through. The microwave works in a pinch, but the texture won’t be as good.
Reheating tips: For best results, reheat in the oven. If you’re in a hurry, the air fryer at 350°F for 3-4 minutes works beautifully—it crisps up the exterior without drying out the inside. Avoid the microwave if you can; it makes the pretzels rubbery.
Flavor development: Interestingly, these pretzels taste even better the next day. The salt mellows slightly, and the flavors meld together. If you can resist eating them all, save a few for the next day—they’re perfect with a cup of coffee.
Nutritional Information & Benefits
Here’s an approximate nutritional breakdown per serving (based on 1 pretzel finger, assuming 28 servings per batch):
| Nutrient | Amount |
|---|---|
| Calories | 85 |
| Total Fat | 2.5g |
| Saturated Fat | 1g |
| Cholesterol | 10mg |
| Sodium | 320mg |
| Total Carbohydrates | 13g |
| Dietary Fiber | 0.5g |
| Sugars | 1g |
| Protein | 2.5g |
These numbers are estimates and will vary based on exact ingredients and portion sizes. The almond nails add a small amount of healthy fats and vitamin E, which is great for skin health. The pretzel itself provides carbohydrates for energy—perfect for a pre-party snack or a midday treat.
Dietary considerations: This recipe contains gluten, dairy (butter), and eggs. For a dairy-free version, use plant-based butter. For a gluten-free version, use a 1:1 gluten-free flour blend. The almond nails are tree nuts, so be mindful of allergies.
From a wellness perspective, I love that these are baked, not fried. They satisfy that craving for something salty and satisfying without the heaviness of fried snacks. Plus, making them from scratch means you know exactly what’s in them—no preservatives or mystery ingredients.
Conclusion
These Cozy Witch Finger Pretzel Bites with Almond Nails are more than just a Halloween snack. They’re a little piece of connection—to that kind woman in the garden, to the tradition of making something with your hands, and to the simple joy of sharing food with people you love. The dough is forgiving, the shaping is fun, and the result is genuinely delicious.
I hope you give them a try, and I hope you make them your own. Maybe you’ll stuff them with cheese, or dust them with cinnamon sugar, or leave them perfectly plain. That’s the beauty of a good recipe—it’s a starting point, not a rulebook. Don’t be afraid to experiment and see what makes your kitchen feel cozy.
I’d love to hear how yours turn out! Drop a comment below and let me know if your family loved them as much as mine does. Did you try a variation? Did the knuckles hold up? Share your stories—I read every single one. And if you’re looking for more cozy fall treats, don’t miss our spooky Halloween pretzel recipes roundup for even more inspiration.
Happy baking, and may your witch fingers be perfectly creepy and delicious!
Frequently Asked Questions
Can I make the dough ahead of time?
Absolutely. After the first rise, punch down the dough, wrap it tightly in plastic wrap, and refrigerate for up to 24 hours. When you’re ready to shape, let it sit at room temperature for about 20 minutes to soften slightly. The cold dough is actually easier to shape, and the flavor develops more complexity overnight.
Why did my almond nails fall off during boiling?
This usually happens when the almond isn’t pressed firmly enough into the dough. Make sure you’re pressing it in until it’s about halfway embedded. Also, the chilling step is crucial—cold dough holds onto the almond better. If they still fall off, try using a tiny dab of water to “glue” the almond in place before chilling.
Can I use a different nut for the nails?
Sure! Whole pecans or hazelnuts work well, though they have a different shape. Sliced almonds are too thin and tend to break. For a nut-free version, you can use a whole cashew or even a small piece of carrot shaped like a nail—though the texture won’t be quite the same.
My pretzels didn’t turn golden brown. What went wrong?
The golden color comes from the baking soda bath and the egg wash. Make sure your water is at a full simmer (not a rolling boil, but close) and that you’re using enough baking soda. Also, don’t skimp on the egg wash—it’s what gives them that beautiful shine. If they’re still pale, try increasing the baking time by 2-3 minutes.
Can I freeze the unbaked shaped pretzels?
Yes! After shaping and chilling, place the unbaked pretzel fingers on a baking sheet and freeze until solid (about 2 hours). Transfer them to a freezer bag. When you’re ready to bake, boil them directly from frozen—just add an extra 10 seconds to each side. Then proceed with the egg wash and baking as usual. This is a great make-ahead option for busy Halloween days.
Pin This Recipe!
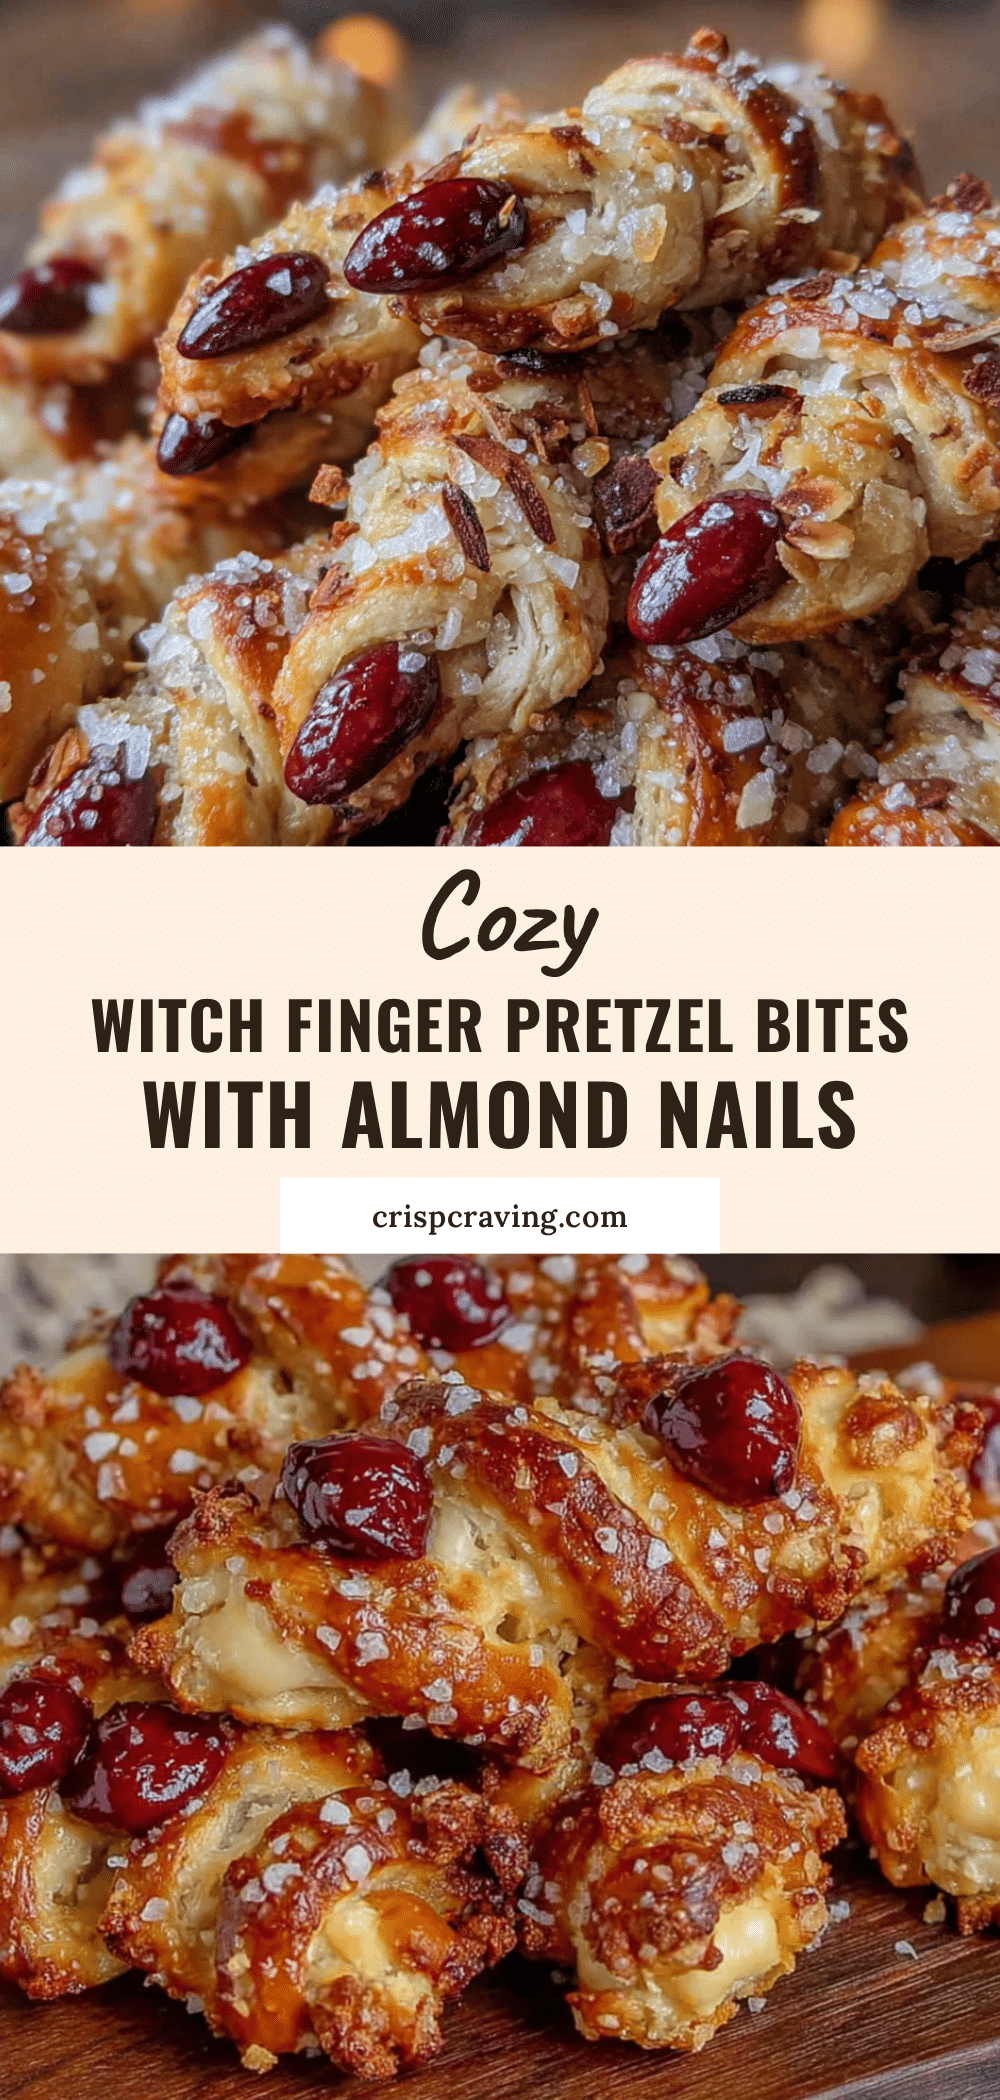
Cozy Witch Finger Pretzel Bites: Easy Almond Nails Snack

These spooky yet delicious pretzel bites are shaped like witch fingers with almond nails. They’re quick to make, use simple ingredients, and are perfect for Halloween parties or cozy fall gatherings.
- Prep Time: 20 minutes
- Cook Time: 15 minutes
- Total Time: 1 hour 5 minutes
- Yield: 24-30 servings 1x
- Category: Snack
- Cuisine: American
Ingredients
- 3 cups (360g) all-purpose flour
- 1 cup (240ml) warm water (about 110°F)
- 1 packet (2 ¼ teaspoons) active dry yeast
- 1 tablespoon brown sugar
- 1 teaspoon salt
- 2 tablespoons unsalted butter, melted
- ⅓ cup (80g) baking soda
- 6 cups (1.4 liters) water for bath
- 1 large egg
- Coarse sea salt for sprinkling
- 24–30 whole almonds
Instructions
- Proof the yeast: In a large mixing bowl, combine warm water and brown sugar. Sprinkle yeast on top, stir gently, and let sit for 5 minutes until foamy.
- Make the dough: Add melted butter, salt, and 2 ½ cups flour to the yeast mixture. Stir until a shaggy dough forms. Gradually add remaining ½ cup flour until dough pulls away from bowl sides.
- Knead the dough: Turn dough onto a lightly floured surface and knead for 8 minutes until smooth and elastic.
- First rise: Shape dough into a ball, place in a lightly oiled bowl, cover with a towel, and let rise in a warm spot for 30 minutes until doubled.
- Preheat and prepare: Preheat oven to 425°F (220°C). Line two baking sheets with parchment paper. Bring 6 cups water to a boil in a large pot, then carefully add baking soda and reduce heat to a simmer.
- Shape the fingers: Punch down dough and divide into 24-30 equal pieces. Roll each into a 4-inch rope, tapering one end slightly. Place on prepared baking sheets.
- Create the knuckles: Use the back of a butter knife to press 2-3 indentations into each rope for knuckles. Press one whole almond firmly onto the tapered end for the nail.
- Chill the shaped pretzels: Refrigerate baking sheets for 10 minutes to firm up the dough.
- Boil the pretzels: Working in batches of 4-5, gently lower chilled pretzel fingers into simmering baking soda water. Boil for 20-30 seconds per side. Remove with a slotted spoon and return to baking sheets.
- Egg wash and salt: Beat egg with 1 tablespoon water. Brush each boiled pretzel with egg wash and sprinkle with coarse sea salt, avoiding almond nails.
- Bake: Bake for 12-15 minutes until deep golden brown.
- Cool: Let cool on baking sheets for 5 minutes before serving warm.
Notes
Don’t skip the chilling step—it helps the knuckle indentations and almond nails stay put during boiling. For best results, boil for exactly 20-30 seconds per side. Leftovers can be stored at room temperature for up to 2 days or frozen for up to 3 months.
Nutrition
- Serving Size: 1 pretzel finger
- Calories: 85
- Sugar: 1
- Sodium: 320
- Fat: 2.5
- Saturated Fat: 1
- Carbohydrates: 13
- Fiber: 0.5
- Protein: 2.5
Keywords: Halloween pretzels, witch finger pretzels, almond nails, spooky snacks, easy Halloween recipe, soft pretzel bites



