Love this? Save it for later!
Share the inspiration with your friends
Last Thursday afternoon, I was reaching for a snack in my cluttered fridge when the unmistakable tang of vinegar mixed with fresh dill hit me — and suddenly I was eight years old again, crouched on the linoleum floor of Mrs. Harper’s kitchen, clutching a jar of her homemade pickles. The kitchen was a little messy that day — I remember a cracked green bowl on the counter and a wayward garlic clove rolling off the cutting board. Mrs. Harper, with her quick smile and stained apron, was explaining how those pickles “just needed a little time and patience” before they were perfect.
I never quite got that recipe from her (she was a bit secretive about her special brine), but I’ve been chasing that same crisp, garlicky, dill-loaded bite ever since. The thing is, those pickles weren’t just about flavor; they were about the way the crunch snapped between my teeth, the sharp burst of garlic, and the cool, vinegary zip that made my tongue tingle. It was a sensory moment I couldn’t quite pin down — like trying to catch a breeze in your hands.
Honestly, I thought I’d never find a pickle recipe that could match Mrs. Harper’s magic until I stumbled across this quick and easy method for crispy garlic dill refrigerator pickles ready in 24 hours. The first time I tried it, the jar sat on my counter, and I kept sneaking little tastes, marveling at how the cucumbers stayed crunchy and the garlic and dill flavors punched through just right. Maybe you’ve been there, trying to recreate a flavor that feels just out of reach — well, this recipe might just be the answer.
It’s not fancy or complicated, but it’s pure, simple satisfaction — perfect for when you want that homemade pickle goodness without weeks of waiting. Plus, I love that it’s all about fresh ingredients and a fast turnaround, making it perfect for those spontaneous pickle cravings or last-minute additions to a sandwich or charcuterie board. Let me tell you, once you make these, you’ll wonder why you ever bought pickles from the store.
Why You’ll Love This Crispy Garlic Dill Refrigerator Pickles Recipe
After countless trials, this recipe truly stands out for delivering that perfect balance of crunch, tang, and garlicky dill flavor in just about a day. Here’s why it’s one of my go-to quick pickle recipes:
- Quick & Easy: Ready in 24 hours, no long wait times — perfect for busy nights or last-minute gatherings.
- Simple Ingredients: Uses everyday pantry staples like fresh dill, garlic, vinegar, and cucumbers — no specialty stores required.
- Perfect for Summer and Beyond: Great for picnics, barbecues, or as a crisp snack any time of year.
- Crowd-Pleaser: Everyone from pickle aficionados to newbies loves the fresh, bright flavor and satisfying crunch.
- Unbelievably Delicious: The garlic and dill infuse the cucumbers deeply, while the vinegar bite keeps things lively but never overpowering.
This isn’t your average pickle recipe. What sets it apart is the quick refrigerator method that keeps the cucumbers wonderfully crisp — no soggy disappointments here. Plus, the garlic is sliced thin for a mellow, aromatic punch that’s balanced perfectly with fresh dill sprigs. I’ve tested it repeatedly, tweaking the salt and vinegar ratio until it felt just right — you close your eyes after the first bite and know you’ve nailed it.
Whether you’re looking to impress guests without the hassle or just want a fresh, homemade pickle fix, this recipe fits the bill. It’s the kind of thing that makes you savor the moment and maybe even think back to your own kitchen memories, like I did with Mrs. Harper’s pickles all those years ago.
What Ingredients You Will Need for Crispy Garlic Dill Refrigerator Pickles
This recipe relies on fresh, simple ingredients to deliver that classic dill pickle flavor with a crispy finish. Most are pantry staples, and substitutions are easy if needed.
- Cucumbers (about 4-5 small Kirby or pickling cucumbers, roughly 1.5 lbs / 700 g) – These firm, crunchy cukes hold up best for pickling. I prefer smaller pickling cucumbers for their perfect size and texture.
- Garlic cloves (4-5, thinly sliced) – Fresh garlic is key here; it infuses the brine with a mellow but distinctive flavor.
- Fresh dill sprigs (about 4-5 sprigs) – Use fresh dill for its bright, aromatic notes; frozen won’t give the same punch.
- White distilled vinegar (1 cup / 240 ml) – This vinegar provides clean acidity without overpowering. You can swap with apple cider vinegar for a slightly fruitier twist.
- Water (1 cup / 240 ml) – Dilutes the vinegar to balance acidity.
- Salt (1 tablespoon / 18 g kosher salt or pickling salt) – Pickling salt is preferred as it dissolves cleanly and won’t cloud the brine.
- Granulated sugar (1 teaspoon / 4 g) – Just enough to soften the sharpness of the vinegar without making it sweet.
- Black peppercorns (1 teaspoon) – Adds subtle spice and depth.
- Mustard seeds (1 teaspoon) – Optional, but recommended for a gentle tangy heat.
- Red pepper flakes (optional, 1/4 teaspoon) – For a little kick if you like it spicy.
Pro tip: I always buy my pickling salt from Diamond Crystal because it dissolves perfectly and never leaves sediment. For the cucumbers, look for firm ones with no soft spots, preferably from a local farmers’ market or organic section.
Equipment Needed
- Glass jars with lids (1 or 2 quart-sized / 1 liter mason jars) – Glass is best for pickling to avoid any off-flavors. I find wide-mouth jars easier to pack with cucumbers and garlic slices.
- Measuring cups and spoons – Accurate measurements help keep the brine balanced.
- Medium saucepan – For heating the vinegar mixture.
- Sharp knife – Essential for slicing garlic thinly and trimming cucumbers.
- Cutting board – A sturdy surface to prep your ingredients.
- Mixing bowl – Optional but handy for tossing cucumbers with salt before packing.
- Clean kitchen towel or paper towels – To pat dry cucumbers, helping maintain crispness.
If you don’t have mason jars, a clean, non-reactive container with a tight lid will do in a pinch, but glass jars are definitely worth the investment for pickling projects. I’ve tried plastic containers before, and honestly, the flavor isn’t as bright, and the texture can be off.
Preparation Method for Crispy Garlic Dill Refrigerator Pickles
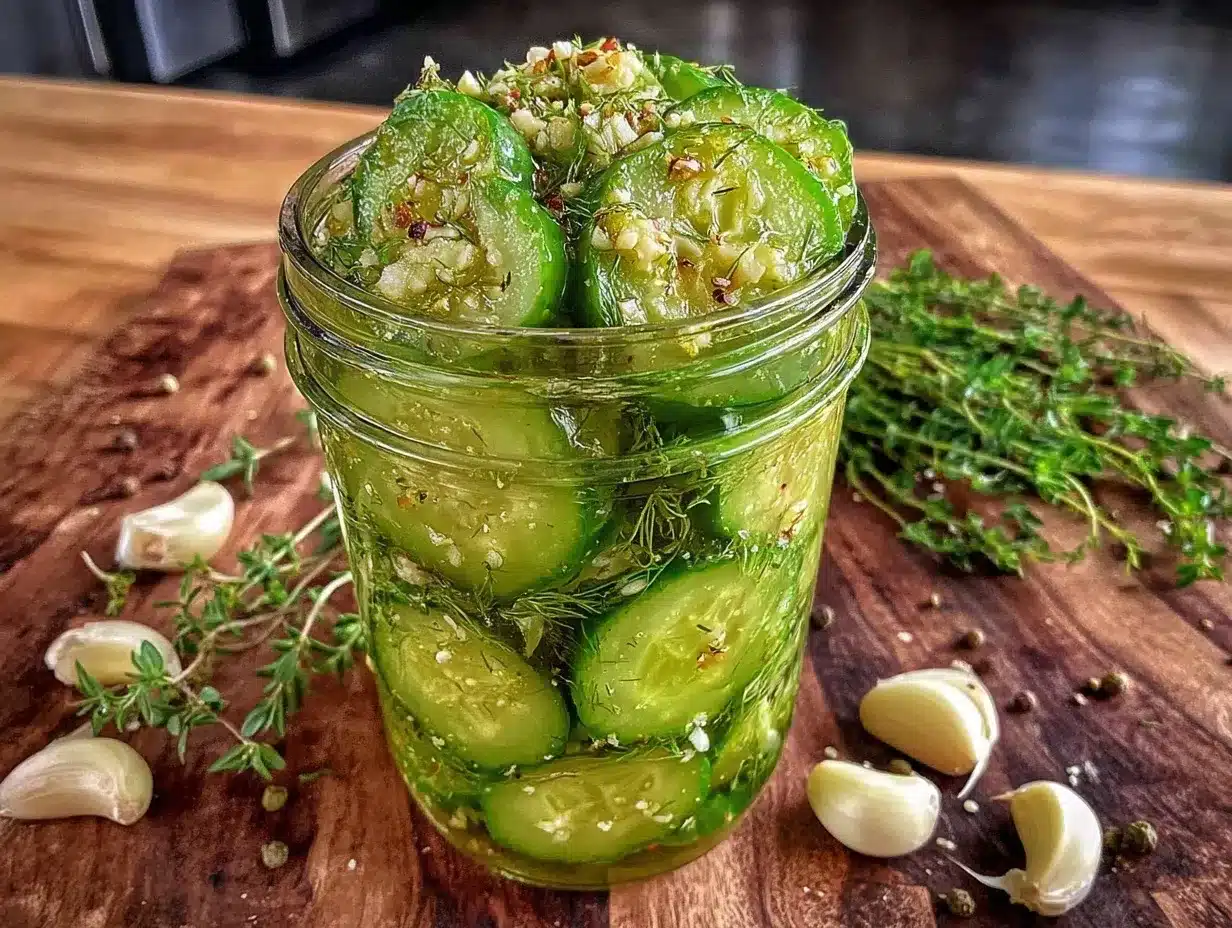
- Prepare the cucumbers: Wash and trim the ends off 4-5 small Kirby cucumbers (about 1.5 lbs / 700 g). Slice them into 1/4-inch (6 mm) thick rounds or spears, depending on your preference. Pat dry with paper towels to remove excess moisture. This step is crucial for keeping the pickles crispy.
- Salt the cucumbers: Place the cucumber slices in a mixing bowl and toss with 1 tablespoon (18 g) kosher or pickling salt. Let them sit for 30 minutes to draw out excess water. You’ll notice the cucumbers start to release liquid — this helps keep crunch when pickled.
- Make the brine: While cucumbers rest, combine 1 cup (240 ml) white distilled vinegar, 1 cup (240 ml) water, 1 teaspoon (4 g) granulated sugar, 1 teaspoon black peppercorns, 1 teaspoon mustard seeds, and optional 1/4 teaspoon red pepper flakes in a medium saucepan. Bring to a boil, stirring until sugar and salt dissolve. Remove from heat and let cool slightly.
- Rinse and drain cucumbers: After 30 minutes, rinse the salted cucumbers under cold water to remove excess salt. Drain and pat dry thoroughly.
- Pack the jars: In clean glass jars, place 4-5 fresh dill sprigs and 4-5 thinly sliced garlic cloves at the bottom. Pack the cucumbers tightly but without smashing. Tuck more garlic and dill sprigs throughout the jar.
- Pour the brine: Carefully pour the warm (not hot) brine over the cucumbers, making sure they’re fully submerged. Leave about 1/2 inch (1.3 cm) headspace at the top. Seal the jars with lids.
- Refrigerate: Place the jars in the refrigerator for at least 24 hours before enjoying. The flavor will deepen over the next few days, but they are perfectly crisp and flavorful at 24 hours.
- Taste and adjust: After 24 hours, taste a pickle. If you want it tangier or more garlicky, leave it an extra day or add more fresh dill and garlic next time.
Note: If you find the pickles too salty or sour, try rinsing them briefly before eating or adjust salt and vinegar amounts in future batches. I learned this the hard way — sometimes you just gotta tweak to your own taste buds!
Cooking Tips & Techniques for Perfect Refrigerator Pickles
Honestly, keeping pickles crispy is the trickiest part, and I’ve learned a few things along the way. First, never skip the salting step — it draws out moisture that would otherwise make your pickles soggy. Also, patting the cucumber slices dry before brining is a must; excess water dilutes the brine and softens the texture.
Another tip: use fresh dill sprigs rather than dried. Fresh dill gives that bright, herbal zing that dried just can’t match. And slicing garlic thinly rather than smashing it releases flavor gradually without overpowering the pickles.
When pouring your brine, let it cool a bit — hot brine can cook the cucumbers and ruin the crispness. And I always use pickling salt or kosher salt because table salt often contains additives that cloud the brine and affect flavor.
One mistake I made early on was packing the jars too tightly or smashing the cucumbers. Give them a little room to breathe in the jar so the brine can circulate evenly. Also, using a wide-mouth jar makes packing and eating way easier.
Timing-wise, 24 hours is the minimum, but if you can wait 2-3 days, the flavor deepens wonderfully. While it’s tempting to dive in early, patience really pays off for balanced taste and crisp texture.
Variations & Adaptations
- Low-Sodium Version: Reduce salt by half and increase refrigeration time to 48 hours for a milder flavor without losing crunch.
- Spicy Pickles: Add more red pepper flakes or a sliced jalapeño to the jar for extra heat. I’ve made these for game day snacks, and they’re always a hit.
- Herbal Twist: Swap dill for fresh tarragon or add fresh thyme sprigs for a different herbal note. It changes the flavor profile but keeps the crisp texture.
- Vinegar Swap: Use apple cider vinegar instead of white for a fruitier tang — great if you want a slightly sweeter pickle.
- Oven Pickles: For a warm variation, briefly heat the packed jar in a water bath for 10 minutes before refrigerating; this intensifies flavors but slightly softens the texture.
I once tried adding a splash of lemon juice for brightness — it was surprisingly fresh and paired beautifully with grilled meats. Feel free to experiment with your favorite herbs and spices to make these pickles truly yours.
Serving & Storage Suggestions
These pickles are best served chilled, straight from the fridge. They make a fantastic crunchy addition to sandwiches, burgers, or alongside grilled chicken. I love pairing them with smoked meats or a creamy hummus dip for contrast.
Store the pickles in their brine in the refrigerator for up to 3 weeks. The flavor intensifies over time, and the pickles get a little tangier but always stay crisp if packed right. When reheating (if you want them warmer), avoid microwaving — instead, let them come to room temperature naturally to keep that crunch.
If you’re serving at a party, arrange them on a platter with cheese and crackers for a simple, crowd-pleasing appetizer. The garlicky dill flavor pairs nicely with rich, creamy cheeses like Havarti or goat cheese.
Nutritional Information & Benefits
A serving of these pickles (about 3 spears) contains roughly 10-15 calories, making them a guilt-free snack. They’re low in carbs and fat but high in flavor and crunch. The vinegar in the brine may aid digestion, while fresh garlic offers natural antimicrobial properties.
These pickles are naturally gluten-free and can be made vegan and paleo-friendly by choosing appropriate salt and sugar options. Just watch the salt content if you’re on a sodium-restricted diet.
Personally, I appreciate how these pickles satisfy my craving for something crisp and tangy without any artificial preservatives or additives. They’re a simple, wholesome treat that feels nourishing and fresh.
Conclusion
If you’ve been searching for a quick, easy pickle recipe that delivers that perfect crispy garlic dill flavor without the wait, this is it. It’s a recipe I keep coming back to because it’s straightforward, reliable, and always delicious. Plus, it brings a little bit of kitchen magic — and that satisfying crunch — to everyday meals.
Feel free to tweak the garlic, dill, or spice level to your liking — that’s part of the fun! I love hearing how readers adapt this recipe, so please share your own twist or success stories in the comments. Trust me, once you try these crispy garlic dill refrigerator pickles, you’ll never look at store-bought the same way again.
Happy pickling and crunching!
Frequently Asked Questions About Crispy Garlic Dill Refrigerator Pickles
How long do refrigerator pickles last?
Stored properly in the fridge and submerged in brine, these pickles last up to 3 weeks, maintaining their crispness and flavor.
Can I use regular cucumbers instead of pickling cucumbers?
While you can, regular slicing cucumbers have more water and seeds, which may result in softer pickles. Pickling cucumbers are preferred for their firmness.
Why are my pickles not crispy?
Common reasons include skipping the salt soak, not drying cucumbers before brining, or using hot brine that softens the cucumbers. Follow the recipe steps closely for best results.
Can I make these pickles without garlic?
Yes, omit the garlic if you prefer, but the flavor won’t be as rich. Try adding extra dill or mustard seeds to compensate.
Do I have to refrigerate these pickles?
Yes, these are quick refrigerator pickles and should be kept cold to develop flavor and prevent spoilage. They are not shelf-stable like canned pickles.
Pin This Recipe!
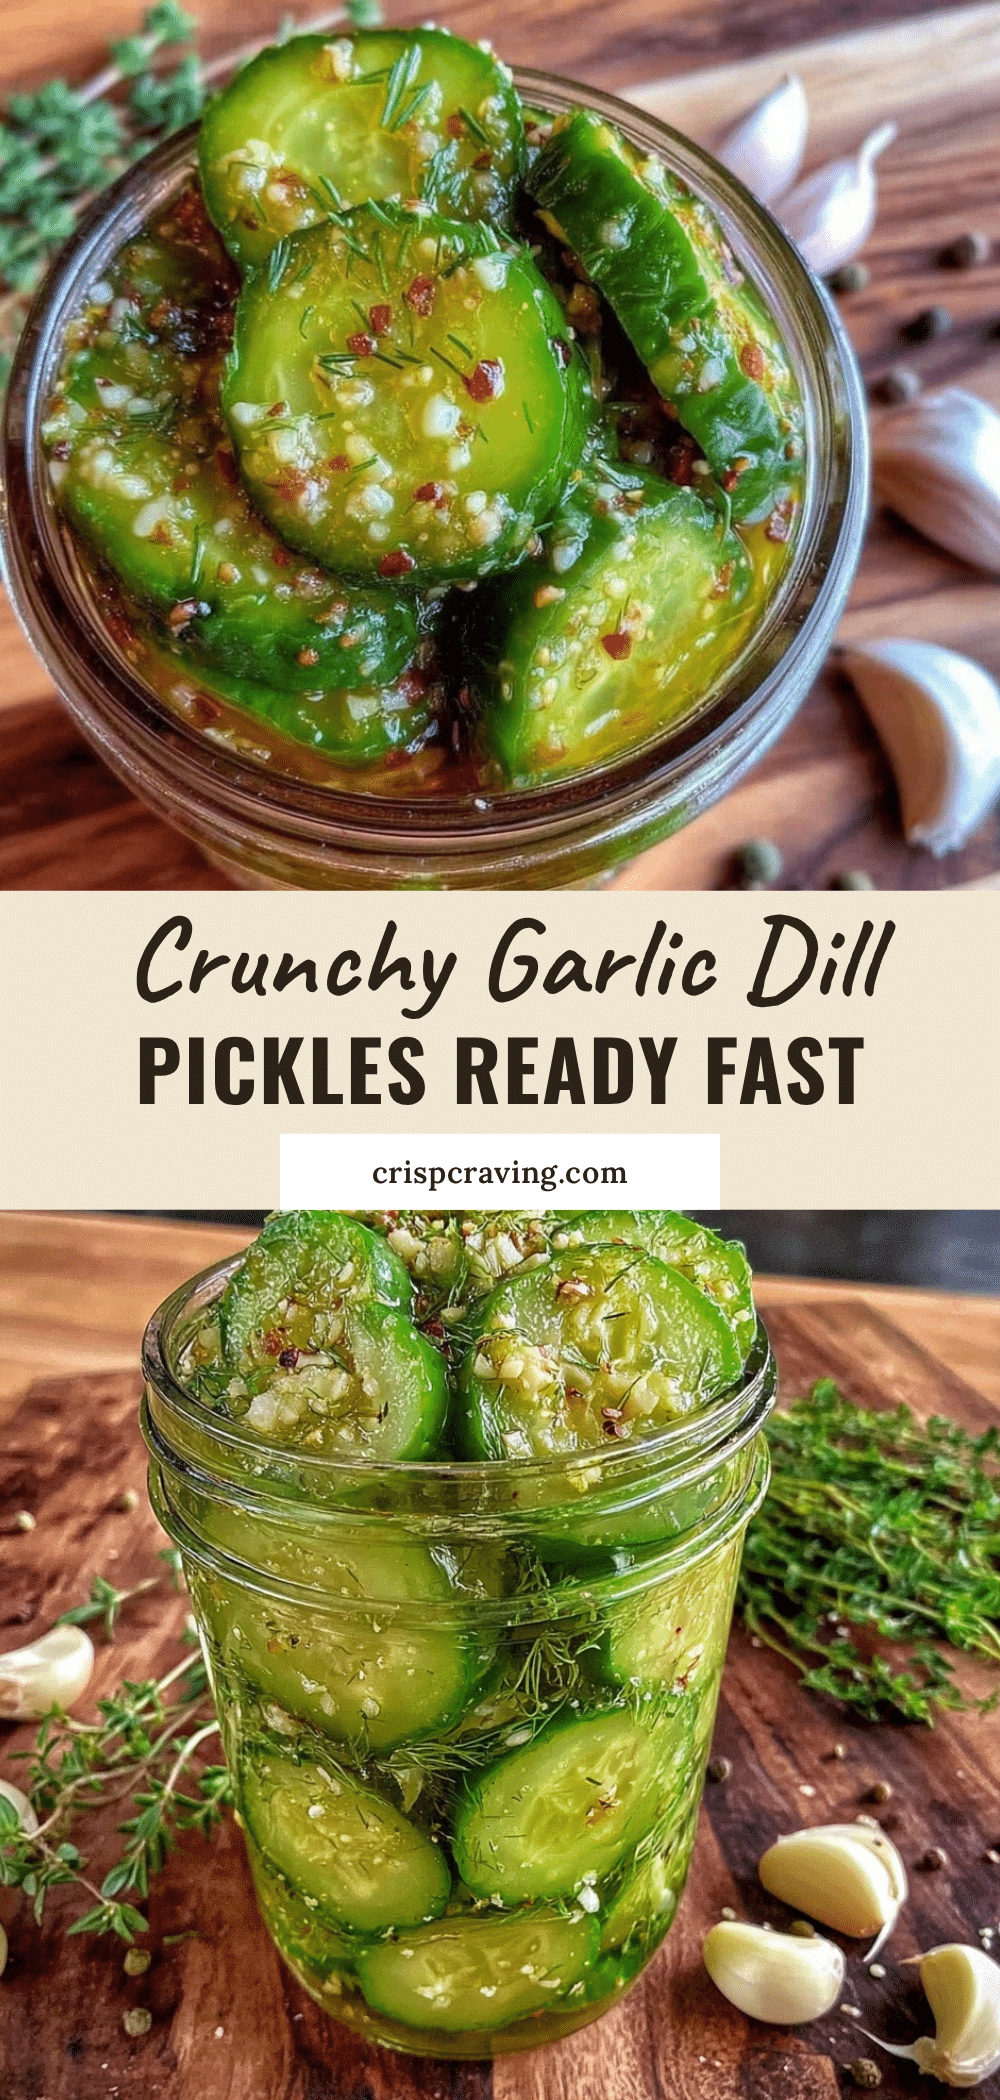
Crispy Garlic Dill Refrigerator Pickles
A quick and easy refrigerator pickle recipe delivering a perfect balance of crunch, tang, and garlicky dill flavor in just 24 hours. Ideal for homemade pickle goodness without the long wait.
- Prep Time: 40 minutes
- Cook Time: 10 minutes
- Total Time: 24 hours 50 minutes
- Yield: 4 servings 1x
- Category: Condiment
- Cuisine: American
Ingredients
- 4–5 small Kirby or pickling cucumbers (about 1.5 lbs / 700 g)
- 4–5 garlic cloves, thinly sliced
- 4–5 fresh dill sprigs
- 1 cup (240 ml) white distilled vinegar
- 1 cup (240 ml) water
- 1 tablespoon (18 g) kosher salt or pickling salt
- 1 teaspoon (4 g) granulated sugar
- 1 teaspoon black peppercorns
- 1 teaspoon mustard seeds
- 1/4 teaspoon red pepper flakes (optional)
Instructions
- Wash and trim the ends off 4-5 small Kirby cucumbers (about 1.5 lbs / 700 g). Slice into 1/4-inch (6 mm) thick rounds or spears. Pat dry with paper towels to remove excess moisture.
- Place cucumber slices in a mixing bowl and toss with 1 tablespoon (18 g) kosher or pickling salt. Let sit for 30 minutes to draw out excess water.
- While cucumbers rest, combine 1 cup (240 ml) white distilled vinegar, 1 cup (240 ml) water, 1 teaspoon (4 g) granulated sugar, 1 teaspoon black peppercorns, 1 teaspoon mustard seeds, and optional 1/4 teaspoon red pepper flakes in a medium saucepan. Bring to a boil, stirring until sugar and salt dissolve. Remove from heat and let cool slightly.
- Rinse the salted cucumbers under cold water to remove excess salt. Drain and pat dry thoroughly.
- In clean glass jars, place 4-5 fresh dill sprigs and 4-5 thinly sliced garlic cloves at the bottom. Pack cucumbers tightly but without smashing. Tuck more garlic and dill sprigs throughout the jar.
- Pour the warm (not hot) brine over the cucumbers, making sure they’re fully submerged. Leave about 1/2 inch (1.3 cm) headspace at the top. Seal the jars with lids.
- Place the jars in the refrigerator for at least 24 hours before enjoying. Flavor will deepen over the next few days.
- After 24 hours, taste a pickle. Adjust flavor by leaving longer or adding more fresh dill and garlic next time if desired.
Notes
Never skip the salting step to keep pickles crispy. Pat cucumbers dry before brining. Use fresh dill sprigs for best flavor. Let brine cool before pouring to avoid cooking cucumbers. Pack jars without smashing cucumbers to allow brine circulation. For milder flavor, reduce salt and increase refrigeration time to 48 hours. Store pickles in fridge up to 3 weeks. Avoid microwaving when reheating; let come to room temperature naturally.
Nutrition
- Serving Size: About 3 pickle spear
- Calories: 1015
- Sugar: 1
- Sodium: 600
- Carbohydrates: 2
- Fiber: 0.5
- Protein: 0.3
Keywords: refrigerator pickles, garlic dill pickles, quick pickles, crispy pickles, easy pickle recipe, homemade pickles



