Love this? Save it for later!
Share the inspiration with your friends
My nephew Leo asked why I couldn’t just dip the treats in orange frosting instead of melting the chocolate. I started to explain why that wouldn’t work — then stopped. He was right, of course. It was a Tuesday afternoon in October, and the house was already filled with the chaotic energy of pre-Halloween preparations. I was standing over the stove, trying to manage the marshmallow melt while simultaneously wrangling two kids who wanted to eat all the ingredients before they were even mixed.
I had been making Rice Krispie Treats for years. I thought I had the process down to a science. But Leo, with his practical six-year-old logic, pointed out that frosting made a mess when you held them. He wanted something that wouldn’t stick to his fingers. I was annoyed, honestly. I just wanted to get the treats done and put them away. But I looked at him, really looked at him, and saw he wasn’t trying to be difficult. He just wanted to enjoy the treat without the hassle.
So, I let him take the lead on the dipping part. We ended up using candy melts and lollipop sticks. The result was surprisingly superior to the traditional square cut. The chocolate shell kept the marshmallow from getting sticky. It was a small victory, but it changed how I make these treats forever. I learned that sometimes the best cooking advice comes from the people you’re supposed to be teaching.
That moment stuck with me. Now, every time I make these Crispy No-Bake Halloween Rice Krispie Treat Pops, I think about Leo’s simple wisdom. It’s not just about following a recipe. It’s about solving problems in the kitchen. These pops are easier than ever before. They are less messy and way more fun for kids to hold. I mean, who doesn’t love a treat that doesn’t require a napkin?
You know that feeling when you’re stressed about a holiday meal, and then something small goes right? That’s this recipe. It turns a stressful afternoon into a happy memory. I keep making them because they bring that same joy back every year. Plus, they look amazing on the table. Let me tell you, they are a hit with everyone, not just kids.
Why You’ll Love This Recipe
I’ve tested dozens of variations of Rice Krispie Treats over the years. Some are too chewy. Some are too hard. This version hits the sweet spot. It’s crispy, it’s sweet, and it’s incredibly easy to make. Here is why this recipe stands out from the rest:
- Quick & Easy: The entire process takes less than 30 minutes. This is perfect for busy weeknights or last-minute Halloween cravings. You don’t need to turn on the oven, which saves energy and time.
- Simple Ingredients: You likely already have everything in your kitchen. Marshmallows, butter, cereal, and chocolate. No fancy grocery trips needed. It’s pantry-friendly and stress-free.
- Perfect for Halloween: These are great for trick-or-treaters, classroom parties, or cozy dinners. The pops are easy to hand out and easy to eat. No plates or forks required.
- Crowd-Pleaser: They always get rave reviews from kids and adults alike. The crunch is satisfying, and the chocolate coating adds a nice contrast.
- Unbelievably Delicious: The texture and flavor combo is next-level comfort food. The crispy cereal mixed with gooey marshmallow is a classic for a reason. The chocolate adds a rich finish.
What makes this recipe different is the lollipop stick technique. It changes the entire experience. You aren’t just eating a bar of cereal. You are holding a treat. It feels more like a celebration. Whether it is a special technique like using candy melts for better snap, or a creative twist like adding Halloween sprinkles, this isn’t just another version. It’s my best version.
This recipe isn’t just good. It is the kind that makes you close your eyes after the first bite. It’s comfort food reimagined. It’s faster, but with the same soul-soothing satisfaction. Perfect for impressing guests without stress, or turning a simple meal into something memorable. I promise, once you try them, you’ll never go back to squares.
What Ingredients You Will Need
This recipe uses simple, wholesome ingredients to deliver bold flavor and satisfying texture without the fuss. Most of these items are pantry staples. You probably already have them on hand. Here is what you need to get started.
For the Rice Krispie Base
- Marshmallows: Use one large bag (10 oz) or two small bags. Mini marshmallows melt faster and create a smoother texture. I recommend Jet-Puffed for consistency.
- Unsalted Butter: Use half a cup (one stick). Salted butter works too, but you may want to reduce any added salt. Room temperature butter melts easier.
- Rice Krispies Cereal: Use six cups of crispy rice cereal. This is the main structure. Do not substitute with puffed rice; it won’t hold the shape. Kellogg’s is my go-to brand.
- Vanilla Extract: Add one teaspoon for flavor. It balances the sweetness of the marshmallows. Use pure vanilla, not imitation.
- Salt: A pinch of sea salt helps cut the sweetness. It adds depth to the flavor profile.
For the Chocolate Coating
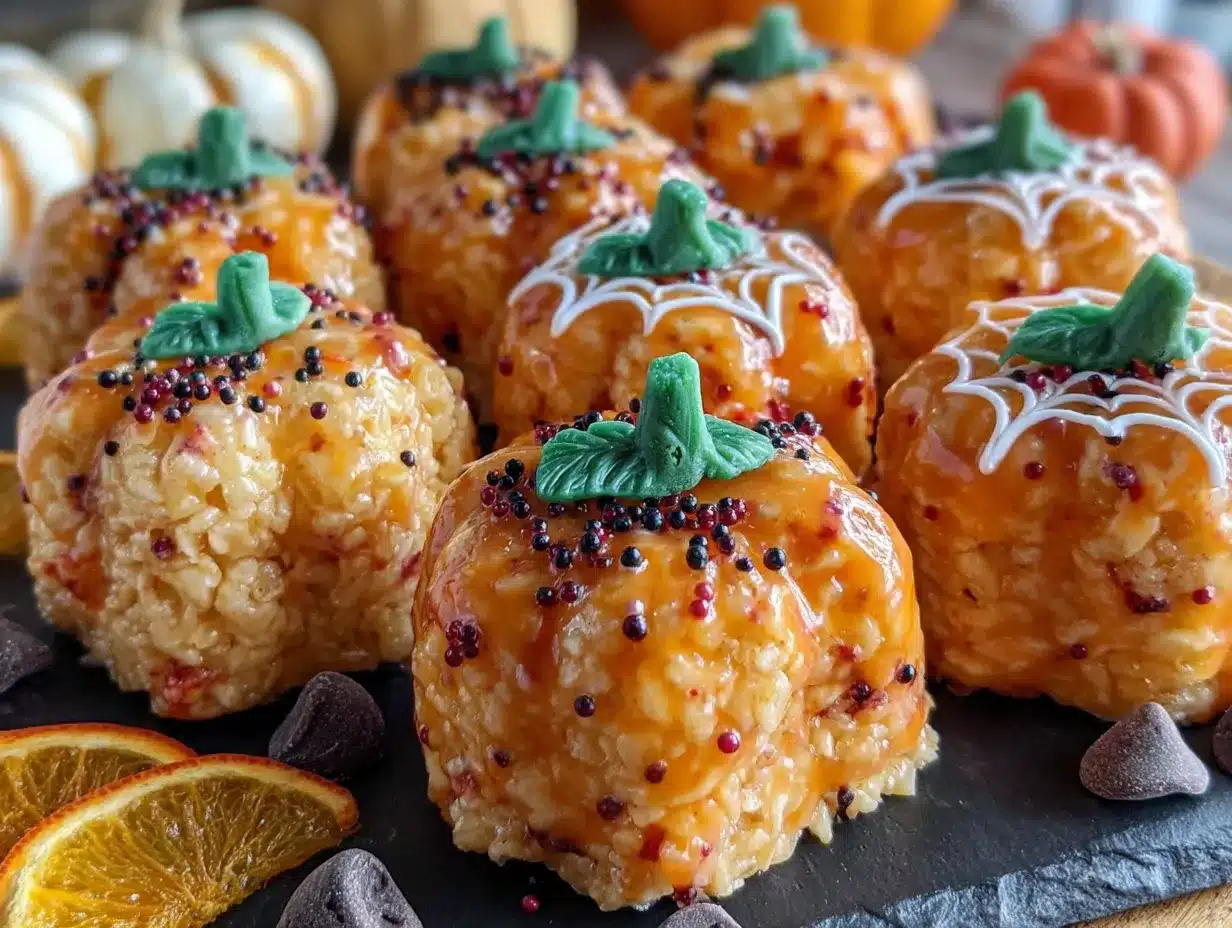
- Candy Melts or Chocolate Chips: Use one cup of orange or black candy melts. These are easier to work with than real chocolate. They don’t require tempering. Wilton brand is reliable.
- Coconut Oil: Add one teaspoon to the chocolate. This thins it out for easier dipping. It also helps the coating snap when it hardens.
- Halloween Sprinkles: Use nonpareils or jimmies in Halloween colors. These add the festive look. Make sure they are dry so they stick to the wet chocolate.
For Assembly
- Lollipop Sticks: Use wooden skewers or paper lollipop sticks. Make sure they are food-safe. The sticks should be long enough to hold comfortably.
If you want to get creative, you can add food coloring to the marshmallow mixture. Orange or purple works well. For a dietary variation, you can use vegan marshmallows and dairy-free chocolate. The process remains the same. Just ensure your chocolate is melted smoothly. Look for smooth, glossy chocolate for best results. Avoid lumps.
Equipment Needed
You don’t need much to make these treats. A large mixing bowl is essential. I use a stainless steel bowl because it’s easy to clean. A large saucepan is needed for melting the marshmallows. Make sure it’s big enough to hold the cereal without spilling.
You will need a silicone spatula. This is crucial for stirring the mixture. Metal spoons can scratch non-stick pans. Silicone handles the heat well and scrapes the sides clean. I recommend a flexible spatula for better control.
A baking sheet lined with parchment paper is necessary. This is where you form the treats. Parchment paper prevents sticking. Wax paper can work in a pinch, but parchment is better for heat resistance.
For dipping, you need a microwave-safe bowl or a double boiler. I prefer the microwave for speed. Use short bursts of heat to avoid burning the chocolate. A fork or dipping tool helps with coating the pops evenly.
Budget-friendly options include using regular chocolate chips instead of candy melts. You may need to add a bit more oil. Wooden skewers from a grocery store work fine. You don’t need expensive tools. Keep it simple and efficient.
Preparation Method
Follow these steps carefully for the best results. Take your time with the melting process.
- Melt the Butter: In a large saucepan over low heat, melt the butter. Do not let it brown. This should take about 2 minutes. Stir occasionally to ensure even melting. (Time: 2 minutes)
- Add Marshmallows: Add the marshmallows to the melted butter. Stir constantly. Keep the heat low. High heat can burn the marshmallows. The mixture should become smooth and creamy. This takes about 5 minutes. (Time: 5 minutes)
- Remove from Heat: Once the marshmallows are fully melted, remove the pan from the heat. Stir in the vanilla extract and salt. Mix well. The mixture will be very sticky. (Time: 1 minute)
- Add Cereal: Pour the Rice Krispies cereal into the marshmallow mixture. Fold gently with your spatula. You want to coat every piece. Do not crush the cereal. This should take about 3 minutes. (Time: 3 minutes)
- Form the Pops: Lightly grease your hands with butter or cooking spray. Take a portion of the mixture and form it into a ball. Insert the lollipop stick into the bottom of the ball. Place it on the parchment-lined baking sheet. Repeat with the rest of the mixture. You should get about 12-15 pops. (Time: 10 minutes)
- Melt the Chocolate: In a microwave-safe bowl, melt the candy melts or chocolate chips. Heat in 30-second intervals. Stir between each interval. Add coconut oil if using. The mixture should be smooth and fluid. (Time: 3 minutes)
- Dip the Pops: Hold the stick of a rice krispie treat. Dip it into the melted chocolate. Coat it completely. Shake off any excess chocolate. Place it back on the parchment paper. (Time: 5 minutes)
- Add Sprinkles: Immediately add Halloween sprinkles to the wet chocolate. They will stick before the chocolate hardens. Work quickly. (Time: 2 minutes)
- Set the Treats: Let the pops sit at room temperature until the chocolate is hard. This takes about 15-20 minutes. You can speed this up by placing them in the fridge for 5 minutes. (Time: 15 minutes)
Watch out for common issues. If the chocolate is too thick, add more oil. If the marshmallow mixture is too hot, it may melt the chocolate. Wait for it to cool slightly before dipping. Ensure your sticks are inserted firmly so they don’t fall off.
Cooking Tips & Techniques
Here are some professional tips to ensure success. These techniques come from years of trial and error.
- Low and Slow: Always melt marshmallows on low heat. High heat causes burning and clumping. Patience is key here.
- Grease Your Hands: The mixture is sticky. Wetting your hands with water or greasing them with butter prevents sticking. This makes shaping much easier.
- Work Quickly with Chocolate: Chocolate hardens fast. Have your sprinkles ready before you dip. If the chocolate gets too thick, reheat it briefly.
- Uniform Sizes: Try to make the rice krispie balls the same size. This ensures even coating and consistent appearance. It also helps with packaging.
- Double Dip: For a thicker coating, let the first layer harden slightly, then dip again. This adds extra crunch and flavor.
Common mistakes include burning the chocolate or making the cereal too soggy. To avoid sogginess, don’t overmix the cereal. Fold it gently. Also, ensure your bowl is large enough. The mixture expands when you add the cereal.
Timing is important. Make the base first and let it cool slightly. Then melt the chocolate. This way, you can dip immediately. Multitasking helps efficiency. Have all your tools ready before you start.
Variations & Adaptations
You can customize these treats to suit different tastes and dietary needs. Here are some ideas.
- Gluten-Free: Use certified gluten-free crispy rice cereal. Most brands are now available. The rest of the ingredients are naturally gluten-free.
- Vegan: Substitute butter with vegan margarine. Use vegan marshmallows and dairy-free chocolate chips. The texture may be slightly different, but it will still be delicious.
- Flavor Variations: Add peanut butter to the marshmallow mixture for a nutty twist. Or mix in crushed Oreos for a cookie flavor. You can also use white chocolate for a different look.
- Seasonal Twists: For Christmas, use red and green sprinkles. For Easter, use pastel colors. The base recipe remains the same.
I once tried adding pumpkin spice to the mixture. It was a hit with my family. The spice complemented the sweetness well. You can also drizzle caramel over the top for a gourmet touch. These adaptations make the recipe versatile. Enjoy experimenting with different flavors.
Serving & Storage Suggestions
These treats are best served at room temperature. The chocolate coating is crisp and satisfying. They are perfect for Halloween parties or as a snack. Pair them with a glass of cold milk or hot cider.
For storage, keep them in an airtight container. They can be stored at room temperature for up to 3 days. Do not refrigerate, as this can cause the chocolate to sweat. If you need to store them longer, freeze them. Place them in a single layer in the freezer. They will last for up to 2 weeks.
To reheat, let them sit at room temperature for 10 minutes. Do not microwave, as this will melt the chocolate. The flavors develop over time, becoming slightly more cohesive. This makes them even better the next day. Enjoy them fresh for the best texture.
Nutritional Information & Benefits
These treats are high in sugar and carbohydrates. They are a fun indulgence rather than a health food. Each pop contains approximately 150-200 calories, depending on the size. They provide quick energy from the sugar and carbs.
For those with dietary restrictions, be aware of common allergens. The recipe contains dairy and gluten (unless using gluten-free cereal). It also may contain nuts if you use nut-based chocolates. Always check labels.
From a wellness perspective, these treats are best enjoyed in moderation. They are a great way to celebrate special occasions. I believe in balance. Enjoy a treat now and then, but focus on nutritious meals most of the time. This recipe fits into a balanced lifestyle as a special occasion food.
Conclusion
Making Crispy No-Bake Halloween Rice Krispie Treat Pops is a fun and easy way to celebrate the season. They are less messy and more fun than traditional squares. I love them because they bring joy to both kids and adults. The process is simple, and the results are delicious.
I encourage you to try this recipe. Customize it with your favorite flavors and colors. Share them with friends and family. I would love to hear how they turn out for you. Leave a comment below with your variations. Share photos on social media and tag me. Let’s see your creative treats!
Enjoy the process. Don’t stress about perfection. The most important ingredient is love. Happy Halloween! These treats are sure to be a hit at your next gathering. Make them this year and see for yourself.
FAQs
Can I use regular chocolate chips instead of candy melts?
Yes, you can use regular chocolate chips. However, you may need to add a teaspoon of coconut oil or shortening to thin the chocolate for easier dipping. Candy melts are designed to snap and hold shape better.
How long do the treats last?
They can be stored at room temperature in an airtight container for up to 3 days. For longer storage, freeze them for up to 2 weeks. Avoid refrigeration to prevent sweating.
Can I make these gluten-free?
Absolutely. Just use certified gluten-free crispy rice cereal. Ensure your chocolate and sprinkles are also certified gluten-free if cross-contamination is a concern.
Why did my chocolate seize?
Chocolate seizes when it comes into contact with water or moisture. Ensure your bowl and utensils are completely dry. Also, avoid adding milk or water to the chocolate. Use oil instead.
Can I use peanut butter cups instead of chocolate?
You can chop up peanut butter cups and melt them with a little oil. This creates a delicious peanut butter coating. It pairs well with the rice krispie base. Just ensure it melts smoothly.
Pin This Recipe!
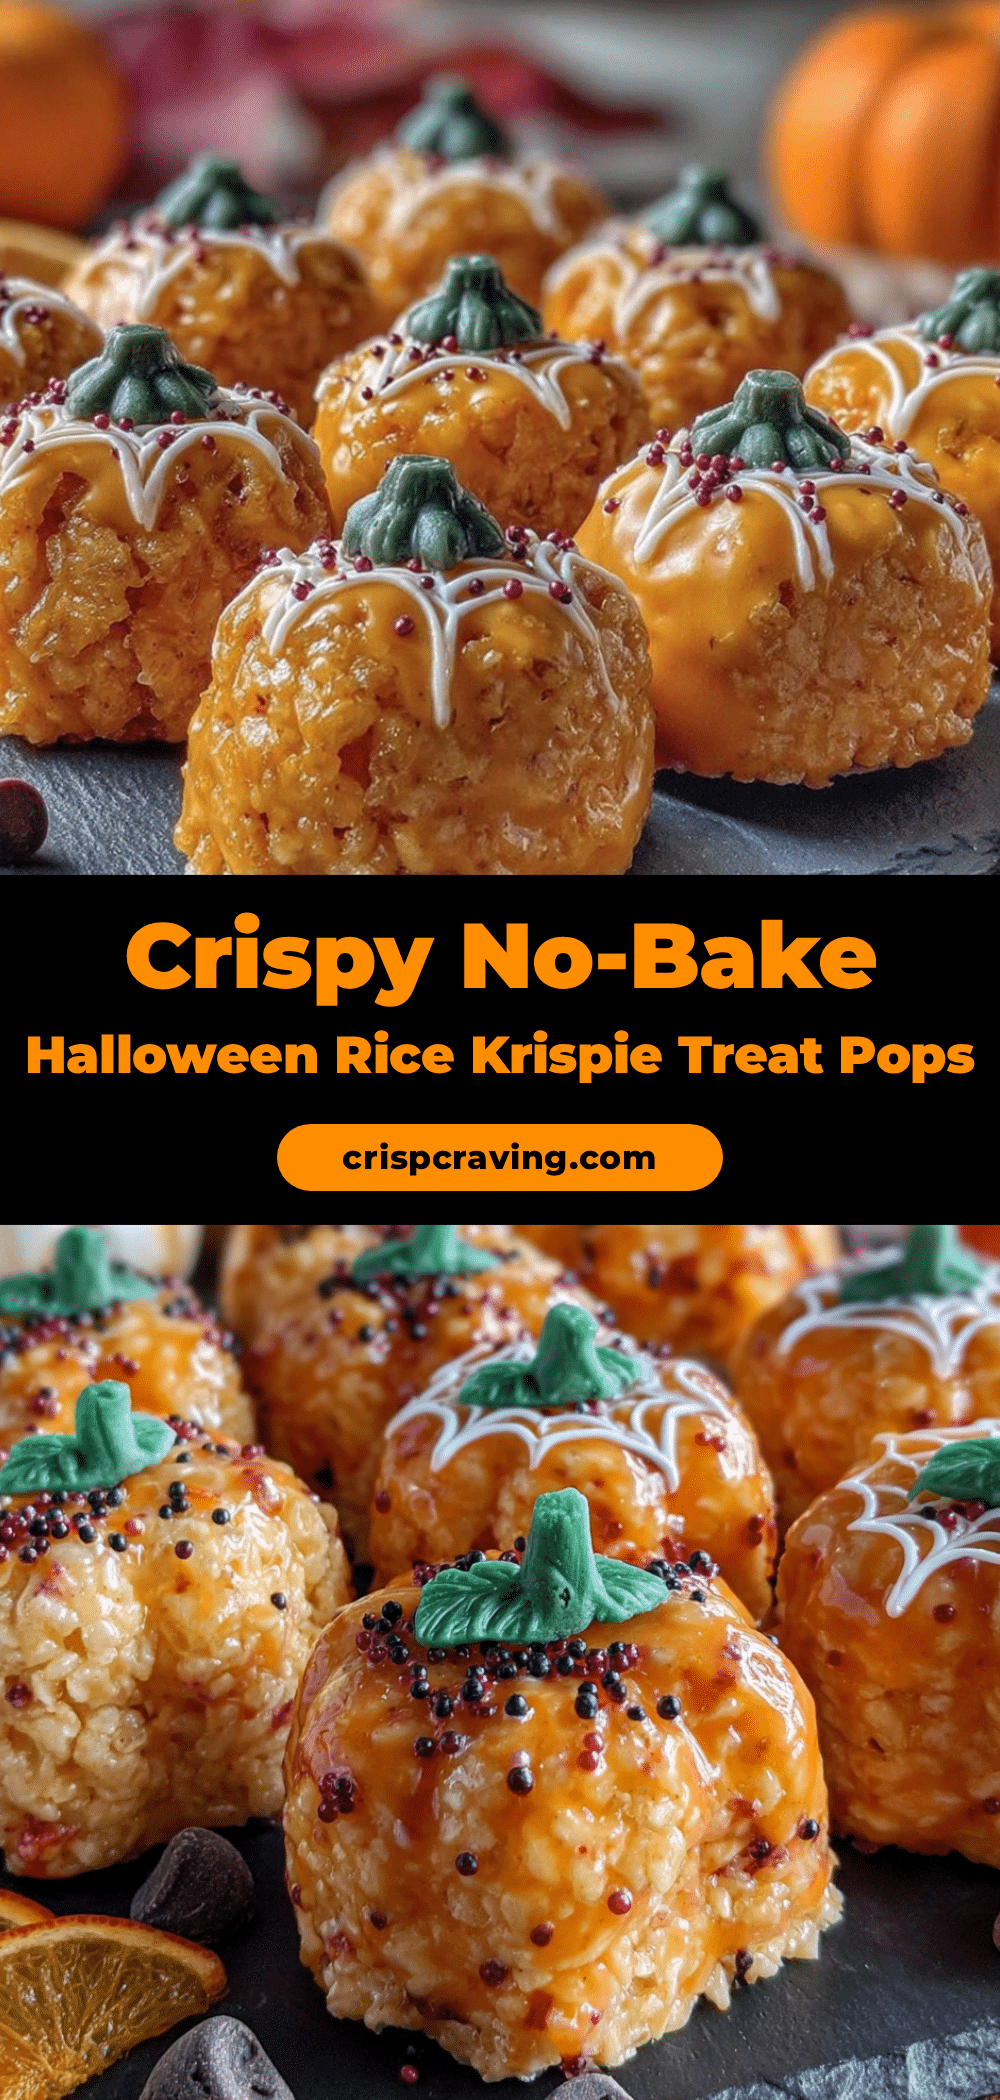
Crispy No-Bake Halloween Rice Krispie Treat Pops

These easy, no-bake Halloween treats feature crispy rice cereal balls dipped in orange or black chocolate coating and decorated with festive sprinkles. They are less messy than traditional squares and perfect for kids and parties.
- Prep Time: 15 minutes
- Cook Time: 15 minutes
- Total Time: 30 minutes
- Yield: 12-15 servings 1x
- Category: Dessert
- Cuisine: American
Ingredients
- 10 oz marshmallows (one large bag or two small bags)
- 1/2 cup unsalted butter (one stick)
- 6 cups Rice Krispies cereal
- 1 tsp vanilla extract
- 1 pinch sea salt
- 1 cup orange or black candy melts or chocolate chips
- 1 tsp coconut oil
- Halloween sprinkles (nonpareils or jimmies)
- Wooden skewers or paper lollipop sticks
Instructions
- In a large saucepan over low heat, melt the butter for about 2 minutes, stirring occasionally.
- Add the marshmallows to the melted butter and stir constantly over low heat for about 5 minutes until smooth and creamy.
- Remove the pan from heat and stir in the vanilla extract and salt.
- Pour the Rice Krispies cereal into the marshmallow mixture and fold gently with a spatula for about 3 minutes until coated.
- Lightly grease your hands with butter or cooking spray. Form the mixture into balls, insert a lollipop stick into the bottom, and place on a parchment-lined baking sheet. Repeat to make 12-15 pops.
- In a microwave-safe bowl, melt the candy melts or chocolate chips in 30-second intervals, stirring between each. Add coconut oil and stir until smooth.
- Hold a pop by the stick and dip it into the melted chocolate, coating completely. Shake off excess and place back on the parchment paper.
- Immediately add Halloween sprinkles to the wet chocolate.
- Let the pops sit at room temperature for 15-20 minutes until the chocolate is hard, or refrigerate for 5 minutes to speed up the process.
Notes
Ensure your bowl and utensils are completely dry to prevent chocolate from seizing. If the chocolate is too thick, add more coconut oil. For a thicker coating, you can double dip the pops after the first layer hardens. Store in an airtight container at room temperature for up to 3 days or freeze for up to 2 weeks. Do not refrigerate as it can cause the chocolate to sweat.
Nutrition
- Serving Size: 1 pop
- Calories: 175
- Sugar: 18
- Sodium: 120
- Fat: 8
- Saturated Fat: 5
- Carbohydrates: 24
- Fiber: 1
- Protein: 2
Keywords: Halloween treats, Rice Krispie Treats, no-bake, easy dessert, kids snacks, Halloween party food, chocolate pops



