Love this? Save it for later!
Share the inspiration with your friends
Introduction
There used to be a tiny roadside diner just outside Albuquerque that made the most unforgettable Hatch green chile cornbread. When they shuttered their doors one chilly autumn afternoon, I was honestly crushed. That cornbread wasn’t just food—it was a warm hug, a smoky kick, and a crispy golden crust all rolled into one perfect skillet bake. After about seven tries—and a kitchen full of burnt edges and too-dense middles—I finally nailed the recipe that tastes just like that day at the diner. This crispy roasted Hatch green chile cornbread recipe in a cast iron skillet is the delicious result of my stubborn obsession.
I remember the sizzle of those chiles hitting the hot pan, the way the cornbread puffed up just right, and the crackling sound when I sliced into it. Honestly, the first time I pulled this from my own oven, I almost welled up a bit. Maybe you’ve been there—chasing a taste from a place that’s gone but not forgotten. This recipe stuck with me because it’s not just about the Hatch chiles or the cornbread itself; it’s about recreating that feeling of comfort and excitement all at once. So, let me tell you how you can make this crispy roasted Hatch green chile cornbread in your own kitchen, skillet and all.
Why You’ll Love This Recipe
I’m not just saying this because I obsessed over perfecting it; this recipe genuinely rocks for a bunch of reasons. Here’s why it’s a keeper in my book (and hopefully yours):
- Quick & Easy: Comes together in under 40 minutes, making it perfect for busy weeknights or those spontaneous dinner parties.
- Simple Ingredients: No exotic shopping trips needed—just pantry staples and fresh Hatch chiles when they’re in season.
- Perfect for Any Occasion: Whether it’s a casual brunch, a cozy dinner side, or a holiday get-together, this cornbread fits right in.
- Crowd-Pleaser: My friends always ask for this recipe, and kids love the crispy edges paired with a mild heat that’s not overpowering.
- Unbelievably Delicious: The crispy crust from the cast iron paired with the smoky, roasted Hatch chiles creates a flavor and texture combo that just can’t be beat.
Unlike other cornbreads that can be dry or crumbly, this one stays moist inside while boasting a satisfyingly crispy crust. The trick? Roasting the Hatch chiles beforehand and baking it in a sizzling hot cast iron skillet. It’s like comfort food with a little southwestern soul. Honestly, after the first bite, you might just close your eyes and savor that perfect balance of heat, sweetness, and crunch. Give it a try—you won’t regret it.
What Ingredients You Will Need
This recipe uses straightforward, wholesome ingredients to deliver bold flavor and that sought-after crispy texture without any fuss. Most are pantry staples, with the Hatch chiles bringing the star power.
- For the Cornbread Batter:
- 1 cup yellow cornmeal (preferably medium grind)
- 1 cup all-purpose flour (can substitute with gluten-free flour blend)
- 1/4 cup granulated sugar (adjust to taste)
- 1 tablespoon baking powder (for the perfect rise)
- 1/2 teaspoon baking soda
- 1 teaspoon kosher salt
- 1 cup buttermilk (or 1 cup milk mixed with 1 tablespoon lemon juice, set for 5 minutes)
- 2 large eggs, room temperature
- 1/4 cup unsalted butter, melted and slightly cooled (use dairy-free butter for vegan option)
- For the Roasted Hatch Green Chiles:
- 2-3 fresh Hatch green chiles (roasted, peeled, and roughly chopped)
- 1 tablespoon olive oil (for roasting)
- Optional Add-ins:
- 1/2 cup sharp cheddar cheese, shredded (adds richness and melty pockets)
- 1/4 cup chopped green onions or fresh cilantro (for a fresh herbal note)
Tip: I prefer using King Arthur flour for the batter because it gives a consistent texture every time. When Hatch chiles aren’t in season, you can use roasted poblano peppers as a substitute, but it won’t have quite the same smoky kick.
Equipment Needed
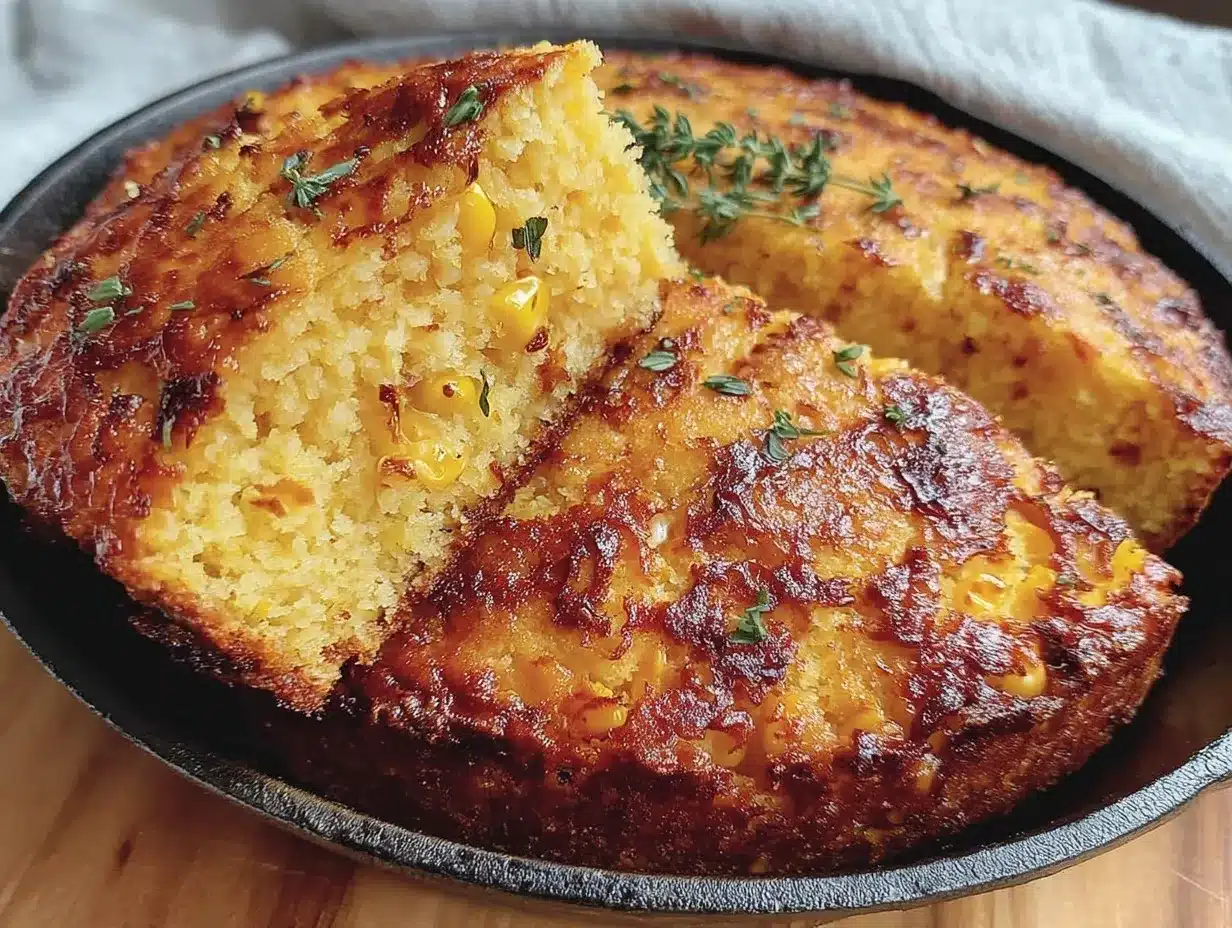
- Cast Iron Skillet (9-10 inches): This is the heart of the recipe for that crispy crust and even heat distribution. If you don’t have one, a heavy-duty oven-safe skillet or baking dish will do, but it won’t get quite as crispy.
- Roasting Pan or Baking Sheet: For roasting the Hatch green chiles—alternatively, a gas stove or grill works well for charring.
- Mixing Bowls: One large bowl for dry ingredients and one for wet ingredients.
- Whisk and Wooden Spoon: For combining ingredients gently but thoroughly.
- Measuring Cups and Spoons: Accuracy helps here, especially with baking powder and soda.
I remember the first time I tried to roast Hatch chiles in a glass baking dish – the skin didn’t blister well, and I ended up with soggy peppers. Cast iron or a sturdy roasting pan really makes the difference. For budget-friendly options, Lodge makes great affordable cast iron skillets, and you don’t need to season it yourself if you buy pre-seasoned.
Preparation Method
- Roast the Hatch Green Chiles (15 minutes): Preheat your oven to 450°F (230°C). Toss the chiles with olive oil and place them on a roasting pan or baking sheet. Roast until the skins are charred and blistered, about 10-15 minutes, turning halfway. You want that smoky aroma to fill your kitchen. Let them cool slightly, then peel off the skins, remove seeds for less heat, and roughly chop.
- Preheat the Skillet (5 minutes): Place your cast iron skillet in the oven while it preheats to 425°F (220°C). This step ensures the skillet is hot enough to give the cornbread its crispy crust.
- Mix Dry Ingredients (2 minutes): In a large bowl, whisk together cornmeal, flour, sugar, baking powder, baking soda, and salt until evenly combined.
- Combine Wet Ingredients (3 minutes): In another bowl, whisk the buttermilk, eggs, and melted butter until smooth.
- Incorporate Roasted Chiles and Optional Add-ins (1 minute): Stir the chopped Hatch chiles into the wet ingredients. If using, fold in shredded cheddar and green onions or cilantro here.
- Combine Wet and Dry Mixtures (2 minutes): Pour the wet ingredients into the dry and gently stir until just combined. Be careful not to overmix—you want the batter to be a bit lumpy for tender cornbread.
- Prepare to Bake (1 minute): Carefully remove the hot skillet from the oven using oven mitts. Pour the batter into the skillet, spreading it evenly. You’ll hear a sizzle as it hits the pan—this is the magic moment for that crust.
- Bake the Cornbread (20-25 minutes): Bake at 425°F (220°C) until the top is golden brown and a toothpick inserted in the center comes out clean. The edges should be crisp and slightly pulling away from the skillet.
- Cool and Serve (5 minutes): Let the cornbread rest for a few minutes before slicing. This helps the interior settle and makes cutting cleaner. Serve warm, maybe with a dab of butter or honey if you like a touch of sweetness.
Pro tip: If your cornbread is too dense, check your baking powder’s freshness—it’s easy to overlook but makes a huge difference. And don’t forget to preheat that skillet; skipping this step is the most common reason for a soggy crust.
Cooking Tips & Techniques
Getting that perfect crispy roasted Hatch green chile cornbread crust is all about managing heat and timing. Here’s what I’ve learned after many batches:
- Roast chiles over direct flame if possible: Using a gas stove burner or grill gives the best char and smoky flavor. Oven roasting works fine but might be milder.
- Don’t skip preheating the cast iron skillet: The hot pan creates that signature crust you’re after. I once tried pouring batter into a cold skillet—total disappointment.
- Mix batter gently: Overmixing develops gluten, making cornbread tough. Stop as soon as the ingredients come together.
- Watch your baking time closely: Ovens vary, so start checking at 20 minutes. Too long and the cornbread dries out; too short and it’s gummy inside.
- Let it rest: Sitting for 5-10 minutes helps the texture settle and flavors meld.
One time, I accidentally left the chiles in the oven too long, and they turned black—still edible, but the bitterness was off-putting. So, timing is crucial with the roasting. Also, when chopping chiles, use gloves if you’re sensitive to heat; those oils linger!
Variations & Adaptations
This recipe is pretty flexible, and I’ve tried a few tweaks that worked well:
- Vegan Version: Swap buttermilk for almond milk plus a tablespoon of apple cider vinegar, replace eggs with flax eggs, and use vegan butter or oil.
- Cheesy Jalapeño Cornbread: Add diced jalapeños along with the Hatch chiles and increase cheddar cheese for a cheesier, spicier twist.
- Sweet Corn Addition: Stir in 1/2 cup fresh or frozen corn kernels for added texture and natural sweetness.
- Gluten-Free Option: Use a 1:1 gluten-free flour blend instead of all-purpose flour. Bob’s Red Mill works great in my experience.
- Alternative Cooking Method: You can bake the batter in a muffin tin for individual cornbread muffins, though you’ll lose some of that crispy skillet edge charm.
Personally, I once added a handful of crumbled cooked bacon to the batter for a smoky-salty punch that paired amazingly with the Hatch chiles. Don’t be afraid to experiment based on your favorite flavors.
Serving & Storage Suggestions
Serve this crispy roasted Hatch green chile cornbread warm, straight from the skillet, with a pat of butter melting on top. It pairs beautifully with chili, barbecue, or even a simple bowl of soup. I like to sprinkle a little extra chopped cilantro or green onions on top for color and freshness.
If you have leftovers (which is rare!), wrap tightly in foil or plastic wrap and store in the fridge for up to 3 days. To reheat, pop slices back into a hot skillet for a few minutes to revive the crispiness, or microwave briefly then crisp in a toaster oven.
This cornbread actually tastes better the next day after the flavors have melded, especially if you’ve added cheese or herbs. Just don’t leave it out at room temperature for more than a day, or it’ll dry out.
Nutritional Information & Benefits
Per serving (based on 8 servings): approximately 220 calories, 8g fat, 30g carbohydrates, 4g protein.
Hatch green chiles bring vitamin C, antioxidants, and a metabolism-boosting kick to this recipe. Cornmeal is a good source of fiber and provides complex carbs for sustained energy. Using buttermilk adds a bit of calcium and tang without excess fat.
If you’re watching carbs, swapping half the flour for almond flour can lower the net carbs, and cutting sugar keeps it less sweet but still satisfying. This cornbread is naturally gluten-free if you use the right flour combo.
Just a heads-up: this recipe contains dairy and eggs, so it’s not suitable for those with allergies unless adapted as described earlier.
Conclusion
This crispy roasted Hatch green chile cornbread in a cast iron skillet isn’t just a recipe; it’s a little piece of the Southwest you can bake in your own kitchen. I love it because it brings together smoky heat, sweet corn flavor, and that irresistible crust in a way that feels both homey and special. Whether you’re feeding a crowd or just craving something cozy, this cornbread delivers every single time.
Go ahead and customize it to your taste—add cheese, spice it up, or keep it simple—but don’t skip the roasting or the skillet step. If you try this recipe, I’d love to hear how it turns out or any fun twists you come up with. Happy baking, and may your kitchen smell like a warm summer evening in New Mexico!
FAQs
- Q: Can I use canned green chiles instead of fresh Hatch chiles?
A: Yes, but fresh roasted Hatch chiles offer the best smoky flavor and texture. If using canned, drain well and pat dry before folding in. - Q: How do I store leftover cornbread?
A: Wrap tightly and refrigerate for up to 3 days. Reheat in a hot skillet or toaster oven to restore crispiness. - Q: Can I make this cornbread without a cast iron skillet?
A: You can use an oven-safe skillet or baking dish, but the crust won’t be as crispy or evenly browned. - Q: What can I substitute for buttermilk?
A: Use regular milk with 1 tablespoon lemon juice or vinegar added, let it sit for 5 minutes to curdle before using. - Q: How spicy is this cornbread?
A: Roasted Hatch chiles have a mild to medium heat level. Removing seeds reduces spiciness, making it approachable for most palates.
For a pairing idea, this cornbread goes wonderfully with crispy garlic chicken, offering a perfect balance of spice and crunch to your meal.
Pin This Recipe!
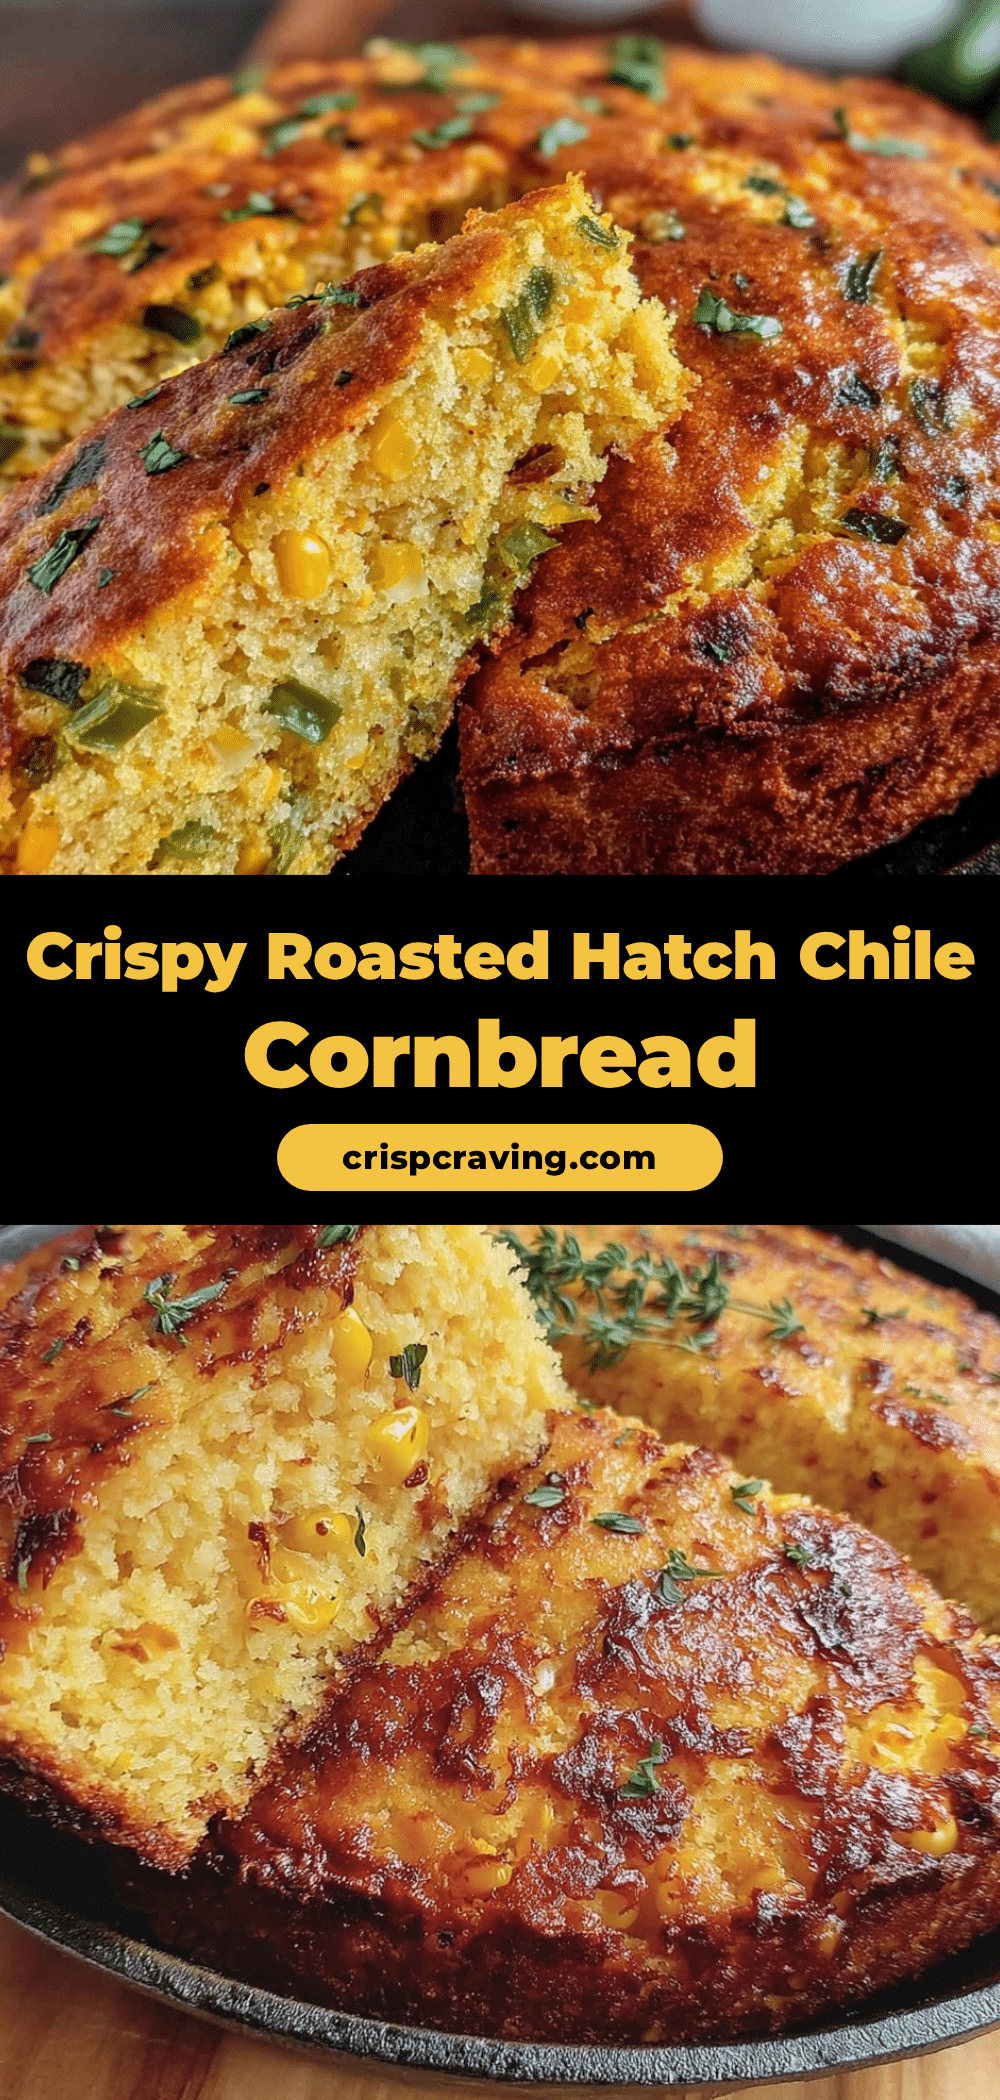
Crispy Roasted Hatch Green Chile Cornbread

This crispy roasted Hatch green chile cornbread baked in a cast iron skillet delivers a perfect balance of smoky heat, sweet corn flavor, and a satisfyingly crispy crust. It’s quick, easy, and perfect for any occasion.
- Prep Time: 15 minutes
- Cook Time: 25 minutes
- Total Time: 40 minutes
- Yield: 8 servings 1x
- Category: Side Dish
- Cuisine: Southwestern
Ingredients
- 1 cup yellow cornmeal (preferably medium grind)
- 1 cup all-purpose flour (can substitute with gluten-free flour blend)
- 1/4 cup granulated sugar (adjust to taste)
- 1 tablespoon baking powder
- 1/2 teaspoon baking soda
- 1 teaspoon kosher salt
- 1 cup buttermilk (or 1 cup milk mixed with 1 tablespoon lemon juice, set for 5 minutes)
- 2 large eggs, room temperature
- 1/4 cup unsalted butter, melted and slightly cooled (use dairy-free butter for vegan option)
- 2–3 fresh Hatch green chiles (roasted, peeled, and roughly chopped)
- 1 tablespoon olive oil (for roasting)
- Optional: 1/2 cup sharp cheddar cheese, shredded
- Optional: 1/4 cup chopped green onions or fresh cilantro
Instructions
- Preheat oven to 450°F (230°C). Toss Hatch green chiles with olive oil and roast on a baking sheet until skins are charred and blistered, about 10-15 minutes, turning halfway. Cool, peel skins, remove seeds for less heat, and roughly chop.
- Preheat cast iron skillet in oven at 425°F (220°C) for 5 minutes.
- In a large bowl, whisk together cornmeal, flour, sugar, baking powder, baking soda, and salt.
- In another bowl, whisk buttermilk, eggs, and melted butter until smooth.
- Stir chopped roasted chiles into wet ingredients. Fold in cheddar cheese and green onions or cilantro if using.
- Pour wet ingredients into dry ingredients and gently stir until just combined; batter should be slightly lumpy.
- Carefully remove hot skillet from oven and pour batter evenly into skillet; you should hear a sizzle.
- Bake at 425°F (220°C) for 20-25 minutes until top is golden brown and a toothpick inserted in the center comes out clean.
- Let cornbread rest for 5 minutes before slicing and serving warm.
Notes
Preheat the cast iron skillet to ensure a crispy crust. Avoid overmixing the batter to keep cornbread tender. Roast chiles over direct flame if possible for best smoky flavor. Let cornbread rest before slicing for cleaner cuts. Use gloves when handling chiles if sensitive to heat.
Nutrition
- Serving Size: 1 slice (1/8 of the
- Calories: 220
- Sugar: 5
- Sodium: 400
- Fat: 8
- Saturated Fat: 3
- Carbohydrates: 30
- Fiber: 2
- Protein: 4
Keywords: cornbread, Hatch green chile, roasted chiles, cast iron skillet, crispy cornbread, southwestern recipe, easy cornbread, gluten-free option



