Love this? Save it for later!
Share the inspiration with your friends
Last Tuesday, I was juggling dinner prep and noticed my neighbor, Mrs. Jensen, quietly watching me wrestle with a stubborn dough that just wouldn’t cooperate. She didn’t say anything at first—just smiled and shook her head like she’d seen this before. Then, without making a fuss, she slid over a small bowl of dough she’d prepared earlier, sprinkled with fresh rosemary and garlic. “Try this,” she said, “no kneading, just patience.”
That simple gesture felt like more than just sharing a recipe—it was a small invitation into a rhythm of baking that felt right for busy nights like that one. Honestly, I wasn’t sure how a no-knead bread with such minimal effort could taste so good, but I gave it a shot. The crust turned golden and crackly, the aroma of garlic and rosemary filled my kitchen, and the crumb was soft with just the right chew. I made a mess with flour everywhere (classic me), but it was worth it.
Maybe you’ve been there, staring at your flour and yeast, wondering if homemade bread is worth the hassle. This Easy No-Knead Rosemary Garlic Artisan Bread changes that feeling. It’s a loaf born out of a casual kitchen moment, passed on without ceremony, and it’s become a quick favorite for those wanting bakery-quality bread without the usual fuss. Let me tell you, it’s the kind of recipe you’ll keep coming back to—whether it’s for a comforting snack or to impress without stress.
Why You’ll Love This Recipe
This Easy No-Knead Rosemary Garlic Artisan Bread is a game-changer in homemade baking. After several trials and a few flour-covered mishaps, I can say this loaf nails the perfect balance of rustic charm and simplicity. Here’s what makes it stand out:
- Quick & Easy: The dough comes together in about 10 minutes, and the slow rise means you can mostly set it and forget it.
- Simple Ingredients: You likely have everything on hand—flour, yeast, salt, fresh rosemary, garlic, and water.
- Perfect for Cozy Dinners: Whether it’s alongside soup or just dipped in olive oil, it’s a comforting staple.
- Crowd-Pleaser: The garlic and rosemary infuse just enough flavor to keep everyone happy without being overpowering.
- Unbelievably Delicious: The crust is crisp, and the interior is soft and airy—just like artisan bread you’d pay a premium for.
What sets this recipe apart is the no-knead technique paired with the aromatic herbs, which really brings out the best in the bread’s texture and flavor. I love how the garlic doesn’t burn but sweetly mellows during baking, and the rosemary adds a fresh, piney note that’s just irresistible. Honestly, it’s like having a little bakery magic right in your kitchen, minus the complicated steps.
So, if you want to try making artisan bread at home without the stress, this recipe is a reliable companion. And hey, it’s perfect for those moments when you want something impressive but don’t have hours to babysit dough.
What Ingredients You Will Need
This recipe uses simple, wholesome ingredients to deliver bold flavor and satisfying texture without the fuss. The ingredients are pantry staples with fresh herbs adding that special touch. Here’s what you’ll need:
- All-purpose flour – 3 cups (360 g), preferably unbleached for better texture
- Instant yeast – 1/4 teaspoon (use a reliable brand like SAF for consistent rising)
- Salt – 1 teaspoon (fine sea salt works best)
- Warm water – 1 1/2 cups (360 ml), about 100°F (38°C), not hot to avoid killing the yeast
- Fresh rosemary – 2 tablespoons, finely chopped (adds bright herbal aroma)
- Garlic cloves – 3 large, minced (garlic flavor that’s fragrant but not harsh)
- Olive oil – 1 tablespoon, plus extra for drizzling (choose a good quality extra virgin for depth)
Substitution tips: Use bread flour if you want chewier texture. For a gluten-free version, swap in a certified gluten-free flour blend with xanthan gum. If you don’t have fresh rosemary, dried works but reduce the amount to 1 teaspoon to avoid overpowering the bread. You can swap garlic cloves with garlic powder (1 teaspoon) if pressed for time, but fresh really makes the difference.
These ingredients come together to create a loaf that’s as approachable as it is flavorful. I remember grabbing rosemary from my local farmers’ market—its scent was so fresh it practically leapt into the dough. That little detail makes this bread feel special every time.
Equipment Needed
For this Easy No-Knead Rosemary Garlic Artisan Bread, you don’t need any fancy gadgets, but having the right tools makes the process smoother:
- Large mixing bowl: A sturdy glass or stainless steel bowl works well for mixing and rising.
- Dough scraper or spatula: Helps to gently fold the dough without deflating it.
- Kitchen scale: Optional but highly recommended for precise measurements, especially for flour and water.
- Cast iron Dutch oven or heavy oven-safe pot with lid: This creates steam for a perfect crust. If you don’t have one, a baking sheet with an oven-safe bowl inverted over the dough can work as a makeshift steam chamber.
- Cooling rack: To let the bread rest and prevent sogginess.
Personally, I’ve tried this recipe with a regular roasting pan, but the Dutch oven truly locks in heat and moisture, making a difference in crust and crumb. If you’re on a budget, a heavy ceramic pot works, too—just make sure it’s oven-safe at 450°F (230°C). Keeping your baking vessels clean and dry is a must, especially since no-knead dough is sticky and delicate.
Preparation Method
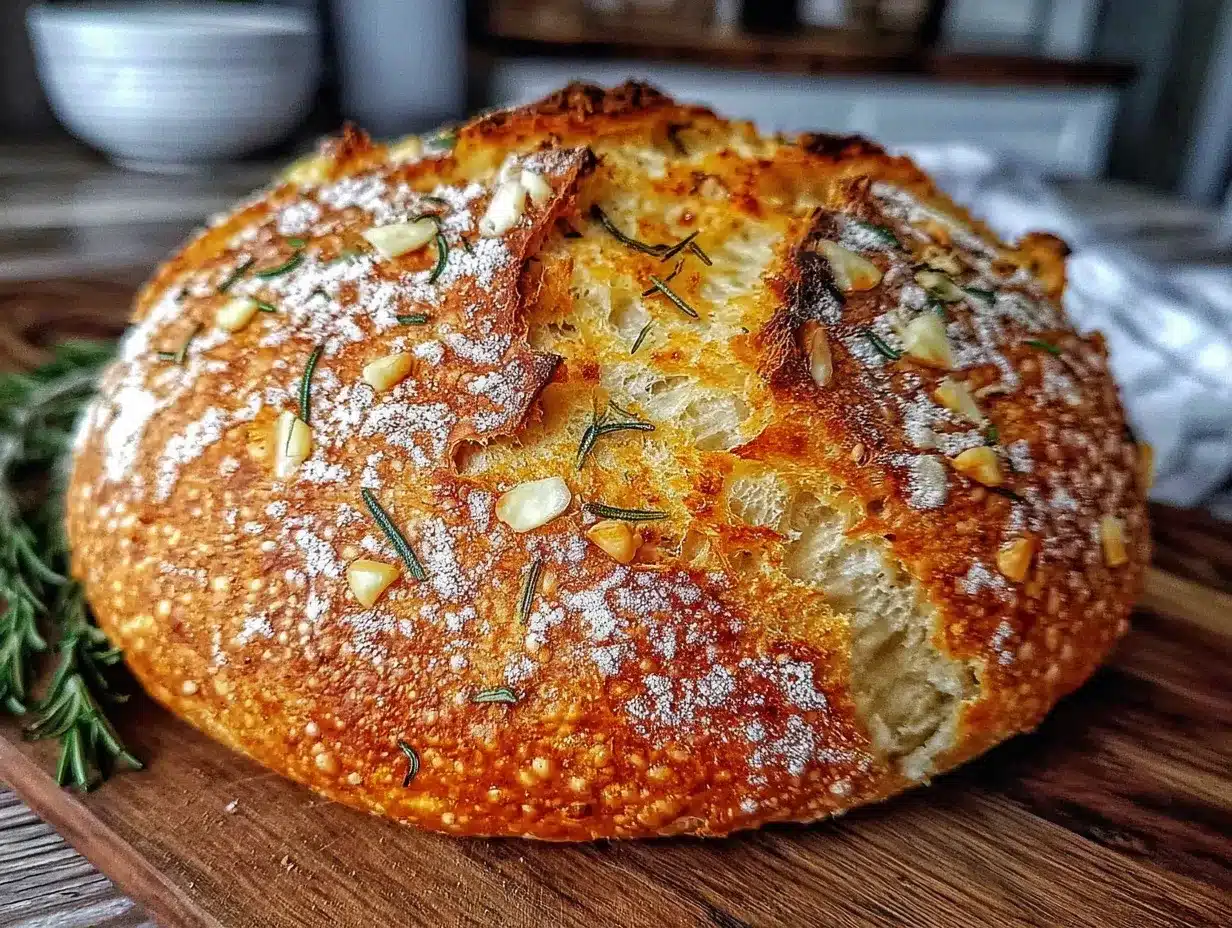
- Mix the dry ingredients: In your large bowl, combine 3 cups (360 g) all-purpose flour, 1/4 teaspoon instant yeast, and 1 teaspoon salt. Stir them together until evenly distributed. This usually takes about 2 minutes. It’s important the yeast and salt are well mixed for consistent rising.
- Add the wet ingredients: Pour in 1 1/2 cups (360 ml) warm water, 1 tablespoon olive oil, 2 tablespoons finely chopped fresh rosemary, and 3 minced garlic cloves. Use a spatula or your hand to stir until a sticky, shaggy dough forms. Don’t worry about smoothness—it’s supposed to be loose and rough. This step takes around 3 minutes.
- Initial rest: Cover the bowl loosely with plastic wrap or a kitchen towel. Let it rest at room temperature (around 70°F or 21°C) for 12 to 18 hours. Ideally, start this the night before you plan to bake. You’ll know it’s ready when the dough has doubled in size with bubbles on the surface.
- Shape the dough: Generously flour a clean surface and your hands. Turn the dough out gently onto it, then fold the edges over to form a rough ball. Avoid pressing too hard to keep the bubbles intact. This step takes about 5 minutes.
- Second rise: Place the dough seam-side down on a piece of parchment paper. Cover it with a kitchen towel and let it rise for 1 to 2 hours until it puffs up and passes the gentle poke test (the dough should spring back slowly).
- Preheat the oven: About 30 minutes before baking, place your Dutch oven with its lid inside the oven and preheat to 450°F (230°C). This ensures the pot is hot for baking.
- Bake the bread: Carefully remove the hot Dutch oven from the oven. Lift the parchment paper with the dough and place it inside. Cover with the lid and bake for 30 minutes.
- Finish baking: After 30 minutes, remove the lid and bake for another 15 to 20 minutes to get a deeply golden, crisp crust.
- Cool: Remove the bread from the Dutch oven using the parchment paper and place it on a cooling rack. Let it cool for at least 1 hour before slicing to allow the crumb to set properly.
Pro tip: If you notice the bread browning too fast, tent it loosely with foil after removing the lid. Also, if your kitchen is cold, the first rise might take longer—just keep an eye on the dough’s size and bubbles rather than the clock.
Cooking Tips & Techniques
With no-knead bread, patience is your best friend. The long fermentation time is what develops flavor and texture, so don’t rush it. Here are some tips to nail this recipe every time:
- Don’t over-flour: The dough will be sticky, and that’s okay! Too much flour during shaping can make the bread dense.
- Use fresh yeast: It makes a noticeable difference in rise and crumb. If you’re unsure, proof it in warm water with a pinch of sugar to test.
- Keep your oven hot: A properly preheated Dutch oven creates steam, which is essential for that signature crust.
- Handle gently: Treat the dough like a delicate cloud, especially after the first rise. This preserves the air pockets that give the bread its airy texture.
- Experiment with herbs: Fresh rosemary is classic here, but thyme or oregano can add a lovely twist.
Once, I baked this bread without preheating the Dutch oven, and the crust was disappointingly pale and soft. That mistake taught me how crucial the steaming environment is. Also, when the garlic is too coarsely chopped, it can burn and taste bitter—so mince it finely or even crush it slightly for a mellower flavor.
Variations & Adaptations
One of the joys of this recipe is how easy it is to adapt based on your pantry or mood. Here are some ideas I’ve tried or recommend:
- Cheesy Herb Bread: Add 1/2 cup (50 g) grated Parmesan or cheddar to the dough for a rich, savory twist.
- Whole Wheat Version: Replace half the all-purpose flour with whole wheat for a nuttier flavor and extra fiber. You might need a bit more water to compensate.
- Garlic-Free: Omit garlic and add 1 tablespoon of caramelized onions for a sweeter, mellow flavor.
- Spicy Kick: Toss in 1 teaspoon red chili flakes with the rosemary for a subtle heat.
- Slow Cooker Option: After shaping, place the dough in a greased heatproof bowl inside a slow cooker on low with a cup of water beside it for steam. Bake in the oven after the rise for crust.
Personally, I once swapped rosemary for fresh sage from my garden, which gave the bread an earthier aroma perfect for fall meals. Feel free to experiment with your favorite herbs or add-ins; this recipe is forgiving and versatile.
Serving & Storage Suggestions
This rosemary garlic artisan bread shines best when served warm or at room temperature. The texture and flavor really come alive fresh out of the oven or within a day. Here’s how I like to enjoy and store it:
- Serving: Slice thick and drizzle with good olive oil or butter. It’s fantastic alongside roasted vegetables, soups (like a creamy tomato bisque), or even with a spread of hummus.
- Presentation: Sprinkle a few fresh rosemary leaves on top before serving for a beautiful, rustic look.
- Storage: Wrap the cooled bread loosely in a clean kitchen towel or paper bag to keep the crust crisp. Store at room temperature for up to 2 days.
- Freezing: Slice and freeze in an airtight container for up to 3 months. Toast slices directly from frozen for best texture.
- Reheating: Warm in a 350°F (175°C) oven for 5-10 minutes wrapped in foil to revive softness without drying out.
Flavors often deepen after a day, so if you can wait, it’s worth letting the bread rest wrapped overnight. I remember serving this bread with a hearty slow cooker beef stew for a chilly evening, and the combination was pure comfort.
Nutritional Information & Benefits
This Easy No-Knead Rosemary Garlic Artisan Bread offers satisfying nutrition from simple ingredients. Here’s an approximate breakdown per slice (1/12th of loaf):
| Calories | 150 |
|---|---|
| Carbohydrates | 28 g |
| Protein | 5 g |
| Fat | 3 g |
| Fiber | 1.2 g |
Rosemary is an antioxidant-rich herb that may support digestion and immune health. Garlic contributes anti-inflammatory and heart-healthy compounds. Using olive oil adds beneficial monounsaturated fats. While this bread isn’t low-carb, it’s made with whole, simple ingredients and can be part of a balanced diet.
If you need gluten-free options, consider a certified gluten-free flour blend, but be mindful that texture will vary. This recipe naturally contains allergens like gluten and garlic, so adapt accordingly for dietary needs.
Conclusion
This Easy No-Knead Rosemary Garlic Artisan Bread is proof that homemade bread doesn’t have to be complicated or intimidating. It brings the joy of fresh, aromatic bread right to your table with minimal effort and maximum flavor. You can tweak it to your liking, whether that means adding cheese, swapping herbs, or trying different flours.
I love this recipe because it feels like a small gift from a neighbor, a simple act of kindness that turns into a staple in my kitchen. I hope you find the same comfort and satisfaction in making it your own. Give it a go, and let me know how you customize your loaf—I’m always curious about creative twists from fellow bakers!
If you enjoyed baking this bread, you might also appreciate the warm, garlicky goodness in my crispy garlic chicken recipe, which pairs wonderfully for a cozy meal.
FAQs
Can I make this bread without fresh rosemary?
Yes, you can substitute dried rosemary at about one-third the amount. Use 1 teaspoon dried instead of 2 tablespoons fresh to avoid overpowering the bread.
How long does the dough need to rise?
The first rise should be between 12 to 18 hours at room temperature. The second rise takes about 1 to 2 hours until the dough puffs up noticeably.
What if I don’t have a Dutch oven?
You can bake the bread on a baking sheet and create steam by placing a small pan of hot water in the oven or by covering the dough loosely with an oven-safe bowl during the first part of baking.
Can I prepare the dough ahead of time?
Absolutely. After the first rise, you can refrigerate the dough for up to 24 hours before shaping and baking. Just bring it to room temperature before the second rise.
Why is the dough so sticky?
No-knead dough is intentionally wet to develop gluten over time without physical kneading. Use floured hands and surfaces when shaping to manage stickiness without adding too much extra flour.
Pin This Recipe!
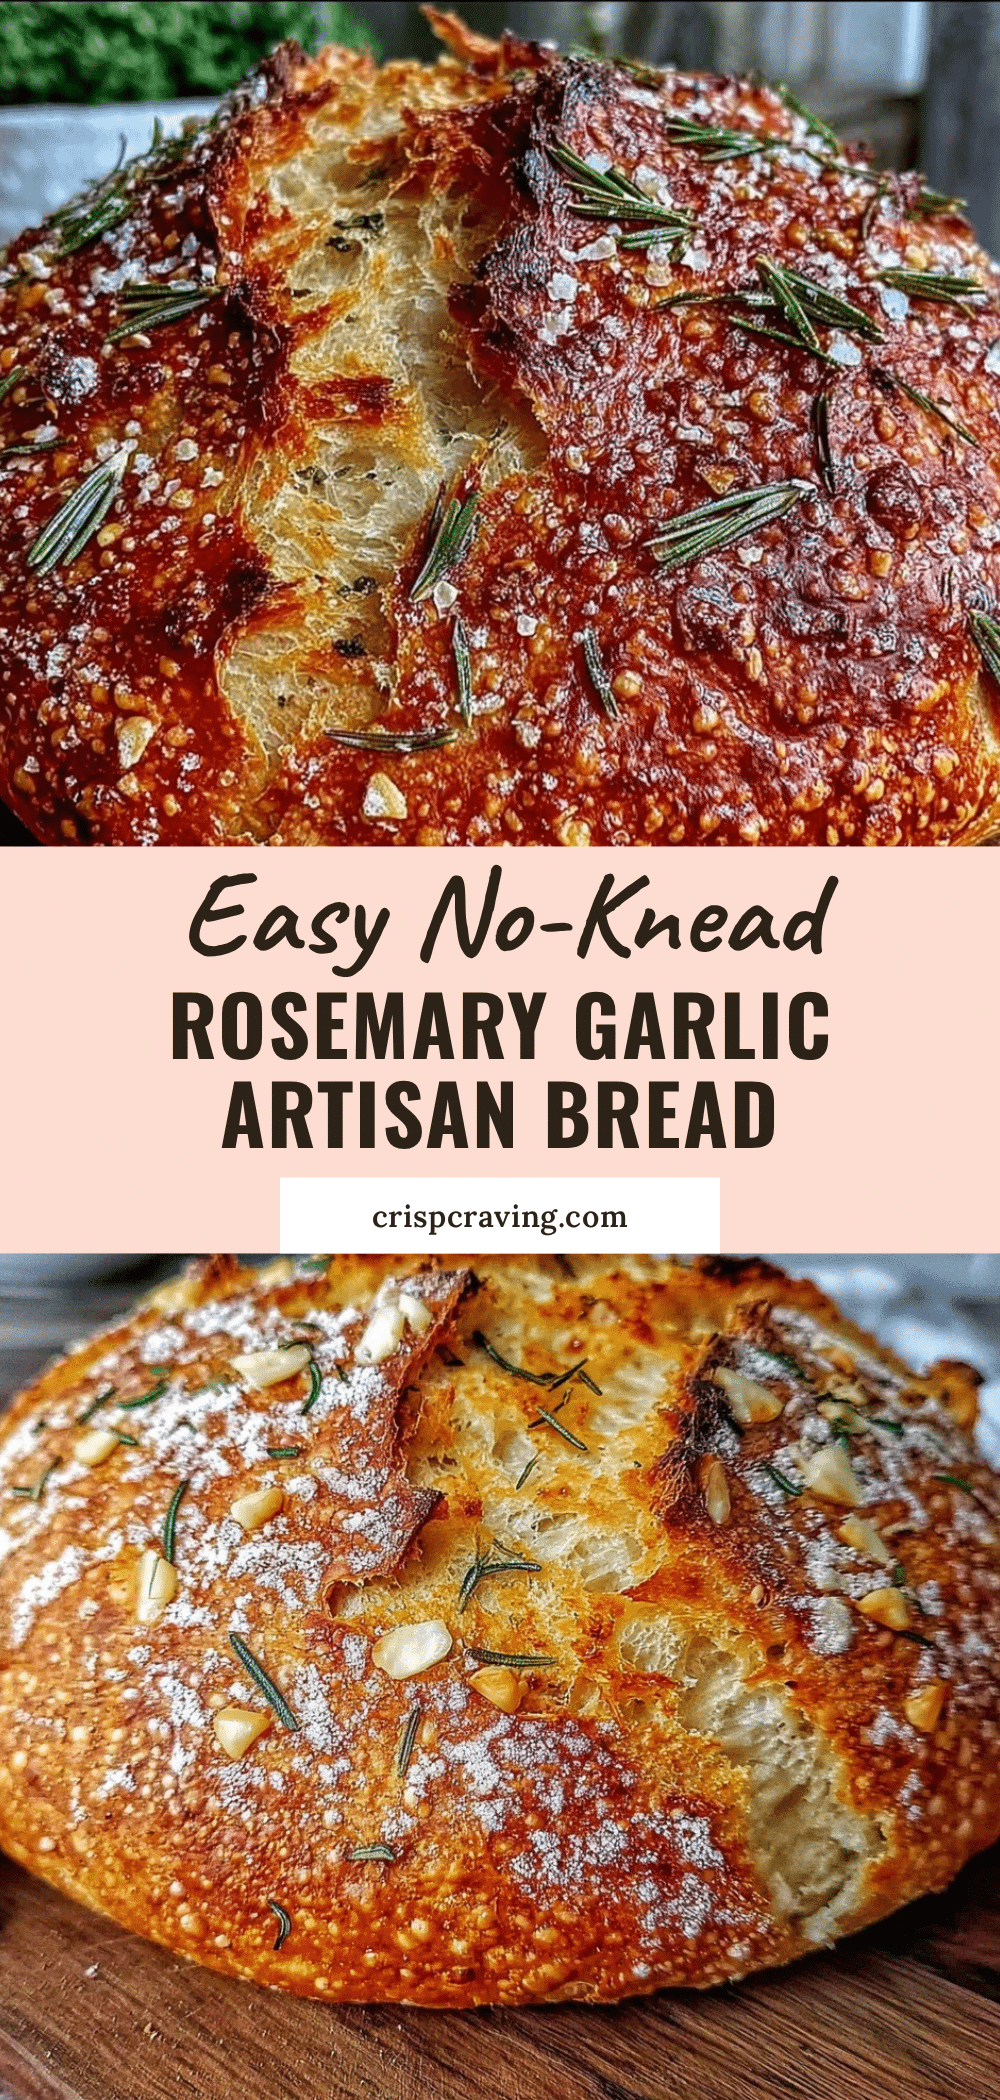
Easy No-Knead Rosemary Garlic Artisan Bread
A simple no-knead artisan bread infused with fresh rosemary and garlic, delivering a crusty exterior and soft, airy crumb with minimal effort.
- Prep Time: 15 minutes
- Cook Time: 45 minutes
- Total Time: 13 hours
- Yield: 12 servings 1x
- Category: Bread
- Cuisine: American
Ingredients
- 3 cups (360 g) all-purpose flour, preferably unbleached
- 1/4 teaspoon instant yeast
- 1 teaspoon salt
- 1 1/2 cups (360 ml) warm water (about 100°F / 38°C)
- 2 tablespoons fresh rosemary, finely chopped
- 3 large garlic cloves, minced
- 1 tablespoon olive oil, plus extra for drizzling
Instructions
- In a large mixing bowl, combine 3 cups all-purpose flour, 1/4 teaspoon instant yeast, and 1 teaspoon salt. Stir until evenly distributed (about 2 minutes).
- Add 1 1/2 cups warm water, 1 tablespoon olive oil, 2 tablespoons finely chopped fresh rosemary, and 3 minced garlic cloves. Stir with a spatula or hand until a sticky, shaggy dough forms (about 3 minutes).
- Cover the bowl loosely with plastic wrap or a kitchen towel and let rest at room temperature (around 70°F / 21°C) for 12 to 18 hours until the dough doubles in size and bubbles appear on the surface.
- Generously flour a clean surface and your hands. Turn the dough out gently and fold the edges over to form a rough ball, taking care not to deflate the dough (about 5 minutes).
- Place the dough seam-side down on a piece of parchment paper. Cover with a kitchen towel and let rise for 1 to 2 hours until puffy and passing the gentle poke test.
- About 30 minutes before baking, preheat your oven to 450°F (230°C) with a Dutch oven and lid inside.
- Carefully remove the hot Dutch oven from the oven. Lift the parchment paper with the dough and place it inside the Dutch oven. Cover with the lid and bake for 30 minutes.
- Remove the lid and bake for an additional 15 to 20 minutes until the crust is deeply golden and crisp.
- Remove the bread from the Dutch oven using the parchment paper and place on a cooling rack. Cool for at least 1 hour before slicing.
Notes
Do not over-flour the dough during shaping to keep the bread light and airy. Use fresh yeast for best rise. Preheat the Dutch oven to create steam for a perfect crust. If the bread browns too fast, tent with foil after removing the lid. The dough is intentionally sticky; use floured hands and surface when shaping. You can substitute dried rosemary (1 teaspoon) for fresh (2 tablespoons) and garlic powder (1 teaspoon) for fresh garlic if needed.
Nutrition
- Serving Size: 1 slice (1/12th of l
- Calories: 150
- Fat: 3
- Carbohydrates: 28
- Fiber: 1.2
- Protein: 5
Keywords: no-knead bread, rosemary garlic bread, artisan bread, easy homemade bread, no-knead artisan bread, garlic bread, rosemary bread