Love this? Save it for later!
Share the inspiration with your friends
My neighbor, a guy named Carl who proudly grows ghost peppers in his garage, swore he hated pickled jalapeños. For years. Every time I brought up my homemade jar of tangy, spicy rings, he’d scrunch up his face and launch into a speech about mushy vegetables and vinegary disappointment. I just nodded along, honestly, because arguing about pickling preferences felt like a weird hill to die on.
Then one Tuesday afternoon, I brought a fresh batch of these easy refrigerator pickled jalapeño rings over for a taco night he was hosting. I set the jar on the counter, didn’t say a word, and went back to helping him shred cheese. About twenty minutes later, I caught him standing over the open jar, fishing out a third ring with his fingers, a look of pure confusion on his face. “These are… not bad,” he mumbled, mouth full. I mean, that’s practically a standing ovation from a guy like Carl.
That moment stuck with me. It wasn’t just about proving someone wrong—it was about realizing how many people have had a bad pickled pepper experience. Maybe you’ve been there too, grabbing a jar from the store only to find limp, flavorless rings that taste more like the can than the pepper. This recipe is the antidote to all that. It takes five minutes of actual work, uses stuff you probably already have in your pantry, and delivers that perfect crunch with a bright, garlicky kick that makes everything better. I keep making this batch because it never fails to surprise people, including myself, with how simple yet completely addictive it is.
Why You’ll Love This Recipe
Let me tell you, after testing about a dozen different pickling methods over the years, this one is the winner. It’s the kind of recipe that makes you wonder why you ever bought the store-bought stuff.
- Quick & Easy: We’re talking five minutes of hands-on time. No canning equipment, no boiling water baths, no complicated sterilization steps. Just slice, stir, and refrigerate.
- Simple Ingredients: You need fresh jalapeños, vinegar, water, salt, sugar, and garlic. That’s it. No trips to a specialty store or weird ingredients you’ll never use again.
- Perfect for Taco Night: These rings are the unsung hero of taco Tuesday, but they also shine on sandwiches, burgers, salads, and even pizza. They’re basically the condiment you didn’t know you needed.
- Crowd-Pleaser: Even people who claim to “not like spicy food” end up reaching for these. The pickling process mellows out the heat while keeping all the flavor.
- Unbelievably Delicious: The texture is where these shine. Crunchy, snappy, and never mushy. The brine is perfectly balanced—tangy, slightly sweet, and loaded with garlic.
What makes this recipe different from the rest? It’s the ratio. I spent way too many afternoons tweaking the vinegar-to-water balance, trying different salt levels, and testing how long to let them sit. The result is a brine that complements the jalapeño without overpowering it. The garlic infuses just enough without turning the whole batch into a garlic bomb, and the touch of sugar rounds out the sharp edges of the vinegar. It’s comfort food reimagined—healthier, faster, but with the same soul-soothing satisfaction. Perfect for impressing guests without stress, or turning a simple sandwich into something memorable.
What Ingredients You Will Need
This recipe uses simple, wholesome ingredients to deliver bold flavor and satisfying texture without the fuss. You probably have most of these in your kitchen right now.
- Fresh Jalapeños (1 pound, about 8-10 medium peppers): Look for firm, glossy peppers with no soft spots or wrinkles. The fresher they are, the crunchier your pickled rings will be. I prefer using a mix of green and red jalapeños for a prettier jar, but all green works just fine.
- Distilled White Vinegar (1 cup): This gives you that classic pickled flavor without competing with the peppers. I’ve used apple cider vinegar in a pinch, and it works, but the flavor is noticeably different—fruitier and less sharp. Stick with white vinegar for the cleanest taste.
- Water (1 cup): Filtered or tap water both work. If your tap water has a strong chlorine taste, use filtered water for the best results.
- Kosher Salt (1 tablespoon): I recommend using Morton’s kosher salt for its consistent grain size. Table salt is saltier by volume, so if you’re using it, reduce to 2 teaspoons. Diamond Crystal kosher salt is less salty, so you’d need about 1 ½ tablespoons.
- Granulated Sugar (1 tablespoon): Just enough to balance the acidity. Don’t skip it—it makes a difference in rounding out the flavors.
- Garlic (3-4 cloves, smashed): Fresh garlic is non-negotiable here. The pre-minced stuff in a jar won’t give you the same bright, pungent flavor. Smash the cloves with the side of your knife to release their oils.
- Optional Add-ins: A pinch of dried oregano, a few black peppercorns, or a bay leaf can add depth. I sometimes throw in a slice of red onion for color, but that’s purely aesthetic.
For the best texture, I’ve found that using a mandoline slicer gives you perfectly uniform rings, but a sharp knife works just fine. The key is slicing them about ¼-inch thick—too thin and they get floppy, too thick and they don’t absorb the brine properly.
Equipment Needed
You don’t need a fancy kitchen setup for this recipe. Here’s what you’ll actually use:
- 1-quart Mason Jar (or any glass jar with a tight-fitting lid): A wide-mouth jar makes it easier to pack the pepper rings in. I’ve used repurposed pasta sauce jars before, and they work great—just make sure they’re thoroughly cleaned.
- Sharp Knife or Mandoline Slicer: A mandoline gives you consistent slices, but a good chef’s knife does the job. I’ve sliced my finger more times than I’d like to admit on a mandoline, so honestly, I usually just use a knife out of habit.
- Cutting Board: Use a plastic or wooden board. Glass boards are terrible for your knife’s edge.
- Small Saucepan: For heating the brine. Any small pot works.
- Measuring Cups and Spoons: Accurate measurements matter for the brine balance.
- Bowl of Ice Water: Optional, but if you want extra-crunchy rings, soaking the sliced peppers in ice water for 10 minutes before packing them is a game-changer.
Budget-friendly tip: Don’t run out and buy a fancy pickling set. A clean spaghetti sauce jar with a rubber seal works perfectly. I’ve been using the same repurposed pickle jar for three years now, and it’s still going strong.
Preparation Method
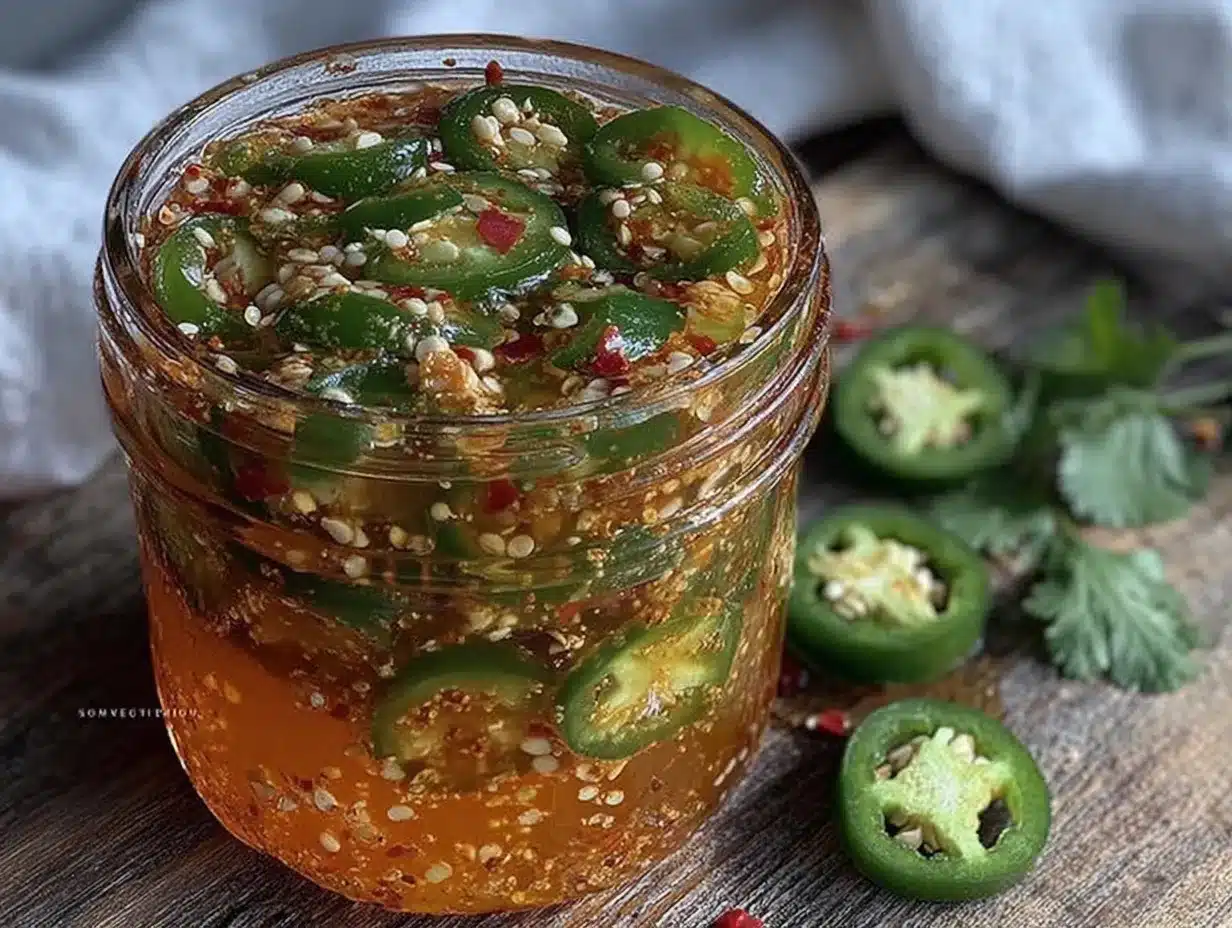
This is the part where everything comes together. Trust me, it’s almost embarrassingly easy.
- Prepare the jalapeños (5 minutes): Wash the peppers thoroughly under cool water. Pat them dry with a clean towel. Cut off the stems, then slice the peppers into ¼-inch thick rings. If you want less heat, you can remove the seeds and white membranes with a small spoon—just be aware that this also removes a lot of the jalapeño’s signature flavor. I leave the seeds in because I like the heat, but it’s totally up to you. Pro tip: Wear gloves when handling jalapeños, or wash your hands immediately after. I learned this the hard way after rubbing my eye and spending twenty minutes in tears.
- Pack the jar (2 minutes): Place the smashed garlic cloves at the bottom of your clean jar. Then pack the jalapeño rings in tightly—really cram them in there, because they’ll settle as they pickle. Leave about ½ inch of headspace at the top. I like to alternate the direction of the rings as I pack them so they nestle together snugly.
- Make the brine (3 minutes): In a small saucepan, combine the distilled white vinegar, water, kosher salt, and granulated sugar. Bring it to a boil over medium-high heat, stirring occasionally until the salt and sugar are completely dissolved. This happens fast—don’t walk away from it. Once it’s boiling, remove it from the heat immediately.
- Pour the brine (1 minute): Carefully pour the hot brine over the jalapeño rings in the jar, making sure they’re completely submerged. Tap the jar gently on the counter to release any air bubbles. If some rings are poking above the brine, use a clean spoon to push them down.
- Cool and seal (5 minutes): Let the jar cool to room temperature on your counter. Don’t put the lid on while it’s still hot—the steam needs somewhere to go. Once it’s cool enough to touch comfortably, screw on the lid and pop it in the refrigerator.
- Wait (the hard part): Here’s the thing—these need time. They’re edible after 24 hours, but they really hit their stride at the 48-hour mark. The flavor deepens, the crunch settles into that perfect snappy texture, and the garlic mellows out into something beautiful. I’ve tested them at every stage, and day three is the sweet spot.
The brine should look clear when you first pour it, but it will turn slightly cloudy after a day or two—that’s normal and means the pickling process is working. If you see any mold or the brine turns pink, toss the batch and start over. That’s rare, but it happens if your jar wasn’t clean or the peppers weren’t fully submerged.
Cooking Tips & Techniques
After making these more times than I can count, I’ve picked up a few tricks that make a real difference.
The ice water trick: For the crunchiest rings, soak your sliced jalapeños in a bowl of ice water for 10 minutes before packing them. Drain them well, pat them dry, then proceed. This step firms up the cell walls and keeps them snappy even after weeks in the fridge. I forgot to do this once, and the rings were noticeably softer. Now I never skip it.
Don’t boil the peppers: I made this mistake early on—I thought heating the peppers in the brine would speed things up. It doesn’t. It makes them mushy. The hot brine does its job without cooking the peppers. Trust the process.
Uniform slices matter: Those perfectly round, even rings you see in stores? They’re not just for looks. Uniform slices mean every ring pickles at the same rate. If some are paper-thin and others are thick, you’ll end up with a jar of mixed textures. Take the extra minute to slice carefully.
Taste your brine before pouring: Dip a clean spoon into your brine and taste it. It should be tangy, slightly salty, with a hint of sweetness. If it tastes too sharp, add a pinch more sugar. If it’s flat, add a splash more vinegar. Adjusting the brine before it goes in the jar saves you from disappointment later.
Label your jar: This sounds silly, but I’ve had jars of pickled jalapeños get confused with leftover soup stock more than once. A piece of masking tape with the date saves you from a very confusing lunch.
Variations & Adaptations
One of the best things about this recipe is how easy it is to tweak. Here are some variations I’ve tried and loved:
Spicy Garlic Version: Add 2-3 whole dried chiles de árbol or a teaspoon of red pepper flakes to the jar along with the garlic. This gives the brine a deeper, slower-building heat that complements the jalapeño’s sharpness. I made this for a game day party, and the jar was empty before the first quarter ended.
Sweet & Tangy Version: Increase the sugar to 2 tablespoons and add a cinnamon stick and a star anise to the brine as it heats. This creates a surprisingly addictive sweet-spicy combo that’s incredible on pulled pork sandwiches. My sister-in-law, who normally avoids anything spicy, ate half a jar in one sitting.
Herb-Infused Version: Add a sprig of fresh dill, a few sprigs of thyme, or a bay leaf to the jar before pouring the brine. The herbs infuse slowly over time and add a layer of complexity that’s perfect for Mediterranean-style dishes. I like using dill for a more classic pickle flavor profile.
Low-Sodium Version: Reduce the salt to 1 teaspoon and add a splash of lemon juice for extra acidity. The pickles won’t be as shelf-stable (not that these last long anyway), but they’ll still be delicious. Just make sure to eat them within two weeks.
Mixed Pepper Version: Use a combination of jalapeños, serranos, and bell peppers for a colorful jar with varying heat levels. The bell peppers soak up the brine beautifully and become sweet, tangy little bites that even kids will eat. I did this for a summer barbecue, and the bell pepper rings were the first to go.
Serving & Storage Suggestions
These pickled jalapeño rings are incredibly versatile. Here’s how I use them:
Serving temperature: Serve them straight from the fridge—cold and crunchy. They’re fantastic on tacos (especially fish tacos), nachos, burgers, hot dogs, and sandwiches. I also love chopping them up and folding them into tuna salad or egg salad for a spicy kick. They’re phenomenal on a charcuterie board alongside sharp cheddar and salami.
Storage: Keep the jar tightly sealed in the refrigerator. These are not shelf-stable (they haven’t been processed in a water bath), so they must stay refrigerated. They’ll keep for up to 3 months, but honestly, they rarely last that long in my house. The flavor actually improves over the first week, then holds steady for about a month before gradually declining.
Reusing the brine: After you’ve eaten all the jalapeño rings, don’t toss that brine! It’s packed with flavor. You can use it to pickle sliced red onions, carrots, or even hard-boiled eggs. Just add fresh vegetables and let them sit in the fridge for 2-3 days. I’ve done this with sliced radishes, and the result was amazing.
Flavor development: These are best between day 3 and day 14. After that, the garlic flavor fades a bit, and the peppers soften slightly. They’re still good, just different. If you want them to last longer, remove the garlic cloves after a week—they can turn bitter if left too long.
Nutritional Information & Benefits
Here’s the rough nutritional breakdown for a 1-ounce serving (about 4-5 rings):
Calories: 5 | Total Fat: 0g | Sodium: 180mg | Total Carbohydrates: 1g | Fiber: 0g | Sugars: 1g | Protein: 0g
These numbers are approximate and depend on your specific ingredients and serving size.
Health benefits: Jalapeños are packed with vitamin C (one pepper provides about 10% of your daily needs) and capsaicin, the compound that gives them their heat. Capsaicin has been linked to boosting metabolism, reducing inflammation, and even supporting heart health. The vinegar in the brine also offers probiotic-like benefits (though it’s not a true fermented pickle) and can help with blood sugar regulation when consumed as part of a meal.
Dietary considerations: These pickled jalapeños are naturally gluten-free, vegan, dairy-free, and low-carb. They’re keto-friendly and Whole30-compliant if you use a compliant vinegar. The only potential allergen concern is if you have a sensitivity to sulfites, which can sometimes be found in commercial vinegars—look for sulfite-free vinegar if that’s a concern.
Conclusion
Look, I’m not going to tell you these pickled jalapeño rings will change your life. But they might change your taco night. They might make you rethink store-bought pickles entirely. And they might just convert a skeptic or two in your own life—I’ve seen it happen.
The beauty of this recipe is its simplicity. Five minutes of work, a handful of pantry staples, and a little patience, and you’ve got a jar of something genuinely special. Something that makes every meal feel a little more intentional, a little more homemade. Whether you pile them on nachos, layer them into a sandwich, or eat them straight from the jar when no one’s watching (I won’t tell), these rings are worth the tiny bit of effort.
I’d love to hear how yours turn out. Did you add any fun variations? Did you catch someone sneaking a ring from the jar before dinner? Drop a comment below and let me know—I read every single one. And if you share a photo on Pinterest or Instagram, tag me so I can see your beautiful jars in action. Happy pickling, friends!
Frequently Asked Questions
How long do refrigerator pickled jalapeños last?
They’ll keep in the refrigerator for up to 3 months if stored properly in a sealed jar. The flavor is best between day 3 and day 14. After that, they gradually soften and the garlic flavor fades. Always check for signs of spoilage like mold, off-odors, or a pink tint to the brine before eating.
Can I use other types of vinegar?
Yes, but it will change the flavor. Distilled white vinegar gives the cleanest, most classic pickled taste. Apple cider vinegar adds a fruity note that works well with the peppers. Rice vinegar is milder and sweeter. Avoid balsamic or malt vinegar—they’re too strong and will overpower the jalapeños.
Do I need to sterilize the jar?
Since these are refrigerator pickles and not canned for shelf storage, you don’t need to sterilize the jar. Just wash it thoroughly with hot, soapy water and rinse well. I run mine through the dishwasher on the sanitize cycle, but a good hand wash works perfectly fine.
Why are my pickled jalapeños mushy?
The most common causes are using old or soft peppers, slicing them too thin, or letting them sit in the brine too long before refrigerating. For crunchier rings, use the freshest peppers you can find, slice them ¼-inch thick, and don’t let them sit at room temperature for more than an hour before refrigerating. The ice water soak trick also helps.
Can I reuse the brine for another batch?
Absolutely! The brine is still flavorful after the first batch of peppers is gone. Just add fresh sliced jalapeños (or any other vegetable you want to pickle) and let them sit in the refrigerator for 2-3 days before eating. The flavor won’t be quite as strong as the first batch, so you might want to add a little extra salt and vinegar. I’ve reused brine up to three times before it starts to lose its punch.
Pin This Recipe!
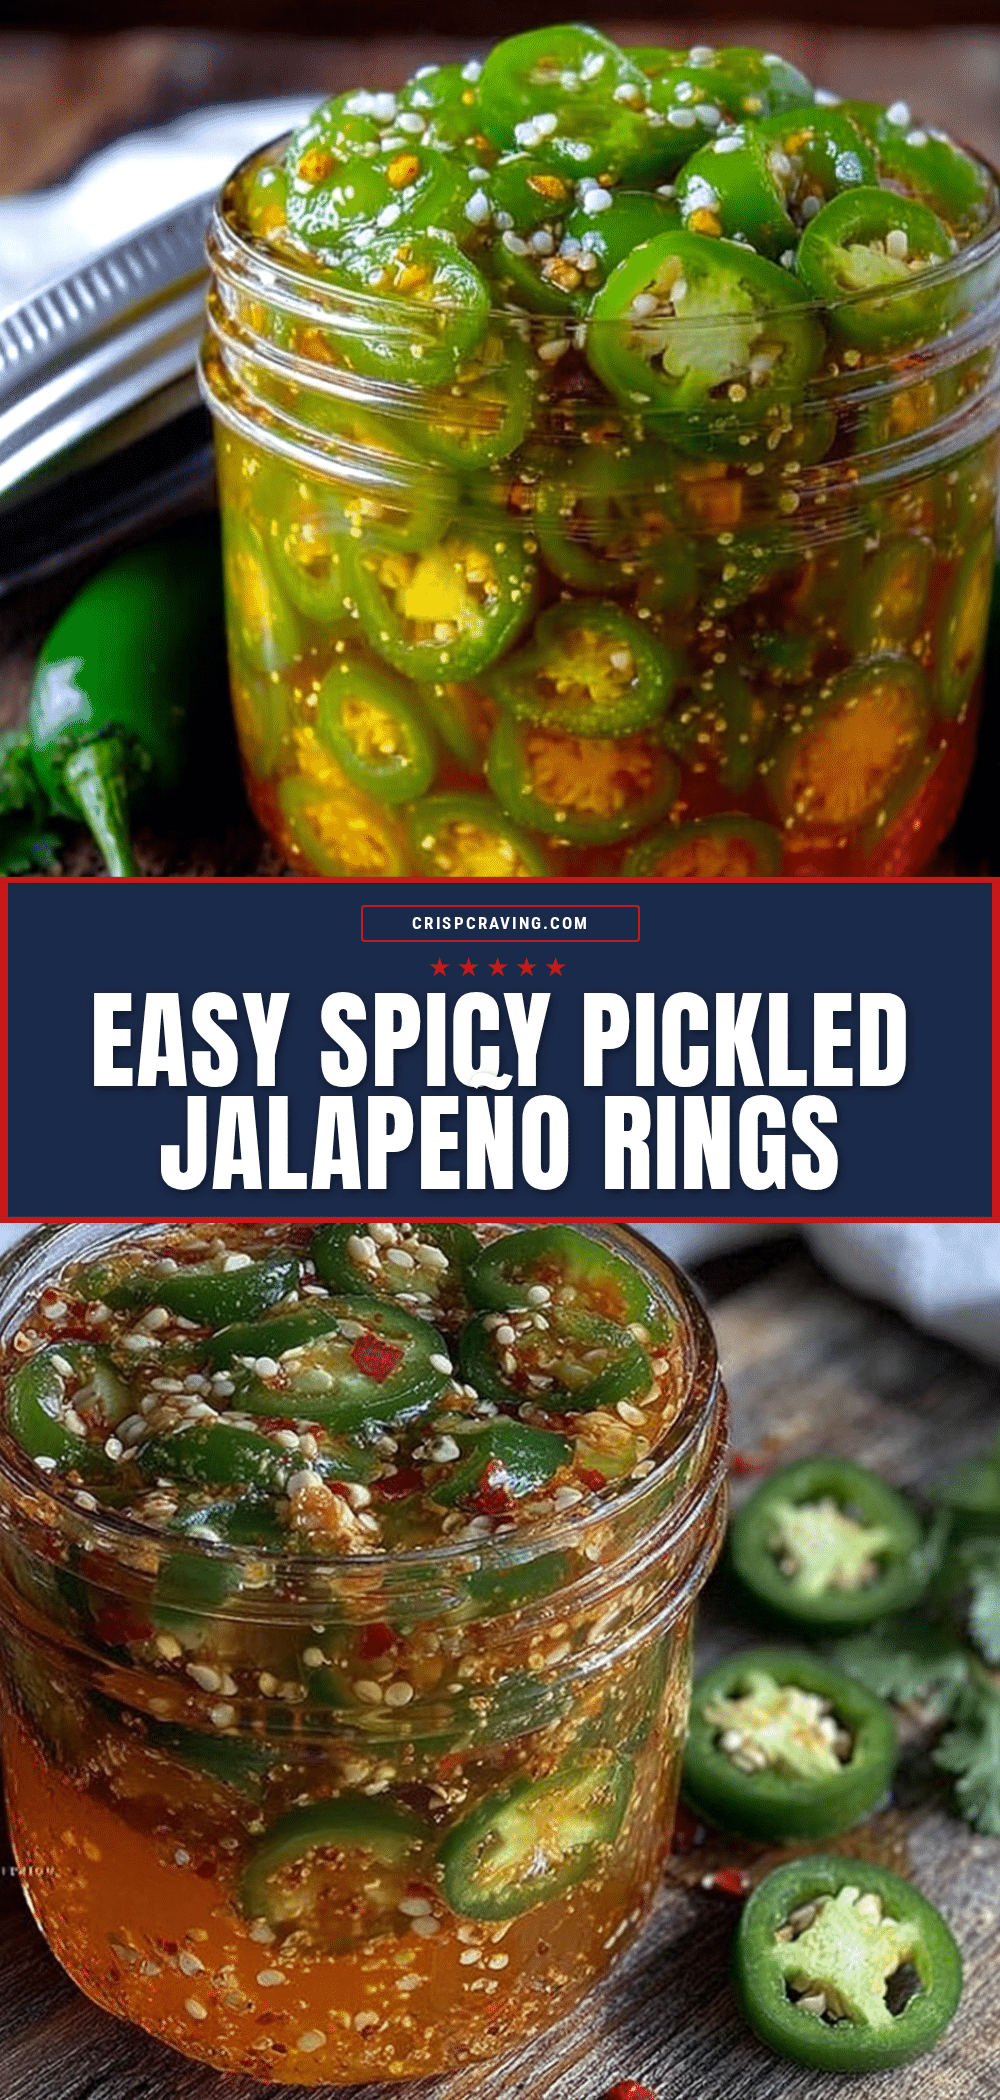
Easy Refrigerator Pickled Jalapeño Rings: 5-Minute Recipe
These quick and easy refrigerator pickled jalapeño rings take just 5 minutes of hands-on time and deliver a perfect crunch with a bright, garlicky kick. Made with simple pantry ingredients, they’re the ultimate condiment for tacos, sandwiches, burgers, and more.
- Prep Time: 5 minutes
- Cook Time: 3 minutes
- Total Time: 8 minutes (plus 24-48 hours refrigeration time)
- Yield: 1 quart (about 16 servings) 1x
- Category: Condiment
- Cuisine: Mexican-American
Ingredients
- 1 pound fresh jalapeños (about 8–10 medium peppers)
- 1 cup distilled white vinegar
- 1 cup water
- 1 tablespoon kosher salt (or 2 teaspoons table salt, or 1 ½ tablespoons Diamond Crystal kosher salt)
- 1 tablespoon granulated sugar
- 3–4 cloves garlic, smashed
- Optional: pinch of dried oregano, black peppercorns, bay leaf, or slice of red onion
Instructions
- Wash the jalapeños thoroughly under cool water and pat dry. Cut off the stems, then slice into ¼-inch thick rings. For less heat, remove seeds and membranes with a small spoon (optional). Wear gloves or wash hands immediately after handling.
- Place the smashed garlic cloves at the bottom of a clean 1-quart mason jar. Pack the jalapeño rings tightly into the jar, leaving about ½ inch of headspace at the top.
- In a small saucepan, combine the distilled white vinegar, water, kosher salt, and granulated sugar. Bring to a boil over medium-high heat, stirring occasionally until the salt and sugar are completely dissolved. Remove from heat immediately.
- Carefully pour the hot brine over the jalapeño rings in the jar, ensuring they are completely submerged. Tap the jar gently on the counter to release air bubbles. If any rings are poking above the brine, use a clean spoon to push them down.
- Let the jar cool to room temperature on the counter (about 5 minutes). Once cool enough to touch, screw on the lid and refrigerate.
- Wait at least 24 hours before eating, but for best flavor, wait 48 hours. The flavor peaks around day 3.
Notes
For extra-crunchy rings, soak sliced jalapeños in ice water for 10 minutes before packing. Uniform ¼-inch slices ensure even pickling. The brine should be tangy, slightly salty, and a little sweet—adjust to taste before pouring. These are refrigerator pickles and must stay refrigerated; they are not shelf-stable. Label the jar with the date. For best flavor, consume between day 3 and day 14. Remove garlic cloves after a week to prevent bitterness.
Nutrition
- Serving Size: 1 ounce (about 4-5 r
- Calories: 5
- Sugar: 1
- Sodium: 180
- Carbohydrates: 1
Keywords: pickled jalapeños, refrigerator pickles, easy pickled jalapeños, homemade pickled peppers, quick pickled jalapeños, jalapeño rings, taco topping, spicy condiment



