Love this? Save it for later!
Share the inspiration with your friends
Introduction
“You won’t believe how this all started,” my mate Jamie said as he handed me a slightly squished slice wrapped in foil during a rainy Saturday barbecue. I was expecting some ordinary treat, but that first bite of the Delicious Homemade Australian Tim Tam Chocolate Biscuit Slice was like a secret little party in my mouth. Turns out, Jamie’s aunty had whipped up this slice after the local store ran out of Tim Tams during a national shortage (yes, that’s a thing!).
The story behind this slice is as Aussie as it gets—unexpected, a bit rough around the edges, but packed with bold flavor and nostalgia. Jamie admitted he’d never been much of a baker, but this recipe stuck with him, and honestly, I get why. The crunchy biscuit bits tucked inside that silky chocolate layer? Mate, it’s a game-changer.
Maybe you’ve been there—craving that iconic Tim Tam chocolate magic but don’t want to wrestle with a packet or face the dreaded empty shelf. That’s where this recipe shines. I’ll be honest, the first time I tried making it, I forgot the vanilla essence and almost tossed the whole batch out (classic me). But after a couple of tweaks and a bit of patience, I nailed the perfect balance of creamy chocolate and crunchy biscuit. This slice stays with you, whether you’re sharing it at a casual get-together or sneaking bites late at night when no one’s watching.
So, if you’ve ever wished you could bottle that Tim Tam joy into a slice you can slice, stack, and share, let me tell you—this recipe is your new best mate.
Why You’ll Love This Recipe
Honestly, this Delicious Homemade Australian Tim Tam Chocolate Biscuit Slice isn’t just another sweet treat. It’s a little celebration of textures and flavors that come together with minimal fuss. I’ve tested this recipe multiple times—sometimes on busy weeknights, other times with friends hovering impatiently—and it always delivers the goods.
- Quick & Easy: Comes together in under 30 minutes, perfect when you want something impressive but don’t want to slave over the oven.
- Simple Ingredients: No exotic items needed—you probably have most of these in your pantry already.
- Perfect for Sharing: Whether it’s a potluck or just a casual afternoon tea, this slice will disappear fast.
- Crowd-Pleaser: Kids, adults, chocoholics—you name it, everyone asks for seconds.
- Unbelievably Delicious: The combo of crunchy biscuits coated in luscious chocolate is pure comfort food with a twist.
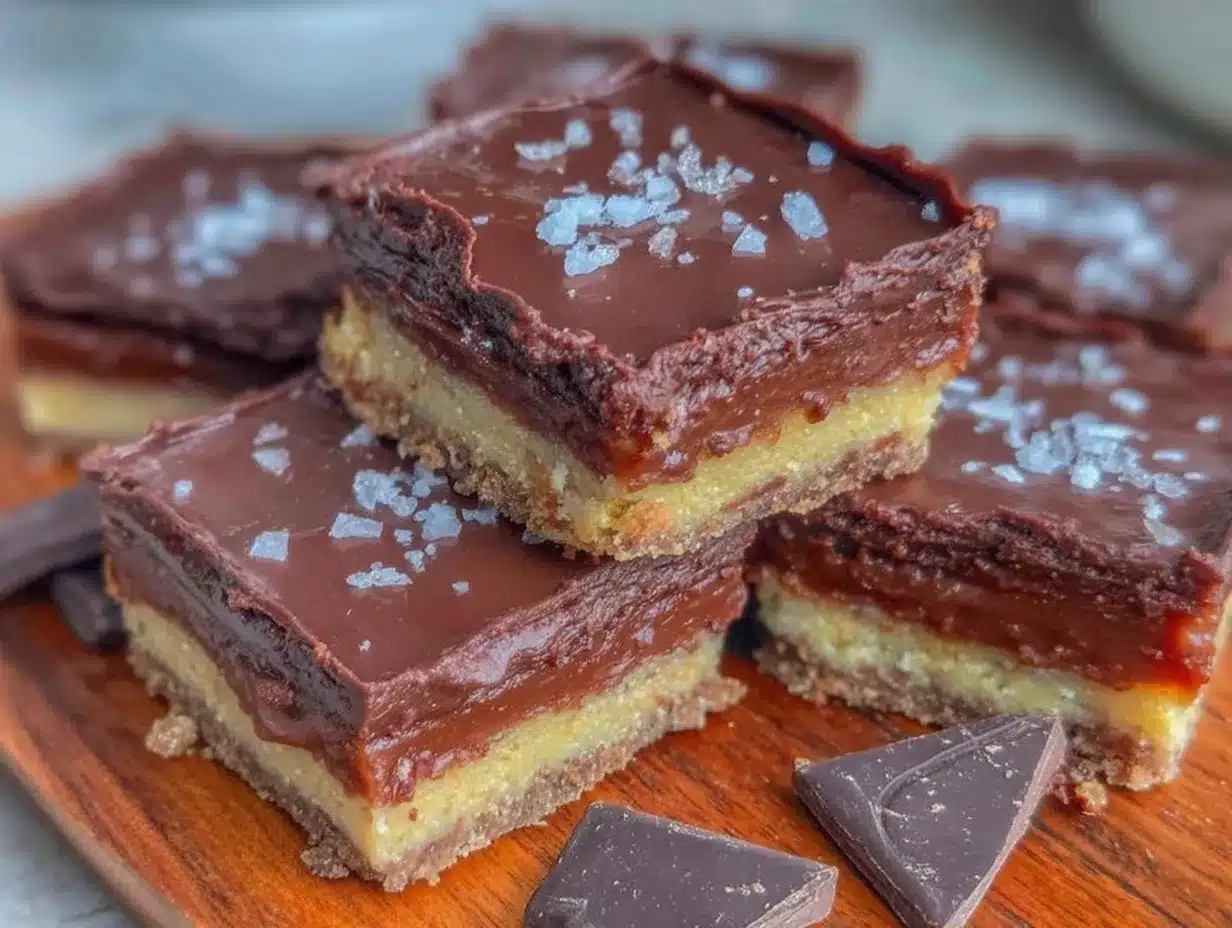
What really sets this recipe apart is the way it captures the essence of Tim Tams without needing the actual biscuits. Blending crushed biscuits with rich chocolate layers creates a harmonious texture that feels special but is surprisingly easy to make. Plus, I’ve added a touch of sea salt on top that brings out the chocolate’s depth—trust me on this one.
This recipe is more than just a slice; it’s a little slice of Aussie joy you can make anytime, anywhere. You might even find yourself closing your eyes after the first bite—no shame in that.
What Ingredients You Will Need
This recipe uses simple, wholesome ingredients to deliver bold flavor and satisfying texture without the fuss. Most of these are pantry staples, and the Tim Tam magic comes from a clever mix of crushed chocolate biscuits and rich cocoa.
- Chocolate Biscuits (200g / 7 oz, crushed) – I recommend using Arnott’s Tim Tams if you can find them, but any chocolate-covered biscuit works well.
- Butter (150g / 5.3 oz, unsalted, melted) – Adds richness and helps bind the base.
- Sweetened Condensed Milk (1 can / 395g) – The secret to that creamy, luscious texture.
- Cocoa Powder (2 tablespoons / 15g) – Use good quality Dutch-processed cocoa for best flavor.
- Dark Chocolate (200g / 7 oz, chopped) – For the ganache topping, choose at least 70% cocoa for depth.
- Golden Syrup (2 tablespoons / 30ml) – Adds chewiness and a subtle caramel note.
- Sea Salt (a pinch) – Optional but highly recommended to bring out the chocolate flavor.
- Vanilla Extract (1 teaspoon) – Enhances the overall flavor profile.
For substitutions, if you’re dairy-free, swap butter with coconut oil and use a dairy-free condensed milk alternative. To keep it gluten-free, select gluten-free chocolate biscuits—you’d be surprised how tasty they can be!
Equipment Needed
- Mixing Bowls: At least two—one for the biscuit base and one for the ganache.
- Measuring Cups and Spoons: For precision, especially with cocoa and syrups.
- Baking Pan: A 20x20cm (8×8 inch) square pan works best. You can line it with baking paper for easy removal.
- Spatula or Wooden Spoon: For mixing and smoothing out the layers.
- Double Boiler or Microwave-Safe Bowl: To melt the chocolate gently without burning.
- Food Processor or Ziplock Bag and Rolling Pin: For crushing the biscuits.
If you don’t have a food processor, just crush the biscuits in a sturdy bag with a rolling pin—it’s a satisfying little task and gives you control over the chunk size. I keep a silicone spatula handy because it scrapes every last bit from the bowl, which is crucial when working with sticky condensed milk.
Preparation Method
- Prepare the Base (10 minutes): Crush the chocolate biscuits until you have mostly fine crumbs with a few small chunks for texture. You can use a food processor or place the biscuits in a ziplock bag and bash them with a rolling pin. Melt the butter in a microwave or on the stove, then combine it with the crushed biscuits in a large bowl.
- Add Flavor and Bind (5 minutes): Stir in the sweetened condensed milk, cocoa powder, golden syrup, and vanilla extract into the biscuit mixture. Use a spatula to combine until everything is evenly coated and sticky. The mixture should hold together when pressed—if it feels too dry, add a teaspoon of condensed milk at a time.
- Press Into Pan (5 minutes): Line your 20x20cm baking pan with baking paper, leaving an overhang on two sides for easy removal. Press the biscuit mixture firmly and evenly into the base of the pan. I find using the back of a spoon or a flat-bottomed glass helps get a smooth surface.
- Make the Chocolate Ganache (10 minutes): Chop the dark chocolate into small pieces. In a heatproof bowl over simmering water (or in the microwave in 30-second bursts), melt the chocolate with a tablespoon of butter or cream for a glossy finish. Stir gently until smooth.
- Top the Base (5 minutes): Pour the ganache over the biscuit base and spread evenly with a spatula. Sprinkle a tiny pinch of sea salt on top to bring out the chocolate’s richness.
- Chill and Set (at least 2 hours): Place the pan in the fridge and let the slice firm up completely. Resist the urge to cut too soon—the ganache needs time to set properly.
- Slice and Serve: Use a sharp knife warmed under hot water and wiped dry for clean, neat slices. This prevents cracking and sticking.
Pro tip: If you forget the vanilla extract like I did once, the slice is still tasty but loses a bit of that aromatic lift. Also, don’t rush the chilling step; patience here pays off in texture and flavor.
Cooking Tips & Techniques
When making this Delicious Homemade Australian Tim Tam Chocolate Biscuit Slice, a few tricks can make all the difference. First, crushing biscuits unevenly is actually a good thing—those little chunks add a lovely crunch, so don’t pulverize them into dust.
Melting chocolate can be intimidating, but keeping the heat low and stirring often keeps it smooth. I learned the hard way by overheating chocolate once—let’s just say it wasn’t pretty. A double boiler or microwave with short bursts and stirring is your best friend here.
Pressing the biscuit base firmly into the pan is key. If you’re too gentle, the slice won’t hold together well. But don’t press so hard that it compacts into a rock—aim for firm but with a bit of give.
Timing matters: chilling overnight is ideal, but at least two hours is a must. This gives the ganache a chance to set and the flavors to meld. If you’re short on time, pop it in the freezer for 30 minutes, but watch closely so it doesn’t freeze solid.
Lastly, slicing chilled ganache with a hot, clean knife makes a world of difference. Warm the knife under hot water, wipe it dry, and slice in one smooth motion. This stops the ganache from sticking or cracking.
Variations & Adaptations
This recipe is a great base for all sorts of fun spins. Here are a few ideas you can try:
- Nutty Delight: Add chopped roasted hazelnuts or macadamias to the biscuit base for extra crunch and a toasty flavor.
- Berry Twist: Gently fold freeze-dried raspberries into the biscuit mixture or sprinkle them on top of the ganache before chilling. Adds a tangy pop!
- Vegan Version: Use dairy-free dark chocolate, coconut oil instead of butter, and a plant-based condensed milk substitute. The texture changes slightly but still delicious.
- White Chocolate Variation: Swap the dark chocolate ganache for white chocolate and add a teaspoon of lemon zest for a fresh, bright flavor.
- Spiced Up: Add a pinch of cinnamon or chili powder to the cocoa mix for a subtle warmth that balances the sweetness.
I once tried adding a layer of salted caramel between the biscuit base and ganache—honestly, it was messy but totally worth it. Just be ready for a sticky but utterly addictive treat!
Serving & Storage Suggestions
This slice is best served chilled or just slightly off the fridge, so the ganache is firm but not too hard. Cut into small squares—these are rich little bites, so a little goes a long way.
Pair it with a strong black coffee or a creamy chai latte for a classic Aussie afternoon tea vibe. It also works well alongside fresh berries or a dollop of whipped cream if you want to fancy it up.
Store leftovers in an airtight container in the fridge for up to 5 days. If you want to keep it longer, wrap tightly and freeze for up to 2 months. To reheat, let it thaw in the fridge overnight. Avoid microwaving as it can melt the ganache unevenly.
Flavors actually improve a bit after a day or two as the biscuit base absorbs some moisture—if you can wait that long!
Nutritional Information & Benefits
While this slice is definitely a treat, it also packs some nutritional perks from its ingredients. Here’s a rough estimate per serving (assuming 16 slices):
- Calories: 220-250 kcal
- Fat: 15g (mostly from butter and chocolate)
- Sugar: 18g
- Protein: 2g
- Fiber: 1-2g
The dark chocolate provides antioxidants, and using quality cocoa powder adds some minerals like iron and magnesium. If you use gluten-free biscuits, this slice fits gluten-sensitive diets. Just be mindful of the sugar content if you’re watching intake.
From a wellness perspective, sometimes you just need a little chocolate joy, and this slice delivers without being overly complicated or processed. It’s a reminder that homemade treats can be both satisfying and made with care.
Conclusion
This Delicious Homemade Australian Tim Tam Chocolate Biscuit Slice has earned a permanent spot in my recipe box because it’s simple, satisfying, and downright addictive. It’s the kind of recipe that’s easy to tweak, share, and enjoy any time you want a taste of that classic Aussie chocolate biscuit magic without fuss.
Feel free to make it your own—add nuts, swap chocolates, or spice it up. Honestly, that’s part of the fun. I’d love to hear what variations work for you or any twists you’ve tried, so don’t be shy and leave a comment below.
Now, get your mixing bowls ready and treat yourself to a slice of happiness. You won’t regret it!
FAQs
Can I use a different type of biscuit instead of Tim Tams?
Absolutely! Any chocolate-covered biscuit or even plain chocolate biscuits work well. Just adjust the sweetness if needed.
How long does this slice keep in the fridge?
Stored in an airtight container, it stays fresh for up to 5 days. For longer storage, freeze it wrapped tightly for up to 2 months.
Can I make this slice gluten-free?
Yes, just swap the biscuits for gluten-free chocolate biscuits. The texture and taste remain delicious.
Is there a way to make this slice vegan?
Use dairy-free chocolate, coconut oil instead of butter, and a plant-based condensed milk alternative to make a vegan-friendly version.
What’s the best way to cut neat slices?
Use a sharp knife warmed under hot water and wiped dry before slicing. This prevents the ganache from cracking or sticking.
Pin This Recipe!
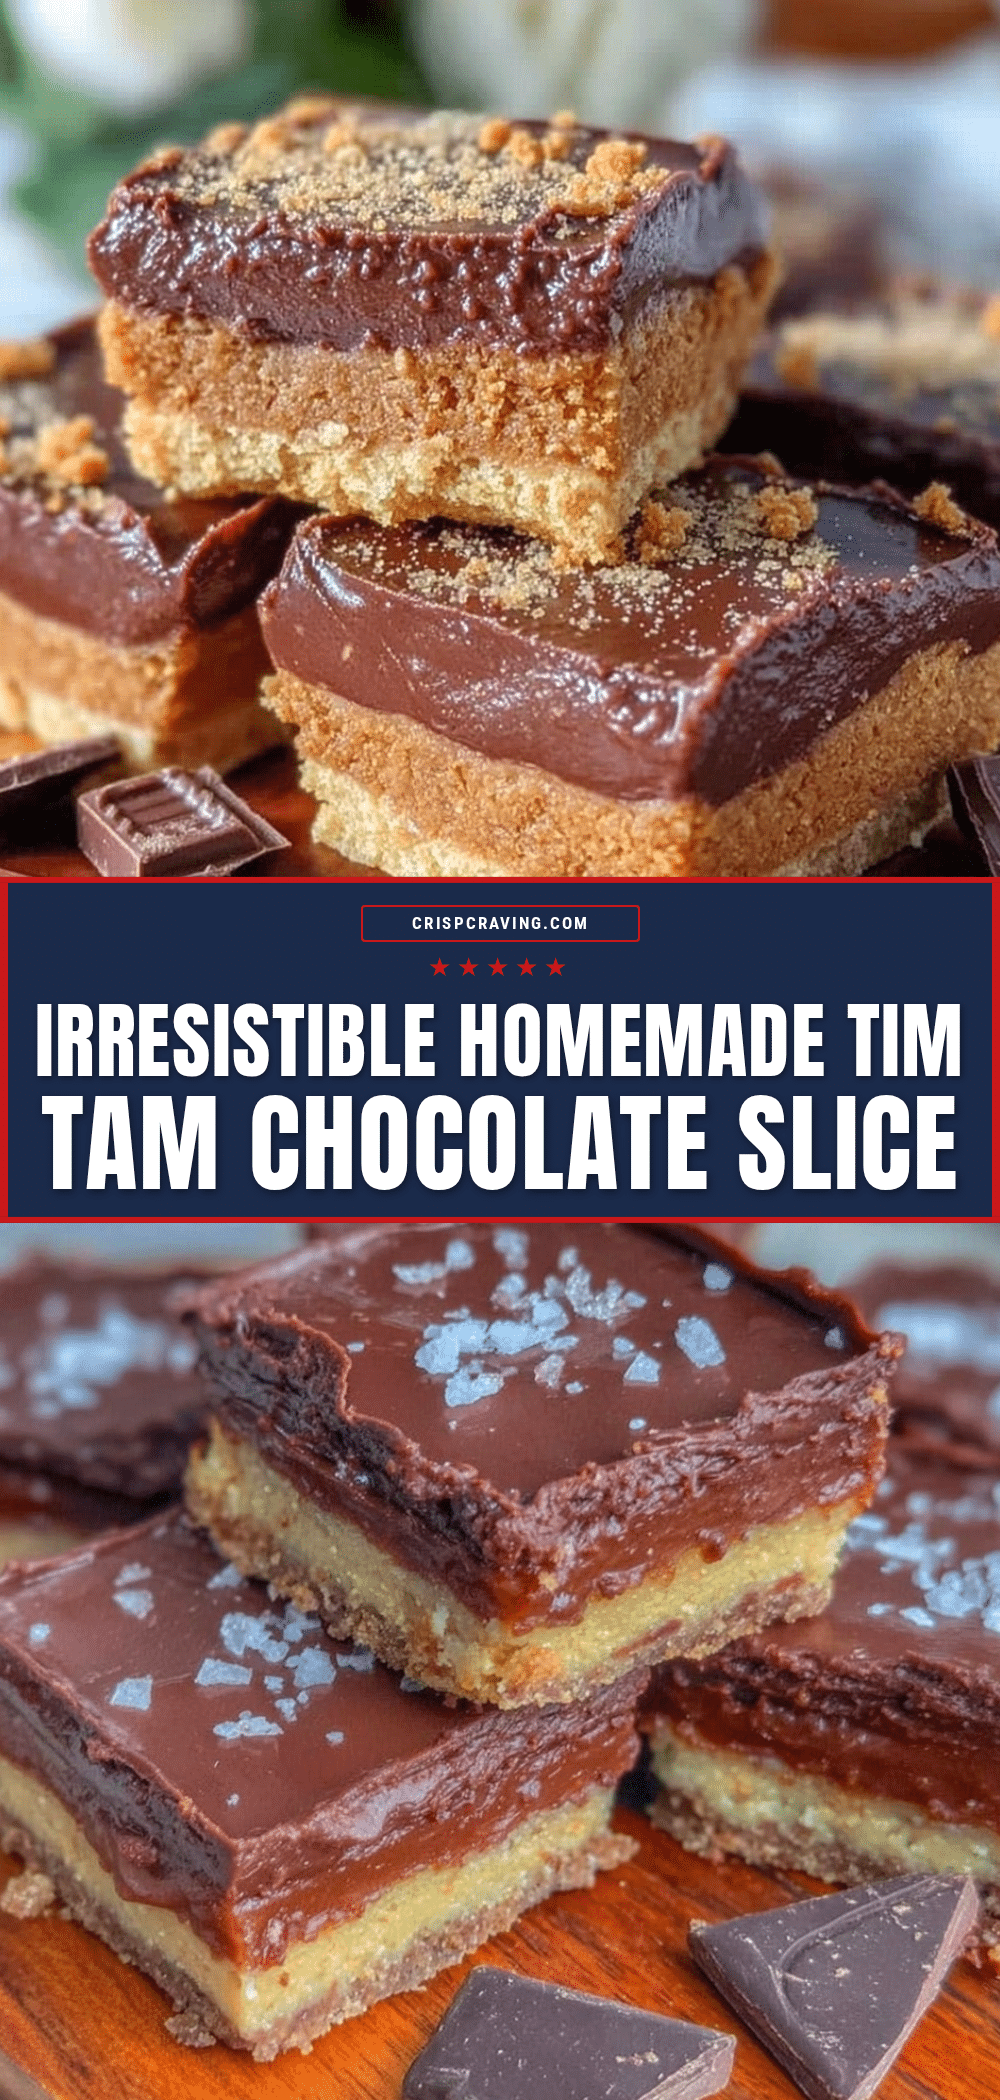
Homemade Australian Tim Tam Chocolate Biscuit Slice

A delicious and easy-to-make slice capturing the essence of Tim Tams with a crunchy biscuit base and silky chocolate ganache topping. Perfect for sharing and satisfying chocolate cravings.
- Prep Time: 20 minutes
- Cook Time: 15 minutes
- Total Time: 2 hours 35 minutes
- Yield: 16 servings 1x
- Category: Dessert
- Cuisine: Australian
Ingredients
- 200g (7 oz) chocolate biscuits, crushed (Arnott’s Tim Tams recommended or any chocolate-covered biscuit)
- 150g (5.3 oz) unsalted butter, melted
- 1 can (395g) sweetened condensed milk
- 2 tablespoons (15g) Dutch-processed cocoa powder
- 200g (7 oz) dark chocolate (at least 70% cocoa), chopped
- 2 tablespoons (30ml) golden syrup
- A pinch of sea salt (optional)
- 1 teaspoon vanilla extract
Instructions
- Crush the chocolate biscuits until mostly fine crumbs with some small chunks remain. Use a food processor or place biscuits in a ziplock bag and crush with a rolling pin.
- Melt the butter in the microwave or on the stove, then combine it with the crushed biscuits in a large bowl.
- Stir in the sweetened condensed milk, cocoa powder, golden syrup, and vanilla extract until the mixture is evenly coated and sticky. Add more condensed milk if too dry.
- Line a 20x20cm (8×8 inch) baking pan with baking paper, leaving an overhang on two sides for easy removal.
- Press the biscuit mixture firmly and evenly into the base of the pan using the back of a spoon or a flat-bottomed glass.
- Chop the dark chocolate into small pieces. Melt the chocolate gently over a double boiler or in the microwave in short bursts, stirring until smooth. Optionally add a tablespoon of butter or cream for gloss.
- Pour the ganache over the biscuit base and spread evenly with a spatula. Sprinkle a pinch of sea salt on top.
- Place the pan in the fridge and chill for at least 2 hours until the ganache is set.
- Use a sharp knife warmed under hot water and wiped dry to slice the set slice into neat squares.
Notes
Crushing biscuits unevenly adds a nice crunch. Use low heat when melting chocolate to avoid burning. Press biscuit base firmly but not too hard. Chill for at least 2 hours or overnight for best texture. Warm knife before slicing to prevent cracking.
Nutrition
- Serving Size: 1 small square slice
- Calories: 235
- Sugar: 18
- Fat: 15
- Fiber: 1.5
- Protein: 2
Keywords: Tim Tam, chocolate biscuit slice, Australian dessert, easy chocolate slice, no bake dessert, chocolate ganache, biscuit base



