Love this? Save it for later!
Share the inspiration with your friends
I was standing in the frozen food aisle of our local grocery store last Tuesday, trying to decide between two brands of ice cream, when a woman walked past me holding a paper bag. And that bag—that specific brown paper crinkling sound—hit me like a freight train of memory, and suddenly I was nine years old at my Aunt Rita’s kitchen table, watching her slide a spatula under a perfect golden cookie while the most incredible smell filled her tiny apartment.
Aunt Rita wasn’t really my aunt. She was my mom’s best friend from college, and she lived three blocks from us in a place that always smelled like butter and vanilla. Every other Thursday after school, I’d walk to her place while my mom worked late, and she’d have a batch of cookies cooling on the counter. Not just any cookies—these thick, chewy, absolutely ridiculous chocolate chip cookies that I’ve spent years trying to recreate. I mean, I’ve tried every recipe I could find. Seriously, my kitchen counter has seen more failed cookie experiments than I care to admit.
Here’s the thing I didn’t understand back then: Aunt Rita browned her butter. Every single time. She never told me that part. She just handed me warm cookies and milk and asked about my day. It wasn’t until I was in my own tiny apartment, maybe twenty-five and desperate for that exact feeling, that I figured it out. The nutty, almost caramel smell. The way the cookies stayed soft for days. The extra depth that made you close your eyes without thinking.
Maybe you’ve been there—chasing a taste you can almost remember but can’t quite hold onto. That’s what this recipe is for me. It’s not just a cookie. It’s a Thursday afternoon in 1997, and someone who cared about me was waiting with something warm. I’ve tested this version maybe a dozen times to get it exactly right, and honestly, I think she’d approve. Let me show you how to make it.
Why You’ll Love This Recipe
Let me tell you why this is the only chocolate chip cookie recipe you’ll ever need. I’ve tested it on neighbors, coworkers, and my friend Dave who “doesn’t really like sweets.” Dave ate four. Four cookies, you guys. That’s when I knew I had something special.
- Thick and Chewy Perfection: These cookies don’t spread into flat, crispy disks. They bake up tall and soft with that perfect chewy center and slightly crisp edge. The texture is honestly everything.
- Brown Butter Magic: That extra step of browning the butter changes everything. It adds a nutty, toasty depth that regular butter just can’t touch. You’ll never go back.
- Simple Pantry Ingredients: No weird flours or specialty extracts here. You probably have most of this stuff already. The only “extra” is the butter, and it’s worth it.
- Perfect for Any Occasion: Birthday parties, late-night cravings, holiday cookie swaps, or just a random Tuesday when you need something good. These fit everywhere.
- Crowd-Pleaser Guaranteed: I’ve brought these to potlucks, office parties, and family gatherings. They disappear first. Every single time.
- Foolproof Method: I’ve made every mistake possible so you don’t have to. The instructions are tested and tweaked until they work every time, even for beginner bakers.
What makes these cookies different from the hundreds of other recipes out there? It’s the combination of browned butter, the perfect ratio of brown to white sugar, and a resting period that lets the flavors meld. I’ve adjusted the flour amount to keep them thick without being cakey, and the chocolate-to-dough ratio is carefully balanced. This isn’t just another version—it’s my best version, born from years of trial and error and one very specific childhood memory.
What Ingredients You Will Need
This recipe uses simple, wholesome ingredients that come together to create something truly special. Most of these are pantry staples, and the ones that aren’t are easy to find at any grocery store.
For the Cookies
- 1 cup (2 sticks) unsalted butter — This is the star of the show. I recommend using a good-quality butter like Kerrygold or Plugrà for the best flavor when browned. The higher fat content gives better results.
- 3/4 cup granulated sugar — Adds sweetness and helps create those slightly crispy edges. (use organic if you want to avoid GMOs)
- 1 cup packed light brown sugar — This is what gives the cookies their chewy texture and deep, molasses-like flavor. Make sure it’s packed tightly into the measuring cup.
- 2 large eggs, room temperature — Room temperature eggs incorporate better into the browned butter, creating a smoother dough. Set them out 30 minutes before starting.
- 2 teaspoons vanilla extract — Pure vanilla extract makes a noticeable difference. Imitation works in a pinch, but the real stuff adds complexity.
- 2 1/4 cups all-purpose flour — Spoon and level your flour for accurate measuring. Scooping directly from the bag packs in too much and makes cookies dry.
- 1 teaspoon baking soda — Helps the cookies spread just enough while keeping them thick.
- 1/2 teaspoon salt — Balances the sweetness and enhances the brown butter flavor. I prefer fine sea salt here.
- 2 cups semi-sweet chocolate chips — I like Ghirardelli or Guittard for consistent melting. You can also chop a high-quality chocolate bar for varied chocolate pools.
- Flaky sea salt for topping (optional but amazing) — A sprinkle right before baking takes these to another level. Maldon is my go-to.
Ingredient Tips and Substitutions
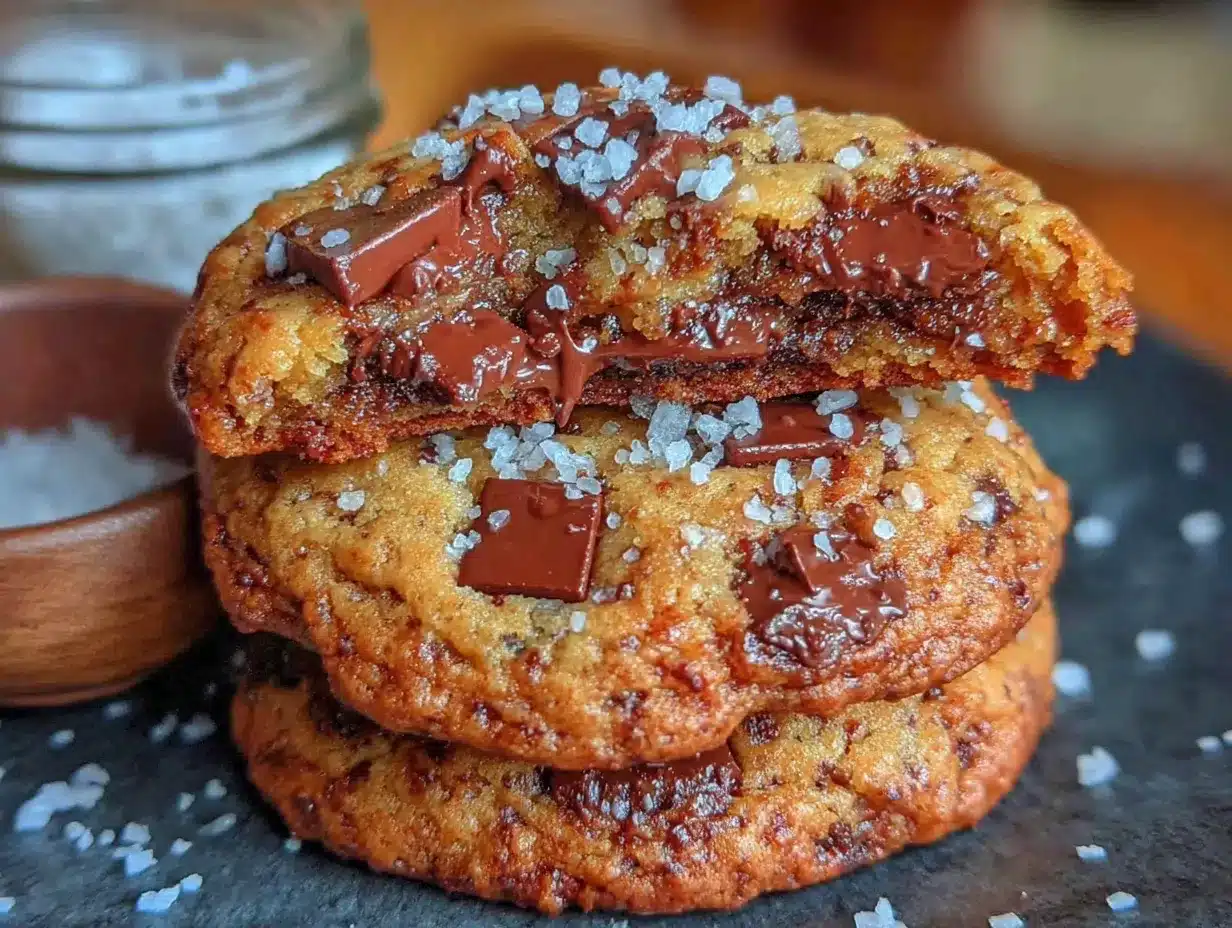
- Butter: You can use salted butter, just reduce the added salt to 1/4 teaspoon. The flavor will be slightly different but still delicious.
- Flour: For a gluten-free version, use a 1:1 gluten-free baking flour blend. I’ve had good results with King Arthur’s measure-for-measure blend.
- Chocolate: Swap in dark chocolate chunks, milk chocolate chips, or even white chocolate and macadamia nuts. Use what you love.
- Sugar: You can use all brown sugar for an even chewier cookie, or all white for a crisper result. The mix gives the best of both worlds.
- Eggs: For a vegan version, try flax eggs (2 tablespoons ground flaxseed mixed with 6 tablespoons water, let sit 5 minutes). The texture will be slightly different but still good.
Equipment Needed
You don’t need fancy equipment for these cookies, but having the right tools makes the process smoother. Here’s what you’ll need:
- Large skillet or saucepan — For browning the butter. A light-colored pan helps you see the color change. I use a stainless steel skillet, but any heavy-bottomed pan works.
- Mixing bowls — One large and one medium. Glass or stainless steel is best, but any bowl will do.
- Whisk — For mixing the wet ingredients and combining the dry.
- Rubber spatula — Essential for scraping every bit of that precious browned butter from the pan.
- Wooden spoon or sturdy spatula — For mixing the dough. The dough is thick, so a good sturdy spoon helps.
- Measuring cups and spoons — Accurate measurements matter here. I prefer metal measuring cups for dry ingredients.
- Baking sheets — Two large baking sheets. Light-colored aluminum sheets give the most even browning. Dark sheets can over-brown the bottoms.
- Parchment paper or silicone baking mats — Prevents sticking and helps cookies bake evenly. I prefer parchment for easy cleanup.
- Cookie scoop (about 3 tablespoons) — For uniform cookies that bake evenly. A #20 scoop works perfectly.
- Cooling rack — Lets air circulate around the cookies so they cool properly without getting soggy.
If you don’t have a cookie scoop, use two spoons or just your hands. The cookies will still taste amazing. And if you don’t have a cooling rack, a clean cutting board or even a paper towel works in a pinch. I’ve definitely done that before.
Preparation Method
Alright, let’s make these cookies. Take your time with the brown butter step—it’s the most important part. I’ll walk you through everything.
- Brown the butter: Cut the butter into pieces and place it in your skillet or saucepan over medium heat. Stir frequently with a rubber spatula or whisk. After about 5-7 minutes, the butter will start to foam and turn golden. Watch carefully—it can go from perfect to burnt in seconds. You’re looking for a deep amber color and a nutty aroma. Little brown specks will appear at the bottom. That’s the milk solids toasting, and that’s where the flavor lives. Immediately remove from heat and pour into a large mixing bowl, scraping every bit of those brown specks in. Let it cool for 10-15 minutes. It should be warm but not hot when you add the sugars.
- Combine sugars and butter: Add the granulated sugar and packed brown sugar to the warm browned butter. Whisk vigorously until the mixture looks like wet sand and the sugars are fully incorporated. This should take about 1-2 minutes. The mixture will be thick and grainy—that’s perfect.
- Add eggs and vanilla: Add the room temperature eggs one at a time, whisking well after each addition. The mixture will become smoother and lighter in color. Add the vanilla extract and whisk until combined. The mixture should look glossy and smooth, like caramel sauce.
- Mix dry ingredients: In a separate medium bowl, whisk together the flour, baking soda, and salt. Make sure there are no lumps. This ensures even distribution of the leavening agent.
- Combine wet and dry: Gradually add the dry ingredients to the wet mixture, stirring with a wooden spoon or sturdy spatula. Mix just until no streaks of flour remain. Overmixing develops gluten and makes cookies tough. You want to see a few floury spots and stop.
- Fold in chocolate chips: Add the chocolate chips and fold gently until evenly distributed. The dough will be thick and slightly sticky. That’s exactly right. If it seems too soft to scoop, don’t worry—the chilling step will firm it up.
- Chill the dough: Cover the bowl with plastic wrap and refrigerate for at least 30 minutes, or up to 72 hours. This step is non-negotiable for thick cookies. Chilling solidifies the butter, which prevents excessive spreading during baking. It also gives the flavors time to meld and develop. Longer chill times produce deeper flavor.
- Preheat and prepare: When you’re ready to bake, preheat your oven to 375°F (190°C). Line two baking sheets with parchment paper or silicone mats. Don’t skip this—ungreased pans cause spreading.
- Scoop and shape: Use your cookie scoop to portion the dough into balls about 3 tablespoons each. Place them 2 inches apart on the prepared baking sheets. For the tallest cookies, roll each ball into a tall cylinder shape rather than a perfect sphere. This encourages them to bake up thick rather than spread flat. If you want, press a few extra chocolate chips on top of each ball for that bakery-style look.
- Sprinkle with flaky salt (optional): A tiny pinch of flaky sea salt on each dough ball right before baking enhances the sweetness and balances the brown butter flavor. Trust me on this one.
- Bake: Bake one sheet at a time for 10-12 minutes, rotating halfway through. The edges should be golden brown and set, but the centers will look slightly underdone and puffy. That’s what you want—they’ll continue baking from residual heat on the pan. For softer cookies, pull them at 10 minutes. For slightly crisper edges, go to 12.
- Cool on pan: Let the cookies cool on the baking sheet for 5 minutes. This allows them to set up without breaking. Then transfer to a wire rack to cool completely. If you can wait that long, I mean. I usually eat one warm around minute three.
Cooking Tips & Techniques
I’ve made every mistake in the book with these cookies, so let me save you some trouble. Here are the things I’ve learned the hard way.
Don’t rush the brown butter. I know it’s tempting to crank up the heat, but medium heat is your friend. High heat burns the milk solids before they can toast properly, and burnt butter tastes bitter, not nutty. Stir constantly and watch for that amber color. The whole process takes about 5-7 minutes. Put your phone down and pay attention.
The chilling step is crucial. I once skipped the chilling because I was in a hurry. The cookies spread into flat, greasy discs. They still tasted okay, but they looked sad and had none of that thick, chewy texture we’re going for. Thirty minutes minimum. Overnight is better. The dough actually improves with age.
Use a light-colored baking sheet. Dark pans absorb more heat and can burn the bottoms of your cookies before the centers are done. If you only have dark pans, reduce the oven temperature by 25 degrees and watch them carefully.
Let the cookies cool on the pan. I know it’s hard to wait, but moving them too soon causes them to fall apart. Those five minutes on the hot pan are essential for structure. Plus, the residual heat continues to cook the centers gently, giving you that perfect soft interior.
Measure flour correctly. This is the most common mistake in baking. Fluff your flour with a spoon, then spoon it into your measuring cup and level with a knife. Scooping directly from the bag packs in up to 25% more flour, which makes cookies dry and cakey. I’ve ruined batches this way. Learn from my pain.
Room temperature eggs matter. Cold eggs seize the browned butter, creating a lumpy mixture that doesn’t emulsify properly. If you forget to set them out, place whole eggs in a bowl of warm water for 5 minutes before using.
Variations & Adaptations
One of the best things about this recipe is how flexible it is. Here are some variations I’ve tried and loved.
Dark Chocolate Sea Salt: Swap the semi-sweet chips for dark chocolate chunks (60-70% cacao) and double up on the flaky salt. The bitterness of the dark chocolate plays beautifully with the nutty brown butter and salty finish. This is my personal favorite variation.
Toffee Crunch: Reduce chocolate chips to 1 1/2 cups and add 1/2 cup chopped toffee bits (Heath bars work great) and 1/2 cup toasted pecans. The toffee adds buttery crunch, and the pecans bring warmth. Perfect for fall baking.
Gluten-Free Version: Substitute the all-purpose flour with 2 1/4 cups of a high-quality 1:1 gluten-free baking flour blend. Add 1/2 teaspoon xanthan gum if your blend doesn’t include it. Chill the dough for at least 1 hour—gluten-free dough needs more time to firm up. The texture will be slightly more tender but still chewy and delicious.
Vegan Option: Use vegan butter (I like Miyoko’s or Country Crock Plant Butter) and two flax eggs. Brown the vegan butter the same way—it works beautifully. Use dairy-free chocolate chips. The cookies will be slightly thinner but still incredibly tasty.
Double Chocolate: Reduce flour to 2 cups and add 1/4 cup unsweetened cocoa powder. Use white chocolate chips or a mix of dark and white. The brown butter pairs surprisingly well with chocolate—it’s a rich, fudgy experience.
Serving & Storage Suggestions
These cookies are best enjoyed warm, about 5-10 minutes after they come off the pan. The chocolate is still melty, the edges are crisp, and the center is soft and gooey. Serve them with a cold glass of milk, a hot cup of coffee, or honestly, just on their own. I’ve eaten three standing at the counter before. No judgment.
For a dessert spread, pair these with vanilla ice cream and a drizzle of caramel sauce. Crumble them over yogurt for a decadent breakfast. Or sandwich two cookies with a scoop of ice cream for the best ice cream sandwiches you’ve ever had.
Storage: Keep baked cookies in an airtight container at room temperature for up to 5 days. Place a slice of bread in the container—it absorbs excess moisture and keeps the cookies soft. Replace the bread every other day. I learned this trick from a bakery owner, and it works like magic.
Freezing baked cookies: Cool completely, then layer between sheets of parchment paper in a freezer-safe container. They’ll keep for up to 3 months. Thaw at room temperature for 15 minutes, then warm in a 300°F oven for 5 minutes to refresh them.
Freezing dough: Scoop the dough into balls and place them on a baking sheet in the freezer for 1 hour. Transfer frozen dough balls to a freezer bag. Bake directly from frozen, adding 2-3 minutes to the baking time. Fresh cookies anytime you want them—dangerously convenient.
Reheating: Microwave a single cookie for 10-15 seconds for that just-baked warmth. For a larger batch, place on a baking sheet in a 300°F oven for 5 minutes. The edges crisp up again, and the center gets soft and gooey.
Nutritional Information & Benefits
Let’s be real—these are cookies, not health food. But knowing what’s in them helps with mindful indulgence. Per cookie (based on 24 cookies): approximately 220 calories, 12g fat, 28g carbohydrates, 3g protein, 1g fiber, 18g sugar. These values will vary based on exact ingredients and portion sizes.
The brown butter adds a small amount of healthy fats and fat-soluble vitamins from the dairy. Dark chocolate provides antioxidants and magnesium, especially if you use higher cacao content. The eggs contribute protein and B vitamins. And honestly, there’s something to be said for the mental health benefits of a perfectly baked cookie shared with someone you love.
Dietary considerations: This recipe contains gluten, dairy, and eggs. For gluten-free and vegan options, see the variations section. The sugar content is moderate for a cookie, but if you’re watching your intake, you can reduce the granulated sugar to 1/2 cup without major texture changes.
I believe in balance. These cookies are a treat, not a daily staple. But when you do indulge, make it count. Make the version that makes you close your eyes and smile. That’s what this recipe is for.
Conclusion
These perfect thick and chewy brown butter chocolate chip cookies are more than just a recipe to me. They’re a connection to a memory, a way to recreate a feeling I thought I’d lost. Every time I make them, I think of Aunt Rita’s tiny kitchen and that crinkling paper bag. And every time I take that first bite, I’m nine years old again for just a moment.
But here’s the beautiful thing about recipes—they become yours. Maybe you’ll make these for your kids after school, or for a neighbor who needs a pick-me-up, or just for yourself on a quiet Sunday afternoon. Maybe you’ll tweak the chocolate ratio or add your own twist. That’s the point. Make them your own.
I’d love to hear how they turn out for you. Did you try a variation? Did you eat three before they cooled? (No judgment, remember?) Drop a comment below and let me know. Share a photo if you’re feeling brave. And if you loved this recipe, pass it along to someone who needs a little sweetness in their life.
Happy baking, friends. Go make something that matters.
Frequently Asked Questions
Can I skip chilling the dough?
Technically yes, but I really don’t recommend it. Chilling solidifies the butter, which prevents the cookies from spreading too much during baking. Without chilling, you’ll get thinner, flatter cookies that spread into each other. The flavor also develops during chilling—overnight dough tastes noticeably better. If you’re in a rush, 30 minutes is the absolute minimum.
Why did my cookies turn out flat?
Flat cookies usually happen for one of three reasons: the butter was too warm when you mixed the dough, you didn’t chill the dough long enough, or you used too much sugar. Make sure your browned butter has cooled to warm (not hot) before adding the sugars. And don’t skip the chilling step. If your dough feels greasy or soft, chill it longer.
Can I use all-purpose flour substitute?
Yes, but results vary. For a gluten-free option, use a 1:1 gluten-free baking flour blend. For a whole wheat version, replace half the all-purpose flour with white whole wheat flour. Don’t use coconut flour or almond flour alone—they absorb liquid differently and will change the texture dramatically.
How do I get that bakery-style look?
Two tricks: First, after scooping the dough, press a few extra chocolate chips into the top of each ball. This gives you those visible chocolate pools on the surface. Second, sprinkle with flaky sea salt right before baking. The contrast of sweet and salty is what makes bakery cookies so addictive.
Can I make these cookies ahead of time?
Absolutely. You have two options: bake the cookies up to 5 days ahead and store them in an airtight container, or freeze the dough balls for up to 3 months. Frozen dough bakes beautifully—just add 2-3 minutes to the baking time and bake directly from frozen. Fresh cookies anytime you want them.
Pin This Recipe!
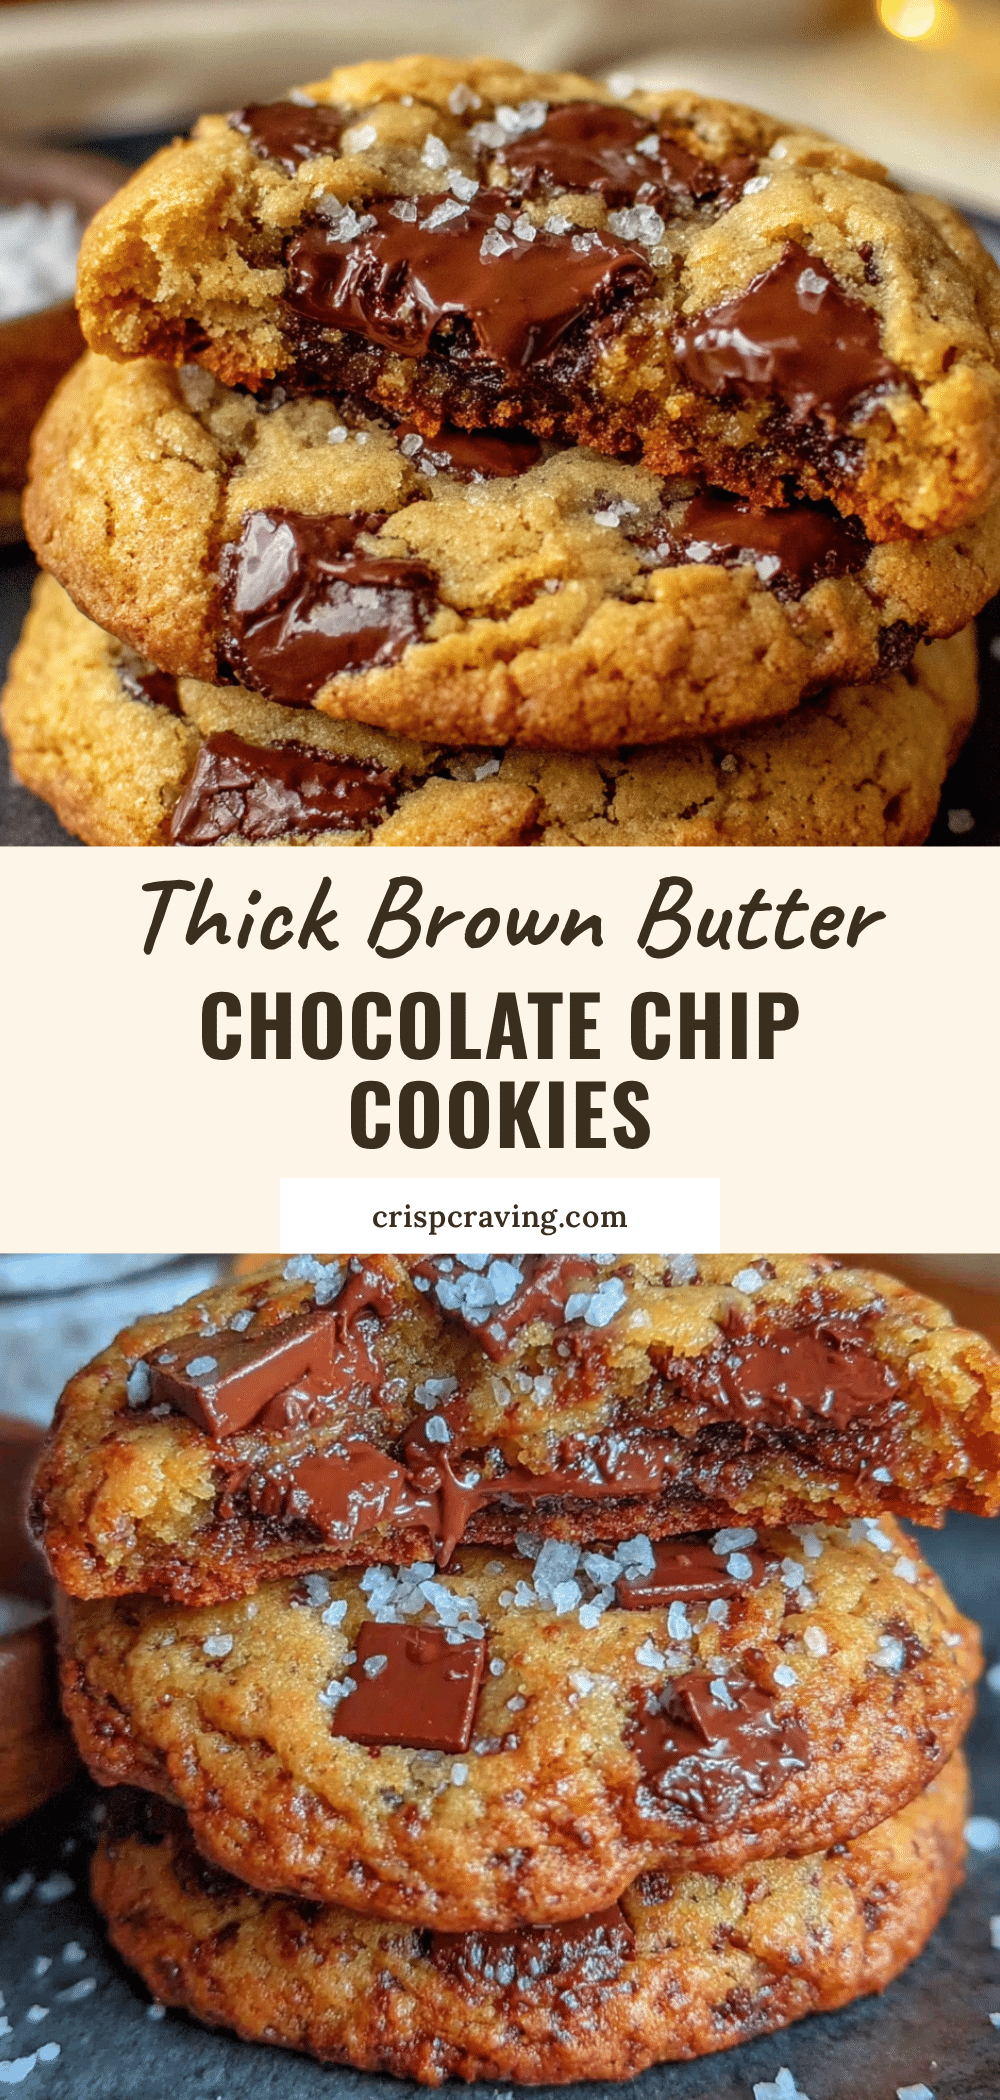
Perfect Thick Chewy Brown Butter Chocolate Chip Cookies

These thick and chewy brown butter chocolate chip cookies are the ultimate comfort food, with a nutty, caramel-like depth from browned butter and a perfect balance of crispy edges and soft centers. A foolproof recipe that delivers bakery-quality cookies every time.
- Prep Time: 15 minutes
- Cook Time: 12 minutes
- Total Time: 45 minutes (including chilling)
- Yield: 24 cookies 1x
- Category: Dessert
- Cuisine: American
Ingredients
- 1 cup (2 sticks) unsalted butter
- 3/4 cup granulated sugar
- 1 cup packed light brown sugar
- 2 large eggs, room temperature
- 2 teaspoons vanilla extract
- 2 1/4 cups all-purpose flour
- 1 teaspoon baking soda
- 1/2 teaspoon salt
- 2 cups semi-sweet chocolate chips
- Flaky sea salt for topping (optional)
Instructions
- Brown the butter: Cut the butter into pieces and place it in a skillet or saucepan over medium heat. Stir frequently. After about 5-7 minutes, the butter will foam and turn a deep amber color with a nutty aroma. Immediately remove from heat and pour into a large mixing bowl, scraping in all the brown specks. Let cool for 10-15 minutes.
- Combine sugars and butter: Add the granulated sugar and packed brown sugar to the warm browned butter. Whisk vigorously until the mixture looks like wet sand and is fully incorporated, about 1-2 minutes.
- Add eggs and vanilla: Add the room temperature eggs one at a time, whisking well after each addition. Add the vanilla extract and whisk until the mixture is glossy and smooth.
- Mix dry ingredients: In a separate medium bowl, whisk together the flour, baking soda, and salt until no lumps remain.
- Combine wet and dry: Gradually add the dry ingredients to the wet mixture, stirring with a wooden spoon or sturdy spatula. Mix just until no streaks of flour remain. Do not overmix.
- Fold in chocolate chips: Add the chocolate chips and fold gently until evenly distributed. The dough will be thick and slightly sticky.
- Chill the dough: Cover the bowl with plastic wrap and refrigerate for at least 30 minutes, or up to 72 hours.
- Preheat and prepare: When ready to bake, preheat oven to 375°F (190°C). Line two baking sheets with parchment paper or silicone mats.
- Scoop and shape: Use a cookie scoop to portion dough into balls about 3 tablespoons each. Place them 2 inches apart on prepared baking sheets. Roll each ball into a tall cylinder shape. Optionally, press extra chocolate chips on top.
- Sprinkle with flaky salt (optional): Add a tiny pinch of flaky sea salt on each dough ball right before baking.
- Bake: Bake one sheet at a time for 10-12 minutes, rotating halfway through. Edges should be golden brown and set, centers slightly underdone and puffy.
- Cool on pan: Let cookies cool on the baking sheet for 5 minutes, then transfer to a wire rack to cool completely.
Notes
Don’t rush the brown butter; use medium heat and watch for amber color. Chilling the dough is crucial for thick cookies. Use a light-colored baking sheet for even browning. Measure flour correctly by spooning and leveling. Room temperature eggs are important for proper emulsification.
Nutrition
- Serving Size: 1 cookie
- Calories: 220
- Sugar: 18
- Sodium: 120
- Fat: 12
- Saturated Fat: 7
- Carbohydrates: 28
- Fiber: 1
- Protein: 3
Keywords: brown butter chocolate chip cookies, thick chewy cookies, chocolate chip cookies, easy cookie recipe, bakery-style cookies



