Love this? Save it for later!
Share the inspiration with your friends
My friend Jenna watched me wrestling with a bag of candy melts one October afternoon. I was trying to get them to cooperate for a Halloween party, and honestly, they were winning. She didn’t say anything at first. Then she pulled a crumpled bag of pretzel rods from her grocery tote and set them on my counter with a little shrug. “My grandma used to make these with us,” she said, “but we always called them witch fingers.”
The recipe arrived through our friendship, not through a formal lesson. Jenna showed me how to dip the pretzels, how to press the almond nail just so, and how to add the knuckle lines with a toothpick. I made a huge mess my first time—pretzel rods rolling off the parchment, chocolate smeared up to my elbows. She just laughed and handed me another rod. That afternoon in my tiny kitchen, we turned simple snacks into something that genuinely made people smile. I mean, there’s something special about food that looks spooky but tastes like pure comfort.
These Spooky Witch Finger Pretzel Rods with White Chocolate have become my go-to Halloween treat. They’re the kind of thing that makes guests do a double-take before laughing and grabbing a handful. Maybe you’ve been there—staring at Pinterest-perfect Halloween treats and thinking, “I could never make that.” Let me tell you, these are different. They look impressive, but they’re almost embarrassingly easy to pull off. That’s why they’ve stayed in my recipe rotation year after year. You get the satisfying crunch of a pretzel rod, the creamy sweetness of white chocolate, and that playful witchy vibe that makes Halloween so fun.
Why You’ll Love This Recipe
I’ve tested this recipe more times than I care to admit, and I’ve learned a few things along the way. These pretzel rods are the perfect balance of spooky and simple. Here’s why they always end up on my Halloween dessert table:
- Quick & Easy : You can have a full batch done in under 30 minutes. No baking required, just melting, dipping, and decorating. Perfect for last-minute Halloween prep or when the kids suddenly need a class treat.
- Simple Ingredients : You only need four main ingredients. Pretzel rods, white chocolate melting wafers, sliced almonds, and a bit of food coloring. I bet you already have most of these in your pantry.
- Perfect for Halloween Parties : These witch fingers are the star of any spooky spread. They work for adult gatherings, classroom parties, or just a fun family movie night with Hocus Pocus playing in the background.
- Crowd-Pleaser : Kids absolutely lose their minds over these. Adults pretend to be grossed out for a second, then grab three more. The salty-sweet combo is universally loved.
- Unbelievably Delicious : The texture is what gets me every time. That initial snap of white chocolate gives way to the satisfying crunch of the pretzel, finished with a subtle nutty bite from the almond. It’s next-level snack territory.
What makes these different from other Halloween treats is the technique. Instead of using messy candy melts that seize up on you, I use high-quality white chocolate melting wafers. They melt smooth, set firmly, and give you that perfect matte finish that actually looks like a witch’s fingernail. I also add a tiny drop of green gel food coloring to create that slightly eerie, undead skin tone. It’s subtle enough to look intentional but spooky enough to sell the illusion.
This recipe isn’t just good—it’s the kind that makes you close your eyes after the first bite. It’s Halloween fun reimagined as something you can actually make without a culinary degree. Perfect for impressing guests without stress, or turning a simple snack into something memorable. Honestly, I’ve had people ask me for the recipe months after Halloween. That’s how you know it’s a keeper.
What Ingredients You Will Need
This recipe uses simple ingredients that come together to create something genuinely fun and delicious. The magic is in how you combine them, not in hunting down obscure specialty items.
- Pretzel rods (1 standard bag, about 12-16 rods) — Look for thick, sturdy rods that won’t break easily during dipping. I prefer the Snyder’s of Hanover brand for their consistent size and crunch.
- White chocolate melting wafers (12 ounces) — These are different from white chocolate chips, which don’t melt as smoothly. I recommend Ghirardelli or Merckens for the best consistency. The wafers melt evenly and set with a nice, firm shell.
- Sliced almonds (about 30-40 slices) — These become the witch fingernails. Look for whole sliced almonds, not slivered or chopped. You want that natural curved shape that resembles a nail. Toast them lightly in a dry pan for extra flavor if you want.
- Green gel food coloring (a tiny amount) — Regular liquid food coloring can seize your chocolate. Gel coloring gives you that perfect witchy green without messing up the texture. I use Americolor brand.
- Vegetable shortening or coconut oil (1 teaspoon) — This helps thin the melted chocolate slightly for easier dipping. Optional but helpful.
- Black or red decorating gel (small tube) — For adding knuckle lines and wrinkles to make them look like real witch fingers. Wilton brand works great.
- Parchment paper or silicone baking mat — For setting the finished pretzels. Wax paper can stick, so parchment is better.
For the green color, start with just a tiny dab on a toothpick. You can always add more, but you can’t take it away. I learned this the hard way my first time and ended up with neon green pretzels that looked radioactive rather than witchy. A pale, subtle green is much more convincing.
If you’re making these with kids or for a nut-free classroom, you can skip the almonds and use a small dab of white chocolate shaped into a nail instead. It’s not quite as realistic, but it still looks spooky. For a dairy-free version, look for dairy-free white chocolate wafers—they do exist and work just as well.
Equipment Needed
You don’t need much for this recipe, which is part of why I love it. Here’s what you’ll want on hand:
- Microwave-safe bowl (medium size) — Glass or ceramic works best. Avoid plastic bowls as they can hold onto odors and affect the chocolate.
- Spatula or spoon — For stirring the melted chocolate. A small offset spatula is great for spreading, but a regular spoon works fine.
- Baking sheet — Lined with parchment paper or a silicone mat. This is where your witch fingers will set.
- Toothpicks or small skewer — For creating knuckle lines and adding texture to the “skin.”
- Small piping bag or zip-top bag — If you want to drizzle extra chocolate or add details. A zip-top bag with a tiny corner snipped off works perfectly.
- Wire cooling rack (optional) — Placing the pretzels on a rack over the baking sheet allows excess chocolate to drip off cleanly.
If you don’t have a microwave, you can melt the chocolate in a double boiler on the stovetop. Just be careful not to let any water get into the chocolate, or it will seize up and become grainy. I’ve ruined a whole batch that way. Trust me, it’s not a fun cleanup.
For a budget-friendly option, skip the piping bag and just use a toothpick for all your detailing. It gives you more control anyway, and you won’t have to wash extra equipment.
Preparation Method
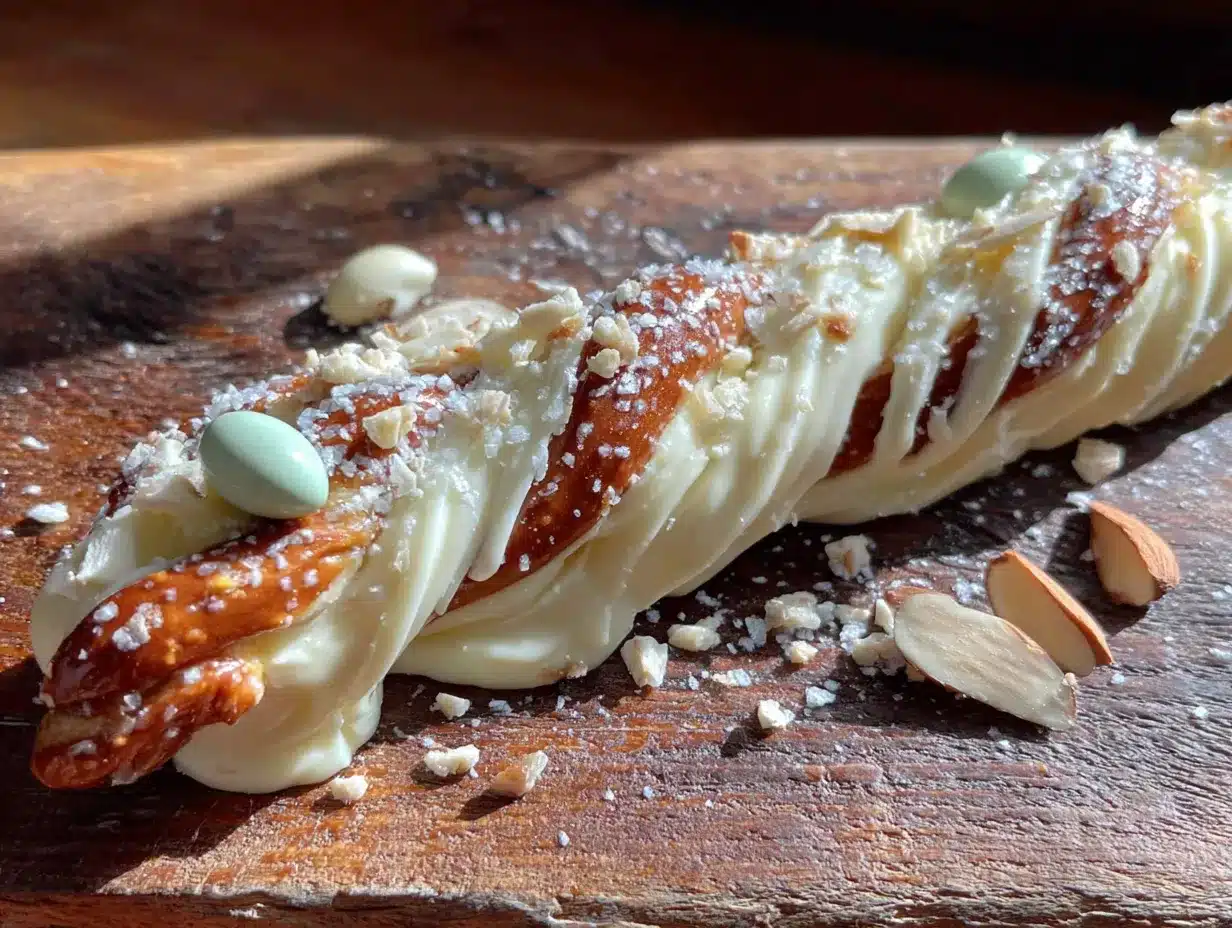
Let’s make some witch fingers! This process is straightforward, but I’ll walk you through each step with the little tricks I’ve picked up along the way.
- Prepare your workspace — Line a baking sheet with parchment paper or a silicone mat. Make sure it fits in your refrigerator. Lay out your pretzel rods so they’re ready to go. Place your almond slices in a small bowl nearby. You want everything within arm’s reach once you start dipping.
- Melt the white chocolate — Place your white chocolate melting wafers in a microwave-safe bowl. Microwave in 30-second intervals at 50% power, stirring thoroughly between each interval. It usually takes about 2-3 minutes total. The chocolate should be smooth and completely melted with no lumps. If it looks thick, stir in 1 teaspoon of vegetable shortening or coconut oil to thin it out.
- Add the green color — Dip a toothpick into your green gel food coloring. Just a tiny dab—seriously, less than you think. Stir it into the melted white chocolate thoroughly. You’re going for a pale, sickly green, not a bright St. Patrick’s Day green. Add another tiny dab if needed. Remember, the color will look slightly lighter once it sets.
- Dip the pretzel rods — Hold a pretzel rod by one end and dip it into the melted chocolate, leaving about 1-2 inches undipped at the top (this will be the “wrist” area). Gently twist and turn the pretzel to coat it evenly. Lift it out and let the excess chocolate drip back into the bowl for a few seconds. You can tap the pretzel gently against the side of the bowl to encourage dripping.
- Place on the baking sheet — Transfer the dipped pretzel to your prepared baking sheet. Gently press it down slightly so it doesn’t roll around. Repeat with the remaining pretzels, working one at a time. If the chocolate starts to thicken in the bowl, pop it back in the microwave for 15 seconds.
- Add the fingernail — While the chocolate is still wet, press a sliced almond onto the dipped end of the pretzel. Position it so the pointed end of the almond extends slightly past the tip of the pretzel, like a fingernail. Press gently so it stays in place. The almond should be angled slightly upward for that witchy look.
- Create the knuckle lines — Use a toothpick or small skewer to draw lines across the pretzel at regular intervals. These are your knuckles. Make 2-3 lines about 1 inch apart. You can also add small wrinkles around each knuckle by making tiny curved lines. Don’t overthink this—witch fingers are supposed to look a bit gnarled and imperfect.
- Add texture to the “skin” — Lightly drag the toothpick along the length of the pretzel to create subtle lines and wrinkles. Think about how real knuckles and finger joints look. A few random lines here and there make them look more realistic. I like to add a little crease near the almond nail too.
- Chill to set — Place the baking sheet in the refrigerator for about 15-20 minutes, or until the chocolate is completely firm. Don’t skip this step—the chocolate needs to set fully so the pretzels don’t smudge when you handle them.
- Add final details (optional) — Once the chocolate is set, you can add extra details using black or red decorating gel. Draw tiny lines at the knuckles, add a little “dirt” under the fingernail with brown gel, or even add a drop of red gel at the tip for a bloody effect. This step is purely for fun and completely optional.
A few things I’ve learned the hard way: Don’t dip the entire pretzel rod. Leaving that undipped portion at the top gives your fingers a realistic “wrist” area and makes them easier to hold. Also, work quickly once you start adding the almond nails—the chocolate sets faster than you think, and you want the almond to stick properly.
If your chocolate starts to get too thick while you’re working, just give it another quick 10-second blast in the microwave. If it seizes up (gets grainy and stiff), unfortunately there’s no saving it. That’s why I always recommend melting wafers over chips—they’re much more forgiving.
Cooking Tips & Techniques
After making these witch finger pretzels for several Halloweens now, I’ve collected a few tricks that make the process smoother and the results spookier.
Temperature matters — White chocolate is sensitive to heat. If you microwave it too long or at too high a power, it can scorch and become thick and unusable. Always use 50% power and stir frequently. Your chocolate should be warm to the touch, not hot. I learned this after ruining two bags of wafers in one afternoon. My kitchen smelled like burnt sugar for days.
The almond angle is everything — For the most realistic witch fingernails, press the almond onto the pretzel at a slight upward angle. A flat almond looks like a bandage. An angled almond looks like a claw. You want that subtle curve that mimics a real nail growing from the finger. It’s a small detail, but it makes a huge difference in the final look.
Work in batches — Don’t try to dip all the pretzels at once. Dip 3-4 at a time, add the almonds and knuckle lines, then move on to the next batch. If you dip all of them first and then go back to add details, the chocolate will have set too much and you won’t be able to create clean lines. I made this mistake my first year and ended up with smooth witch fingers that looked more like green cigars.
Use a toothpick for precision — A toothpick gives you much more control than a skewer or knife for creating knuckle lines. You can make fine, delicate lines that look natural. If you mess up a line, just smooth it over with your finger and try again while the chocolate is still wet.
Let them fully set — I know it’s tempting to grab one right after they come out of the fridge, but give them a few extra minutes. The chocolate needs to be completely firm to hold its shape at room temperature. If you rush this step, your witch fingers will get smudgy and lose their spooky details.
Store them carefully — Once set, these pretzels are somewhat delicate. The chocolate shell can crack if handled roughly. Store them in a single layer in an airtight container with parchment paper between layers if you need to stack them. I keep mine in a shallow container and handle them gently.
Variations & Adaptations
One of the best things about this recipe is how easy it is to customize. Here are some variations I’ve tried over the years:
Dark Chocolate Witch Fingers — Swap the white chocolate for dark or milk chocolate. Skip the green food coloring and use the dark chocolate as-is. The dark chocolate looks more like aged, weathered witch fingers. I actually prefer this version for adult parties—the bitterness of dark chocolate pairs beautifully with the salty pretzel.
Bloody Witch Fingers — After the white chocolate sets, drizzle red candy melts or decorating gel over the tips and knuckles to look like blood. It’s more gruesome and perfect for haunted houses or horror movie marathons. My nephew insisted on this version last year and they were definitely the most talked-about treat at his Halloween party.
Gluten-Free Version — Use gluten-free pretzel rods. They’re available at most grocery stores now, and they work exactly the same way. Just check the label to make sure your white chocolate is also gluten-free, as some brands use wheat-based additives.
Zombie Fingers — Instead of green, use a gray or brown food coloring to create zombie-like skin tones. Add little “rotting” spots with darker chocolate. These are less spooky-witch and more horror-movie, which some people prefer.
Edible Glitter Witch Fingers — Before the chocolate sets completely, sprinkle edible glitter or luster dust over the pretzels. It gives them a magical, enchanted forest vibe rather than straight-up spooky. I made these for a Halloween brunch and they were gorgeous.
Nut-Free Version — Skip the almond nails and instead pipe a small fingernail shape using additional white chocolate. It’s not quite as realistic, but it still reads as a witch finger. You can also use a small piece of dried apricot or a pumpkin seed for the nail shape.
My personal favorite variation is the dark chocolate version with a tiny sprinkle of sea salt. The salty-sweet combination is already perfect, but the dark chocolate adds depth and the sea salt gives it a sophisticated edge. I brought those to a Halloween dinner party and people wouldn’t believe they were homemade.
Serving & Storage Suggestions
These witch finger pretzels are best served at room temperature. The chocolate should be firm but not cold, and the pretzel should have its full crunch. If you’ve refrigerated them, let them sit out for about 10 minutes before serving.
Presentation ideas — Arrange them on a black platter or wooden board for maximum spooky effect. You can stand them upright in a jar or vase filled with black beans or coffee grounds to look like a hand reaching out. For Halloween parties, place them in a “witch’s cauldron” (a black pot) with some dry ice for a smoky effect. Just don’t let the dry ice touch the chocolate directly.
What goes well with them — These pair beautifully with other Halloween treats. Serve them alongside pumpkin dip, caramel apples, or a bowl of popcorn drizzled with orange candy melts. For drinks, they’re perfect with hot apple cider, pumpkin spice lattes, or even a dark beer if you’re serving adults.
Storage instructions — Store in an airtight container at room temperature for up to 5 days. Do not refrigerate them unless your kitchen is very warm, as condensation can make the chocolate bloom (develop white spots). If you must refrigerate, bring them to room temperature in the container before opening to prevent condensation.
Freezer instructions — You can freeze these for up to 2 months. Place them in a single layer on a baking sheet and freeze until solid, then transfer to a freezer-safe container with parchment paper between layers. Thaw in the container at room temperature for about 30 minutes before serving.
The flavors actually develop a bit over time. On day two, the chocolate and pretzel have married together perfectly, and the almond’s flavor has mellowed into the chocolate. They’re still delicious on day one, but if you can make them a day ahead, they’re even better.
Nutritional Information & Benefits
These are a treat, so I won’t pretend they’re health food. But here’s what you should know:
Per serving (one pretzel rod): approximately 180-220 calories, 10g fat, 25g carbohydrates, 3g protein. These values will vary based on the specific brands you use and how much chocolate you apply.
The pretzel rods provide some sodium and carbohydrates for quick energy. White chocolate contains calcium from the milk solids, though it’s not a significant source. The almonds add healthy fats, vitamin E, and a bit of fiber—so at least one component has some nutritional value.
Dietary considerations — This recipe contains dairy (white chocolate), gluten (pretzels), and nuts (almonds). For a dairy-free version, use dairy-free white chocolate wafers. For gluten-free, use gluten-free pretzel rods. The almond can be omitted for nut-free diets, as noted in the variations section.
I think of these as a celebration food. They’re for Halloween parties, movie nights, and special occasions. I don’t stress about the nutritional profile because they bring joy and that counts for something. Just enjoy them in moderation and maybe grab an apple on your way past the fruit bowl.
Conclusion
These Spooky Witch Finger Pretzel Rods with White Chocolate are the Halloween treat you didn’t know you needed. They’re fun to make, impressive to serve, and genuinely delicious. The salty pretzel, sweet white chocolate, and crunchy almond come together in a way that’s way more than the sum of its parts.
I love that they look like something from a witch’s kitchen but take almost no skill to pull off. You don’t need to be a pastry chef. You don’t need special equipment. You just need some pretzels, chocolate, almonds, and a willingness to have fun with your food. That’s the whole point of Halloween, right?
Don’t be afraid to make them your own. Change the colors, add more details, skip the almonds if you need to. The best recipes are the ones you adapt to your own life. My friend Jenna’s grandma would probably be horrified that I added green food coloring to her simple pretzel treat. But she’d also probably laugh and grab one.
I’d love to hear how yours turn out. Did you add extra details? Did your kids help? Did you make a mess and laugh about it? Drop a comment below and share your witch finger creations. And if you loved this recipe, share it with a friend who needs a little spooky joy in their life. Happy Halloween, and happy snacking!
Frequently Asked Questions
Can I make these witch finger pretzels ahead of time?
Yes! These can be made up to 5 days in advance. Store them in an airtight container at room temperature. If you’re making them for a party, I actually recommend making them a day ahead—the flavors meld together beautifully overnight.
Why did my white chocolate seize up?
White chocolate is sensitive to heat and moisture. If you microwave it too long or at too high power, it can seize and become grainy. Always use 50% power and stir frequently. Also, make sure no water gets into your chocolate—even a drop can cause it to seize.
Can I use white chocolate chips instead of melting wafers?
You can, but the results won’t be as smooth. White chocolate chips contain stabilizers that prevent them from melting as evenly as wafers. If using chips, add a teaspoon of coconut oil to help them melt smoother. Wafers are definitely worth seeking out for the best texture.
How do I get the green color right?
Start with a tiny amount of gel food coloring—just a dab on a toothpick. Stir it in thoroughly and check the color. You’re going for a pale, sickly green, not bright neon. Add more in tiny increments until you get the shade you want. Remember it will look slightly lighter once set.
Can kids help make these?
Absolutely! Kids can help dip the pretzels (with supervision for the hot chocolate), place the almond nails, and draw the knuckle lines. It’s a great Halloween activity. Just be prepared for some chocolate-covered fingers and lots of giggles.
Pin This Recipe!
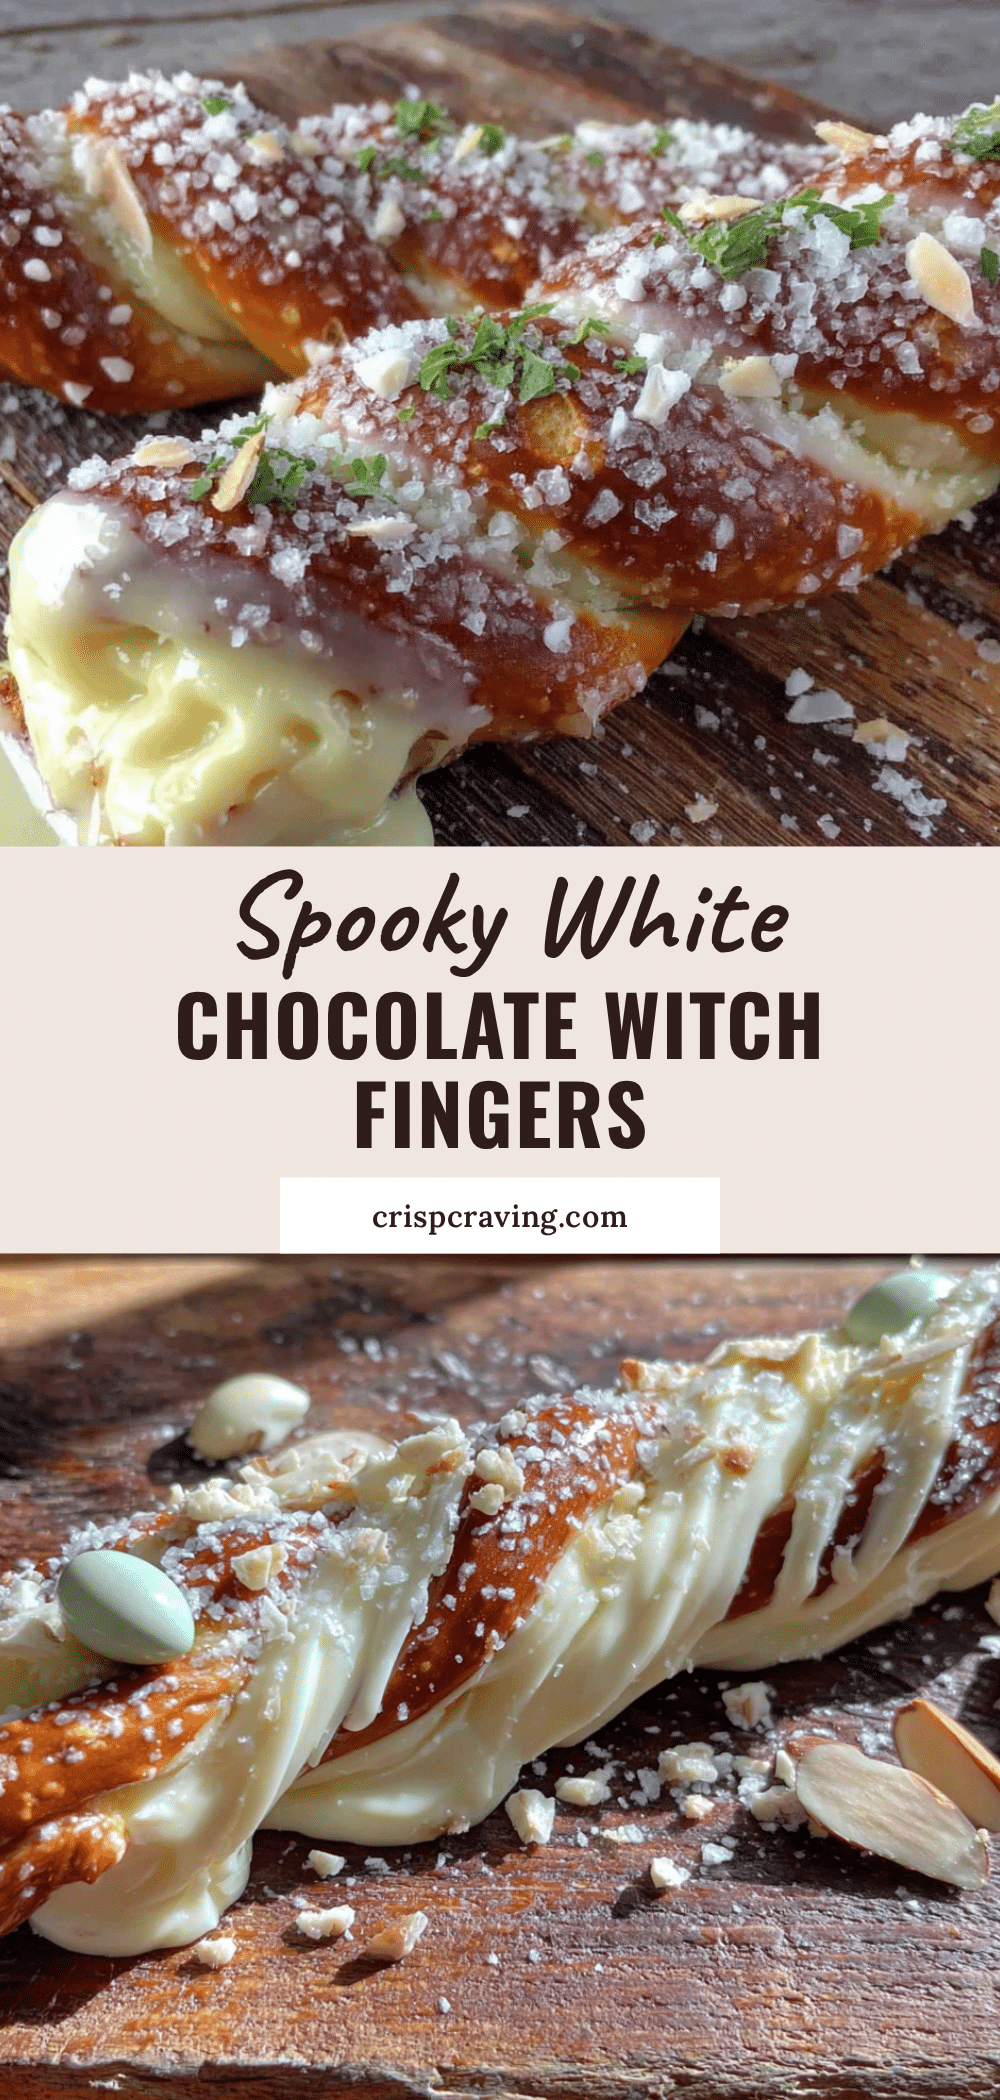
Spooky Witch Finger Pretzel Rods: Easy White Chocolate Recipe

These spooky witch finger pretzel rods are made with white chocolate, pretzel rods, and sliced almonds for a fun and easy Halloween treat. They look impressive but are simple to make, perfect for parties and family fun.
- Prep Time: 15 minutes
- Cook Time: 0 minutes
- Total Time: 30 minutes
- Yield: 12-16 servings 1x
- Category: Dessert
- Cuisine: American
Ingredients
- 1 standard bag pretzel rods (about 12–16 rods)
- 12 ounces white chocolate melting wafers
- 30–40 sliced almonds
- Green gel food coloring (a tiny amount)
- 1 teaspoon vegetable shortening or coconut oil (optional)
- Black or red decorating gel (small tube, optional)
- Parchment paper or silicone baking mat
Instructions
- Prepare your workspace: Line a baking sheet with parchment paper or a silicone mat. Lay out pretzel rods and place almond slices in a small bowl nearby.
- Melt the white chocolate: Place white chocolate melting wafers in a microwave-safe bowl. Microwave in 30-second intervals at 50% power, stirring thoroughly between each interval, until smooth (about 2-3 minutes total). If thick, stir in 1 teaspoon vegetable shortening or coconut oil.
- Add the green color: Dip a toothpick into green gel food coloring and stir a tiny dab into the melted white chocolate until you achieve a pale, sickly green. Add more if needed, but remember the color will lighten as it sets.
- Dip the pretzel rods: Hold a pretzel rod by one end and dip it into the melted chocolate, leaving about 1-2 inches undipped at the top (the ‘wrist’ area). Gently twist to coat evenly. Lift out and let excess drip back into the bowl.
- Place on the baking sheet: Transfer the dipped pretzel to the prepared baking sheet. Gently press it down slightly so it doesn’t roll. Repeat with remaining pretzels, working one at a time. If chocolate thickens, microwave for 15 seconds.
- Add the fingernail: While chocolate is still wet, press a sliced almond onto the dipped end, pointed end extending slightly past the tip like a fingernail. Angle slightly upward for a witchy look.
- Create the knuckle lines: Use a toothpick or small skewer to draw 2-3 lines across the pretzel about 1 inch apart for knuckles. Add small wrinkles around each knuckle with tiny curved lines.
- Add texture to the ‘skin’: Lightly drag the toothpick along the length of the pretzel to create subtle lines and wrinkles. Add a little crease near the almond nail.
- Chill to set: Place the baking sheet in the refrigerator for 15-20 minutes, or until chocolate is completely firm.
- Add final details (optional): Once set, use black or red decorating gel to add tiny lines at knuckles, ‘dirt’ under the fingernail, or a drop of red gel at the tip for a bloody effect.
Notes
Use high-quality white chocolate melting wafers for best results. Start with a tiny amount of green gel food coloring; you can always add more. Work in batches of 3-4 pretzels to ensure chocolate stays wet for adding almonds and details. Store in an airtight container at room temperature for up to 5 days. For a nut-free version, skip almonds and pipe a small fingernail shape with white chocolate.
Nutrition
- Serving Size: 1 pretzel rod
- Calories: 200
- Sugar: 18
- Sodium: 200
- Fat: 10
- Saturated Fat: 6
- Carbohydrates: 25
- Fiber: 1
- Protein: 3
Keywords: Halloween treats, witch fingers, pretzel rods, white chocolate, easy Halloween recipe, spooky snacks, no-bake dessert



