Love this? Save it for later!
Share the inspiration with your friends
The PTA bake sale was in twelve hours and I’d completely forgotten. I mean, completely. I was staring at my pantry like it had personally betrayed me, while visions of elaborate, Pinterest-perfect treats danced in my head—the ones other moms would surely be bringing. I had a half-stick of butter, some whole wheat flour I’d bought with good intentions, and a vague memory of a sugar cookie recipe my grandma used to make. No food coloring, no fancy sprinkles. I was doomed. But then I spotted the cocoa powder, and a silly, slightly desperate idea took root. These wholesome black cat sugar cookies were born from that moment of panic, and honestly? They won the bake sale. Maybe you’ve been there, staring down a kitchen timer and a complete lack of inspiration. Let me tell you, this simple recipe is your saving grace.
Why You’ll Love This Recipe
These aren’t just any Halloween cookies. They’re the kind that makes you feel good about what you’re feeding your family while still nailing the festive fun. I’ve tested this recipe a dozen times to get the texture just right—crisp on the edges, soft in the center, and sturdy enough to hold a cute little cat face. Here’s why you’ll keep coming back to it:
- Quick & Easy: From start to finish, you’re looking at under an hour. Perfect for that last-minute Halloween party or a rainy afternoon activity with the kids.
- Simple Ingredients: You probably have most of these in your pantry right now. No weird extracts or hard-to-find flours.
- Naturally Wholesome: Made with whole wheat pastry flour and less sugar than a traditional sugar cookie, they satisfy the sweet tooth without the sugar crash.
- Fun for All Ages: Kids love stamping out the cat shapes and adding the chocolate chip eyes. It’s a craft you can eat!
- Crowd-Pleaser: Even the most skeptical Halloween candy puritan will grab one of these. They’re just that good.
What makes this recipe different? It’s the perfect balance of a classic, buttery sugar cookie with a dark, cocoa-rich twist. The dough is forgiving, the taste is nostalgic, and the result is a cookie that feels both special and simple. It’s comfort food reimagined—healthier, faster, but with the same soul-soothing satisfaction. This isn’t just another version of a Halloween cookie; it’s the one you’ll make every year from now on.
What Ingredients You Will Need
This recipe uses simple, wholesome ingredients to deliver a rich, chocolatey flavor and a tender crumb. Most are pantry staples, making this an easy last-minute treat.
- Unsalted Butter (1/2 cup, 1 stick, softened): The foundation of any good sugar cookie. Make sure it’s at room temperature for the best creaming texture.
- Coconut Sugar (1/2 cup): This adds a subtle caramel note and is lower on the glycemic index than white sugar. You can also use brown sugar for a similar flavor.
- Large Egg (1, room temperature): Helps bind the dough and adds richness.
- Vanilla Extract (1 teaspoon): Pure vanilla makes a world of difference here. I prefer Nielsen-Massey for its deep, floral notes.
- Whole Wheat Pastry Flour (1 1/2 cups): This is the secret to a wholesome cookie that’s still tender. You can substitute all-purpose flour if that’s all you have, but the texture will be slightly less delicate.
- Unsweetened Cocoa Powder (1/4 cup): For that deep, dark black cat color. I recommend Ghirardelli for a rich, non-bitter taste.
- Baking Powder (1/2 teaspoon): For a little lift.
- Salt (1/4 teaspoon): Balances the sweetness and enhances the chocolate flavor.
- Chocolate Chips (1/4 cup, for the eyes and noses): Mini chocolate chips work best for the faces. I use Enjoy Life brand for a dairy-free option.
Equipment Needed
You don’t need a fancy bakery setup for these. Here’s what you’ll want handy:
- Mixing Bowls: One large, one small.
- Electric Hand Mixer or Stand Mixer: For creaming the butter and sugar. A wooden spoon and some elbow grease work too, I’ve done it!
- Cat-Shaped Cookie Cutter: The star of the show. I found a simple set at my local grocery store for under $5. A small knife works if you’re feeling artistic.
- Baking Sheets: I prefer light-colored aluminum sheets for even browning. Dark sheets can cause the bottoms to burn faster.
- Parchment Paper: A must for easy cleanup and preventing sticking.
- Cooling Rack: Essential for keeping the bottoms from getting soggy.
- Rolling Pin: For getting the dough to an even thickness. A wine bottle works in a pinch—I’ve been there on a camping trip!
Preparation Method
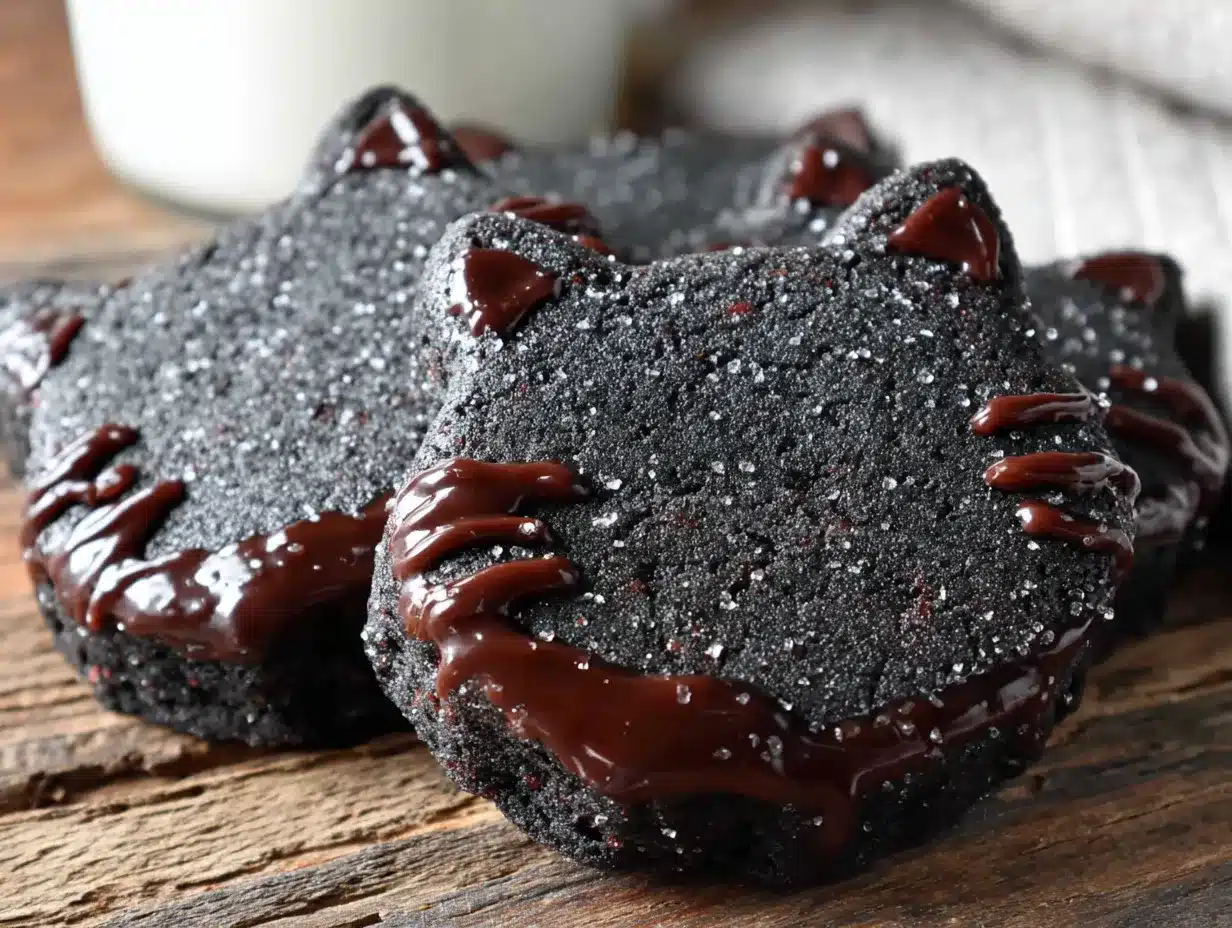
Let’s get those little black cats onto your baking sheet. Follow these steps carefully, and you’ll be a Halloween hero.
- Cream the Butter and Sugar: In your large mixing bowl, beat the softened butter and coconut sugar together until light and fluffy. This takes about 2-3 minutes with an electric mixer. You want it to look pale and airy. (Pro tip: If your butter is too cold, it won’t cream properly and your cookies will be dense.)
- Add the Wet Ingredients: Beat in the egg and vanilla extract until just combined. Don’t overmix here, or you’ll develop too much gluten later.
- Whisk the Dry Ingredients: In a separate small bowl, whisk together the whole wheat pastry flour, cocoa powder, baking powder, and salt. This ensures the baking powder is evenly distributed.
- Combine Wet and Dry: Gradually add the dry ingredients to the wet mixture, mixing on low speed (or stirring with a spoon) until a soft dough forms. It will look a bit crumbly at first, but keep going. When it comes together, stop mixing immediately. Overworking the dough makes tough cookies.
- Chill the Dough: This is non-negotiable. Wrap the dough in plastic wrap and flatten it into a disc. Refrigerate for at least 30 minutes. This firms up the butter, making the dough easier to roll and preventing the cookies from spreading into blobs in the oven. I once skipped this step, and my cats looked more like misshapen ghosts.
- Preheat and Prep: Preheat your oven to 350°F (175°C). Line your baking sheets with parchment paper.
- Roll and Cut: On a lightly floured surface (use a little extra whole wheat flour), roll the dough out to about 1/4-inch thickness. Use your cat-shaped cookie cutter to stamp out the cookies. Gather the scraps, re-roll, and cut again. You should get about 18-24 cookies, depending on the size of your cutter.
- Bake: Place the cookies about 2 inches apart on the prepared baking sheets. Bake for 8-10 minutes. The edges should be set and the tops should look dry. The cookies will still be soft to the touch—that’s okay. They’ll firm up as they cool.
- Cool and Decorate: Let the cookies cool on the baking sheet for 5 minutes. This is crucial for them to set properly. Then, transfer them to a wire rack to cool completely. Once cool, press two mini chocolate chips into each cookie for eyes and one for a little nose. You can also use a dab of melted chocolate to “glue” them on if they don’t stick on their own.
Cooking Tips & Techniques
I’ve made these cookies more times than I can count, and I’ve learned a few things the hard way. Here are my best tips for perfect black cats every time.
- Don’t Skip the Chill: I know, it’s tempting to rush. But warm dough is sticky dough. If you try to roll it out right away, you’ll be fighting with it, adding too much flour, and ending up with dry cookies. The 30-minute chill is your friend.
- Watch the Bake Time: Ovens are liars. Mine runs a little hot, so I always check at the 8-minute mark. The cookies should look just set on the edges. Overbaking them by even a minute can make them dry and crumbly. They continue to cook on the hot pan after you pull them out.
- Even Thickness is Key: If your dough is thicker in the middle and thinner at the edges, the edges will burn while the center is still raw. Use a rolling pin with thickness guides, or just pay attention and roll evenly. I once had a batch where the cat’s tail was burnt to a crisp while its head was still doughy. Not a good look.
- Use a Light Touch with Flour: When rolling out the dough, use just enough flour to prevent sticking. Too much extra flour will make the cookies tough. A light dusting on your work surface and rolling pin is all you need.
- Make a Test Cookie: Bake just one cookie first to see how it spreads. This is a pro move. If it spreads too much, your dough needs more chill time or a little more flour. If it doesn’t spread at all, you might have over-floured it.
Variations & Adaptations
This recipe is a great base for your own spooky creations. Here’s how to make it your own:
- Gluten-Free Version: Substitute the whole wheat pastry flour with a 1:1 gluten-free baking flour blend, like King Arthur Measure for Measure. The texture will be slightly more crumbly, but still delicious.
- Vegan Adaptation: Use a flax egg (1 tablespoon ground flaxseed mixed with 3 tablespoons water, let sit for 5 minutes) and a vegan butter stick, like Miyoko’s. The cookies will be a touch less tender, but still hold their shape beautifully.
- Spooky Spice: Add 1/2 teaspoon of cinnamon and a pinch of cayenne pepper to the dry ingredients. It gives the cookies a warm, slightly mysterious kick that’s perfect for Halloween.
- Lemon Zest Variation: For a surprisingly bright twist, add the zest of one lemon to the dough. The citrus cuts through the rich cocoa and makes the cookie feel a little more grown-up. I tried this once for a Halloween brunch, and people couldn’t stop asking about it.
- Royal Icing Faces: If you want to get really fancy, skip the chocolate chips and use a simple royal icing (powdered sugar, egg white, and a little water) to pipe on whiskers and eyes. It takes more time, but the results are stunning.
Serving & Storage Suggestions
These cookies are best enjoyed the day they’re made, when the edges are still a little crisp. Here’s how to serve and save them.
- Serving Temperature: Room temperature is ideal. The texture is at its peak, and the chocolate chips are set but not rock hard.
- Presentation Ideas: Pile them on a rustic wooden board for a “witch’s gathering” vibe. Or, place them on a bed of black and orange sprinkles for a pop of color. For a Halloween party, I like to put them on a platter next to a bowl of creamy pumpkin dip for dipping.
- Storage: Store the undecorated cookies in an airtight container at room temperature for up to 5 days. Once you add the chocolate chip faces, they are best eaten within 1-2 days, as the chips can soften.
- Freezing: You can freeze the baked, undecorated cookies for up to 3 months. Place them in a single layer in a freezer-safe bag or container. Thaw at room temperature, then add the chocolate chip faces. You can also freeze the raw dough disc for up to 2 months. Just thaw it in the fridge overnight before rolling and cutting.
- Reheating: If you want to bring back that just-baked warmth, pop a cookie in a 300°F (150°C) oven for 2-3 minutes. Don’t microwave them—it will make them rubbery.
Nutritional Information & Benefits
Let’s talk about the good stuff. These cookies are a smarter choice for a sweet treat, and here’s why.
- Per Cookie (approx.): Calories: 110, Fat: 6g, Carbs: 14g, Fiber: 1g, Sugar: 7g, Protein: 2g. (Based on 20 cookies.)
- Whole Wheat Flour: Provides more fiber and nutrients than all-purpose flour, helping to keep you fuller for longer and preventing a rapid blood sugar spike.
- Coconut Sugar: Contains small amounts of inulin, a type of fiber that can help feed good gut bacteria. It also has a lower glycemic index than regular white sugar.
- Cocoa Powder: Packed with antioxidants called flavanols, which are great for heart health and can help reduce inflammation. Not bad for a Halloween cookie, right?
- Dietary Considerations: This recipe is nut-free if you use a nut-free chocolate chip brand. It can easily be made dairy-free and egg-free with the substitutions listed above.
Conclusion
These wholesome black cat sugar cookies are more than just a Halloween treat—they’re a little victory. A reminder that you don’t need a fully stocked bakery or hours of free time to create something magical. They’re proof that simple, real ingredients can make something that tastes just as good as the complicated stuff, and honestly, maybe even better. I love this recipe because it’s forgiving, it’s fun, and it always, always brings a smile. So go ahead, make a mess, get a little flour on your nose, and enjoy every single bite. And when you do, come back and tell me about it in the comments! I’d love to hear how your little black cats turned out, what variations you tried, or if you have any other Halloween traditions in your kitchen. Happy baking, my friends!
Frequently Asked Questions
Can I use all-purpose flour instead of whole wheat pastry flour?
Absolutely. You can substitute the whole wheat pastry flour with an equal amount of all-purpose flour. The cookies will be a little less tender and have a slightly different flavor, but they will still be delicious. If you use all-purpose, you might need to add an extra tablespoon of flour if the dough feels too sticky.
My dough is too sticky to roll out. What should I do?
Don’t panic! This usually means the dough wasn’t chilled long enough, or your kitchen is warm. Pop the dough back in the fridge for another 15-20 minutes. If it’s still sticky after that, dust your work surface and rolling pin very lightly with extra flour. A little goes a long way.
Can I make these cookies without a cat-shaped cutter?
Yes, you can! You can use any Halloween-themed cookie cutter you have—pumpkins, ghosts, bats. If you don’t have any cookie cutters at all, roll the dough into a log, chill it, and slice it into rounds. They won’t be cats, but they’ll be delicious little chocolate cookies. You can also use a knife to freehand a simple cat shape.
How do I keep the chocolate chip eyes from falling off?
The best trick is to press the chips into the cookies while they are still warm from the oven. The residual heat will slightly melt the chocolate, helping it stick. If you’re working with fully cooled cookies, use a tiny dab of melted chocolate or even a little bit of frosting as “glue” to hold the chips in place.
Can I double this recipe?
Yes, this recipe doubles very well. Simply double all of the ingredients. You may need to chill the dough in two separate discs to make sure it cools evenly. The baking time should remain the same, but you might need to bake in batches to avoid overcrowding your oven.
Pin This Recipe!
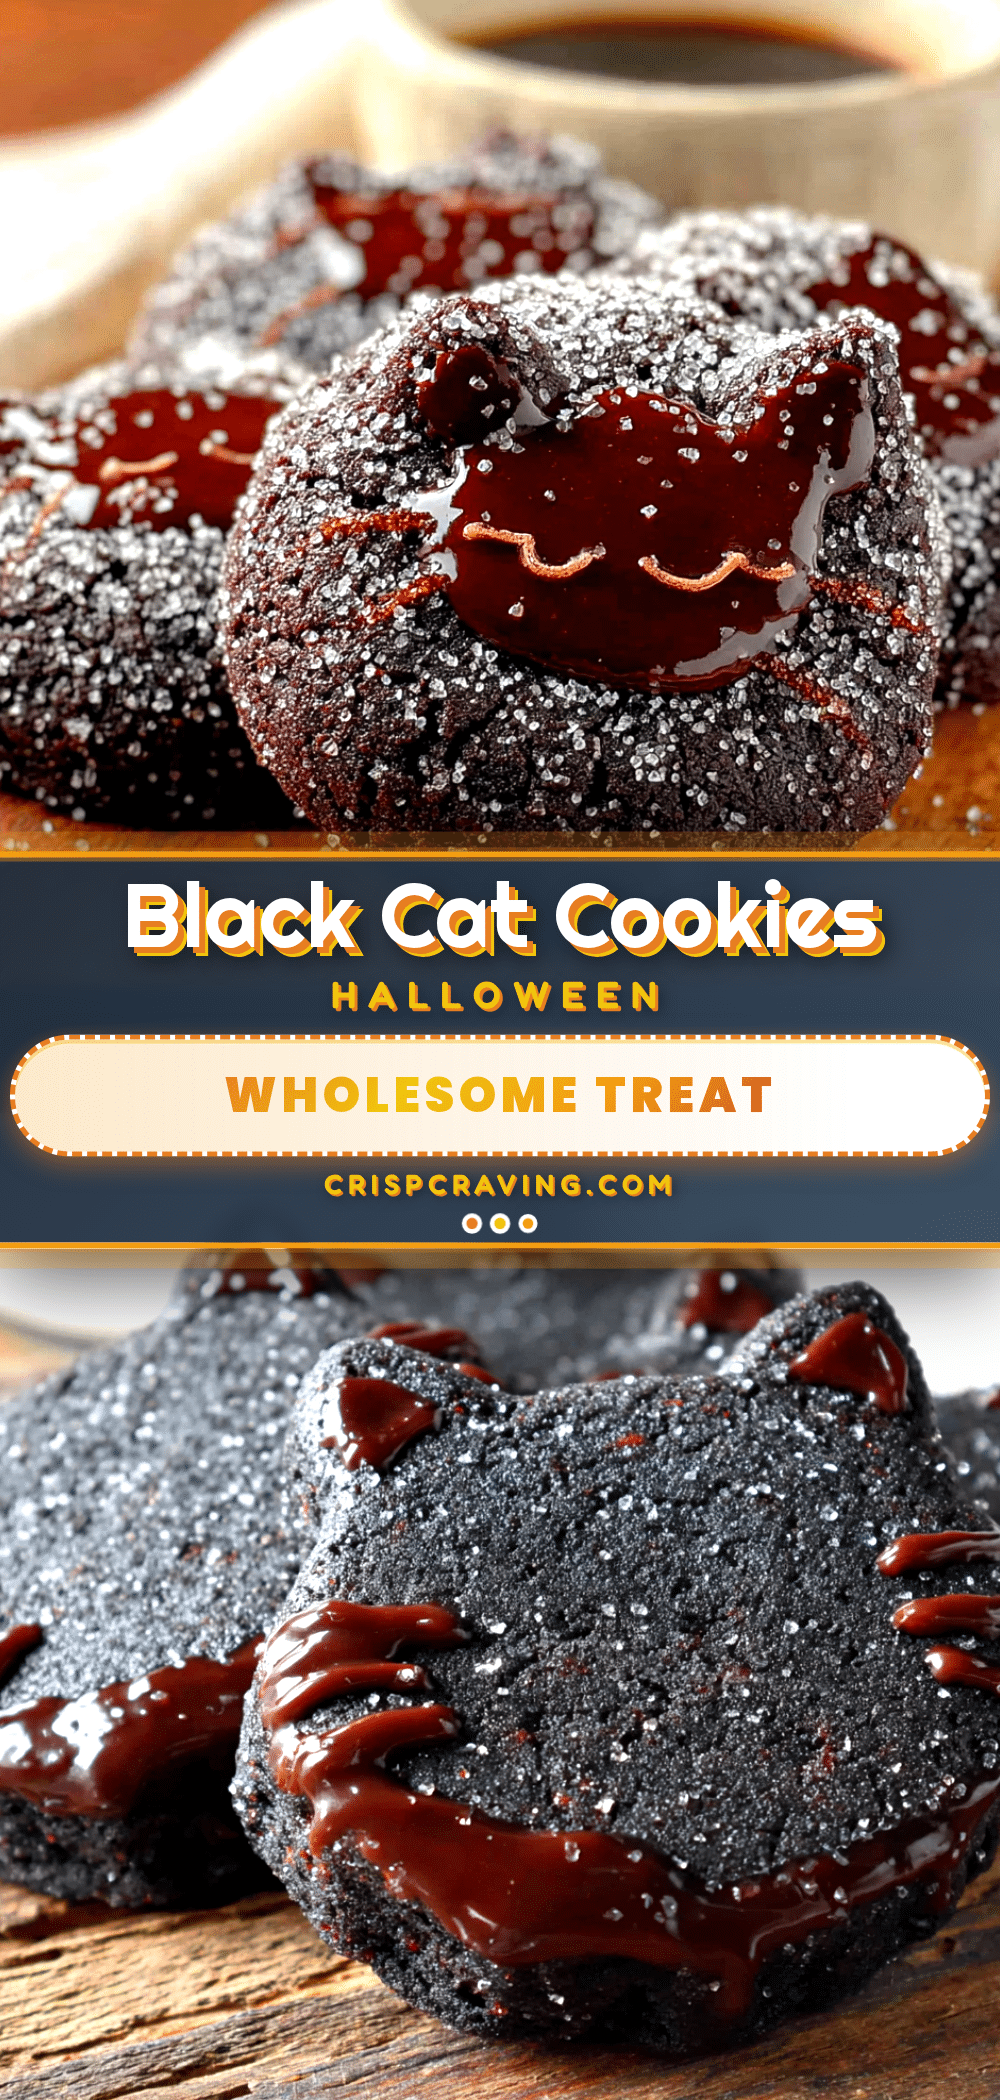
Wholesome Black Cat Sugar Cookies: Easy Halloween Treat

These wholesome black cat sugar cookies are a quick and easy Halloween treat made with simple, wholesome ingredients. They’re crisp on the edges, soft in the center, and perfect for last-minute parties or bake sales.
- Prep Time: 15 minutes
- Cook Time: 10 minutes
- Total Time: 55 minutes
- Yield: 20 servings 1x
- Category: Dessert
- Cuisine: American
Ingredients
- 1/2 cup unsalted butter (1 stick), softened
- 1/2 cup coconut sugar
- 1 large egg, room temperature
- 1 teaspoon vanilla extract
- 1 1/2 cups whole wheat pastry flour
- 1/4 cup unsweetened cocoa powder
- 1/2 teaspoon baking powder
- 1/4 teaspoon salt
- 1/4 cup mini chocolate chips (for eyes and noses)
Instructions
- Cream the butter and coconut sugar together in a large mixing bowl until light and fluffy, about 2-3 minutes.
- Beat in the egg and vanilla extract until just combined.
- In a separate small bowl, whisk together the whole wheat pastry flour, cocoa powder, baking powder, and salt.
- Gradually add the dry ingredients to the wet mixture, mixing on low speed until a soft dough forms. Do not overmix.
- Wrap the dough in plastic wrap, flatten into a disc, and refrigerate for at least 30 minutes.
- Preheat oven to 350°F (175°C). Line baking sheets with parchment paper.
- On a lightly floured surface, roll the dough out to about 1/4-inch thickness. Use a cat-shaped cookie cutter to stamp out cookies. Gather scraps, re-roll, and cut again.
- Place cookies about 2 inches apart on prepared baking sheets. Bake for 8-10 minutes, until edges are set and tops look dry.
- Let cookies cool on the baking sheet for 5 minutes, then transfer to a wire rack to cool completely.
- Once cool, press two mini chocolate chips into each cookie for eyes and one for a nose.
Notes
Chilling the dough is essential to prevent spreading. For best results, use room temperature butter and egg. If dough is too sticky, chill longer. For vegan version, use a flax egg and vegan butter. For gluten-free, use a 1:1 gluten-free flour blend.
Nutrition
- Serving Size: 1 cookie
- Calories: 110
- Sugar: 7
- Sodium: 60
- Fat: 6
- Saturated Fat: 3.5
- Carbohydrates: 14
- Fiber: 1
- Protein: 2
Keywords: black cat cookies, Halloween cookies, sugar cookies, wholesome cookies, easy Halloween treat, whole wheat cookies, cocoa cookies



