Love this? Save it for later!
Share the inspiration with your friends
Sarah wasn’t trying to impress anyone. I’d stopped by to drop off a overdue library book and grab a glass of water because my throat was dry from talking too much in the car. The smell of toasted oats and warm peanut butter hit me before I even got inside the front door. It wasn’t a fancy bakery scent. It was the kind of smell that feels like a warm hug on a rainy day.
I stood in her hallway for a second, just breathing it in. You know that feeling when you’re walking into a room and your shoulders just drop three inches? That was me. Sarah was at the counter, looking totally unbothered. She was wearing sweatpants with a stain on the knee and had her hair in a messy bun that had been holding on by a thread since 8 AM. She wasn’t cooking for guests. She wasn’t even cooking for herself, really. She was just making something because she was hungry and wanted it done fast.
She saw me staring at the bowl and laughed. “It’s nothing,” she said, rolling her eyes like I was making a big deal out of it. But it wasn’t nothing. It was these little chewy, no-bake peanut butter energy bites. She had them rolling in her hands, quick little motions that looked practiced but casual. They were stuck to her fingers. She didn’t even care.
I asked her what was in them. She listed three ingredients like she was reading a grocery list for milk and eggs. Oats, peanut butter, honey. That was it. No baking powder. No vanilla extract. No fancy chocolate chips or nuts. Just the basics. I watched her press them into little balls and drop them onto a parchment-lined tray. They looked dense. They looked real.
She popped one into her mouth while I was still standing there in my coat. Her eyes closed for a second. She didn’t say anything. She just nodded. That was the whole review. I took one when she offered it. It was sweet, salty, and chewy in a way that stuck to the roof of your mouth just right. It tasted like comfort. It tasted like something you’d make when you’re tired but still want to eat something good.
I didn’t ask for the recipe right away. I just ate another one. And another. Sarah didn’t write it down for me. She just told me to remember the ratio. I came home and tried to guess it. I messed up the first batch. They were too dry. I messed up the second batch. They were too sticky. But by the third time, I got it. I finally understood why she wasn’t trying to impress anyone. This recipe doesn’t need to impress you. It just needs to feed you.
I keep making them because they remind me of that quiet Tuesday. I keep making them because they are easy. I keep making them because sometimes the best snacks are the ones that don’t ask for much. If you’re looking for a quick, healthy snack that actually tastes like something, you need to try these chewy no-bake peanut butter energy bites. You won’t regret it.
Why You’ll Love This Recipe
Quick & Easy
This recipe comes together in under 10 minutes. It is perfect for busy weeknights or last-minute cravings. You don’t need to turn on the oven. You don’t need to wait for dough to rise. You just mix, roll, and chill. It is the fastest way to get a snack ready without ordering takeout.
Simple Ingredients
No fancy grocery trips are needed. You likely already have everything in your kitchen. Oats, peanut butter, and honey are pantry staples. They last for months. This means you can make these bites even when you feel like you have nothing to eat. It saves money and reduces food waste.
Perfect for Meal Prep
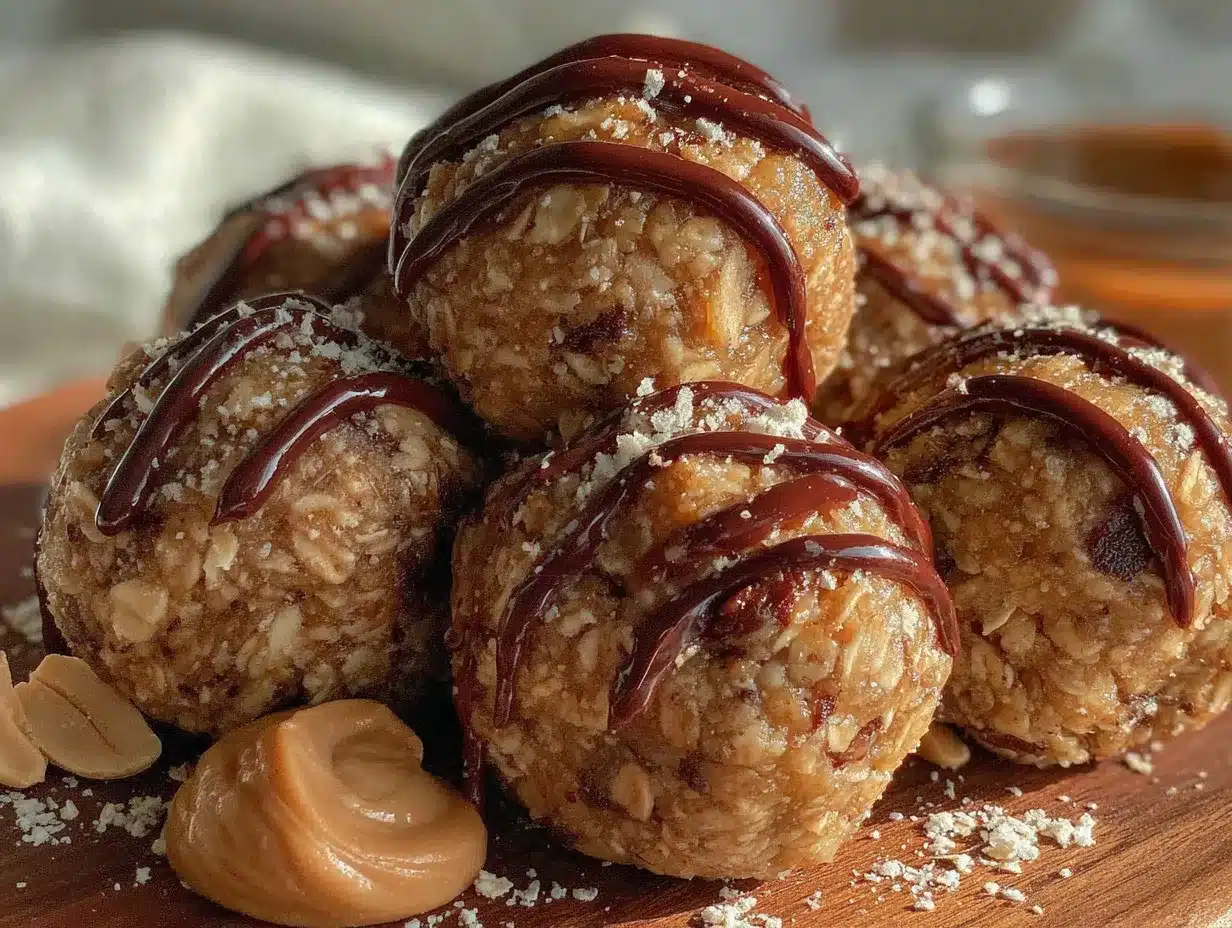
Great for meal prepping on Sunday or grabbing from the fridge during a hectic workday. These bites hold their shape well. They don’t melt in your pocket like chocolate might. They are portable and mess-free if you store them properly. I make a big batch every other week. It keeps me from reaching for chips when I’m tired.
Crowd-Pleaser
Always gets rave reviews from kids and adults alike. My nephew who usually only eats chicken nuggets loves these. He thinks they are cookies. They are sweet but not overly so. They feel like a treat but they are actually nutritious. They are a great way to sneak in some fiber and protein.
Unbelievably Delicious
The texture and flavor combo is next-level comfort food. The oats give it a chewy bite. The peanut butter adds richness. The honey binds it all together with a natural sweetness. It isn’t just good—it is the kind that makes you close your eyes after the first bite. It hits all the right notes.
Why This Recipe is Different
Whether it is the specific ratio of wet to dry ingredients or the choice of old-fashioned oats over quick oats, this isn’t just another version. It is my best version. Quick oats make them too mushy. Old-fashioned oats keep that chewy texture you want. This small detail makes a huge difference. It is the kind of tip you only learn after trying many batches.
What Ingredients You Will Need
This recipe uses simple, wholesome ingredients to deliver bold flavor and satisfying texture without the fuss. The beauty of this snack lies in its minimalism. You don’t need a long list of hard-to-find items. Everything here works together to create a balanced bite of energy.
For the Base
- Old-Fashioned Rolled Oats: Use 1 ½ cups. Do not use instant oats. They will turn into a paste. Old-fashioned oats provide the necessary chew and structure. Look for brands like Bob’s Red Mill for consistent quality. They are gluten-free if you buy the certified version.
- Peanut Butter: Use ½ cup. Creamy is best for binding. Natural peanut butter can separate and make the mixture too oily. I recommend Jif or Skippy for consistency. If you must use natural, stir it very well before measuring. Almond butter works too but changes the flavor.
- Honey: Use ⅓ cup. It acts as the binder and sweetener. Maple syrup can be used for a vegan option, but the texture will be softer. Honey adds that distinct floral sweetness that pairs well with nuts. Use raw honey for extra health benefits.
- Vanilla Extract: Use 1 teaspoon. It adds depth. It sounds small, but it makes the peanut butter taste more like a dessert. Use pure vanilla extract, not imitation. Imitation vanilla tastes chemical and sharp.
For the Mix-Ins (Optional)
- Chocolate Chips: Use ¼ cup. Mini chips distribute better. Dark chocolate chips reduce sugar content. Milk chocolate chips make it sweeter. Add them after mixing to avoid melting them.
- Flaxseed Meal: Use 1 tablespoon. It adds omega-3 fatty acids. It also helps bind the mixture slightly. It has a mild nutty flavor that blends in well.
- Salt: Use a pinch. It balances the sweetness. Never skip the salt. It makes the peanut butter taste more intense.
Substitution Notes
If you are nut-free, use sunflower seed butter. It has a similar texture and binds well. For a lower sugar option, reduce the honey to ¼ cup and add a sugar-free sweetener, though the texture may change. You can also add protein powder, but add extra liquid if it gets too dry.
Equipment Needed
You don’t need much to make these. A large mixing bowl is essential. I use a glass bowl because I can see the consistency better. A wooden spoon or a sturdy spatula works for mixing. Silicone spatulas are great because they scrape the sides clean.
A baking sheet is needed for chilling. Line it with parchment paper or a silicone mat. Parchment paper is cheaper and easier to find. Silicone mats are reusable and eco-friendly. I prefer parchment for easy cleanup.
A small cookie scoop is my secret weapon. It ensures all the bites are the same size. This helps them chill evenly. If you don’t have one, use two teaspoons. It takes longer but works fine.
A measuring cup set is important. Don’t guess the amounts. Peanut butter is sticky, so spray your measuring cup with cooking spray first. It comes out clean every time. This little trick saves so much frustration.
Preparation Method
Step 1: Combine Wet Ingredients
Time: 2 minutes. In your large mixing bowl, add the creamy peanut butter. If it is cold and hard, microwave it for 15 seconds to soften it. This makes mixing easier. Add the honey and vanilla extract. Stir them together until they are smooth. The mixture should look glossy and uniform. If it looks too thick, add a teaspoon more honey.
Step 2: Add Dry Ingredients
Time: 3 minutes. Pour in the rolled oats. Add the salt and flaxseed meal if using. Mix everything together with your spoon. You want every oat to be coated. The mixture will look dry at first. Keep stirring. It will come together into a sticky dough. Do not overmix. Just until combined.
Step 3: Mix-Ins
Time: 1 minute. If you are adding chocolate chips or nuts, fold them in now. Use a gentle motion so you don’t crush the oats. Distribute them evenly. The dough should hold together when you pinch it. If it crumbles, add a little more honey. If it is too sticky, add a little more oats.
Step 4: Roll the Bites
Time: 10 minutes. Wet your hands slightly with water. This prevents sticking. Scoop out about a tablespoon of dough. Roll it between your palms. Form a tight ball. Place it on the parchment-lined baking sheet. Repeat until all dough is used. You should get about 20-25 bites. Keep them uniform in size for even chilling.
Step 5: Chill
Time: 30 minutes. Place the tray in the refrigerator. Let them set for at least 30 minutes. This firms up the peanut butter and makes them easier to handle. You can freeze them for 15 minutes if you are in a hurry. They are ready when they feel firm to the touch.
Cooking Tips & Techniques
Temperature Matters
If your peanut butter is too cold, it will be hard to mix. Let it sit out for 10 minutes. If it is too warm, the bites will be too soft. Room temperature is ideal. This balance is key for the right texture.
Handling Sticky Dough
Wet your hands frequently. Dipping them in water every few rolls helps. You can also use a little olive oil on your hands. It works well too. Don’t press too hard when rolling. Gentle pressure keeps them chewy.
Common Mistakes
Using instant oats is the biggest mistake. They absorb liquid too fast and make a mushy ball. Always use old-fashioned oats. Another mistake is skipping the chill time. They need time to set. If you eat them right away, they will fall apart. Patience is required.
Batching Tips
Make a double batch. They freeze beautifully. Store them in an airtight container. They last for weeks. I always have a bag in my freezer. It saves time on busy mornings.
Variations & Adaptations
Vegan Option
Swap honey for maple syrup. Use vegan chocolate chips. The texture will be slightly softer. Add a tablespoon of chia seeds to help bind. It works well.
Protein Boost
Add a scoop of vanilla protein powder. You may need extra honey or milk. Start with a tablespoon of milk. Mix and check consistency. It makes them more filling. Great for post-workout snacks.
Chewy Chocolate
Double the chocolate chips. Add a tablespoon of cocoa powder to the dry mix. It makes them taste like brownies. Very indulgent. Use dark chocolate for less sugar.
Serving & Storage Suggestions
Serve these chilled for the best texture. They are great with a cold glass of milk. Or pair them with a cup of coffee. They are a perfect afternoon pick-me-up. Store them in an airtight container in the fridge for up to 2 weeks. For longer storage, freeze them for up to 3 months. Thaw them at room temperature for 10 minutes before eating. They taste best when they are cold and firm. The flavors meld together over time. They get better on day two.
Nutritional Information & Benefits
Each bite contains roughly 80-90 calories. They are high in healthy fats from the peanut butter. They provide quick energy from the oats and honey. They are a good source of protein. They are gluten-free if using certified oats. They are dairy-free. They are a great snack for diabetics if portioned correctly. The fiber helps regulate blood sugar. I love them because they keep me full. They prevent mid-afternoon crashes. They are a smart choice for busy lifestyles.
Conclusion
These chewy no-bake peanut butter energy bites are worth trying. They are simple, tasty, and healthy. Customize them with your favorite mix-ins. Make them your own. I love them because they are reliable. They never fail me. Try this recipe and let me know what you think. Share your variations in the comments. Pin this for later. Enjoy the process. Happy snacking!
Frequently Asked Questions
Can I use crunchy peanut butter?
Yes, you can use crunchy peanut butter. It adds a nice texture. The bites will have little chunks of peanut. It is a personal preference. Both creamy and crunchy work well.
Why are my bites too dry?
If they are too dry, add more honey or a splash of milk. The ratio of wet to dry ingredients varies. Add liquid one teaspoon at a time. Mix well after each addition.
Can I freeze these energy bites?
Yes, freeze them for up to 3 months. Place them in a freezer bag. They thaw quickly. They taste fresh even after freezing. This is great for meal prep.
Are these gluten-free?
Yes, if you use certified gluten-free oats. Regular oats may have cross-contamination. Check the label. All other ingredients are naturally gluten-free.
How many bites does this make?
This recipe makes about 20-25 bites. It depends on the size you roll them. Smaller bites mean more. Larger bites mean fewer. They are easy to adjust.
Pin This Recipe!
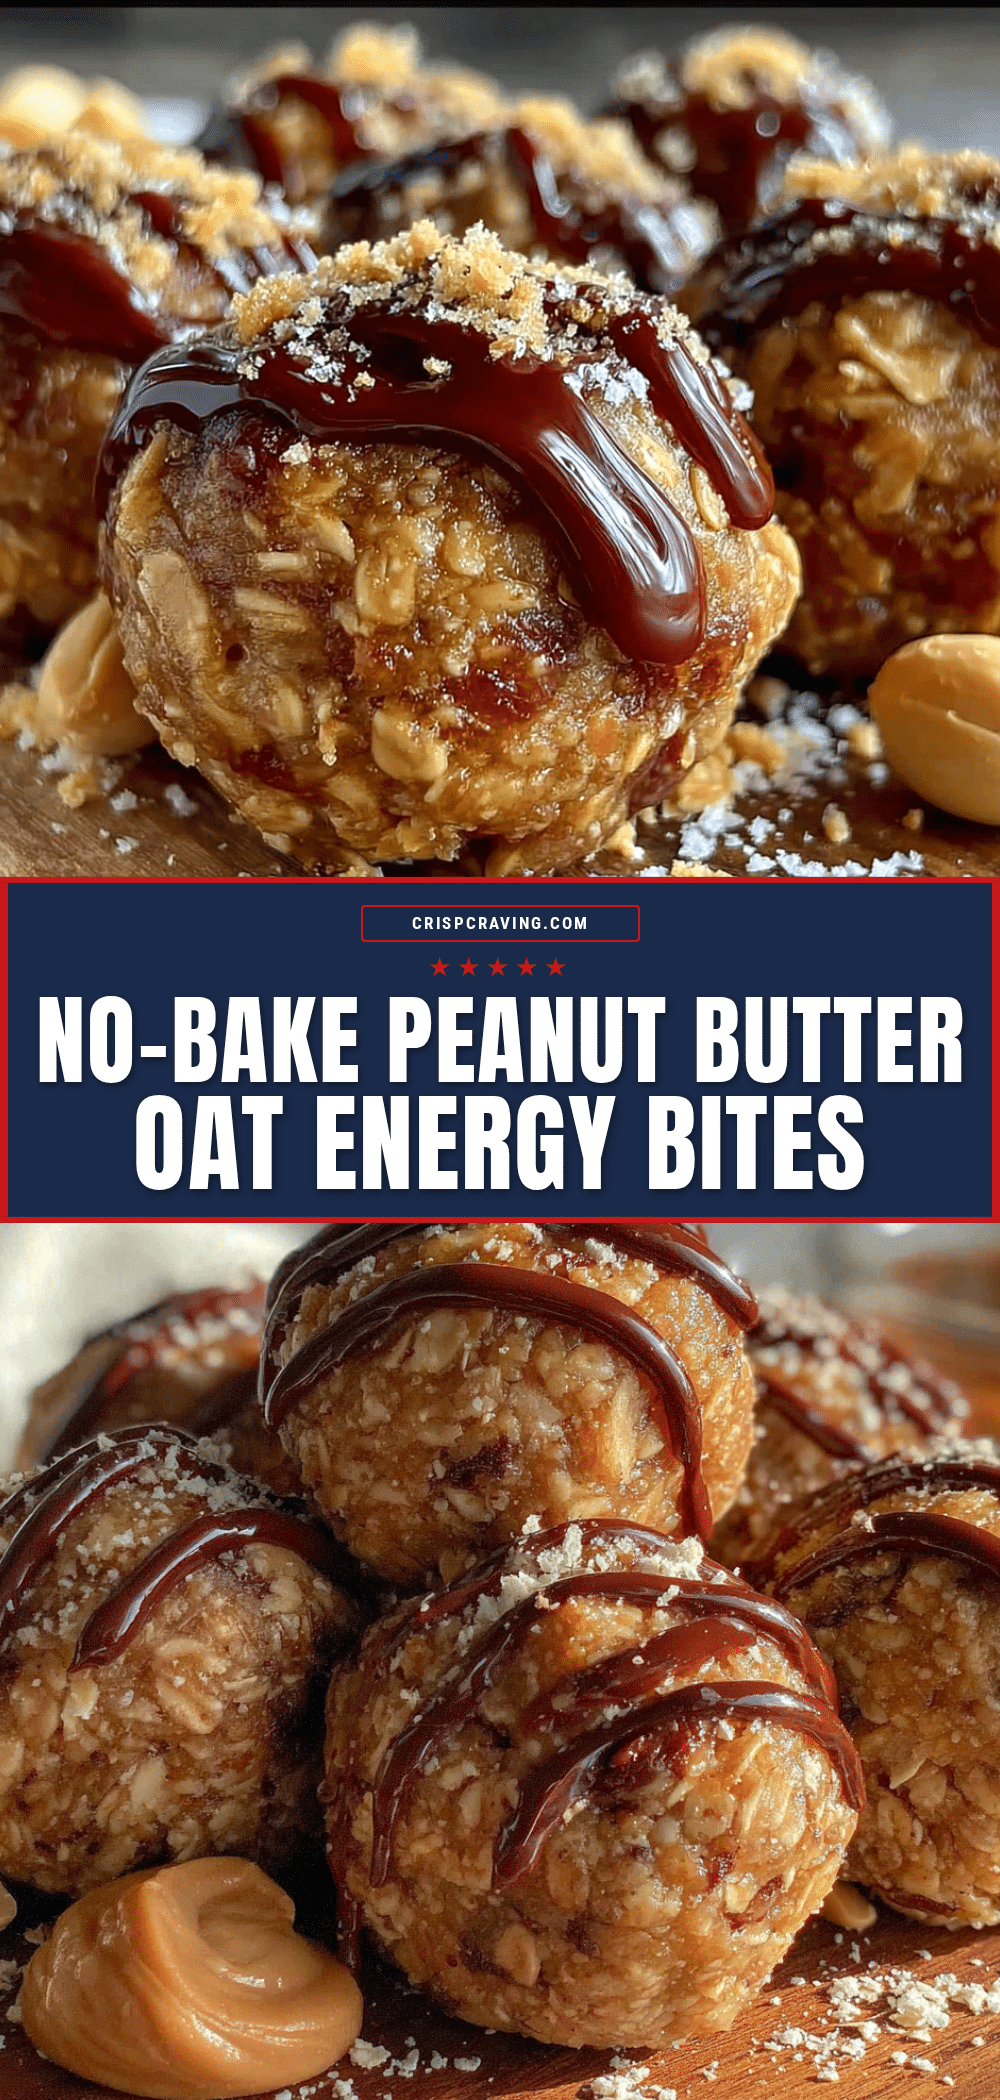
Chewy No-Bake Peanut Butter Energy Bites

A simple, 3-ingredient no-bake snack made with oats, peanut butter, and honey. These chewy energy bites are quick to prepare, perfect for meal prep, and provide a satisfying balance of sweet and salty flavors.
- Prep Time: 10 minutes
- Cook Time: 0 minutes
- Total Time: 40 minutes
- Yield: 20-25 servings 1x
- Category: Snack
- Cuisine: American
Ingredients
- 1 ½ cups Old-Fashioned Rolled Oats
- ½ cup Creamy Peanut Butter
- ⅓ cup Honey
- 1 teaspoon Vanilla Extract
- Pinch of Salt
- 1 tablespoon Flaxseed Meal (optional)
- ¼ cup Chocolate Chips (optional)
Instructions
- In a large mixing bowl, combine the creamy peanut butter, honey, and vanilla extract. Stir until the mixture is smooth and glossy. If the peanut butter is cold, microwave it for 15 seconds to soften it first.
- Add the rolled oats, salt, and flaxseed meal (if using) to the wet ingredients. Mix thoroughly with a spoon or spatula until every oat is coated and the mixture forms a sticky dough.
- If adding chocolate chips or nuts, gently fold them into the dough now.
- Wet your hands slightly with water to prevent sticking. Scoop out about a tablespoon of dough and roll it between your palms to form a tight ball.
- Place the rolled bites onto a baking sheet lined with parchment paper. Repeat until all dough is used, aiming for 20-25 bites.
- Refrigerate the tray for at least 30 minutes to allow the bites to firm up. Alternatively, freeze for 15 minutes if in a hurry.
- Store in an airtight container in the refrigerator for up to 2 weeks or freeze for up to 3 months.
Notes
Use old-fashioned rolled oats, not instant oats, to maintain chewy texture. If using natural peanut butter, stir it well before measuring to avoid an oily mixture. Wet your hands frequently when rolling to prevent sticking. For a vegan option, substitute honey with maple syrup.
Nutrition
- Serving Size: 1 energy bite
- Calories: 85
- Sugar: 6
- Sodium: 15
- Fat: 4
- Saturated Fat: 1
- Carbohydrates: 10
- Fiber: 1
- Protein: 3
Keywords: no-bake, peanut butter, energy bites, healthy snack, gluten-free, vegan option, meal prep, quick snack, 3-ingredient



