Love this? Save it for later!
Share the inspiration with your friends
Introduction
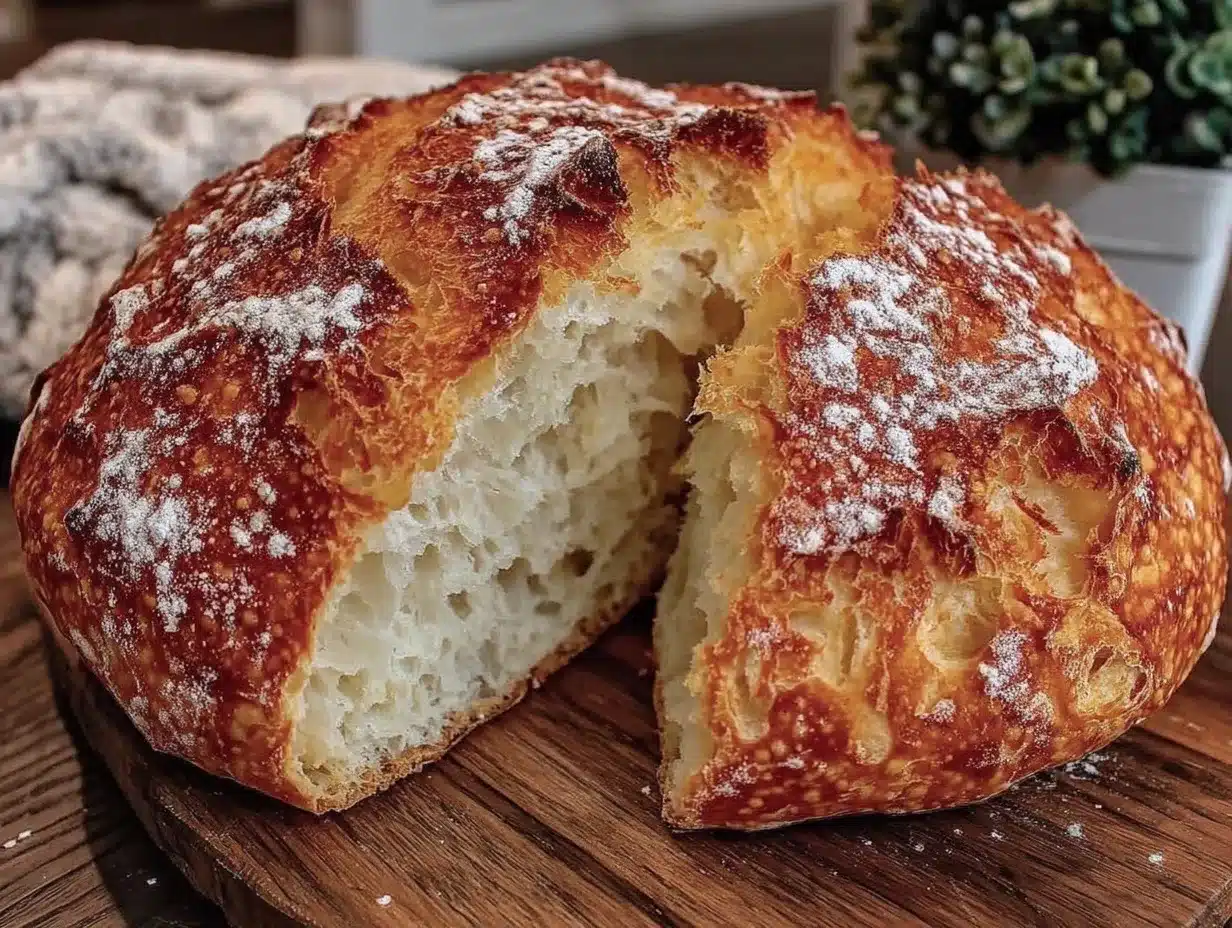
“I don’t do bread,” my roommate declared for years. Honestly, I never thought I’d change her mind. She was the type who’d scoff at the idea of baking, convinced it was all too complicated and time-consuming. Then one rainy Sunday afternoon, with the oven humming quietly and a half-forgotten book in hand, I decided to try this crispy no-knead artisan bread with soft, airy crumb recipe just for myself. The kitchen quickly filled with that slightly nutty, toasty aroma, and I caught her sneaking a slice when she thought I wasn’t looking—crust crackling, crumbs falling, eyes wide with surprise.
That moment wasn’t planned, and honestly, I’d forgotten to set the timer right, so the edges got a little extra toasty. But that imperfection? It made it somehow better. She admitted it was the best homemade bread she’d ever tasted, and I’ve been making it weekly ever since. Maybe you’ve been there—thinking artisan bread is out of reach or too fancy for a regular weekday. Let me tell you, this recipe is the quiet proof that you don’t have to be a baker to get bakery-worthy results. The crispy crust and pillowy inside are just magic, no fancy equipment or hours of kneading required.”
Why You’ll Love This Recipe
After testing countless bread recipes, I can say this crispy no-knead artisan bread stands out for good reasons. It’s not just about the crust or the crumb—though those are stellar—it’s about how little fuss it takes to get there. Here’s why this bread quickly became a go-to in my kitchen:
- Quick & Easy: From mixing to baking, the hands-on time is under 15 minutes, perfect for busy days or last-minute baking urges.
- Simple Ingredients: Flour, water, salt, and yeast—no exotic additions needed. You probably have everything on hand right now.
- Perfect for Every Occasion: Whether for a cozy weekend brunch, a casual dinner, or to impress without stress, this bread fits in effortlessly.
- Crowd-Pleaser: The crust’s crunch and soft crumb get rave reviews from my picky eaters and friends alike.
- Unbelievably Delicious: The balance of flavors and textures gives you that satisfying artisan quality, but without the bakery price tag or effort.
This isn’t just another no-knead bread recipe. The secret lies in the long, slow fermentation combined with a hot Dutch oven bake that gifts the loaf its signature crispy crust and fluffy interior. Honestly, it’s the kind of bread that makes you pause mid-bite, savoring the texture and subtle tang. I promise it’ll change how you think about homemade bread.
What Ingredients You Will Need
This recipe uses simple, wholesome ingredients to deliver bold flavor and that satisfying texture without any fuss. Most are pantry staples, and if not, they’re easy to swap or find.
- All-purpose flour (3 cups / 360 g): I recommend King Arthur Flour for best consistency and rise.
- Instant yeast (1/4 tsp): Just a pinch to get the dough rising slowly for flavor development.
- Salt (1 1/4 tsp): Fine sea salt works great here—balances flavor perfectly.
- Warm water (1 1/2 cups / 360 ml): Around 100°F (38°C), enough to activate the yeast gently.
Optional tweaks you might consider:
- Whole wheat flour: Swap up to half the all-purpose flour for whole wheat for extra nuttiness.
- Olive oil: A tablespoon can be added for a slightly richer crumb, though traditional artisan bread skips fat.
- Gluten-free option: Use a high-quality gluten-free blend designed for bread baking, but expect a denser crumb.
That’s really it—four ingredients and a pinch of patience. I like to use a trusted brand of yeast like SAF for reliable results, and the flour quality makes a noticeable difference, so don’t skimp there. This recipe works well year-round, but in summer, you can experiment by adding a handful of fresh herbs or seeds on top before baking for a seasonal twist.
Equipment Needed
There’s no need for fancy kitchen gadgets to make this crispy no-knead artisan bread. Here’s what you’ll want to have on hand:
- Large mixing bowl: For combining the dough. Glass or stainless steel works fine.
- Wooden spoon or spatula: To stir the sticky dough.
- Dutch oven (6-8 quart): This is key for getting that perfect crust. You can use a heavy oven-safe pot with a lid if you don’t have a Dutch oven.
- Parchment paper: Makes transferring the dough easier and cleanup a breeze.
- Kitchen scale (optional): Great for precise measurements, but cups work just fine too.
I once tried making this bread in a regular baking sheet, but the crust wasn’t nearly as crisp, and the crumb was a bit denser. The Dutch oven traps steam, which is what creates that signature artisan crust, so it’s worth the investment if you bake bread regularly. If you’re on a budget, you can find affordable cast iron options, and proper care (seasoning and drying) will keep it going for years.
Preparation Method
- Mix the dough (10 minutes): In your large mixing bowl, combine 3 cups (360 g) of all-purpose flour, 1/4 teaspoon instant yeast, and 1 1/4 teaspoons salt. Stir these dry ingredients together until evenly mixed.
- Add warm water and stir: Pour in 1 1/2 cups (360 ml) of warm water at about 100°F (38°C). Using a wooden spoon or spatula, stir until the dough forms a shaggy, sticky mass. It looks rough and wet—that’s perfect. No kneading needed here.
- Cover and ferment (12-18 hours): Cover the bowl tightly with plastic wrap or a clean towel. Let it sit at room temperature (around 70°F/21°C) for 12 to 18 hours. The dough will bubble and double in size. If your kitchen is cooler, it might take a bit longer. You’ll notice a lovely sourdough-like aroma developing—that’s your flavor building.
- Preheat your oven and Dutch oven (45 minutes before baking): About 45 minutes before baking, place your empty Dutch oven with its lid inside your oven and preheat to 450°F (230°C). This step is crucial for a crispy crust.
- Shape the dough: While the oven preheats, turn your dough out onto a well-floured surface. Wet your hands slightly (sticky dough is tricky) and gently fold the dough over itself a couple of times to shape it into a round loaf. Don’t overwork it—just enough to give it form.
- Transfer dough to parchment paper: Place the shaped dough onto a square of parchment paper. This will help you transfer it into the hot Dutch oven without burns or mess.
- Bake covered (30 minutes): Carefully remove the hot Dutch oven from the oven. Lift the dough using the parchment paper and lower it into the pot. Cover with the lid and bake for 30 minutes. The steam trapped inside crisps the crust beautifully.
- Bake uncovered (15 minutes): After 30 minutes, remove the lid and bake for another 15 minutes. This step deepens the color and crunch of the crust. You’ll see the loaf puff up and the crust turn a rich golden brown.
- Cool completely: Transfer the bread to a wire rack and let it cool for at least 1 hour before slicing. Cutting too soon will make the crumb gummy, and you’ll lose that airy texture.
Pro tip: If your dough feels too sticky to handle, sprinkle your hands with flour or wet your hands slightly to manage it better. Also, be patient during the long fermentation—it’s the secret to the open crumb and flavor complexity. I’ve learned the hard way that rushing this step leads to a dense loaf.
Cooking Tips & Techniques
Getting that perfect crispy no-knead artisan bread is all about a few key techniques and avoiding common pitfalls.
- Don’t skip the long fermentation: This slow rise develops flavor and texture. Resist the urge to speed it up with extra yeast; you’ll lose that signature crumb.
- Use a hot Dutch oven: Heating the pot before baking traps steam and crisps the crust. I once tried a cold pot and ended up with a pale, soft crust—definitely not the goal.
- Handle the dough gently: This dough is sticky and delicate. Overworking it crushes the air pockets you want inside, so fold carefully.
- Cool before slicing: I can’t stress this enough. The crumb sets while cooling. If you cut too early, it’s gummy and disappointing.
- Flour your surface liberally: This prevents sticking without adding too much flour into the dough itself, which can dry it out.
One time, I accidentally left the dough uncovered overnight—result? A dry crust on the top and a denser crumb. Lesson learned: keep it covered, or you’ll lose that soft inside texture. Also, multitask by prepping toppings or sides during the wait time; that way, the bread is ready when you are.
Variations & Adaptations
This crispy no-knead artisan bread is a fantastic base for creative tweaks. Here are some ways I’ve adapted it:
- Herb-infused: Add 1-2 tablespoons of chopped fresh rosemary or thyme to the dough for a fragrant twist.
- Seeded crust: Sprinkle sesame, poppy, or sunflower seeds on top right before baking for extra texture and flavor.
- Gluten-free: Use a gluten-free flour blend and add a teaspoon of xanthan gum. The crumb won’t be as airy but still tasty.
- Whole wheat blend: Replace half the all-purpose flour with whole wheat for a heartier taste and more fiber.
- Alternative cooking method: If you don’t have a Dutch oven, bake on a preheated baking stone or heavy pan with a tray of water below to create steam.
I once made a batch with sun-dried tomatoes and basil stirred in—talk about an instant crowd-pleaser at a potluck! The key is not to overload the dough, or it won’t rise as well.
Serving & Storage Suggestions
This bread is best served warm or at room temperature, sliced thick with butter or your favorite spread. The crispy crust and soft, airy crumb make it a perfect companion to soups, stews, or even just a drizzle of good olive oil.
Store leftover bread wrapped loosely in a kitchen towel or paper bag at room temperature for up to 2 days. For longer storage, slice and freeze in an airtight bag. Toast slices straight from the freezer for a fresh-baked vibe anytime.
Reheating works best in a 350°F (175°C) oven for 5-10 minutes to refresh that crust. Microwave reheating tends to soften the crust, so I avoid it unless in a rush.
The flavor actually deepens a bit after a day or two, so if you can wait, the bread gets even better with time—just keep it wrapped well to avoid drying out.
Nutritional Information & Benefits
This crispy no-knead artisan bread is a simple, wholesome choice. Per slice (about 1/12 of the loaf), you’re getting roughly 150 calories, 30 grams of carbohydrates, 5 grams of protein, and minimal fat.
Using basic ingredients keeps it free from preservatives, additives, and excess sugar. The slow fermentation improves digestibility and flavor, and if you swap in whole wheat flour, you get a nice boost of fiber and nutrients.
This recipe is naturally vegan and can be made gluten-free with substitutions. Just watch for allergens if adding seeds or other mix-ins.
On a personal note, baking this bread became part of my wellness routine—it’s comforting, grounding, and a simple way to enjoy real food without guilt.
Conclusion
If you’ve been hesitant about making your own bread, this crispy no-knead artisan bread recipe is your gentle nudge to try. It’s forgiving, straightforward, and delivers that crave-worthy crust and airy crumb every time. I love it because it transforms simple ingredients into something special with minimal effort and fuss.
Feel free to tweak it—add herbs, seeds, or whole grains—make it yours. And if you give it a shot, I’d love to hear how it turns out for you. Share your variations, tips, or even your first-time mishaps in the comments below. Baking bread is as much about the journey as the loaf, and I’m here rooting for your success.
Remember, great bread doesn’t have to be intimidating. Sometimes, the best things come from the simplest recipes and a little patience.
Frequently Asked Questions
Can I use bread flour instead of all-purpose flour?
Yes! Bread flour has higher protein content, which can give you a chewier texture and better rise, but all-purpose flour works perfectly fine for this recipe.
How do I know when the bread is fully baked?
The crust should be deep golden brown and crisp. You can also tap the bottom of the loaf—it should sound hollow. Internal temperature around 200°F (93°C) indicates doneness.
Can I make this bread without a Dutch oven?
You can bake it on a preheated baking stone or heavy pan and create steam by placing a tray of hot water in the oven. The crust might be less crispy but still delicious.
Is it okay to refrigerate the dough overnight instead of room temperature?
Yes, refrigerating the dough slows fermentation and can actually improve flavor. Just bring the dough to room temperature before shaping and baking.
How do I store leftover bread to keep it fresh?
Wrap it loosely in a kitchen towel or paper bag at room temperature for a couple of days. For longer storage, slice and freeze it in an airtight bag, then toast slices as needed.
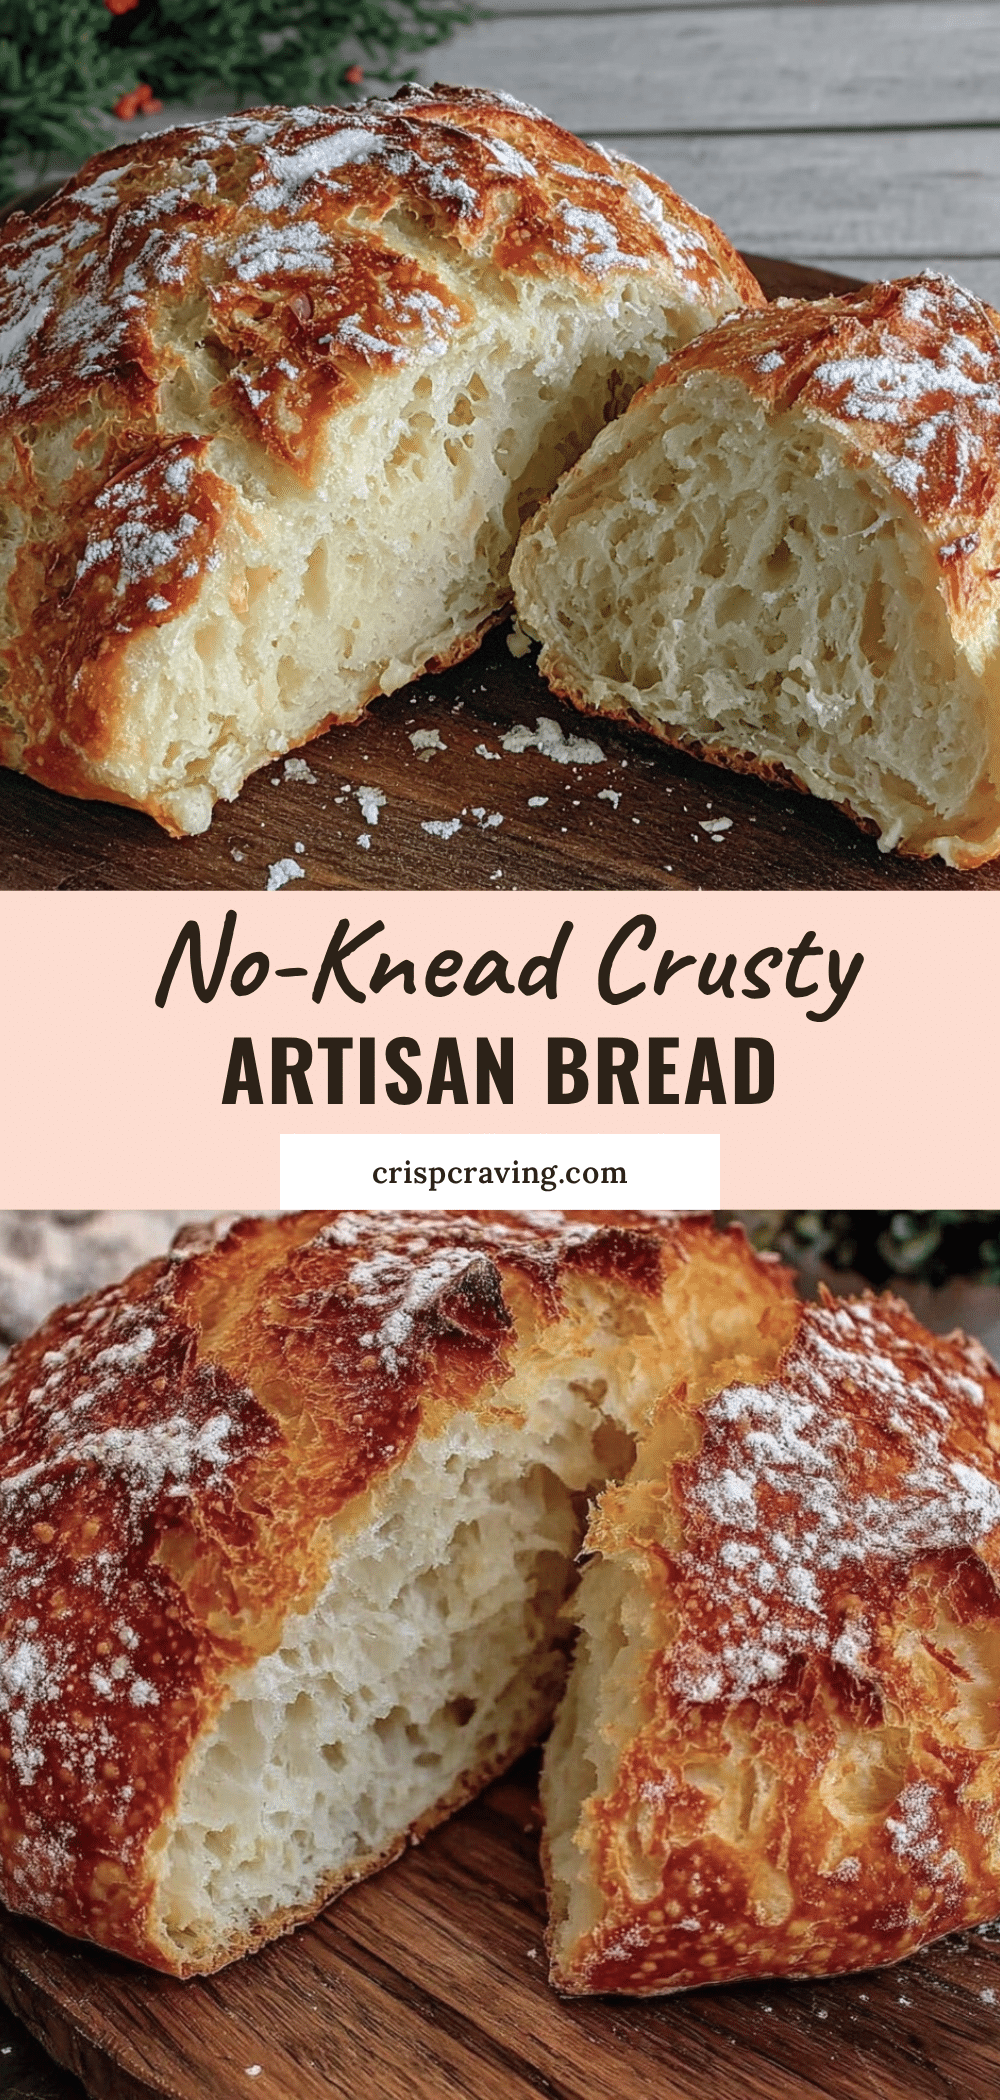
Pin This Recipe!
Crispy No-Knead Artisan Bread
A simple and easy no-knead artisan bread recipe that yields a crispy crust and soft, airy crumb with minimal effort and fuss.
- Prep Time: 10 minutes
- Cook Time: 45 minutes
- Total Time: 12 hours 55 minutes to 18 hours 55 minutes
- Yield: 1 loaf (about 12 slices) 1x
- Category: Bread
- Cuisine: American
Ingredients
- 3 cups (360 g) all-purpose flour
- 1/4 teaspoon instant yeast
- 1 1/4 teaspoons fine sea salt
- 1 1/2 cups (360 ml) warm water (about 100°F / 38°C)
Instructions
- In a large mixing bowl, combine 3 cups (360 g) all-purpose flour, 1/4 teaspoon instant yeast, and 1 1/4 teaspoons salt. Stir until evenly mixed.
- Pour in 1 1/2 cups (360 ml) warm water at about 100°F (38°C). Stir with a wooden spoon or spatula until a shaggy, sticky dough forms. No kneading needed.
- Cover the bowl tightly with plastic wrap or a clean towel and let it ferment at room temperature (around 70°F / 21°C) for 12 to 18 hours until doubled in size and bubbly.
- About 45 minutes before baking, place an empty Dutch oven with its lid inside your oven and preheat to 450°F (230°C).
- Turn the dough out onto a well-floured surface. Wet your hands slightly and gently fold the dough over itself a couple of times to shape into a round loaf.
- Place the shaped dough onto a square of parchment paper.
- Carefully remove the hot Dutch oven from the oven. Lift the dough with the parchment paper and lower it into the pot. Cover with the lid and bake for 30 minutes.
- Remove the lid and bake uncovered for another 15 minutes until the crust is deep golden brown and crisp.
- Transfer the bread to a wire rack and let cool completely for at least 1 hour before slicing.
Notes
Use a hot Dutch oven to trap steam for a crispy crust. Do not rush the long fermentation for best flavor and texture. Cool bread completely before slicing to avoid gummy crumb. Wet or flour hands to handle sticky dough. Optional: add herbs or seeds for variation.
Nutrition
- Serving Size: 1 slice (1/12 of loa
- Calories: 150
- Sodium: 300
- Fat: 0.5
- Carbohydrates: 30
- Fiber: 1
- Protein: 5
Keywords: no-knead bread, artisan bread, homemade bread, crispy crust, soft crumb, easy bread recipe, Dutch oven bread



