Love this? Save it for later!
Share the inspiration with your friends
My neighbor, Mrs. Gable, watched me struggling with a whisk that kept splattering batter onto the counter and didn’t say anything at first. Then she simply slid her own battered wooden spoon across the table and pointed to the single mixing bowl sitting on her counter. She had been making banana bread for forty years, and she swore that the secret wasn’t in fancy ingredients or complex techniques, but in the patience of letting the bananas get as brown as possible. I was trying to make a perfect, photogenic loaf for a potluck, but she just wanted something that tasted like home. The recipe arrived through the relationship, not through a transaction, and honestly, it changed how I bake forever.
I mean, we’ve all been there, trying to follow a recipe that requires six different bowls and a scale that weighs less than a feather. It’s exhausting. Mrs. Gable’s approach was refreshingly simple. She used overripe bananas, some sugar, oil, and flour, and mixed it all in one bowl. No fuss. No drama. Just good, old-fashioned comfort food. I remember the first time I tried it, I was in a rush to get to work, and I almost skipped the step of mashing the bananas properly. She stopped me and said, “Leave a few chunks,” which I thought was weird at the time. But those chunks made all the difference.
This easy one-bowl banana bread recipe has stayed with me because it respects the original simplicity while fitting into my busy life. You know that feeling when you find a recipe that just works, every single time? That’s this one. It’s not about being trendy or using obscure ingredients. It’s about using what you have and making something delicious with minimal cleanup. I keep making it because it’s reliable, it smells incredible, and it brings me back to that sunny kitchen with Mrs. Gable. Let me tell you, once you try this, you’ll never go back to complicated methods. It’s the kind of bread that feels like a hug.
Why You’ll Love This Recipe
After years of testing recipes and failing more times than I’d like to admit, I’ve learned that simplicity is often the key to success. This easy one-bowl banana bread stands out because it eliminates the guesswork and the mess. I remember the first time I made this for my family, I was worried it would be too dense or dry. Instead, it came out moist, tender, and perfectly sweet. It’s the kind of bake that makes you close your eyes after the first bite and just smile.
- Quick & Easy: This recipe comes together in under 15 minutes of prep time. It’s perfect for busy weeknights or when you need a last-minute treat for unexpected guests. Honestly, it’s so fast that you’ll wonder why you ever spent hours mixing things separately.
- Simple Ingredients: No fancy grocery trips needed. You likely already have everything in your kitchen. Flour, sugar, bananas, eggs, and butter or oil. That’s it. It’s pantry-friendly and budget-conscious.
- Perfect for Brunch: Great for casual brunches, holiday mornings, or just a cozy afternoon snack. It pairs beautifully with coffee or tea, making it a versatile addition to any meal.
- Crowd-Pleaser: Always gets rave reviews from kids and adults alike. Even picky eaters who usually refuse “healthy” snacks will ask for seconds. It’s a guaranteed hit at potlucks and family gatherings.
- Unbelievably Delicious: The texture and flavor combo is next-level comfort food. The natural sweetness of the bananas balances the slight tang of the baking soda, creating a perfect harmony.
What makes this recipe different from the rest is the technique. By mixing everything in one bowl, you avoid overworking the gluten, which keeps the bread tender. Many recipes call for creaming butter and sugar separately, but this method skips that step, saving time and dishes. It’s not just another version—it’s your best version because it’s foolproof. This isn’t just good; it’s the kind of bread that feels like coming home. It’s comfort food reimagined for the modern, busy baker. Perfect for impressing guests without stress, or turning a simple meal into something memorable.
What Ingredients You Will Need
This recipe uses simple, wholesome ingredients to deliver bold flavor and satisfying texture without the fuss. The beauty of this easy one-bowl banana bread lies in its accessibility. You don’t need a specialty store or expensive imports. Everything you need is likely already in your pantry or fridge. Here is what you’ll need to get started.
- Ripe Bananas (3 medium): The star of the show. Look for bananas with lots of brown spots on the peel. The browner, the sweeter and more flavorful. I prefer Cavendish bananas, but any variety will work. If they aren’t brown enough, bake them in the oven at 300°F (150°C) for 15 minutes to speed up the process.
- All-Purpose Flour (1 ½ cups): The base of the bread. I recommend King Arthur All-Purpose Flour for its consistent protein content, which helps with structure. However, any standard brand will do fine. Don’t sift it unless you’re being extra precise; just scoop and level.
- Granulated Sugar (¾ cup): Adds sweetness and helps with browning. You can use brown sugar for a deeper, molasses-like flavor, but white sugar keeps it light and classic. I usually use a mix of both for the best texture.
- Unsalted Butter (¼ cup, melted): Or you can use vegetable oil for a moister crumb. Melted butter adds a rich flavor that oil can’t quite match. Let it cool slightly before adding so it doesn’t cook the eggs.
- Large Egg (1): Acts as a binder and adds structure. Room temperature eggs mix more easily, but it’s not a dealbreaker if you’re in a hurry.
- Vanilla Extract (1 teaspoon): Enhances the overall flavor profile. Use pure vanilla extract, not imitation, for a richer taste. It’s a small amount, but it makes a big difference.
- Baking Soda (1 teaspoon): The leavening agent that makes the bread rise. Make sure it’s fresh; old baking soda won’t work well. If your baking soda is more than six months old, it’s probably time to replace it.
- Salt (½ teaspoon): Balances the sweetness and brings out the banana flavor. Don’t skip this step; it’s crucial for flavor depth.
- Optional Add-ins: Walnuts, pecans, or chocolate chips can be added for extra texture and flavor. If you’re using nuts, toast them first for a deeper nutty taste.
For seasonal variations, you can add a pinch of cinnamon or nutmeg in the fall. In the summer, fresh berries can be folded in for a fruity twist. These ingredients are easy to substitute if needed. For a gluten-free option, use a 1:1 gluten-free flour blend. For a dairy-free version, swap the butter for coconut oil or a plant-based butter alternative. The flexibility of this recipe is one of its greatest strengths.
Equipment Needed
You don’t need a lot of fancy tools to make this easy one-bowl banana bread. In fact, the whole point is to keep it simple. Here is what you’ll need.
- One Large Mixing Bowl: A bowl with a wide mouth makes it easier to mix and scrape down the sides. I use a large stainless steel bowl, but a glass or ceramic bowl works just as well. Just make sure it’s big enough to hold all the ingredients without spilling.
- Fork or Potato Masher: For mashing the bananas. A fork works fine if you don’t mind a bit of arm work, but a masher is faster and gives a more consistent texture. I prefer a masher because it leaves those nice chunks Mrs. Gable talked about.
- Measuring Cups and Spoons: For accurate measurements. Level off dry ingredients with a straight edge for best results. I have a set of nested measuring cups that fit together neatly, which saves drawer space.
- Loaf Pan (9×5 inches): A standard loaf pan is perfect for this recipe. Glass pans bake more evenly, but metal pans brown the crust faster. I usually use a non-stick metal pan for easy release.
- Parchment Paper: Lining the pan with parchment paper ensures the bread doesn’t stick and makes cleanup a breeze. It’s a small step that saves a lot of frustration later.
- Cooling Rack: To cool the bread after baking. This prevents the bottom from getting soggy by allowing air to circulate. I always let my bread cool on a rack; it’s a habit that pays off.
If you don’t have a loaf pan, you can use a muffin tin to make banana bread muffins. Just adjust the baking time to 18-20 minutes. For budget-friendly options, any basic set of measuring tools and a standard loaf pan will do. You don’t need to invest in expensive equipment to make great bread. Keep it simple and functional.
Preparation Method
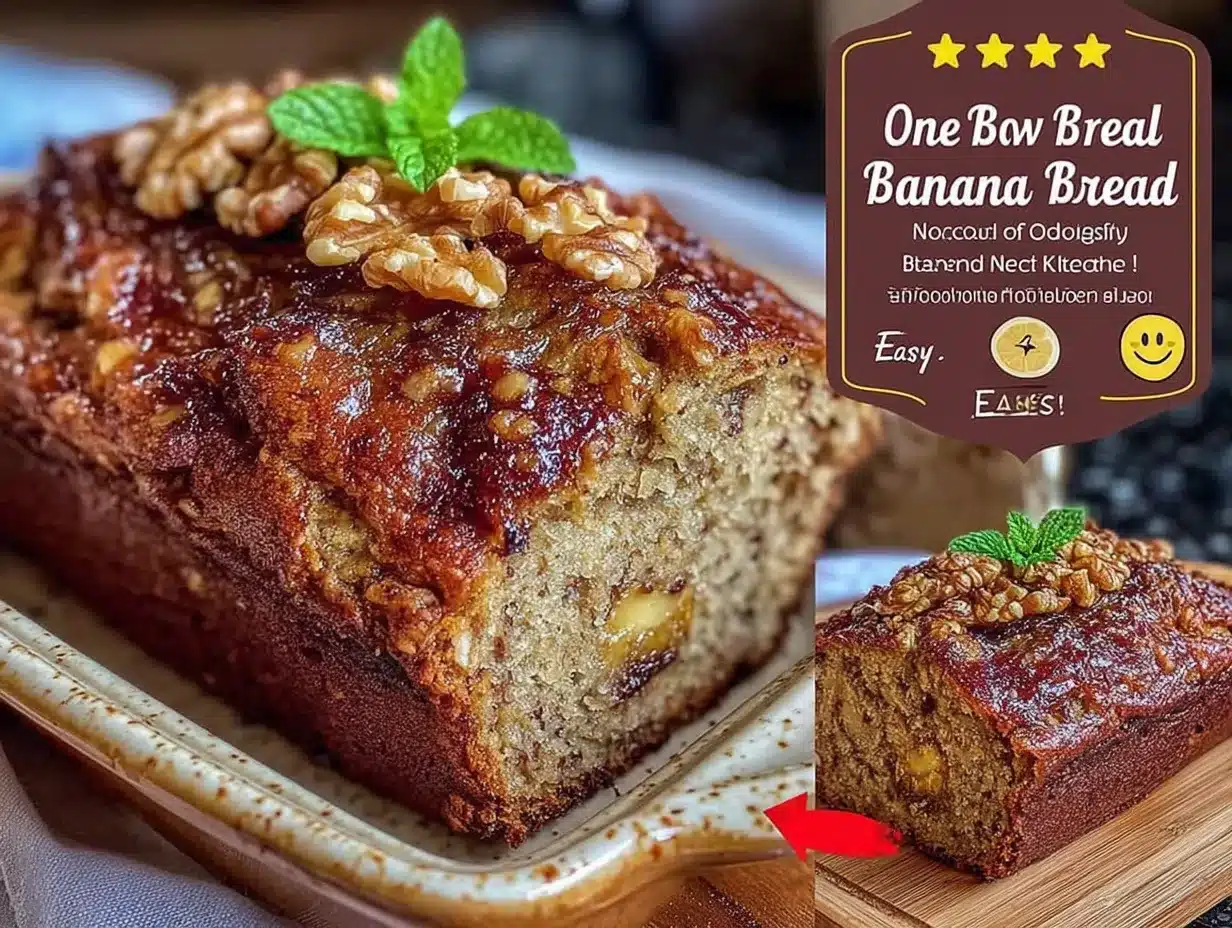
Making this easy one-bowl banana bread is straightforward, but there are a few key steps to ensure success. Follow these instructions carefully for the best results.
- Preheat and Prep: Preheat your oven to 350°F (175°C). Grease your 9×5 inch loaf pan with butter or cooking spray, or line it with parchment paper. This step takes about 2 minutes. Make sure the oven is fully heated before you put the bread in.
- Mash the Bananas: Peel the ripe bananas and place them in the large mixing bowl. Mash them with a fork or potato masher until they are mostly smooth but still have some chunks. This should take about 2 minutes. Don’t over-mash; you want some texture.
- Mix Wet Ingredients: Add the melted butter (or oil), sugar, egg, and vanilla extract to the bowl with the bananas. Whisk everything together until well combined. This takes about 1 minute. The mixture should look smooth and slightly glossy.
- Add Dry Ingredients: Sprinkle the flour, baking soda, and salt over the wet mixture. Use a spatula or wooden spoon to gently fold the dry ingredients into the wet. Stop mixing as soon as the flour disappears. Overmixing leads to tough bread. This step takes about 2 minutes.
- Fill the Pan: Pour the batter into the prepared loaf pan. Smooth the top with the spatula. This takes about 1 minute. Make sure the batter is evenly distributed for uniform baking.
- Bake: Place the loaf pan in the preheated oven and bake for 50-60 minutes. Do not open the oven door during the first 40 minutes to prevent the bread from collapsing. Check for doneness by inserting a toothpick into the center; it should come out clean or with a few moist crumbs. This step takes 50-60 minutes.
- Cool: Remove the loaf from the oven and let it cool in the pan for 10 minutes. Then, transfer it to a cooling rack to cool completely. This takes about 30 minutes. Patience is key here; slicing warm bread can make it gummy.
If the top starts browning too quickly, tent it with aluminum foil after 30 minutes. This is a common issue, so keep an eye on it. The internal temperature should reach 200°F (93°C) for perfect doneness, but the toothpick test is usually sufficient. Enjoy your homemade banana bread!
Cooking Tips & Techniques
Having spent years in the kitchen, I’ve learned that small details can make a big difference in baking. Here are some professional tips to help you master this easy one-bowl banana bread.
- Use Very Ripe Bananas: The browner the banana, the sweeter and more flavorful the bread. If your bananas are still yellow, bake them in the oven at 300°F (150°C) for 15 minutes until the skins turn black. This concentrates the sugars.
- Don’t Overmix: This is the most common mistake. Once you add the flour, mix just until combined. Lumps are okay. Overmixing develops gluten, which makes the bread dense and tough. I’ve ruined many loaves by trying to get a perfectly smooth batter.
- Check Your Oven Temperature: Ovens can vary in accuracy. Use an oven thermometer to ensure your oven is at the correct temperature. If your bread is baking too quickly on the outside but raw inside, your oven might be too hot.
- Test for Doneness: The toothpick test is reliable, but for extra precision, use a digital thermometer. The internal temperature should be around 200°F (93°C). This ensures the bread is fully cooked without being dry.
- Let It Cool: Resist the urge to slice the bread immediately. Letting it cool allows the structure to set. Slicing warm bread can cause it to fall apart or become gummy. I know it’s hard, but wait at least 30 minutes.
Timing is everything in baking. Try to have all your ingredients ready before you start mixing. This is called mise en place, and it reduces stress. Multitask by preheating the oven while you mash the bananas. Consistency comes with practice, so don’t be discouraged if your first loaf isn’t perfect. Learn from it and adjust next time.
Variations & Adaptations
While the classic recipe is delicious, there are many ways to adapt it to suit your preferences or dietary needs. Here are a few variations I’ve tried and loved.
- Gluten-Free: Substitute the all-purpose flour with a 1:1 gluten-free flour blend. These blends usually contain xanthan gum, which helps with structure. The texture may be slightly denser, but it’s still delicious.
- Dairy-Free: Replace the butter with coconut oil, olive oil, or a plant-based butter alternative. Coconut oil adds a subtle flavor, while olive oil makes it more savory. Vegan eggs can also be used, but regular eggs work best for structure.
- Lower Sugar: Reduce the sugar to ½ cup. The natural sweetness of the bananas will still provide plenty of flavor. You can also use mashed ripe pears or applesauce to add moisture and sweetness.
- Chocolate Chip: Fold in ½ cup of chocolate chips before baking. The chocolate melts into the bread, creating pockets of sweetness. Dark chocolate chips are a great option for a less sweet treat.
- Nutty: Add ½ cup of chopped walnuts or pecans. Toasting the nuts first enhances their flavor. This adds crunch and richness, making the bread more substantial.
I once tried making this with whole wheat flour, and it turned out a bit dense. I found that mixing half whole wheat and half all-purpose flour worked better. For seasonal variations, add pumpkin puree and spices in the fall, or blueberries in the summer. These adaptations keep the recipe fresh and exciting. Don’t be afraid to experiment and find your own favorite version.
Serving & Storage Suggestions
How you serve and store your easy one-bowl banana bread can affect its taste and texture. Here are some suggestions to keep it fresh and delicious.
Serve the bread warm or at room temperature. It pairs beautifully with a cup of coffee, tea, or hot chocolate. For a special treat, add a slice of butter or a dollop of cream cheese. It’s also great crumbled over yogurt or ice cream for breakfast.
For storage, wrap the cooled loaf tightly in plastic wrap or aluminum foil. It can be kept at room temperature for up to 3 days. For longer storage, refrigerate it for up to a week. The bread will stay moist and flavorful.
To freeze, wrap the loaf in plastic wrap and then in aluminum foil. It can be frozen for up to 3 months. Thaw it at room temperature or in the refrigerator overnight. You can also freeze individual slices for easy snacking.
When reheating, warm the bread in the microwave for 20-30 seconds or in the oven at 300°F (150°C) for 10 minutes. This restores its freshness. The flavors develop over time, so the bread often tastes better the next day. Don’t rush to eat it all at once; let it sit for a bit.
Nutritional Information & Benefits
While this easy one-bowl banana bread is a treat, it does offer some nutritional benefits. Bananas are a good source of potassium, vitamin B6, and fiber. They provide natural sweetness and energy, making them a healthy choice for a snack.
Each slice (assuming 10 slices per loaf) contains approximately:
- Calories: 180
- Fat: 6g
- Carbohydrates: 30g
- Fiber: 1g
- Sugar: 15g
- Protein: 3g
These values are estimates and can vary based on ingredients and portion size. For a healthier option, reduce the sugar and use whole wheat flour. The bread is not gluten-free or vegan by default, but adaptations are easy. It’s a comforting treat that satisfies cravings without being overly indulgent. I enjoy it as a balanced breakfast or afternoon snack. Remember, moderation is key, and this bread is best enjoyed as part of a varied diet.
Conclusion
This easy one-bowl banana bread is more than just a recipe; it’s a testament to the power of simplicity. I love it because it’s reliable, delicious, and incredibly easy to make. It brings back memories of my neighbor’s kitchen and the joy of sharing food with others. I encourage you to try it and customize it to your liking. Add your favorite nuts, chocolate, or spices. Make it your own.
Once you’ve tried it, I’d love to hear how it turned out for you. Leave a comment below with your results and any variations you tried. Share your photos on social media and tag me—I love seeing your creations. Don’t forget to share this recipe with friends and family who love banana bread. Thank you for reading, and happy baking! Here’s to many more moments of comfort and connection through food.
FAQs
Can I use frozen bananas for this recipe?
Yes, frozen bananas work great. Just thaw them completely and drain any excess liquid before mashing. They are often sweeter than fresh bananas, so you might need less sugar.
Why is my banana bread dense?
Dense banana bread is usually caused by overmixing the batter. Mix the dry ingredients just until combined. Also, ensure your baking soda is fresh and your oven temperature is accurate.
How do I know when the banana bread is done?
Insert a toothpick into the center of the loaf. If it comes out clean or with a few moist crumbs, it’s done. The internal temperature should be around 200°F (93°C).
Can I make this recipe in a muffin tin?
Absolutely. Fill muffin tins about ¾ full and bake at 350°F (175°C) for 18-20 minutes. They make for great individual portions and snacks.
How long does banana bread last?
Stored at room temperature, it lasts up to 3 days. In the refrigerator, it lasts up to a week. For longer storage, freeze it for up to 3 months.
Pin This Recipe!
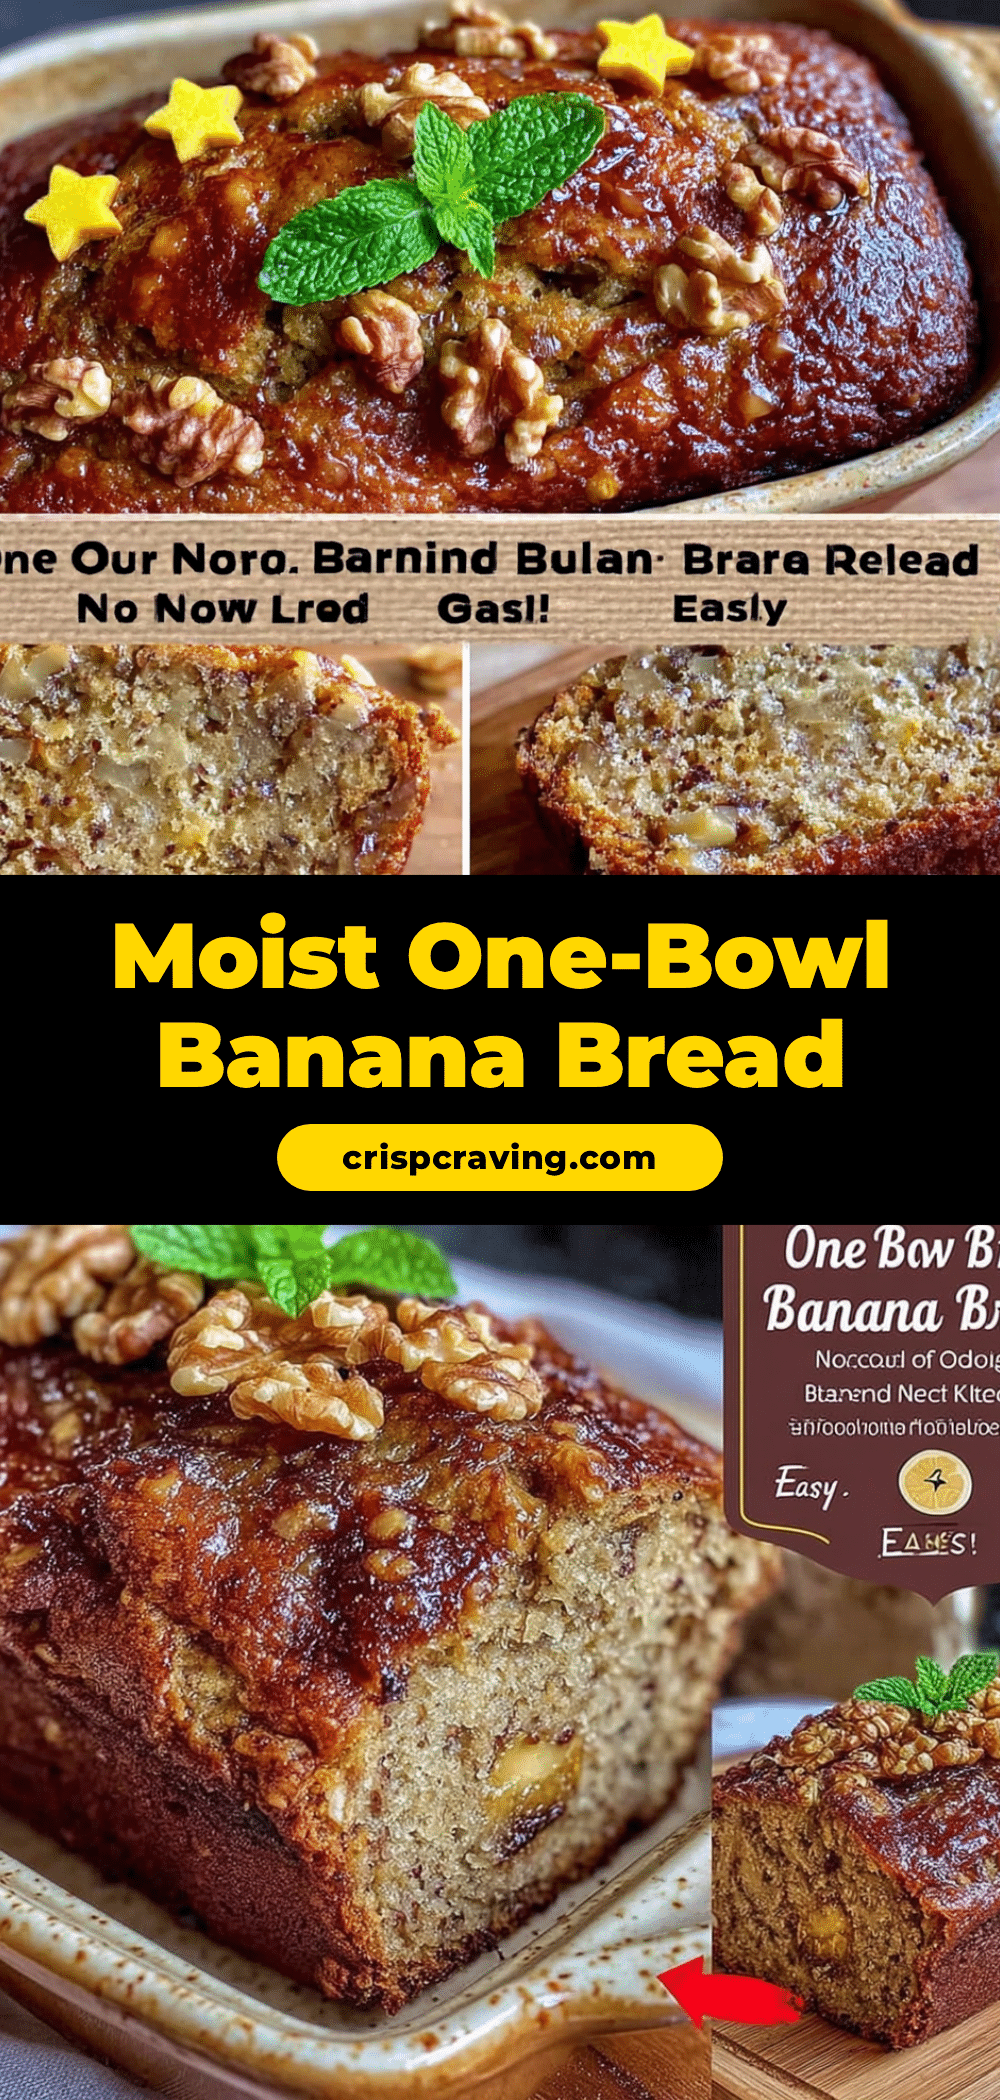
Easy One-Bowl Banana Bread: Best Homestyle Recipe
A simple, reliable banana bread recipe that requires only one bowl and minimal cleanup. This homestyle loaf is moist, tender, and perfect for busy bakers looking for comfort food.
- Prep Time: 15 minutes
- Cook Time: 50-60 minutes
- Total Time: 1 hour 15 minutes
- Yield: 10 servings 1x
- Category: Dessert
- Cuisine: American
Ingredients
- 3 medium ripe bananas
- 1 ½ cups all-purpose flour
- ¾ cup granulated sugar
- ¼ cup unsalted butter, melted
- 1 large egg
- 1 teaspoon vanilla extract
- 1 teaspoon baking soda
- ½ teaspoon salt
- Optional: Walnuts, pecans, or chocolate chips
Instructions
- Preheat oven to 350°F (175°C). Grease a 9×5 inch loaf pan or line with parchment paper.
- Peel ripe bananas and place them in a large mixing bowl. Mash with a fork or potato masher until mostly smooth but with some chunks.
- Add melted butter (or oil), sugar, egg, and vanilla extract to the bowl. Whisk until well combined.
- Sprinkle flour, baking soda, and salt over the wet mixture. Gently fold with a spatula until just combined; do not overmix.
- Pour batter into the prepared loaf pan and smooth the top.
- Bake for 50-60 minutes. Do not open the oven door for the first 40 minutes. Check doneness with a toothpick (should come out clean).
- Cool in the pan for 10 minutes, then transfer to a cooling rack to cool completely before slicing.
Notes
Use very ripe bananas for maximum sweetness. Do not overmix the batter to avoid a dense texture. If the top browns too quickly, tent with foil after 30 minutes. Can be made into muffins by baking at 350°F for 18-20 minutes.
Nutrition
- Serving Size: 1 slice
- Calories: 180
- Sugar: 15
- Sodium: 200
- Fat: 6
- Saturated Fat: 3
- Carbohydrates: 30
- Fiber: 1
- Protein: 3
Keywords: banana bread, one bowl recipe, easy baking, homestyle, comfort food, quick bread, gluten-free option, dairy-free option



